
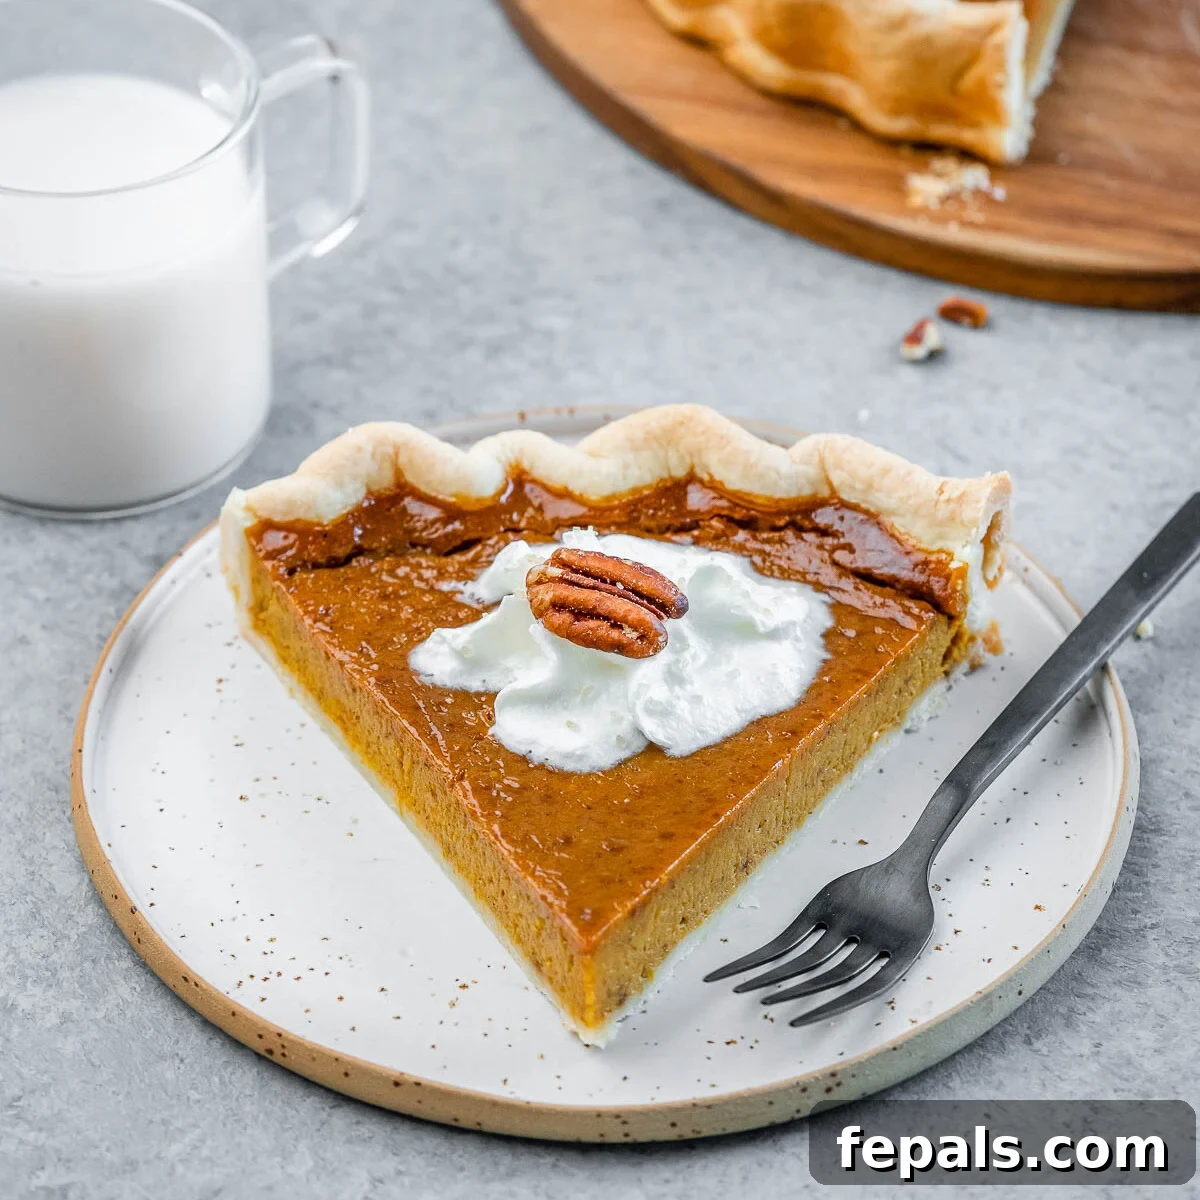
Healthy Pumpkin Pie: A Wholesome & Delicious Holiday Dessert
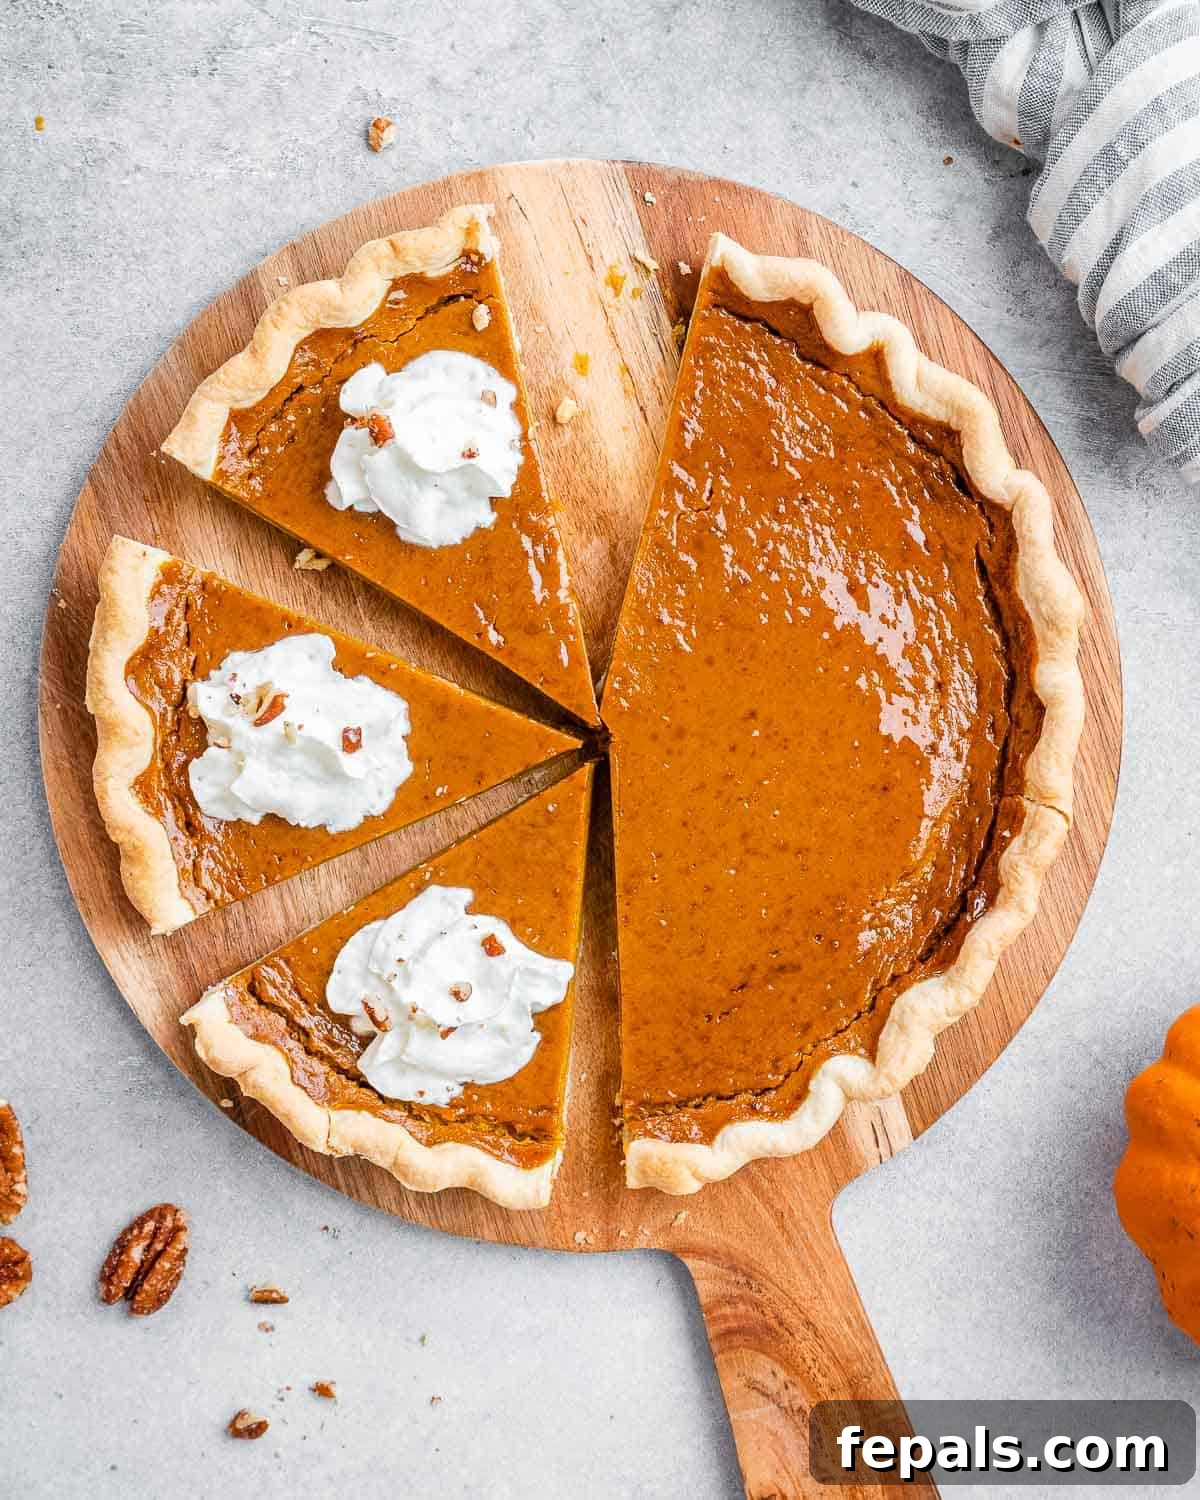
This Healthy Pumpkin Pie offers a guilt-free twist on a beloved classic. Crafted with simple, natural ingredients and sweetened primarily with coconut sugar and honey, it bypasses the need for evaporated or condensed milk. The result is a perfectly spiced, incredibly silky, and irresistibly smooth pumpkin filling nestled in a golden crust. Serve it with a generous dollop of homemade whipped cream, and you have the ultimate holiday dessert that everyone will adore, whether they prioritize health or simply exceptional taste!
Looking to expand your holiday dessert repertoire? Explore more delightful options like my No-Bake Pumpkin Cheesecake, these delectable Healthy Pecan Pie Bars, or a comforting Easy Apple Crumble.
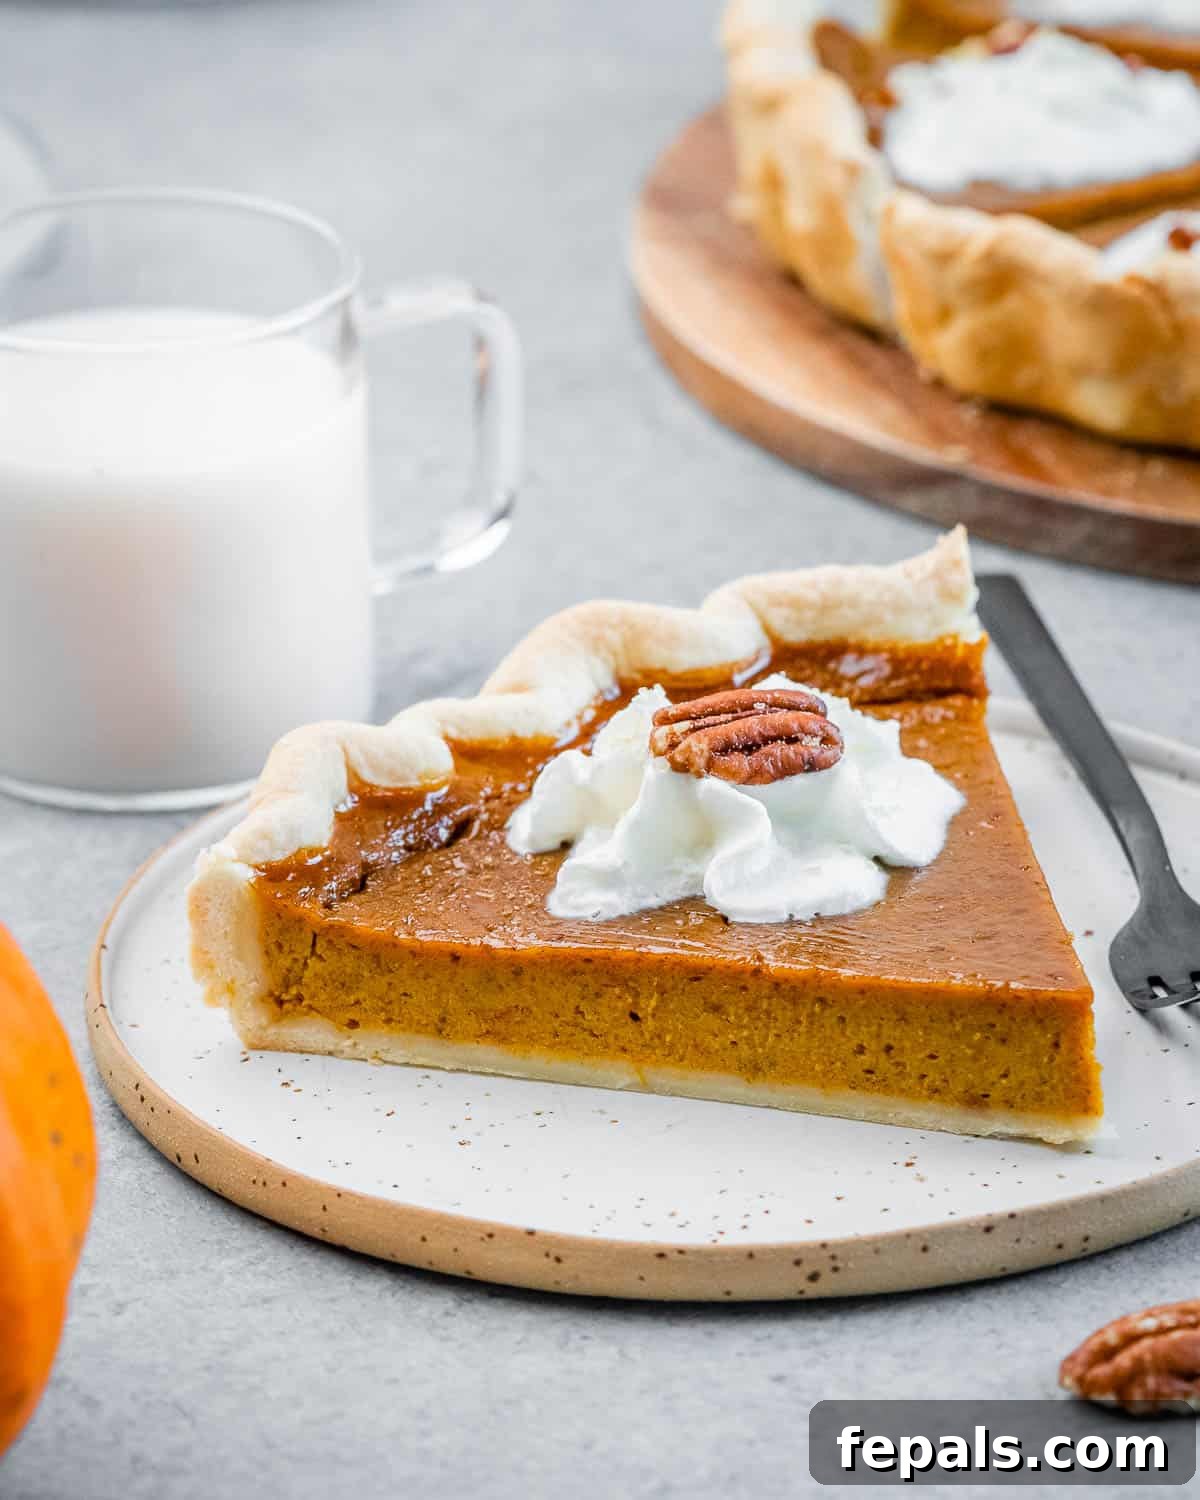
As the holiday season approaches, there’s one dessert that consistently takes center stage in homes across America: pumpkin pie. While the traditional version is undeniably delicious, it often comes packed with refined sugars and heavy dairy. That’s why I’m thrilled to share my family’s favorite, healthier take on this iconic Thanksgiving dessert – a recipe that promises all the comforting flavors and creamy texture without the usual heaviness.
This Healthy Pumpkin Pie isn’t just a lighter alternative; it’s a culinary triumph that can easily be adapted to be dairy-free and gluten-free, catering to various dietary needs without compromising on taste. We swap out processed sugars for natural sweeteners like coconut sugar and honey, and ditch evaporated milk for lighter, wholesome alternatives. Even with these mindful ingredient choices, the pumpkin filling remains wonderfully creamy, bursting with the most delicious aromatic spices and rich, authentic pumpkin flavor. It’s so good, you’d be hard-pressed to tell it apart from the classic – making it the perfect dessert to grace your holiday table this year!
Why This Healthy Pumpkin Pie Stands Out
Our healthy pumpkin pie recipe is designed for both ease and enjoyment, making it a standout choice for your holiday festivities:
- Wholesome Ingredients: Unlike many traditional recipes that rely on granulated or brown sugar and heavy dairy products such as evaporated milk, condensed milk, or heavy cream, this pie embraces natural sweetness. We use a thoughtful combination of coconut sugar and honey, which provide a nuanced, rich sweetness without the need for refined sugars. For those seeking a dairy-free option, plant-based milks like unsweetened almond milk work beautifully, contributing to a lighter yet equally creamy texture.
- Effortless Preparation: Holiday cooking can be hectic, which is why simplicity is key. By utilizing a readily available store-bought pie crust (choose a gluten-free option for those with sensitivities), you can have this exquisite pie prepped in as little as 10 minutes. The filling comes together with a quick whisk, gets poured into the crust, and then it’s off to the oven – truly a dump-and-bake delight!
- Ideal for Holiday Planning: This healthy pumpkin pie is an absolute dream for Thanksgiving, Christmas, or any festive gathering because it requires ample time to chill and set in the refrigerator. This means you can bake it a day or even two in advance, allowing the flavors to meld beautifully and one less thing to worry about on the big day. Just pull it out of the fridge, slice, serve, and enjoy the accolades!
If you, like me, are an avid pumpkin enthusiast, you might also enjoy exploring my Pumpkin Pie Overnight Oats for a healthy breakfast or my delightful Pumpkin Pie Chia Pudding as a nutritious snack.
Essential Ingredients for Your Healthy Pumpkin Pie
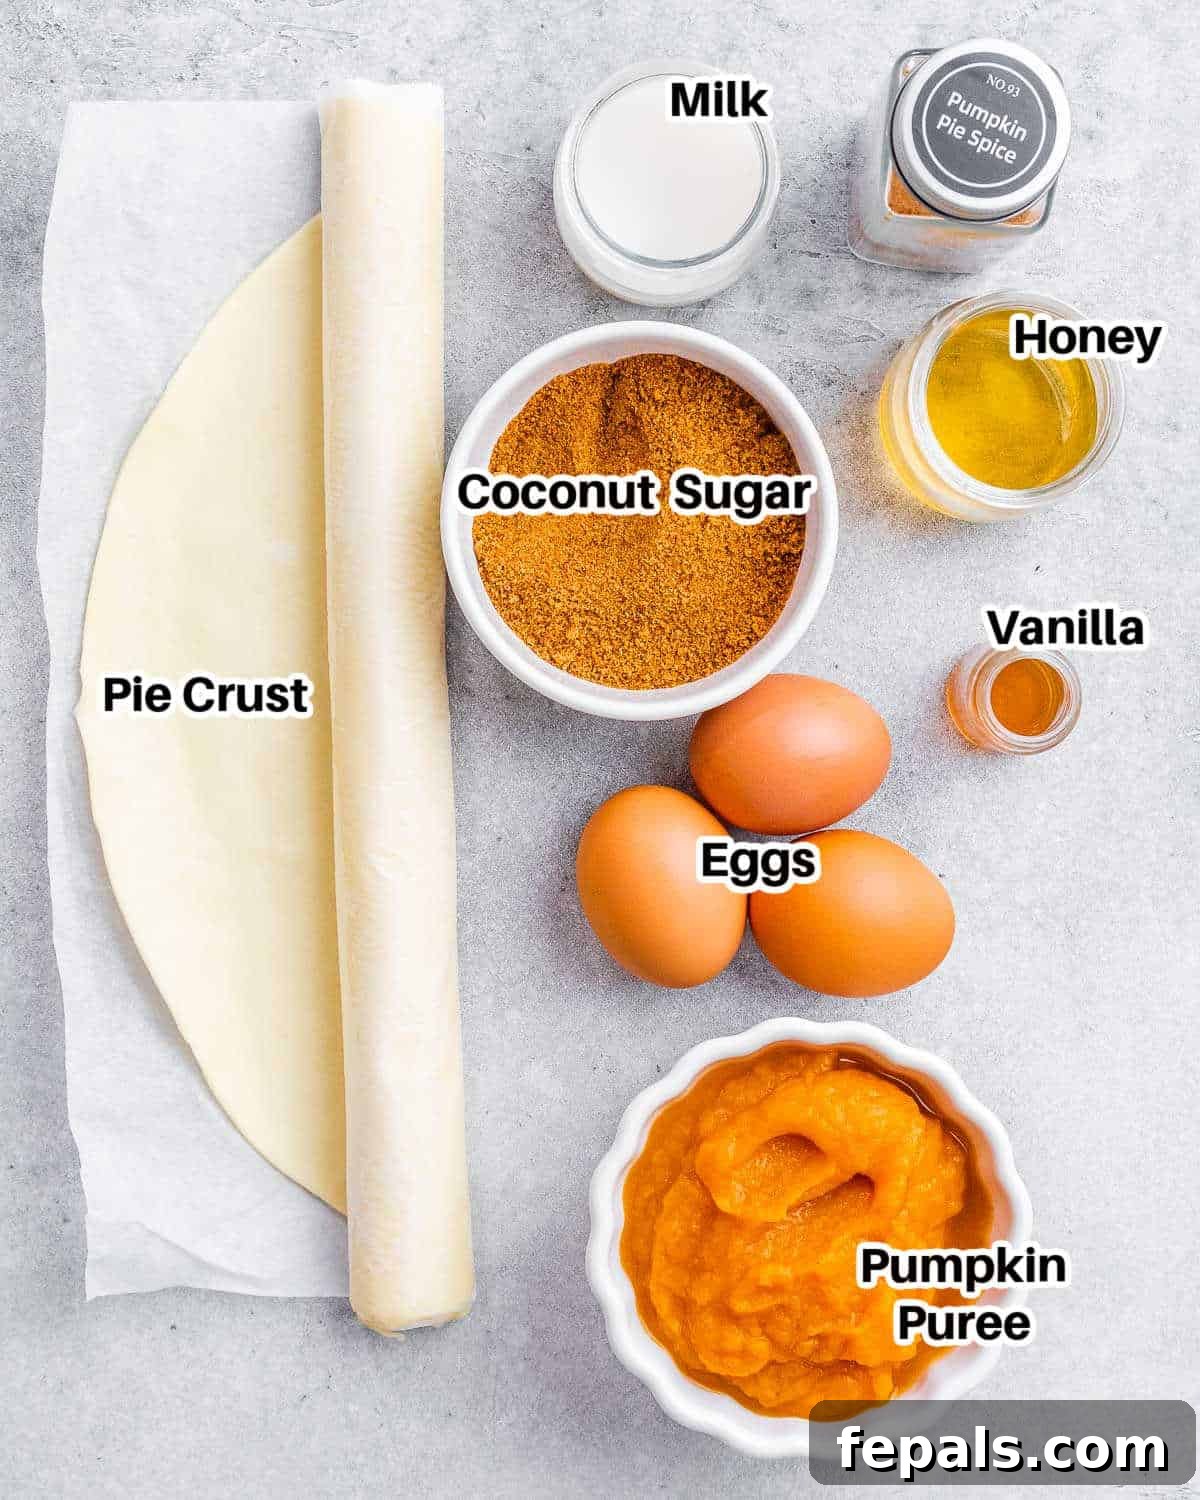
This incredibly easy healthy pumpkin pie recipe incorporates a few thoughtful ingredient swaps that lighten it up from traditional versions, all while maintaining that irresistible, authentic flavor. Here’s a detailed look at what you’ll need:
Key Components:
- Pie Crust: For ultimate convenience and to save precious time during the holidays, we recommend using your favorite store-bought pie crust. Brands like Wholly Wholesome offer excellent frozen pie crusts made with minimal, organic ingredients, often including gluten-free options for those with dietary restrictions. If you prefer, a homemade pie crust also works wonderfully.
- Pumpkin Puree: This is the heart and soul of any great pumpkin pie. Ensure you’re using 100% pure pumpkin puree, not pumpkin pie filling, which typically contains added sugars and spices. Pure pumpkin provides the foundational flavor and creamy texture.
- Eggs: Essential for structure and richness, three large eggs are crucial for binding the filling and creating that luscious, custard-like texture that defines a perfect pumpkin pie.
- Coconut Sugar: A natural, unrefined sweetener that adds a caramel-like depth of flavor and a gentle sweetness, making it a fantastic healthier alternative to white or brown sugar.
- Honey: Complementing the coconut sugar, honey provides an additional layer of natural sweetness and a subtle floral note, ensuring the pie is perfectly balanced and entirely refined sugar-free.
- Vanilla Extract: A splash of high-quality vanilla extract enhances all the other flavors, adding warmth and a touch of sophistication to the filling.
- Pumpkin Pie Spice: This signature blend of cinnamon, nutmeg, ginger, and cloves is what gives pumpkin pie its quintessential warm and cozy aroma and taste. It’s the secret to that classic holiday spice profile.
- Milk: The beauty of this recipe lies in its flexibility. You can use any milk of your choice. To keep this pumpkin pie dairy-free, unsweetened almond milk is my preferred option, but regular dairy milk or even oat milk would work beautifully, each contributing its own subtle creaminess.
A full list of ingredients with precise quantities can be found in the comprehensive recipe card below!
Customize Your Pie: Variations and Substitutions
This recipe is incredibly versatile, allowing for easy adjustments to suit your dietary needs or personal taste preferences:
- Sweetener Options: While we love using coconut sugar and honey for a refined sugar-free approach, you can certainly substitute them. Granulated sugar or brown sugar (packed for measurement) can be used in equal amounts, though this will alter the “healthy” aspect slightly. Maple syrup is another excellent natural sweetener that can replace honey, adding a different layer of robust flavor.
- Homemade Spice Blend: If you don’t have pre-mixed pumpkin pie spice on hand, or prefer to mix your own for ultimate freshness, you can easily create the blend. For every 2 teaspoons of pumpkin pie spice called for in this recipe, use: 1 teaspoon ground cinnamon, 1/4 lightly heaping teaspoon ground nutmeg, 1/4 lightly heaping teaspoon ground ginger, and a generous 1/8 teaspoon of ground cloves or allspice. Adjust to your personal preference!
- Crust Alternatives: Beyond store-bought, consider making a homemade graham cracker crust or a pecan-based crust for an extra layer of flavor and texture. For gluten-free, ensure your chosen crust is certified gluten-free.
- Flavor Boosters: A pinch of orange zest or a teaspoon of finely grated fresh ginger can add a bright, zesty counterpoint to the rich pumpkin and spices. A tablespoon of bourbon or rum can also deepen the flavor profile, adding a sophisticated warmth.
How to Make Your Healthy Pumpkin Pie: Step-by-Step
Crafting this healthy pumpkin pie is surprisingly straightforward, even for novice bakers. Follow these simple steps for a perfect holiday dessert:
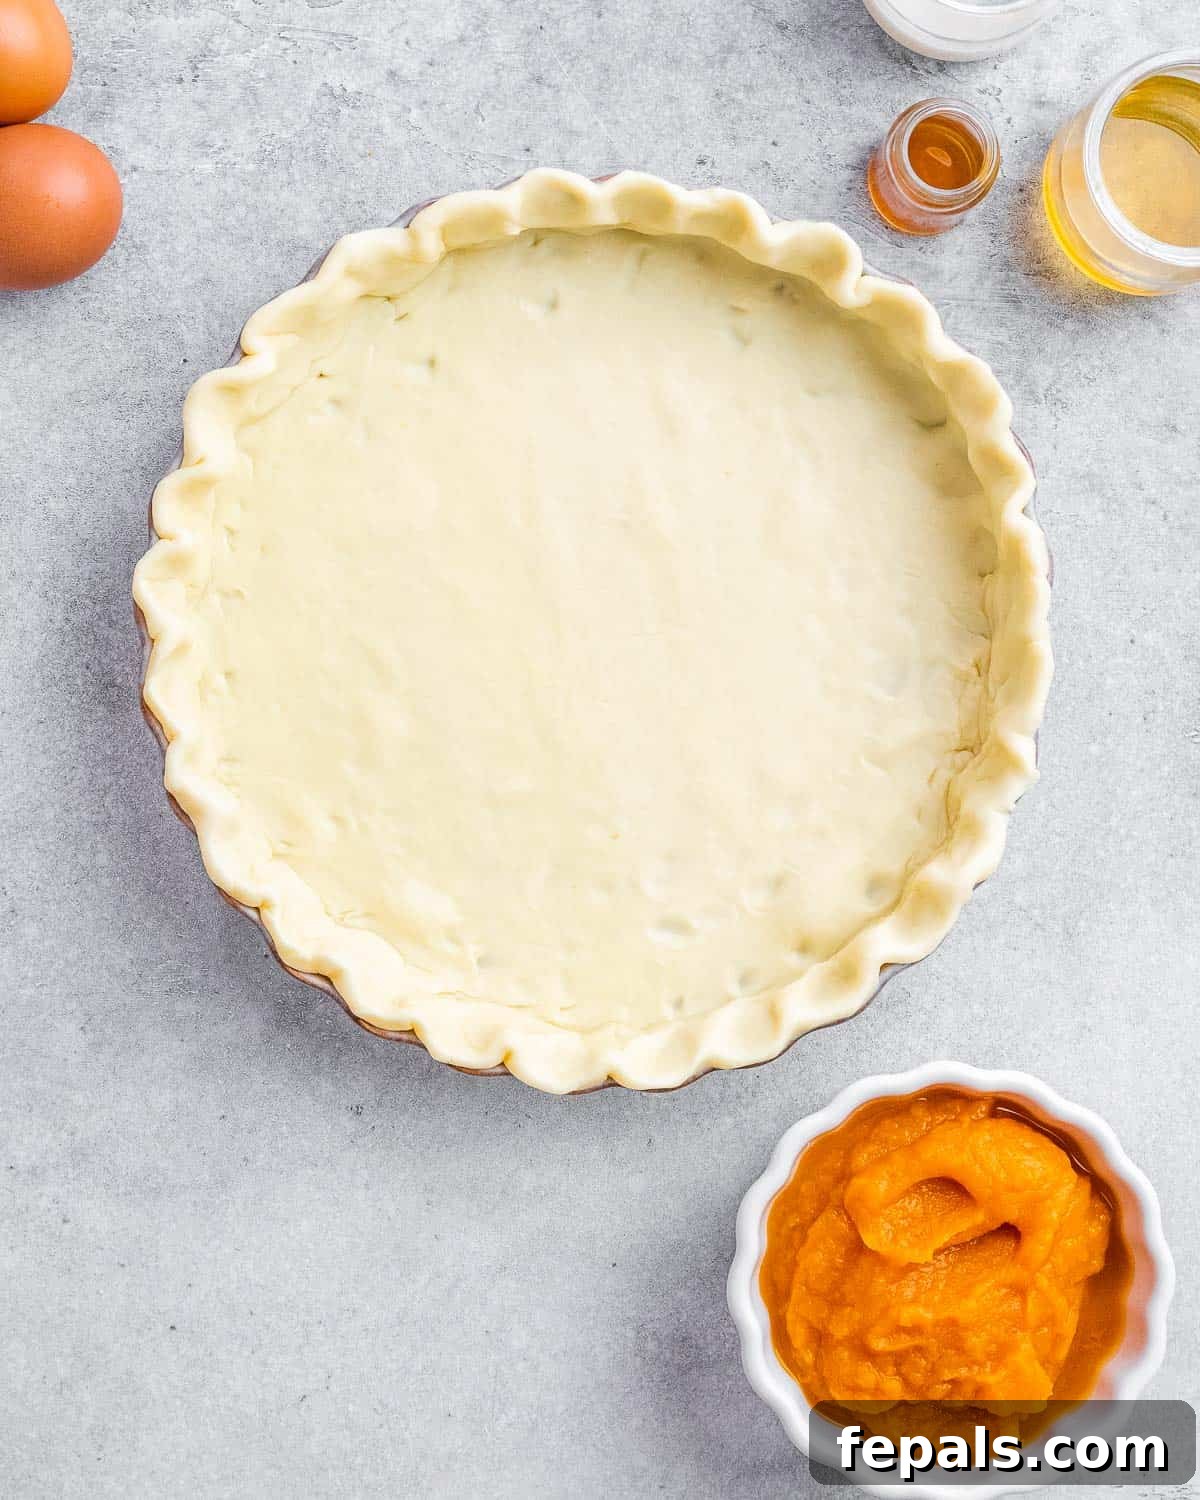
Step 1: Prepare the Crust and Oven
Preheat your oven to 375ºF (190ºC) and position an oven rack in the middle. This ensures even baking. If using a roll-out pie crust, gently unroll it into a 12-inch diameter disk. Carefully transfer it to a 10-inch pie dish. Trim any excessive dough, leaving about a 2-inch overhang. Fold this excess dough under the crust and use your fingers to create decorative crimped edges. This step not only looks beautiful but also helps prevent the crust from shrinking too much. Place the prepared pie crust in the refrigerator to chill while you prepare the filling. I typically don’t pre-bake store-bought crusts for this recipe, as they are often thin enough to cook perfectly alongside the filling.
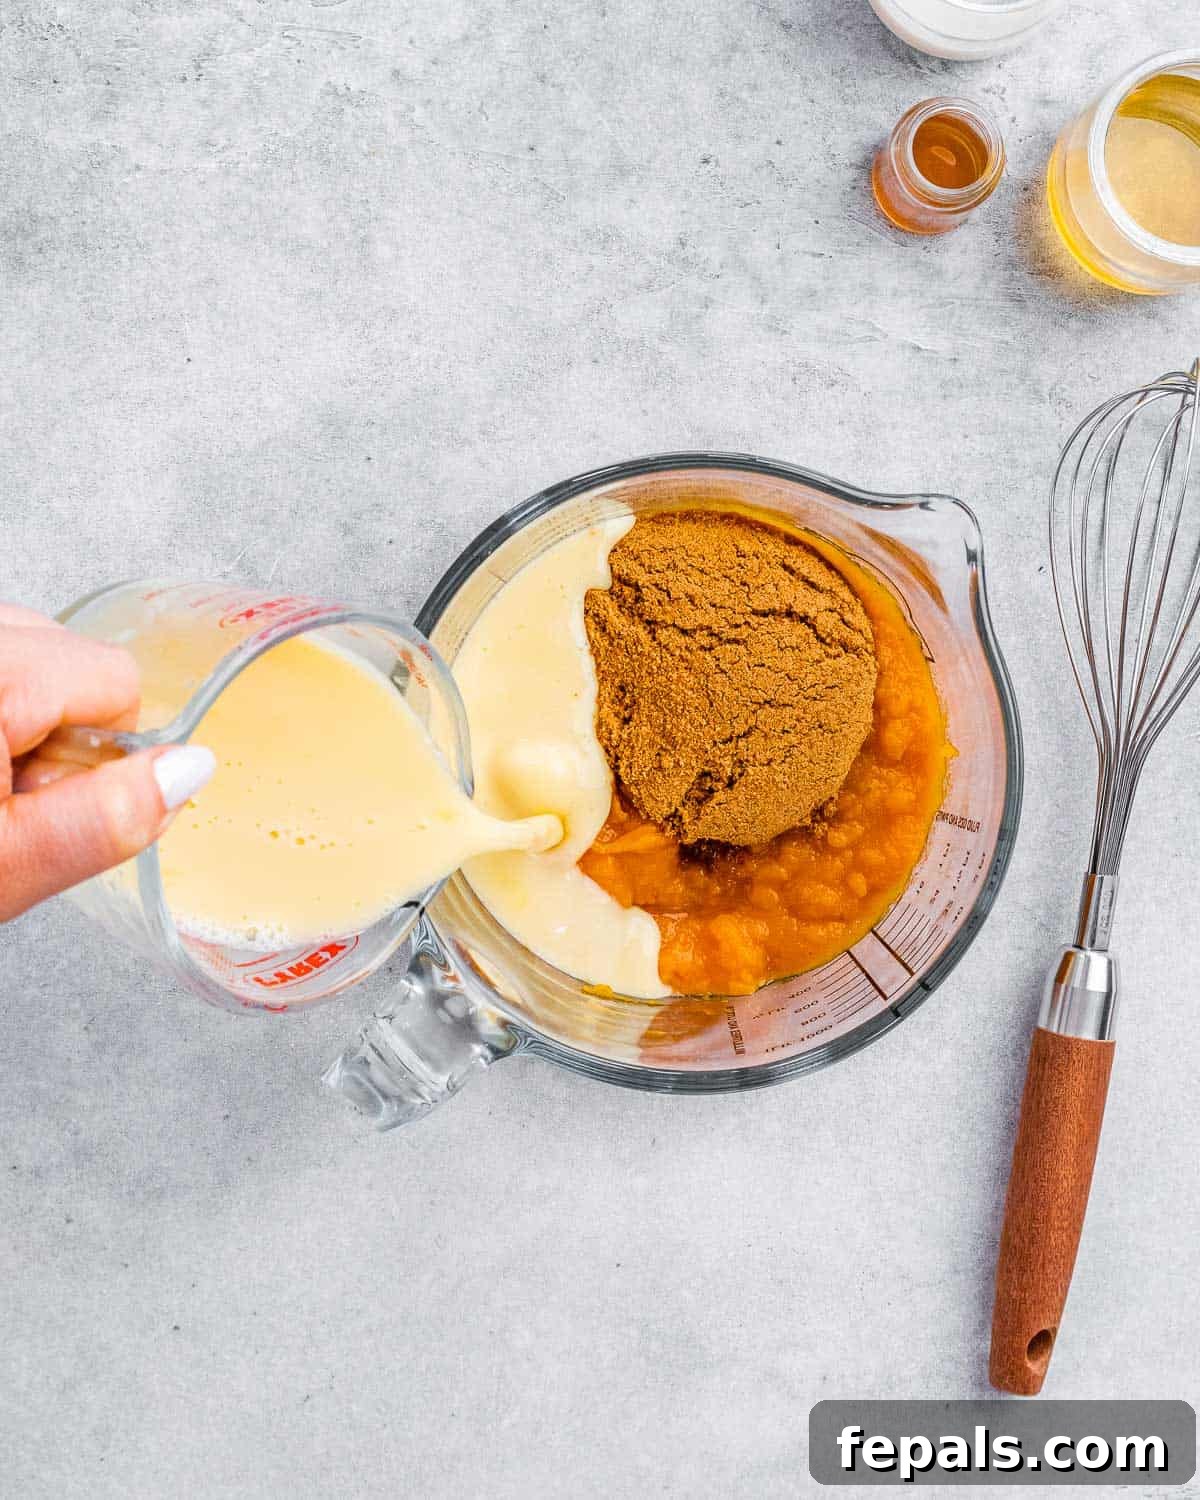
Step 2: Whisk the Filling to Perfection
While your pie crust chills, it’s time to create the luscious pumpkin filling. In a large mixing bowl, combine the pumpkin puree, lightly beaten eggs, coconut sugar, honey, vanilla extract, pumpkin spice blend, and your milk of choice. Using a whisk, vigorously mix all the ingredients until the mixture is completely smooth and well combined. Ensure there are no lumps and the color is uniform throughout. This step is quick and easy, requiring minimal effort but yielding maximum flavor.
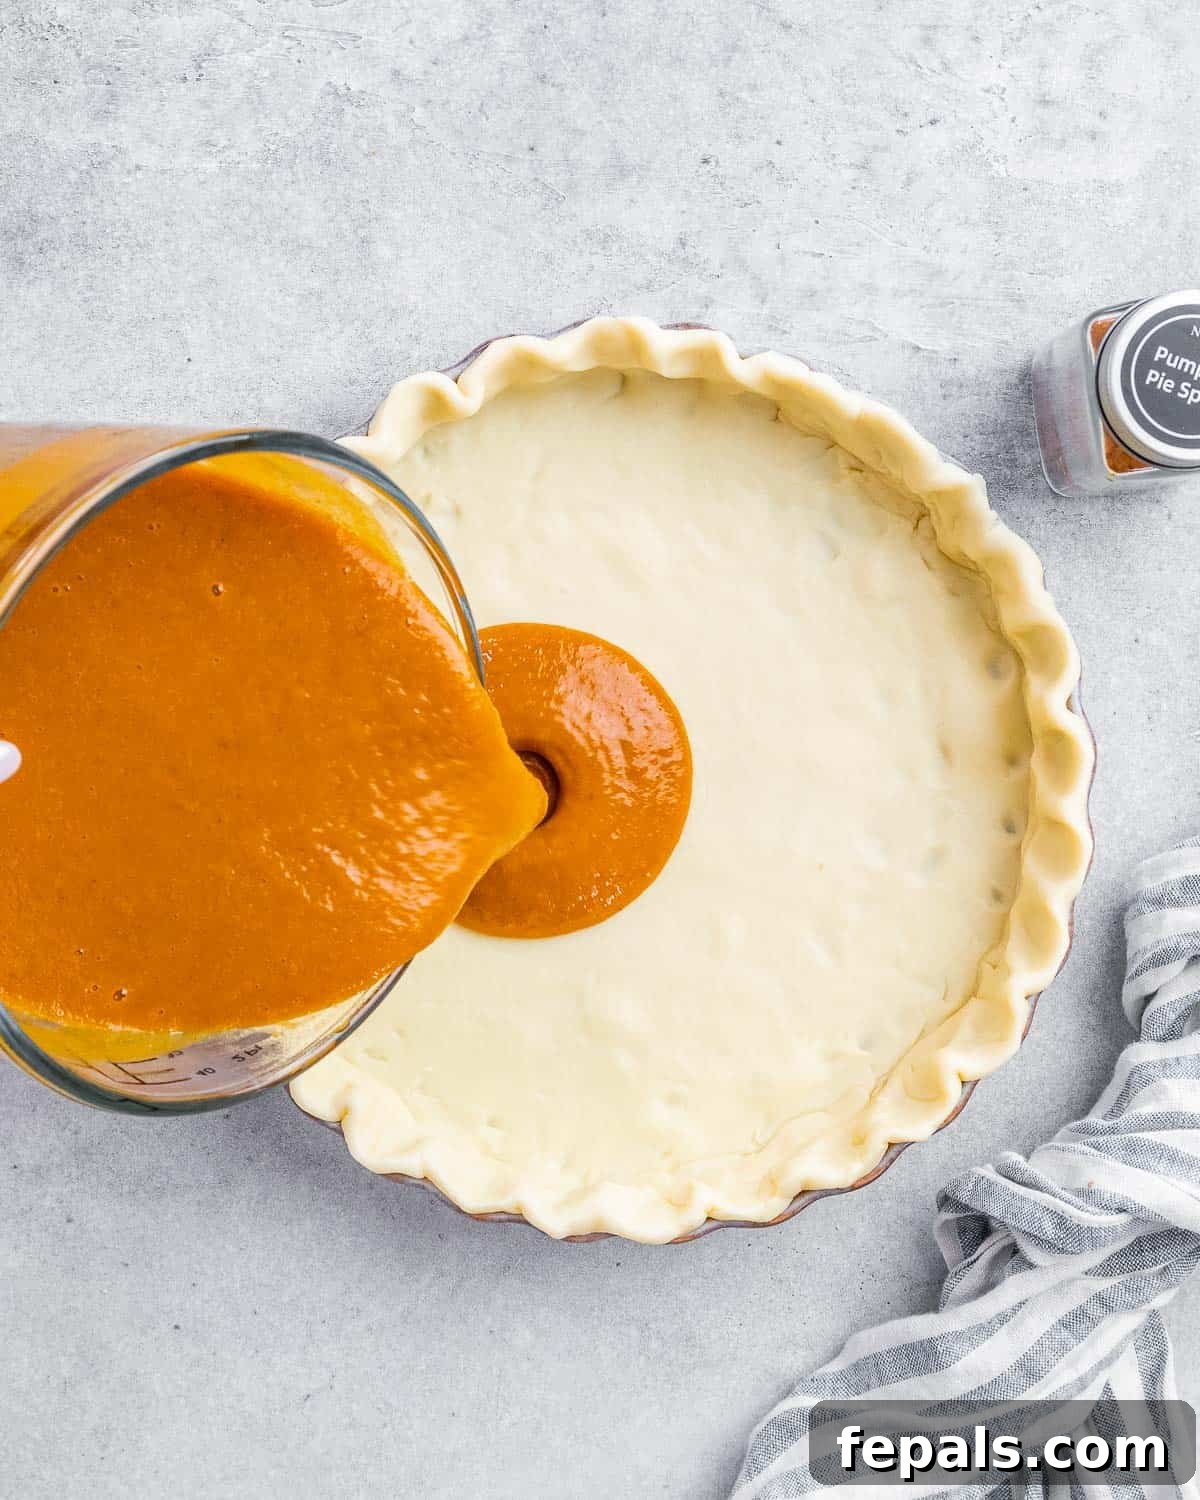
Step 3: Bake Until Set
Retrieve your chilled pie crust from the refrigerator. Carefully pour the pumpkin filling into the unbaked pie crust, distributing it evenly. Transfer the pie dish to your preheated oven. Bake for approximately 45-60 minutes. The baking time can vary based on your oven, so it’s crucial to monitor for doneness. The pie is ready when the edges of the filling are set, and the center has only a slight jiggle (like firm gelatin) when gently shaken. Over-baking can lead to cracks, so keep a close eye!
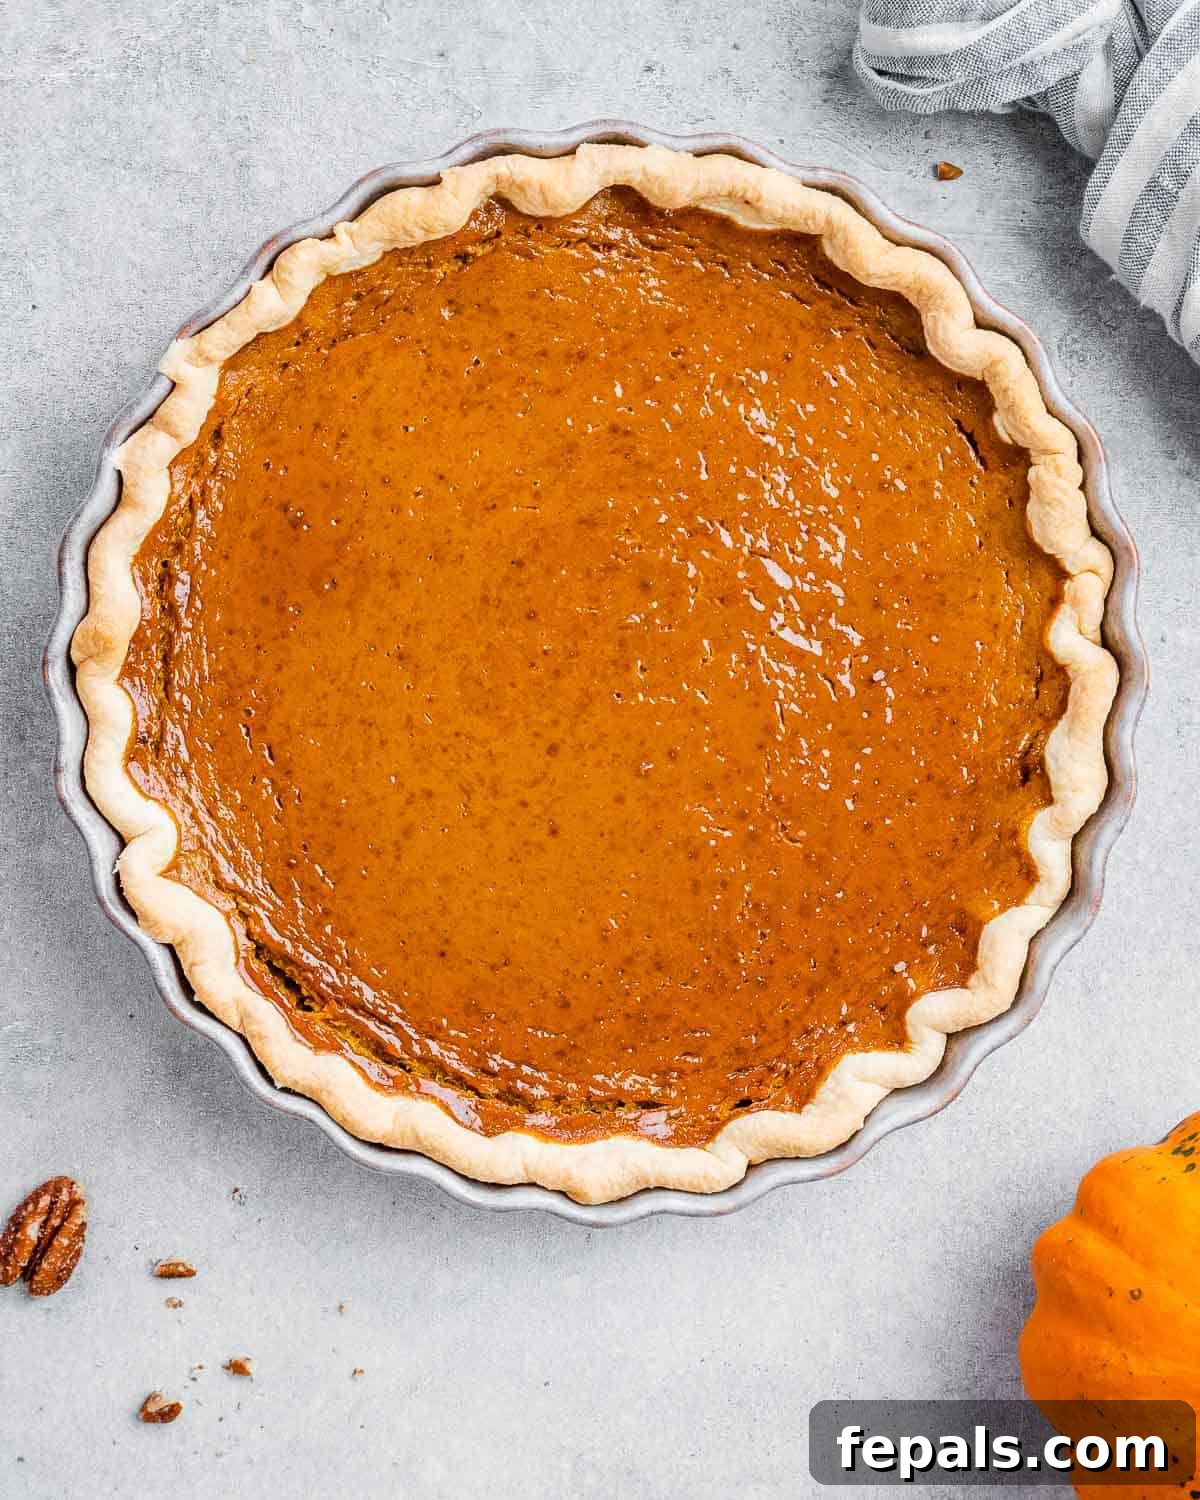
Step 4: Cool and Chill for Perfection
Once baked, remove the pie from the oven and place it on a wire rack to cool completely at room temperature. This cooling process is vital for the filling to continue setting and firming up. Once cooled to room temperature (this can take a few hours), transfer the pie to the refrigerator. It needs to chill for at least 4 hours, or preferably overnight, before serving. Chilling allows the flavors to deepen and the custard to achieve its optimal silky smooth texture, making it easier to slice cleanly.
Reena’s Expert Tips for Success
Recipe Tips
- For the Crust – To Pre-Bake or Not? I typically do not pre-bake store-bought pie crusts when making this recipe. These crusts are often thinner than homemade varieties and will cook thoroughly at the same rate as the pumpkin filling, resulting in a perfectly tender, golden-brown base. If you opt for a homemade, thicker crust, a quick pre-bake might be beneficial to prevent sogginess.
- Protecting the Crust Edges: If you notice the edges of your pie crust browning too quickly during baking, don’t fret! Simply place a pie crust shield over the crust. If you don’t own a specialized shield, a makeshift one crafted from aluminum foil works just as effectively. This will protect the delicate edges from over-browning while the filling continues to cook.
- Understanding Crust and Filling Separation: It is entirely normal for there to be a slight, minor separation between the pie crust and the filling after the pie has baked and cooled. This is a common occurrence with custard-based pies and is purely cosmetic, not affecting the taste or texture in any way.
- Temperature Matters: Ensure your eggs are at room temperature before mixing. This helps them incorporate more smoothly into the filling, leading to a more uniform and creamy texture.
Serving Suggestions
This Healthy Pumpkin Pie is delicious on its own, but a few garnishes can elevate it to an even more memorable dessert:
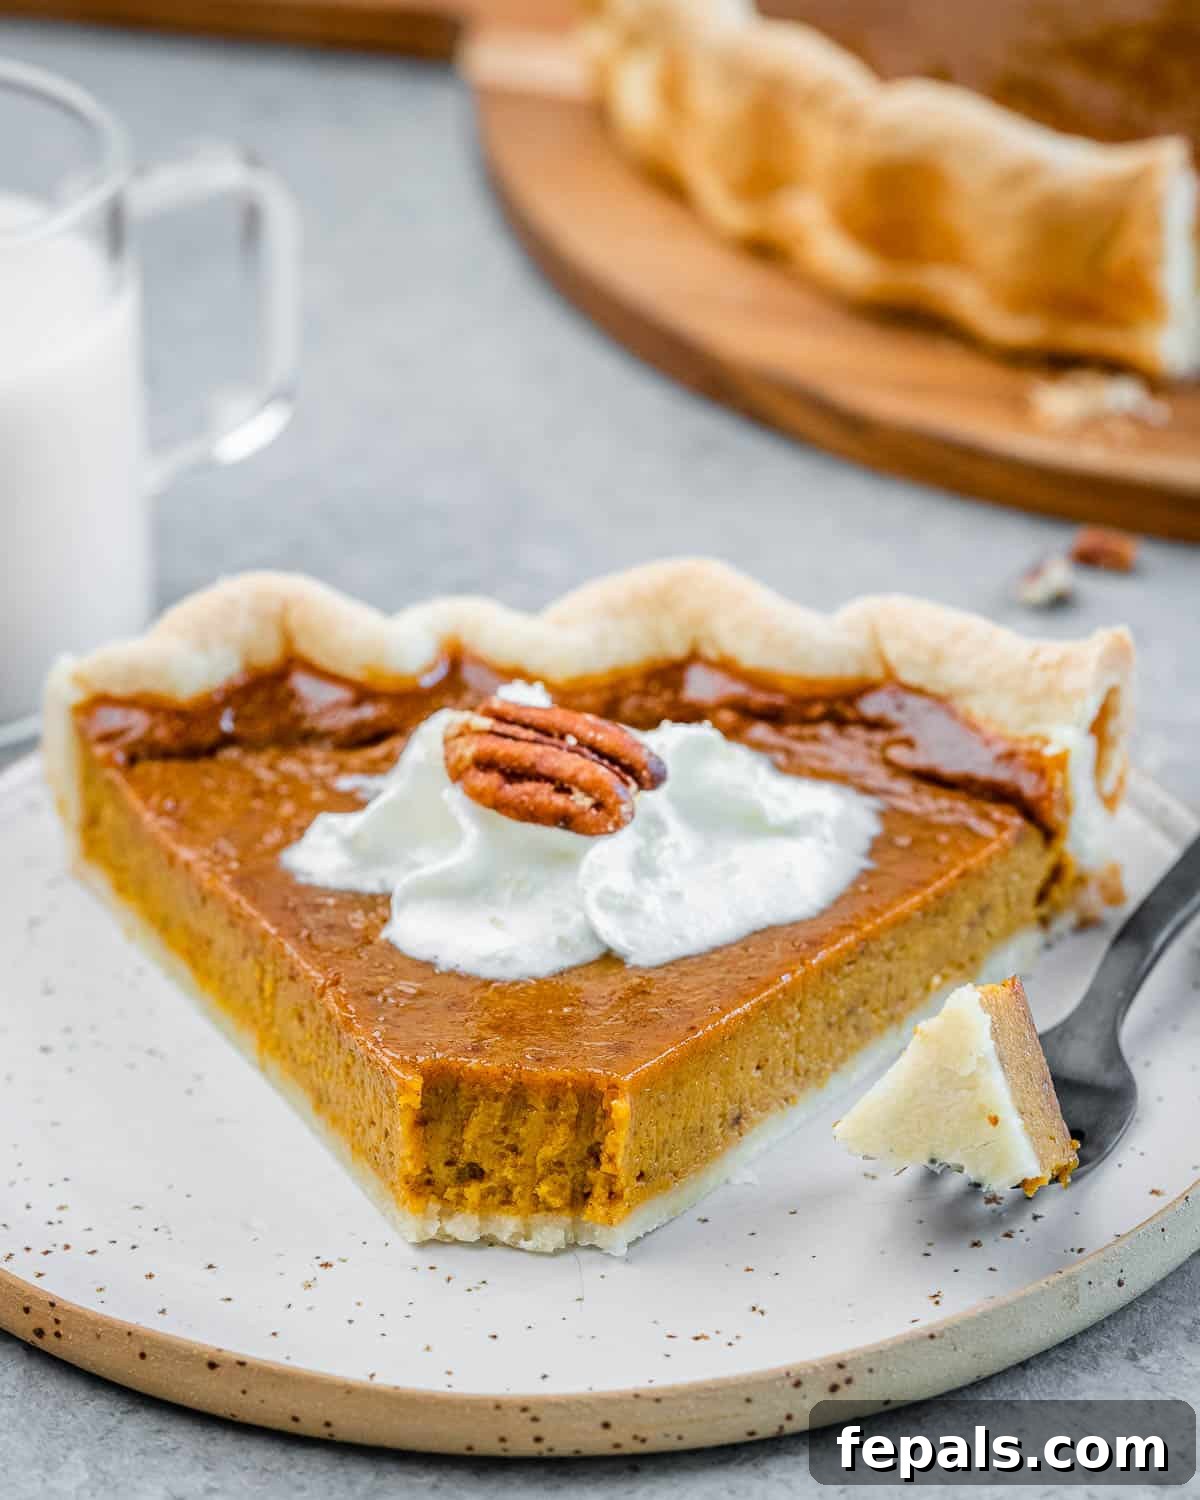
- Classic Whipped Cream: A generous dollop of freshly made whipped cream is the quintessential accompaniment. For a healthier touch, you can make your own with a touch of maple syrup or honey.
- Cinnamon Dusting: A light dusting of ground cinnamon or pumpkin pie spice adds an extra layer of aroma and visual appeal.
- Caramel Drizzle: A light drizzle of homemade, refined sugar-free caramel sauce can add a delightful richness and sweetness.
- Toasted Nuts: Sprinkle some finely chopped and lightly toasted pecans or walnuts for added crunch and nutty flavor.
Frequently Asked Questions (FAQ)
While the idea of using fresh pumpkin sounds appealing, for this pie recipe, I highly recommend sticking to canned pumpkin puree. Canned pumpkin is specifically processed to have a consistent moisture content, which is crucial for the perfect pie texture and prevents a watery filling. Fresh pumpkin, on the other hand, can vary significantly in water content, potentially leading to inconsistent results. Furthermore, canned pumpkin puree typically offers a deeper, more vibrant orange hue, giving your pie that classic, appetizing appearance, whereas fresh pumpkin might result in a lighter, sometimes duller color.
No, these are two distinct products and should not be used interchangeably for this recipe. When you purchase canned pumpkin for this pie, look for labels that explicitly state “100% Pure Pumpkin” or “Pumpkin Puree” with the only ingredient listed as pumpkin. Pumpkin pie filling, conversely, is a pre-mixed product that already contains added sugars, spices, and sometimes other ingredients. Using pumpkin pie filling instead of pure pumpkin puree will throw off the carefully balanced sweetness and spice profile of this healthy recipe.
The most important tip for preventing cracks in your pumpkin pie is to avoid over-baking. A perfectly baked pumpkin pie will have edges that are set and firm, but the very center will still have a slight, gentle jiggle when the pie is carefully moved. It should not be completely liquid, nor should it be entirely firm like a cake. The residual heat will continue to cook the center as the pie cools, allowing it to fully set without cracking. Additionally, allow the pie to cool gradually on a wire rack at room temperature before transferring it to the refrigerator; rapid temperature changes can also contribute to cracking.
Chilling pumpkin pie is absolutely essential for several reasons. Firstly, it allows the custard filling to fully set and firm up, which is crucial for clean, neat slices. Without adequate chilling, your pie will be too soft and messy. Secondly, the flavors deepen and meld together beautifully as the pie chills, resulting in a more harmonious and delicious taste. Thirdly, pumpkin pie is traditionally served chilled, enhancing its refreshing qualities, especially after a heavy holiday meal.
Storage and Freezing Recommendations
Ensuring your delicious pumpkin pie remains fresh and flavorful is simple with these storage guidelines:
- Storing Leftovers: Once your healthy pumpkin pie has completely cooled to room temperature, it must be refrigerated. Cover the entire pie securely with plastic wrap or transfer individual slices to an airtight container. Stored properly in the fridge, your pie will maintain its quality and deliciousness for up to 3-4 days.
- Freezing for Later: Pumpkin pie freezes remarkably well, making it an excellent make-ahead option.
- Whole Pie: Once the baked pie is completely cooled, wrap it tightly first in plastic wrap, ensuring no air gaps, and then in a layer of heavy-duty aluminum foil. This double layer of protection helps prevent freezer burn.
- Individual Slices: For convenient portioning, you can freeze individual slices. Place each slice in a freezer-safe container or wrap them individually in plastic wrap and foil.
Frozen pie can be stored for up to 1-2 months. When you’re ready to enjoy, simply thaw the pie (whole or slices) in the refrigerator overnight. It’s best served chilled after thawing.
Explore More Pumpkin Desserts
Can’t get enough of pumpkin? Here are more delightful pumpkin-themed dessert recipes to satisfy your cravings:
- Pumpkin Cake
- Pumpkin Banana Bread
- Pumpkin Dip
- Healthy Pumpkin Muffins
- Chocolate Chip Pumpkin Muffins
- Pumpkin Oatmeal Cookies
- Chocolate Chip Pumpkin Cookies
Get my free eBook!
Grab my free ebook featuring 20 of my top 30-minute family-friendly healthy dinner recipes. Simply provide your name and email to download your copy instantly!
To download your free eBook, visit our signup page.
Thanks for stopping by and exploring this wholesome and utterly delicious Healthy Pumpkin Pie recipe. I genuinely hope it becomes a cherished part of your holiday traditions, offering a lighter yet equally satisfying dessert experience. If you try this recipe and love it, please don’t hesitate to leave me some feedback in the comment section below, and a rating would be incredibly appreciated! Your reviews help other home cooks discover and enjoy these recipes. I would also be thrilled if you shared this recipe with your friends and family, spreading the joy of healthy eating.
FOLLOW me on FACEBOOK | INSTAGRAM | PINTEREST | TWITTER for all of my latest blog posts and recipes. Happy baking!
Healthy Pumpkin Pie
Rena
8 servings
10 mins
45 mins
55 mins
Pin

This Healthy Pumpkin Pie without evaporated milk is made with simple ingredients and is naturally sweetened with coconut sugar and honey. It’s perfectly spiced, silky, and smooth. Serve with a dollop of whipped cream for the ultimate holiday dessert!
Ingredients
- 1 store-bought pie crust, chilled
- 15 ounces pumpkin puree (one can)
- 3 large eggs, beaten
- 1/4 cup coconut sugar
- 1/4 cup honey
- 1 teaspoon vanilla extract
- 2 teaspoons pumpkin spice blend
- 1/4 cup milk of choice (e.g., unsweetened almond milk)
Instructions
- Preheat the oven to 375ºF (190ºC) and place a rack in the middle of the oven.
- Roll the pie crust into a 12-inch diameter disk. Transfer to a 10-inch pie dish. Fold the 2-inch excess dough under the crust and use your fingers to crimp the edges. Refrigerate until ready to bake. (Note: A store-bought crust is usually thin enough that pre-baking the base isn’t necessary, as it will cook thoroughly with the filling.)
- Meanwhile, in a large bowl, whisk together the pumpkin puree, eggs, coconut sugar, honey, vanilla, pumpkin spice, and milk until the mixture is completely smooth and well combined.
- Pour the prepared filling into the chilled pie crust. Bake for 45-60 minutes, or until the center is mostly set with just a slight jiggle.
- Allow the pie to cool completely on a wire rack at room temperature. Once cooled, transfer to the refrigerator and chill thoroughly for at least 4 hours (preferably overnight) before serving.
Notes
- Storing Leftovers: Once completely cooled, cover the pie with plastic wrap or transfer individual slices to an airtight container. Store in the fridge for up to 3-4 days.
- Freezing: To freeze the whole pie, wrap it tightly in plastic wrap and then in aluminum foil once cool. To freeze individual slices, store them in a freezer-safe container. Thaw in the refrigerator overnight before enjoying chilled.
Nutrition Information (per serving)
Serving: 1 serving
- Calories: 179 kcal
- Carbohydrates: 24g
- Protein: 4g
- Fat: 7g
- Saturated Fat: 2g
- Polyunsaturated Fat: 1g
- Monounsaturated Fat: 3g
- Trans Fat: 0.01g
- Cholesterol: 70mg
- Sodium: 127mg
- Potassium: 68mg
- Fiber: 1g
- Sugar: 13g
- Vitamin A: 137IU
- Vitamin C: 0.2mg
- Calcium: 28mg
- Iron: 1mg
Nutrition information is automatically calculated and should be used as an approximation. Actual values may vary based on specific ingredients and preparation methods.
Additional Info
Dessert
American
Mention @healthyfitnessmeals or tag #healthyfitnessmeals!