
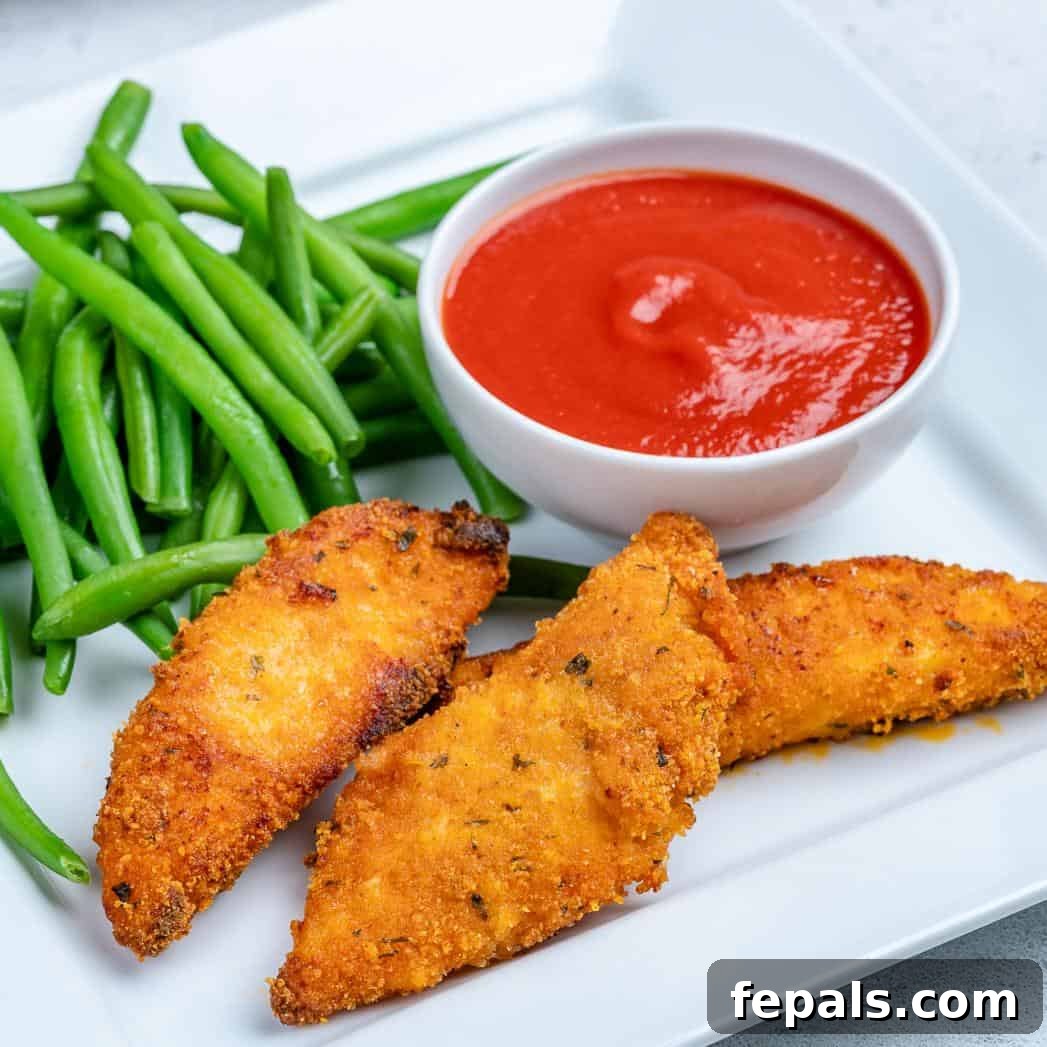
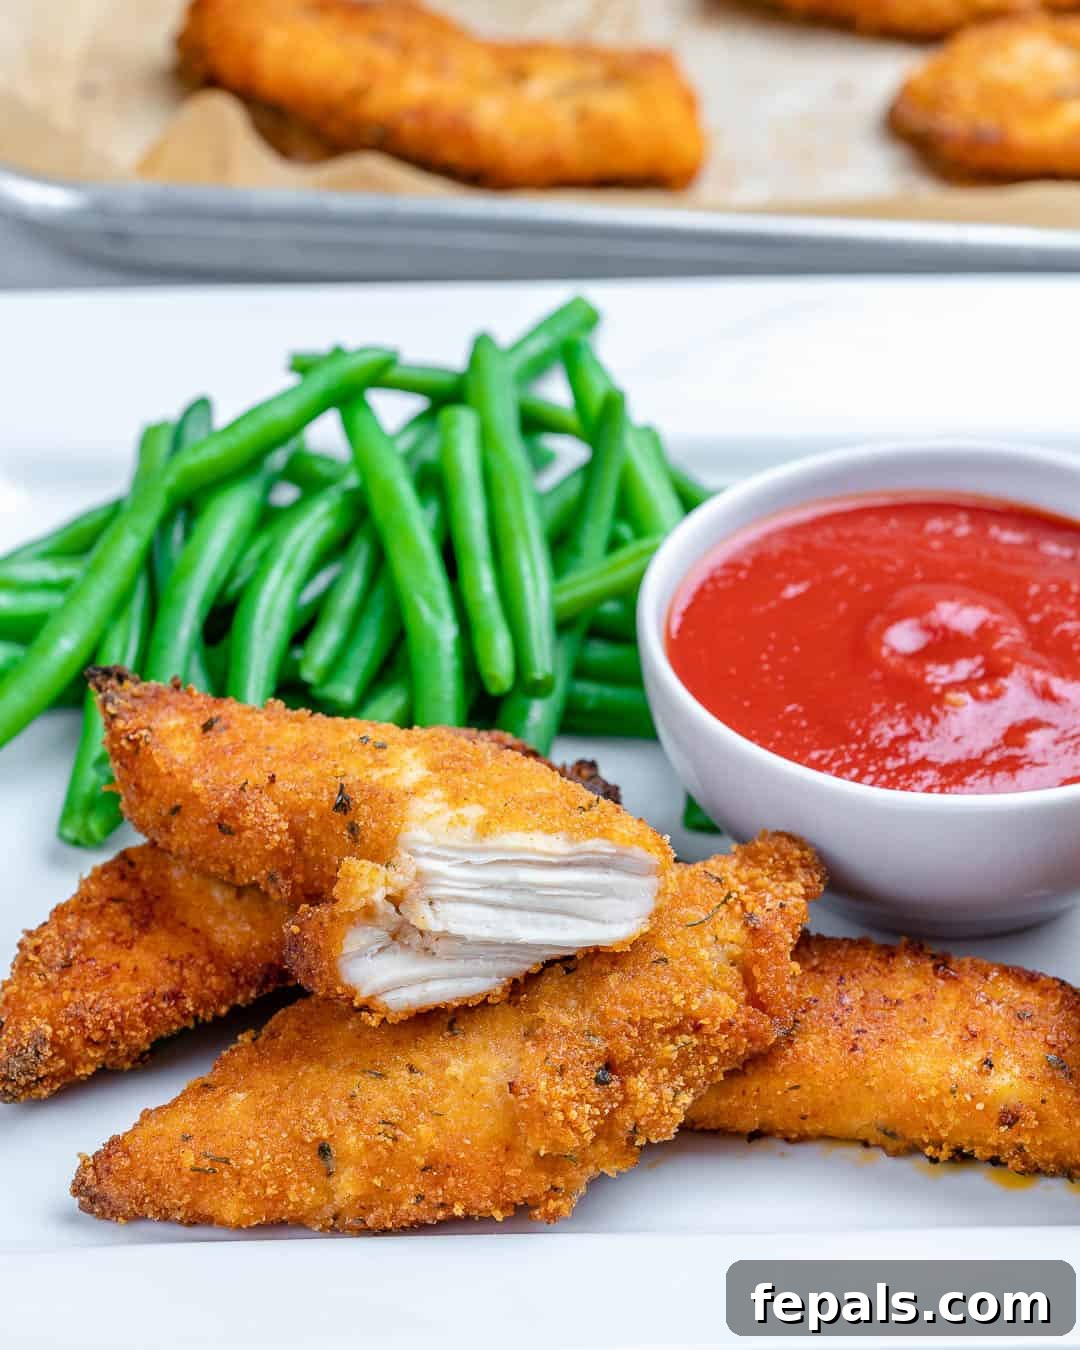
Welcome to your new favorite way to enjoy a classic comfort food! These **Oven-Fried Chicken Tenders** are incredibly juicy on the inside, perfectly crispy on the outside, and burst with delicious flavor. Forget the guilt of traditional deep-frying; this healthier version delivers all the crunch and satisfaction you crave, without excessive oil. Low in fat and made without skin, these chicken tenders are baked to golden perfection right in your oven, making them a fantastic option for a quick weeknight meal or a family-friendly weekend treat.
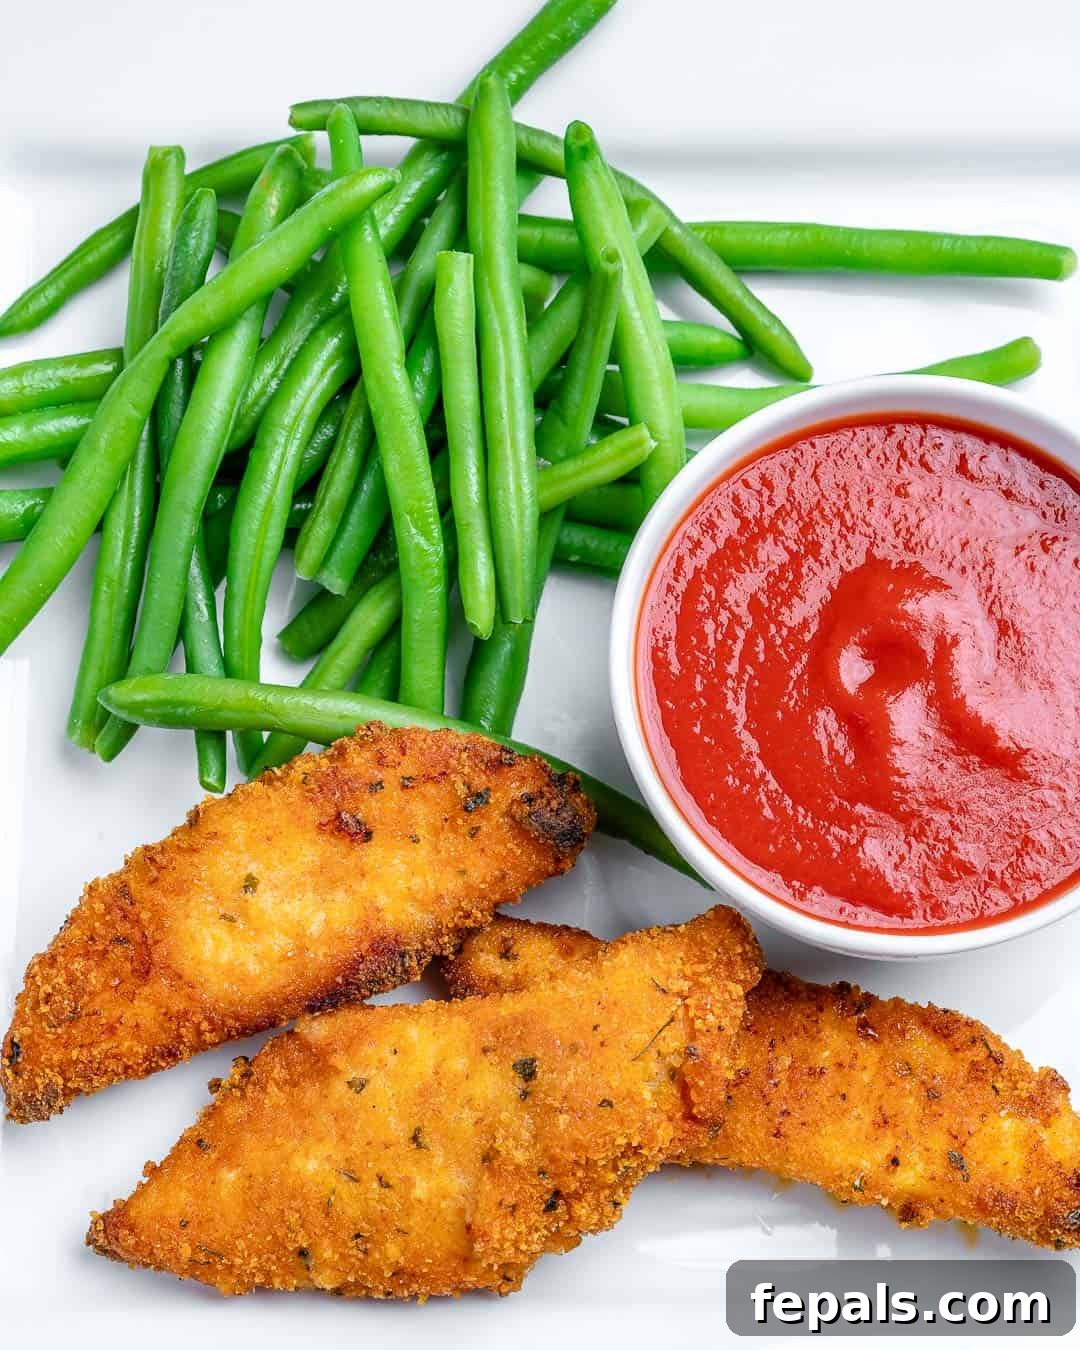
Chicken tenders are a universal crowd-pleaser, beloved by kids and adults alike. While the traditional fried version is hard to resist, it often comes with a side of guilt due to the added fat. That’s why I developed this ingenious oven-baked method. It allows us all to indulge in that satisfying crunch and tender chicken texture without the mess or the unhealthy grease. You’ll be amazed at how these tenders turn out perfectly moist and tender on the inside, with an irresistible golden, crunchy coating that rivals any fried chicken.
If you’re a fan of healthier chicken recipes, especially nuggets, you might also love my Air Fryer Chicken Nugget Recipe. It’s another simple way to enjoy crispy chicken with minimal oil.
Recipe Snapshot
Skill Level: Intermediate
Prep Time: 10 minutes (plus 1 hour marination)
Cook Time: 15-20 minutes
Unlock the Secret to Perfectly Crispy Oven-Fried Chicken Tenders
Achieving restaurant-quality results at home is easier than you think. Follow these essential tips and tricks to ensure your oven-fried chicken tenders are moist, flavorful, and incredibly crispy every single time:
- Strategic Marination: While it might be tempting to preheat your oven immediately, hold off until your chicken has had a chance to marinate. This crucial step infuses the chicken with flavor and helps tenderize it, leading to a much juicier end product. Even 30 minutes makes a difference, but aim for at least an hour, or even overnight for the best results.
- Seasoning is Key: Don’t feel bound by my suggestions! The beauty of homemade chicken tenders is the flexibility. Experiment with your favorite spices and herbs to customize the flavor profile. A pinch of cayenne for heat, a dash of smoked paprika for depth, or a mix of Italian herbs can transform your tenders.
- Prevent Overcooking with a Thermometer: The biggest mistake when baking chicken is overcooking, which leads to dry, tough meat. The most reliable way to ensure your tenders are perfectly cooked – juicy but safe to eat – is to use a food thermometer. Insert it into the thickest part of the chicken; once it reaches an internal temperature of 165°F (74°C), they are done.
- Panko Breadcrumbs for Unbeatable Crispiness: If you want that extra-crisp texture, Panko breadcrumbs are your best friend. Their larger, flakier structure creates an airier, crunchier coating compared to regular breadcrumbs. For an added layer of flavor and crunch, try mixing in a bit of grated Parmesan cheese.
- A Touch of Oil for that “Fried” Finish: To achieve that beautiful golden-brown color and truly mimic the appearance of fried chicken, a light application of oil is essential. Before baking, lightly spray your coated tenders with cooking spray or drizzle them with a small amount of olive or avocado oil. This helps the breadcrumbs crisp up and turn a lovely golden hue.
- High Heat is Non-Negotiable: Don’t be afraid to crank up the heat! Baking at a higher temperature, specifically between 400°F and 425°F (200°C-220°C), is crucial for achieving that crispy exterior without drying out the chicken. Bake for 15-20 minutes, remembering to flip them halfway through to ensure even browning and crispness on both sides.
- The Importance of Resting: Once your chicken tenders are out of the oven, resist the urge to cut into them immediately. Allowing them to rest for 2-3 minutes helps the juices redistribute throughout the meat, resulting in an even juicier and more flavorful tender. This simple step makes a significant difference.
Step-by-Step Guide: Crafting Your Perfect Oven-Baked Chicken Tenders
Follow these straightforward steps, and you’ll be enjoying perfectly crispy and tender chicken tenders in no time. This method is designed to be foolproof, ensuring delicious results for home cooks of all skill levels.
1️⃣ Marinate the Chicken Tenders for Maximum Flavor and Juiciness
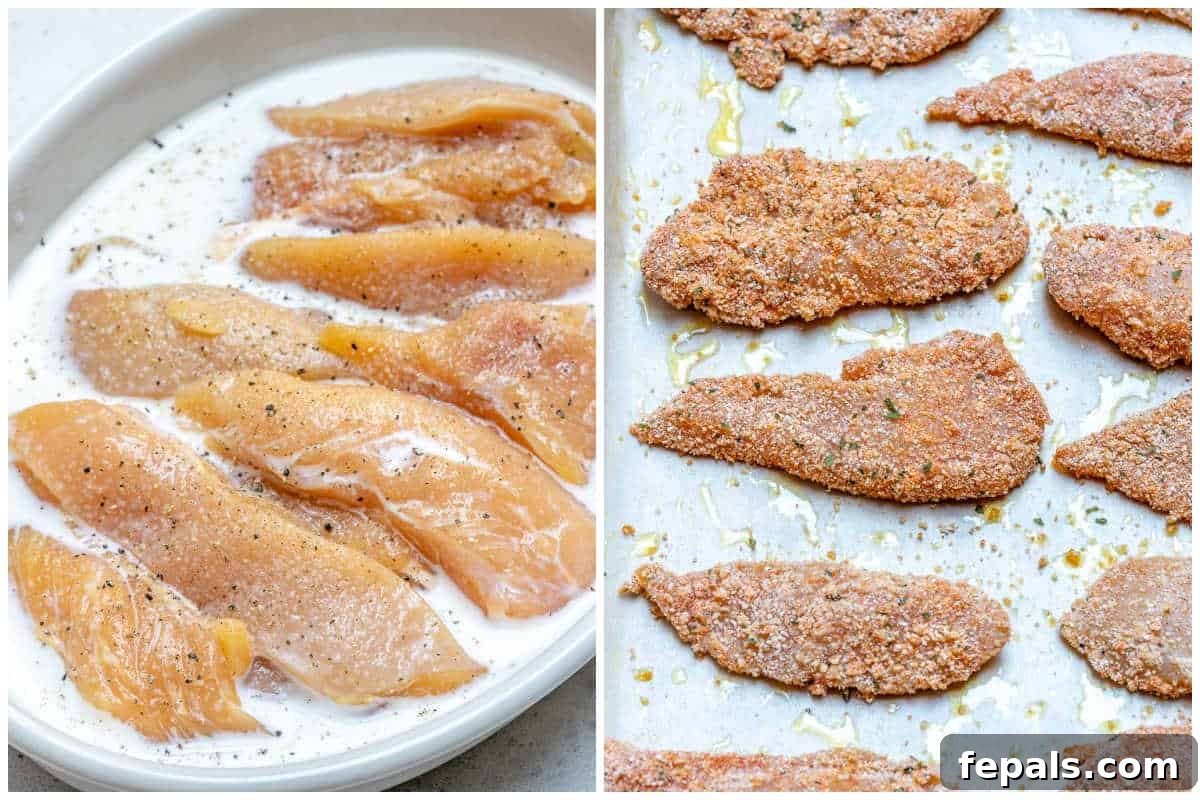
In a spacious mixing bowl, combine the milk, garlic powder, onion powder, salt, and black pepper. Whisk these ingredients together until well blended. Add your boneless chicken breast strips to this flavorful mixture, ensuring each piece is fully submerged and coated. Allow the chicken to marinate for a minimum of **1 hour** at room temperature, or for an even more tender and flavorful result, cover the bowl and refrigerate it overnight.
Once marination is complete, preheat your oven to 400°F (200°C). While the oven heats, line a large baking sheet with parchment paper or aluminum foil. This prevents sticking and makes cleanup a breeze.
✏️ Chef’s Note: If time is of the essence, a 30-minute marinade will still significantly enhance the flavor and tenderness of your chicken.
2️⃣ Prepare the Baking Pan and Coat the Chicken Tenders Evenly
Drizzle approximately two tablespoons of avocado oil or olive oil directly onto the lined baking sheet. Using a brush or a paper towel, spread the oil evenly across the entire surface of the pan, making sure there are no dry spots. This layer of oil is crucial for achieving a truly crispy, golden bottom crust on your tenders.
Next, prepare your breading mixture. In a large Ziploc bag, combine the panko breadcrumbs, garlic powder, smoked paprika, dried parsley or oregano, and a pinch more of salt and pepper. Seal the bag and shake it gently to thoroughly mix the seasonings with the breadcrumbs.
Carefully drain any excess marinade from the chicken strips. Add the drained chicken to the Ziploc bag with the breadcrumb mixture. Seal the bag tightly, leaving some air inside, and shake vigorously until each chicken tender is thoroughly and evenly coated. Ensure no bare spots remain, as this is key to a consistent crispy texture.
Once coated, arrange the chicken strips on your prepared baking sheet. Make sure to leave some space between each tender to allow for proper airflow. This prevents steaming and promotes maximum crispiness.
✏️ Pro Tip: For an extra golden and crispy finish, lightly spray the breaded chicken tenders with a little more avocado or olive oil before they go into the oven.

3️⃣ Bake to Golden Perfection
Carefully transfer the baking sheet, loaded with your beautifully coated chicken tenders, into your preheated 400°F (200°C) oven. Bake for approximately 15-18 minutes. Halfway through the cooking time (around the 7-9 minute mark), gently flip each tender using tongs. This ensures both sides achieve a uniform golden brown color and ultimate crispiness.
✏️ Remember: Oven temperatures can vary significantly. The most accurate way to check for doneness is to use a reliable food thermometer. Insert it into the thickest part of a chicken tender; it should register an internal temperature of 165°F (74°C). This guarantees the chicken is fully cooked and safe to enjoy.
4️⃣ Rest, Serve, and Savor!
Once your chicken tenders are baked to perfection, remove the sheet pan from the oven. Allow the tenders to rest on the pan for 2-3 minutes before transferring them to a serving dish. This brief resting period is vital, as it allows the juices within the chicken to redistribute, resulting in a more tender and moist bite. Do not skip this step!
Serve your hot and crispy oven-fried chicken tenders immediately with your favorite dipping sauces and any delightful side dishes of your choice. Enjoy the satisfying crunch and succulent flavor!
✏️ Final Tip: The short resting time ensures the chicken stays incredibly juicy. It’s a small wait for a big reward.
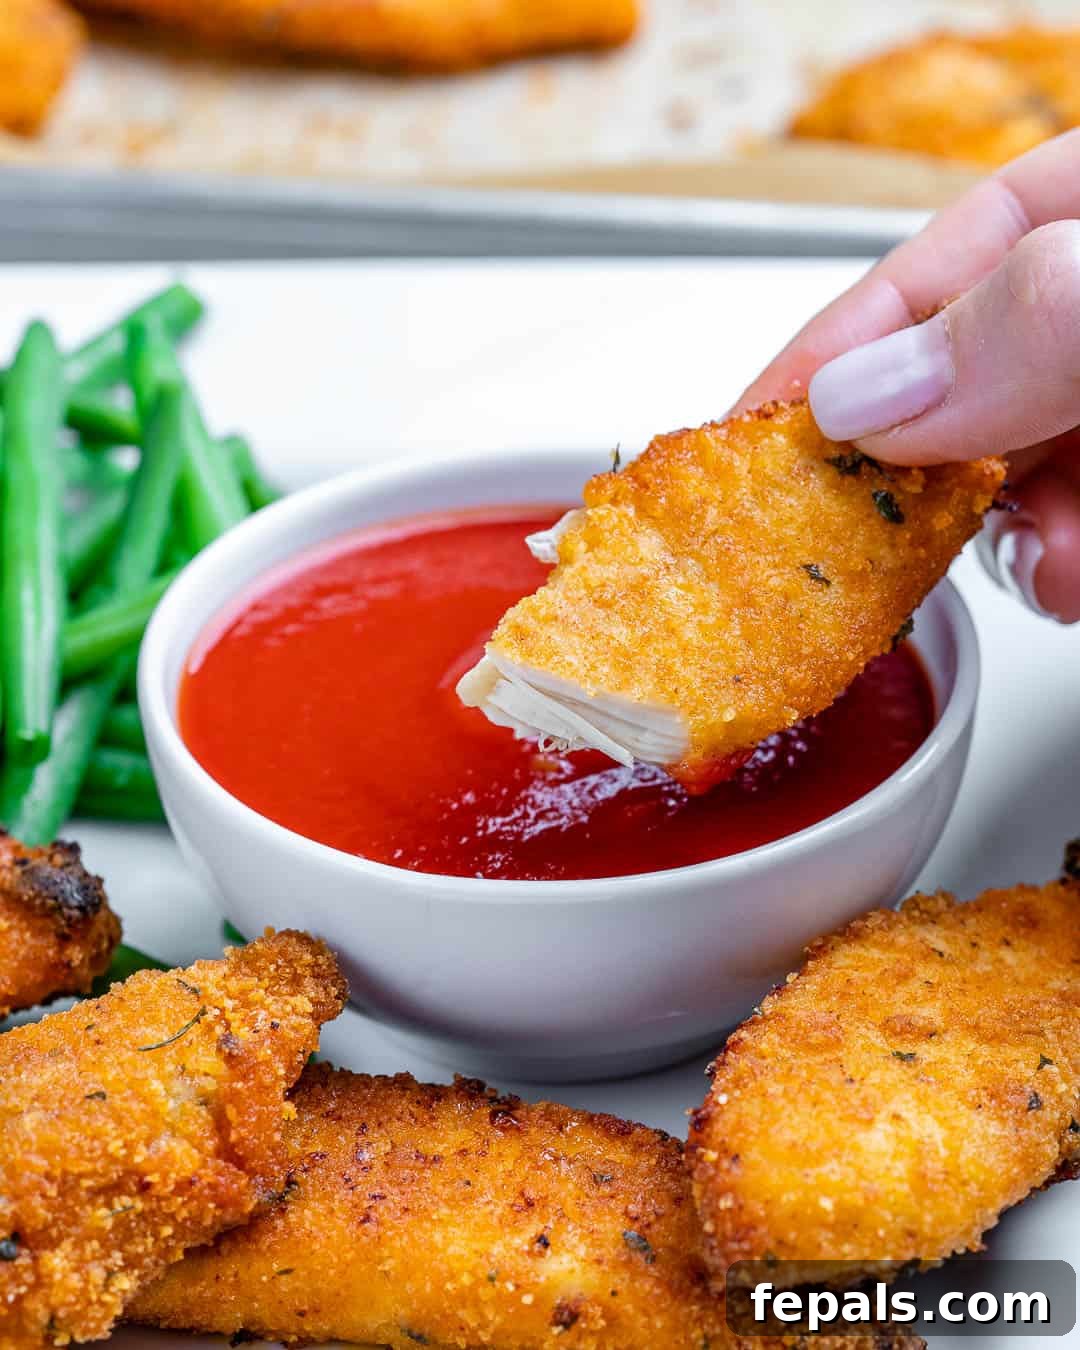
Delicious Sides to Complement Your Crispy Chicken Tenders
Oven-fried chicken tenders are incredibly versatile and pair wonderfully with a wide array of side dishes. Whether you’re aiming for a light meal or a hearty feast, here are some fantastic ideas to complete your plate:
- Fresh or Roasted Vegetables: Enhance your meal with a healthy serving of greens. Classic choices include crispy air fryer green beans or savory garlic-roasted broccolini. Other great options are steamed asparagus, a simple garden salad, or roasted carrots.
- Homemade Fries: Skip the fast-food fries and make your own healthier baked versions! Try light and crispy zucchini-baked fries for a low-carb alternative, or classic, slightly sweet baked sweet potato fries. Regular potato wedges also make a fantastic accompaniment.
- Creamy Mashed Potatoes: The smooth, comforting texture of mashed potatoes is a perfect contrast to the crispy tenders. For a lighter, low-carb option that still delivers on flavor, try this garlicky mashed cauliflower.
- Indulgent Mac and Cheese: For the ultimate comfort food pairing, a rich and cheesy mac and cheese is always a winner. This homemade baked mac and cheese recipe would be a sensational partner to your crispy chicken.
- Creamy Vegetable Dishes: Add a touch of creamy goodness with a side of creamed spinach or this delightful one-pot cheesy creamed corn. These rich sides add a different texture and flavor dimension.
- Variety of Dips: Chicken tenders are incomplete without their perfect dipping sauce! Classic options include ketchup, barbecue sauce, or honey mustard. For a creamy and tangy kick, whip up this super easy homemade Ranch dressing. Don’t be afraid to experiment with your favorite sauces!
- Fresh Salads: For a lighter meal, toss your crispy tenders over a bed of fresh mixed greens, or pair them with a hearty salad like this creamy broccoli cauliflower salad. The crispness of the chicken complements the fresh crunch of the salad beautifully.
Frequently Asked Questions About Oven-Fried Chicken Tenders
For fresh chicken tenders, bake them at 400°F (200°C) for 15-18 minutes, flipping halfway through. If you opt for a slightly lower temperature of 350°F (175°C), they will require a bit longer, typically around 22 minutes. Always check for an internal temperature of 165°F (74°C) using a food thermometer to ensure they are fully cooked and juicy. If you are baking frozen chicken tenders, it’s best to thaw them beforehand for the most even cooking. If baking from frozen, expect to add an extra 10-15 minutes to the cooking time, ensuring no cold spots remain in the middle.
To keep your chicken tenders crispy, reheating them in the oven or air fryer is generally the best method. Preheat your oven to 350°F (175°C) and bake for 10-15 minutes, or until heated through and crisp. An air fryer can reheat them even faster, often in 5-7 minutes at 375°F (190°C). Microwaving is quicker and easier for convenience, but it can sometimes make them less crispy and a bit chewier.
If chicken tenders aren’t available, boneless, skinless chicken breasts make an excellent substitute. To mimic the tenderloin shape and texture, I recommend cutting each chicken breast lengthwise into 2-3 strips. For even better results, you can lightly pound the chicken strips with a meat mallet or use a fork to prick them a few times. This helps to tenderize the meat, as chicken breasts tend to be slightly firmer than natural tenders.
Absolutely! This recipe adapts beautifully to the air fryer for an even quicker and crispier result. To air fry, preheat your air fryer to 375°F (190°C) for a few minutes. Arrange the coated chicken tenders in a single layer in the air fryer basket, ensuring not to overcrowd it. Air fry for 8–10 minutes, flipping them halfway through, until they are golden brown and have reached an internal temperature of 165°F (74°C).
Yes, you certainly can use regular breadcrumbs if that’s what you have on hand. While panko breadcrumbs provide a distinctly crunchier and lighter coating due to their larger, flakier texture, standard breadcrumbs will still deliver a delicious crispy exterior. Feel free to use what’s convenient for you. You can even make your own breadcrumbs at home from stale bread or croutons; here’s a guide on how to make croutons that can then be blended into breadcrumbs.
Yes, to make these chicken tenders gluten-free, simply swap out the regular panko breadcrumbs for a gluten-free panko variety. Most major grocery stores now carry gluten-free breadcrumbs that work just as well for achieving a crispy coating.
Yes, these chicken tenders freeze wonderfully, both cooked and uncooked. To freeze uncooked tenders, arrange the breaded tenders on a baking sheet and flash freeze them for about an hour until firm. Then, transfer them to a freezer-safe bag or container, separating layers with parchment paper, and freeze for up to 3 months. To cook, bake from frozen, adding extra cooking time. Cooked tenders can also be frozen in an airtight container for up to 3 months and reheated as described above.
Storage and Meal Prep Recommendations
These oven-fried chicken tenders are perfect for meal prepping and enjoying throughout the week. If you have leftovers, allow them to cool completely before transferring them to an airtight container. They will keep fresh in the refrigerator for up to 4 days.
For longer storage, you can freeze your cooked chicken tenders. Place them in a freezer-safe container or a heavy-duty freezer bag, ensuring any excess air is removed. They can be stored in the freezer for up to 3 months. When you’re ready to enjoy them, reheat from frozen in the oven or air fryer until thoroughly warmed through and crispy again.
Explore More Delicious and Healthy Recipes
If you loved these oven-fried chicken tenders, be sure to check out these other fantastic and wholesome recipes that are perfect for any day of the week:
- Easy Chicken Chili
- Greek Quinoa Salad Bowls
- Chicken Alfredo Brussels Sprouts
- Chili Mac and Cheese
- Healthy Eggplant And Zucchini Gratin
- Pumpkin Spice Twice Baked Sweet Potatoes
- Instant Pot Beef Stew
- Cabbage Roll Casserole
Discover More Irresistibly Crispy Chicken Recipes
Crispy Baked Chicken Cutlets
Air Fryer Chicken Parmesan
Almond Crusted Crispy Chicken Breast
Air Fryer Chicken Nuggets
Don’t miss out on more delicious recipes like these Oven-Fried Chicken Tenders! Remember to subscribe to my NEWSLETTER for free and receive new recipe ideas delivered straight to your inbox!
FOLLOW me on FACEBOOK | INSTAGRAM | PINTEREST | TWITTER for all of my latest blog posts and recipes!
Oven-Fried Chicken Tenders
By: Rena
Servings: 4
Prep Time: 10 mins
Cook Time: 20 mins
Marination Time: 1 hr
Total Time: Approximately 1 hr 30 mins (including marination)

Juicy and tender on the inside, and wonderfully crunchy on the outside. This recipe offers an incredibly easy and healthier way to enjoy your favorite chicken tenders, baked in the oven instead of fried.
Equipment
- Sheet Pan
- Large mixing bowl
- Ziploc bag (or shallow dish for coating)
- Food thermometer (optional, but recommended)
Ingredients
For Marinating:
- 1½ pounds Boneless Chicken Breasts, trimmed and cut into about 3 strips each
- 1 Cup Milk
- 1 teaspoon Garlic Powder
- 1 teaspoon Onion Powder
- Kosher salt and pepper, to taste
For Coating:
- 2 tablespoons Avocado or Olive oil (for the pan)
- ½ Cup Panko Breadcrumbs
- 1 tablespoon Smoked Paprika
- ½ tablespoon Dried Parsley or Oregano
- Additional salt and pepper, to taste
Instructions
-
In a mixing bowl, whisk together the milk, 1 teaspoon garlic powder, 1 teaspoon onion powder, kosher salt, and pepper. Add the chicken breast strips and let them soak for at least 1 hour, or overnight if time permits, for best results.

-
Preheat your oven to 400°F (200°C) and line a baking sheet with parchment paper for easy cleanup.
-
Drizzle 2 tablespoons of avocado or olive oil onto the lined baking sheet. Spread the oil evenly across the entire bottom surface of the pan, ensuring no dry spots remain.
-
In a large Ziploc bag, combine the ½ cup panko breadcrumbs, 1 tablespoon smoked paprika, ½ tablespoon dried parsley or oregano, and a bit more salt and pepper. Shake the bag to mix the ingredients thoroughly.
-
Drain any excess marinade from the chicken. Add the drained chicken strips to the Ziploc bag with the breadcrumb mixture. Seal the bag and shake well to evenly coat each piece of chicken. Alternatively, you can dip each chicken strip into the breadcrumbs one at a time until fully coated.
-
Arrange the coated chicken strips onto the prepared baking sheet, making sure to leave some space between each piece to allow for air circulation and crisping.
-
Transfer the baking sheet to the preheated oven and bake for 15-18 minutes. Flip the chicken tenders halfway through the baking time (around 7-9 minutes) to ensure even browning and crispiness on both sides.
-
Once baked to a golden brown and cooked through (internal temperature should reach 165°F / 74°C), remove from the oven and allow to rest for 2-3 minutes before serving. Serve immediately with your desired healthy sides and favorite dipping sauces. Enjoy!



Notes
- Feel free to experiment with your favorite seasonings. Add a touch of heat with chili powder or cayenne pepper.
- Chicken breasts can be used if tenders are unavailable. Cut them into strips and lightly pound them for tenderness. Chicken thighs are not recommended for this recipe.
- This recipe can also be adapted for the air fryer. See the FAQ section for air frying instructions.
- Store any leftover chicken tenders in an airtight container in the fridge for up to 4 days, or freeze for up to 3 months.
Nutrition
Calories: 333kcal | Carbohydrates: 10g | Protein: 40g | Fat: 14g | Saturated Fat: 3g | Cholesterol: 115mg | Sodium: 282mg | Potassium: 774mg | Fiber: 1g | Sugar: 4g | Vitamin A: 1012IU | Vitamin C: 2mg | Calcium: 95mg | Iron: 1mg
Nutrition information is automatically calculated and should be used as an approximation.
Additional Info
Course: Appetizer, Main Course, Side Dish
Cuisine: American
Tried this recipe?
Mention @healthyfitnessmeals or tag #healthyfitnessmeals!