
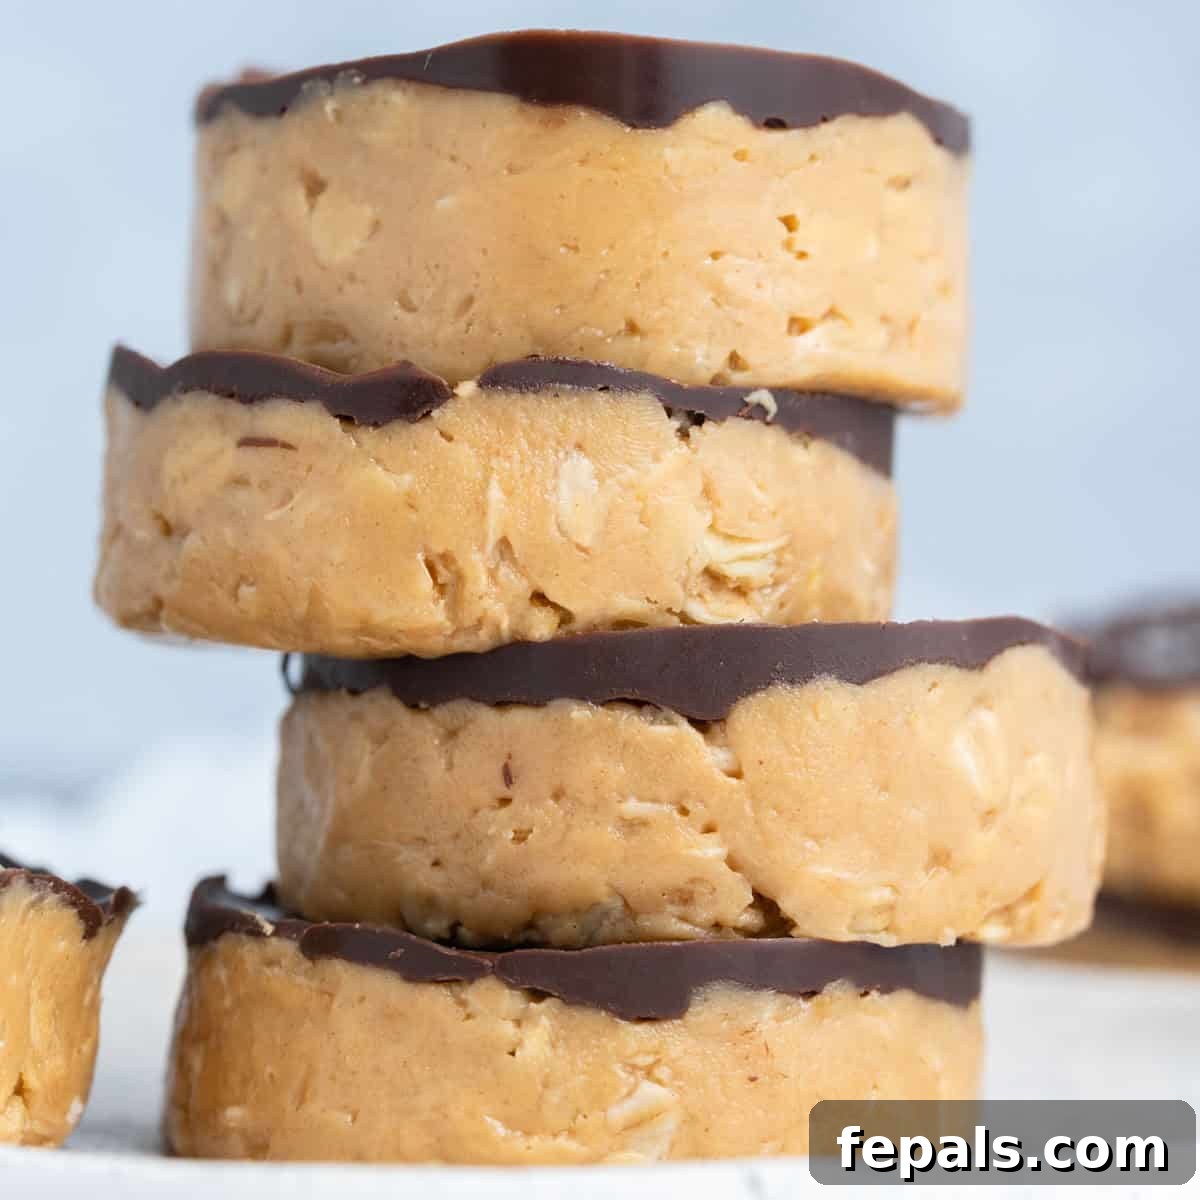
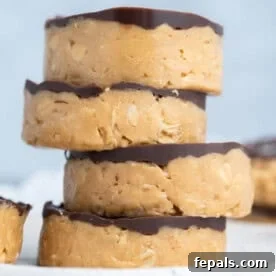
These Peanut Butter Oat Cups are an easy no-bake snack made with simple pantry ingredients and finished with a smooth layer of dark chocolate. They are chewy, lightly sweet, and perfect for meal prep, lunchboxes, after-school snacks, or a quick dessert when you want something satisfying without turning on the oven.
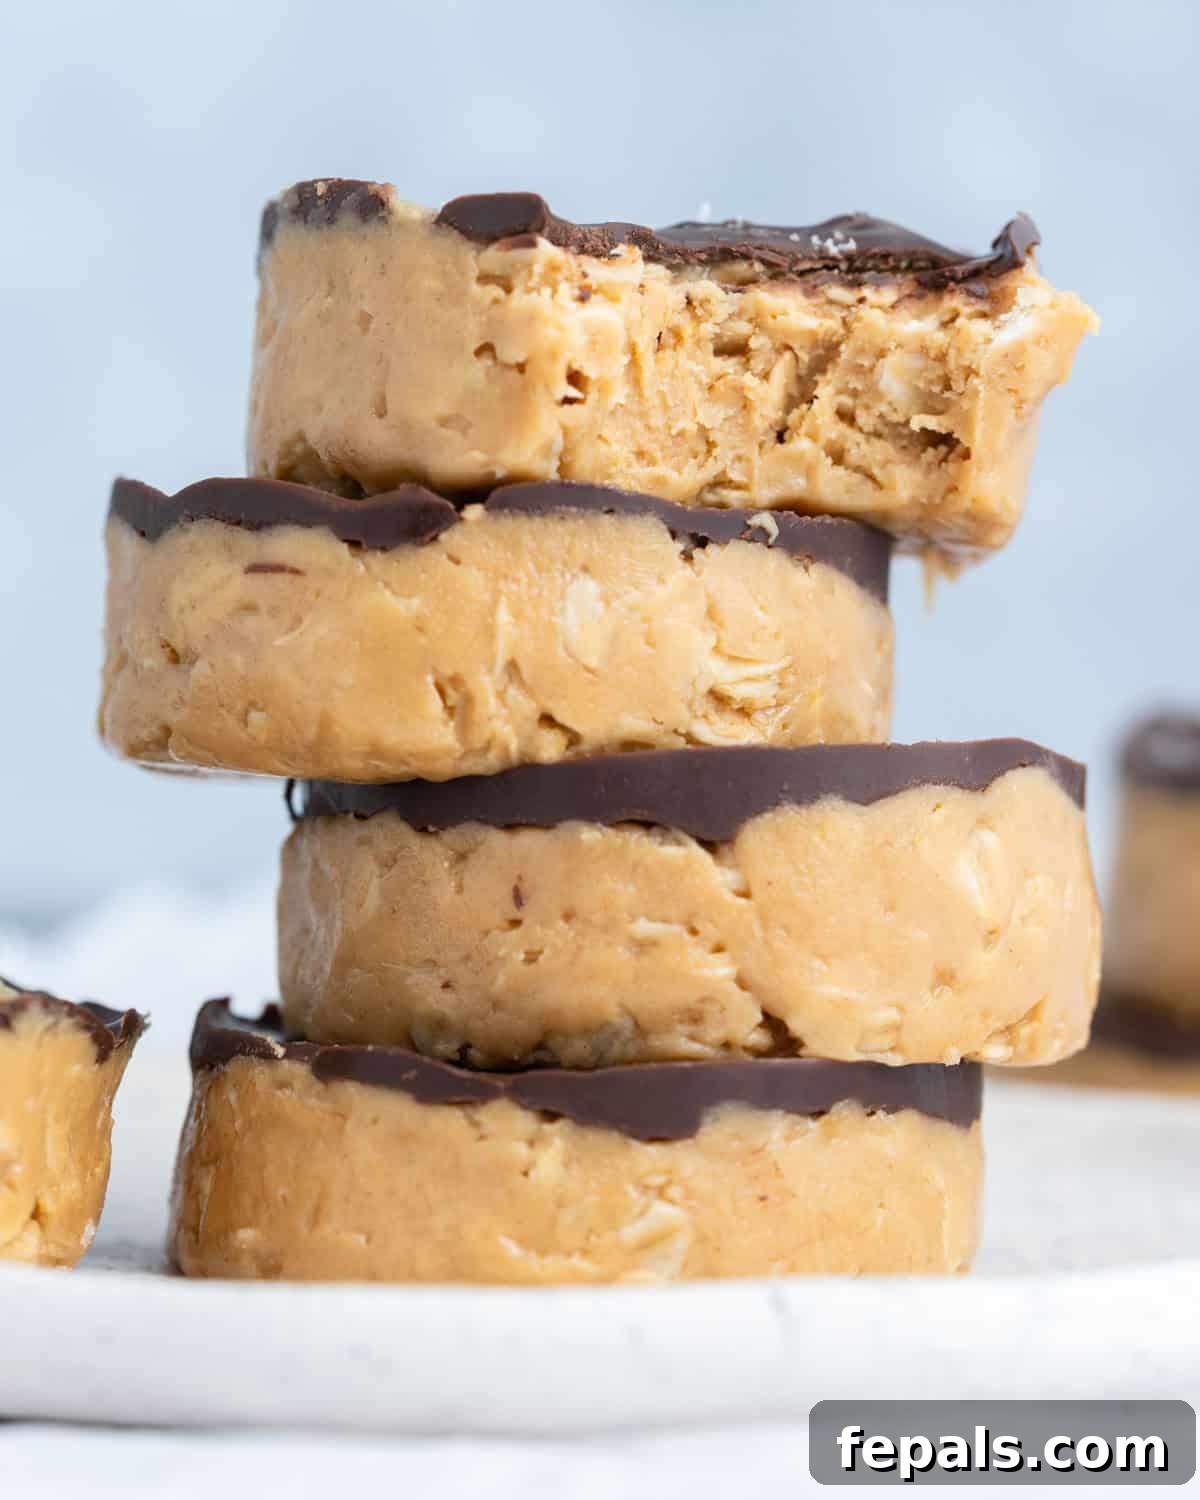
A Favorite in My House
As a certified nutrition coach and busy mom, I am always looking for homemade snacks that are easy to prepare, taste great, and keep well in the refrigerator. These no bake peanut butter oat cups have become a regular in my kitchen because they are quick to assemble and feel like a treat while still being made with ingredients I feel good about serving.
The combination of rolled oats, creamy peanut butter, honey or maple syrup, almond flour, and dark chocolate gives these cups a rich peanut butter cup flavor with a soft, chewy base. My kids love grabbing one straight from the fridge, and I love having a simple make-ahead snack ready whenever a sweet craving hits.
Recipe Overview
Key Ingredients
Here are the main ingredients you will need to make these peanut butter oat cups. The full measurements are included in the recipe card below.
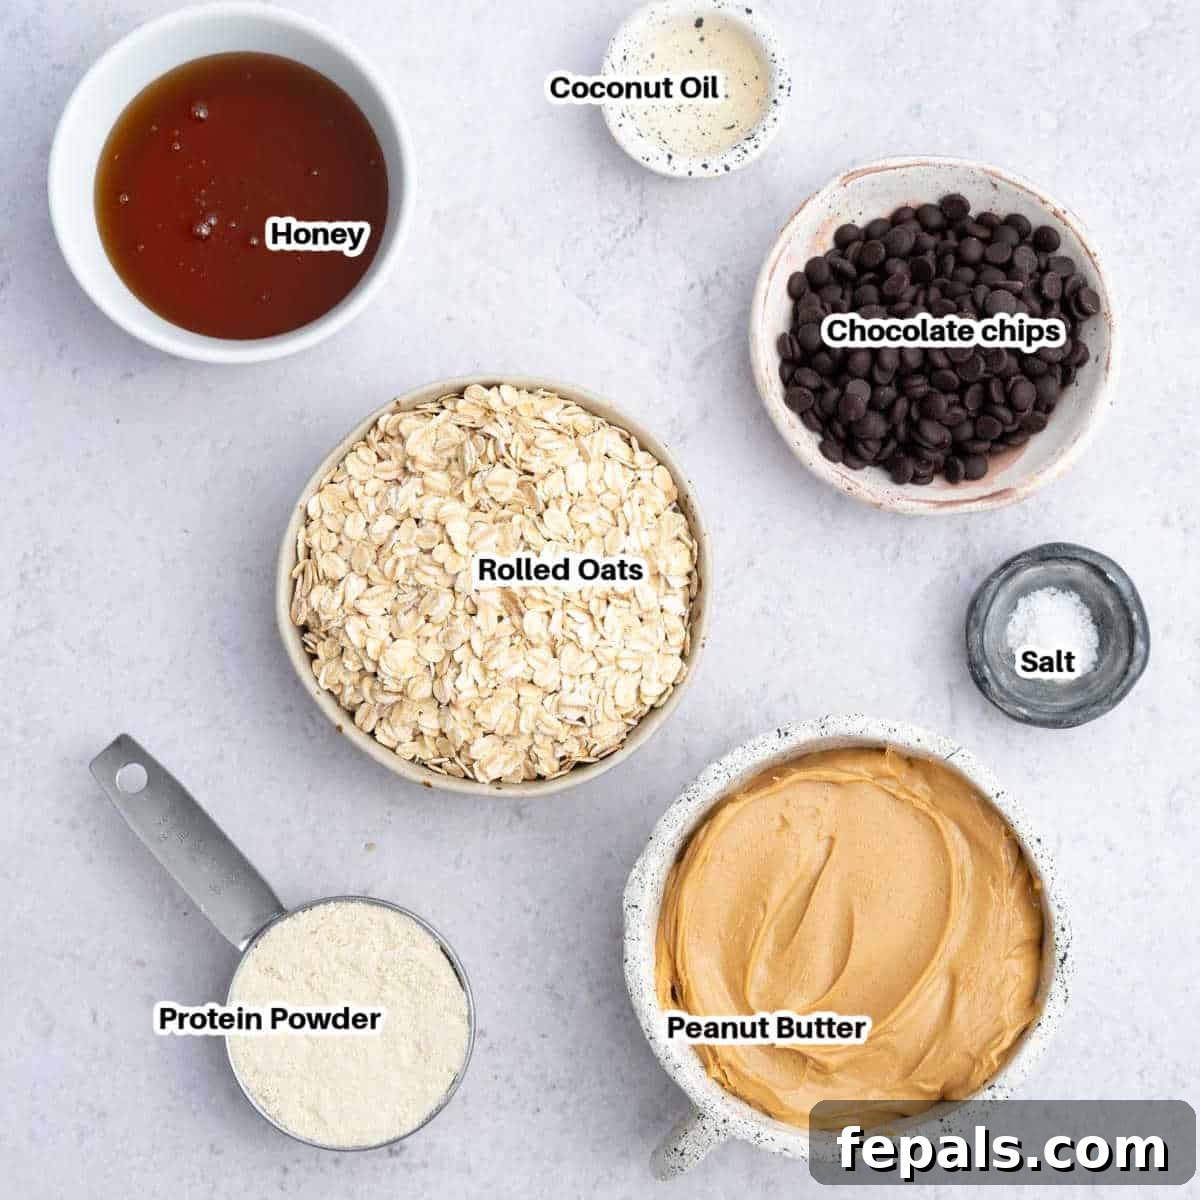
- Rolled Oats: Rolled oats add texture and create a chewy base. They also help make the cups more filling.
- Peanut Butter: Creamy peanut butter binds the mixture together and adds rich flavor. Natural peanut butter works well as long as it is stirred before measuring.
- Honey or Maple Syrup: Either sweetener adds just enough sweetness and helps hold the oat mixture together. Use maple syrup if you want a vegan option.
- Almond Flour: Almond flour gives the base a softer, more cookie-like texture and adds a mild nutty flavor.
- Dark Chocolate Chips: Dark chocolate creates the top layer and gives these cups their classic peanut butter cup taste. Dairy-free or sugar-free chocolate chips may be used if preferred.
- Coconut Oil: A small amount of coconut oil helps the chocolate melt smoothly and gives it a glossy finish.
Tips for the Best Peanut Butter Oat Cups
- Use creamy peanut butter for the smoothest texture. If your peanut butter is thick or has been refrigerated, let it soften at room temperature before mixing.
- Press the oat mixture firmly into the muffin cups or silicone molds. This helps the cups hold their shape once chilled.
- Freeze the peanut butter oat base until firm before adding the chocolate layer for cleaner layers.
- Melt the chocolate slowly in short intervals and stir often to prevent burning.
- Add flaky salt while the chocolate is still soft so it sticks to the top.
- Keep the oat cups chilled because they soften at room temperature.
How To Make Peanut Butter Oat Cups
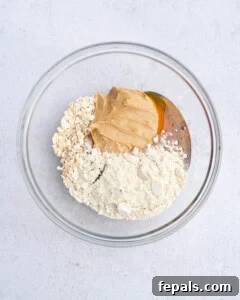
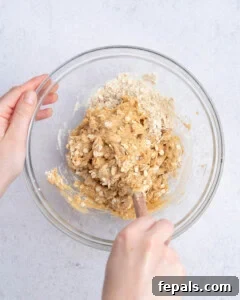
Make the Peanut Butter Base: In a medium mixing bowl, combine the rolled oats, creamy peanut butter, honey or maple syrup, and almond flour. Stir well until the mixture looks thick and evenly combined, similar to a soft cookie dough.
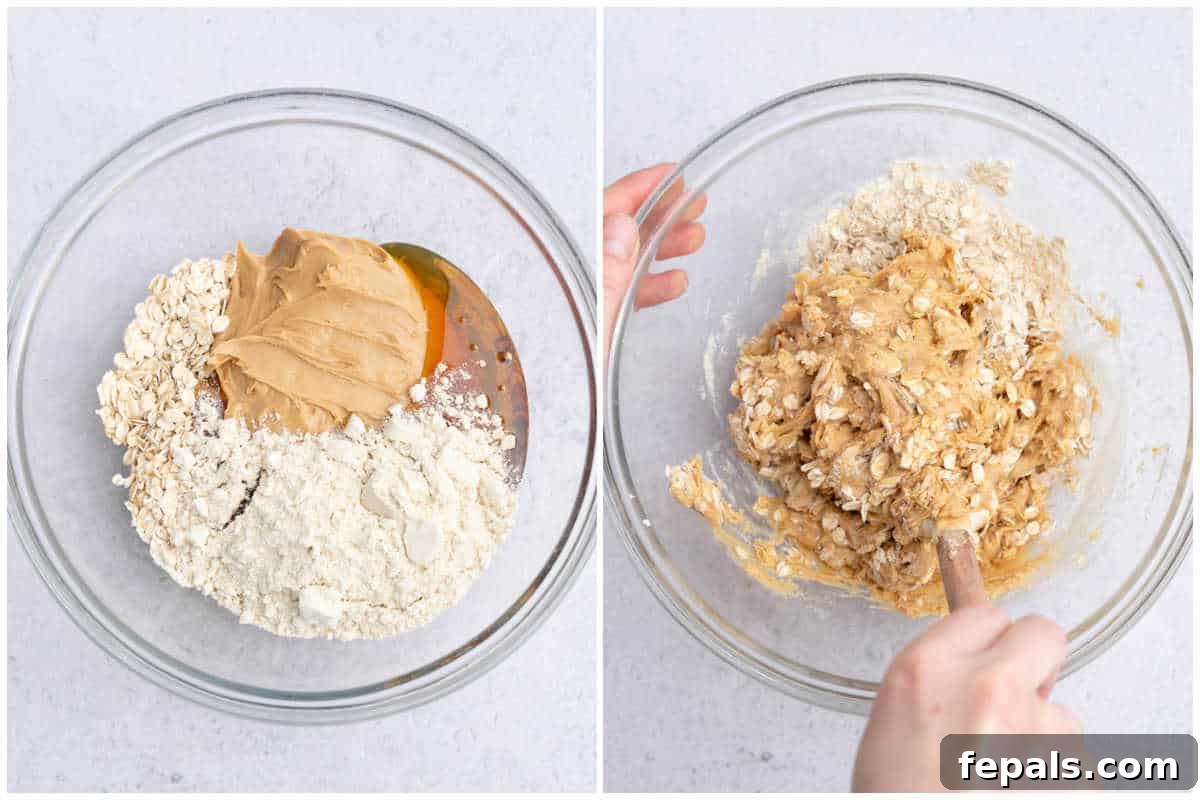
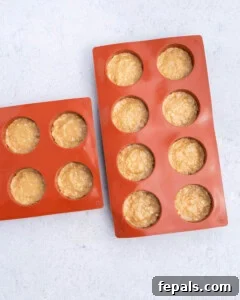
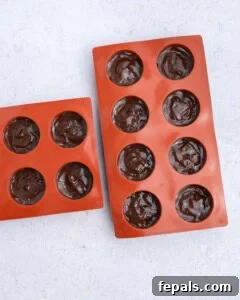
Fill the Molds: Divide the mixture evenly among 10 to 12 lined muffin cups or silicone molds. Use the back of a spoon or a spatula to press the mixture into a firm, even layer. Pressing well is important because it keeps the cups from crumbling after they chill.
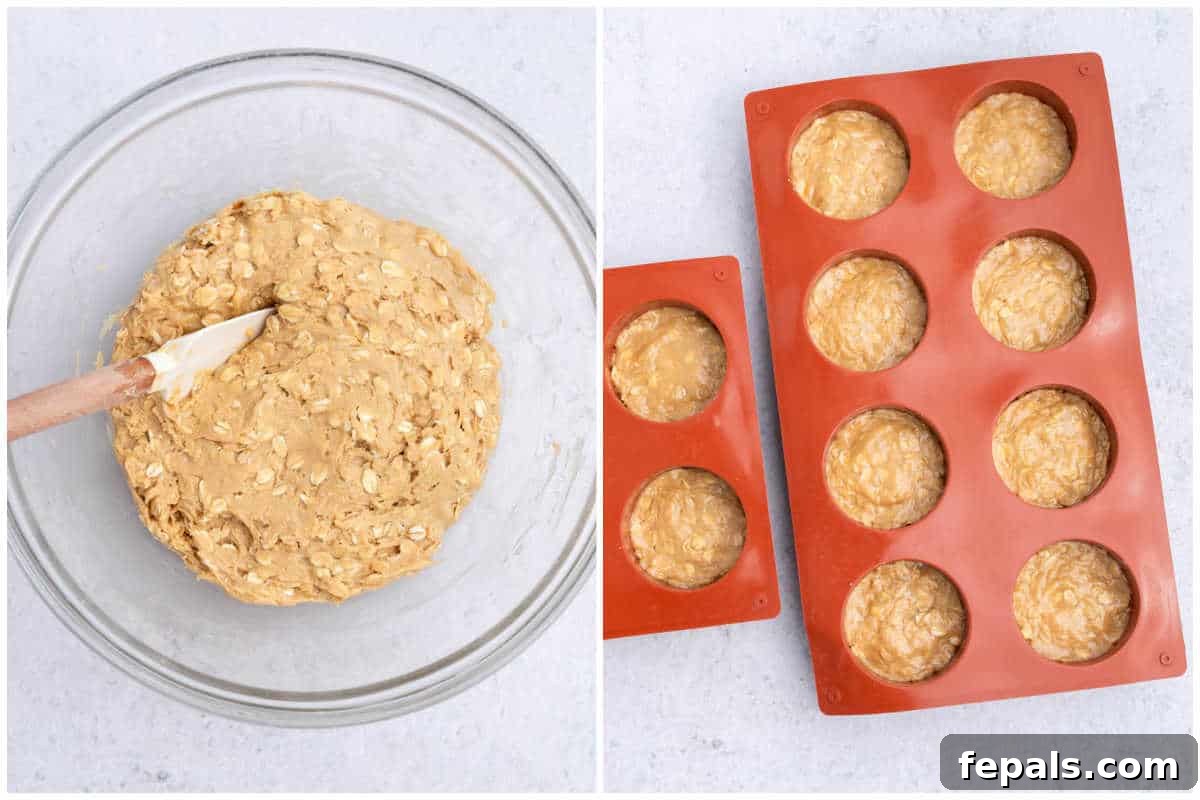
Freeze Until Firm: Transfer the molds to the freezer and chill for 1 to 2 hours, or until the peanut butter oat layer is firm.
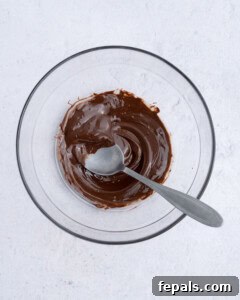
Melt the Chocolate: Place the dark chocolate chips and coconut oil in a microwave-safe bowl. Microwave in 30-second intervals, stirring between each interval, until the chocolate is fully melted and smooth.
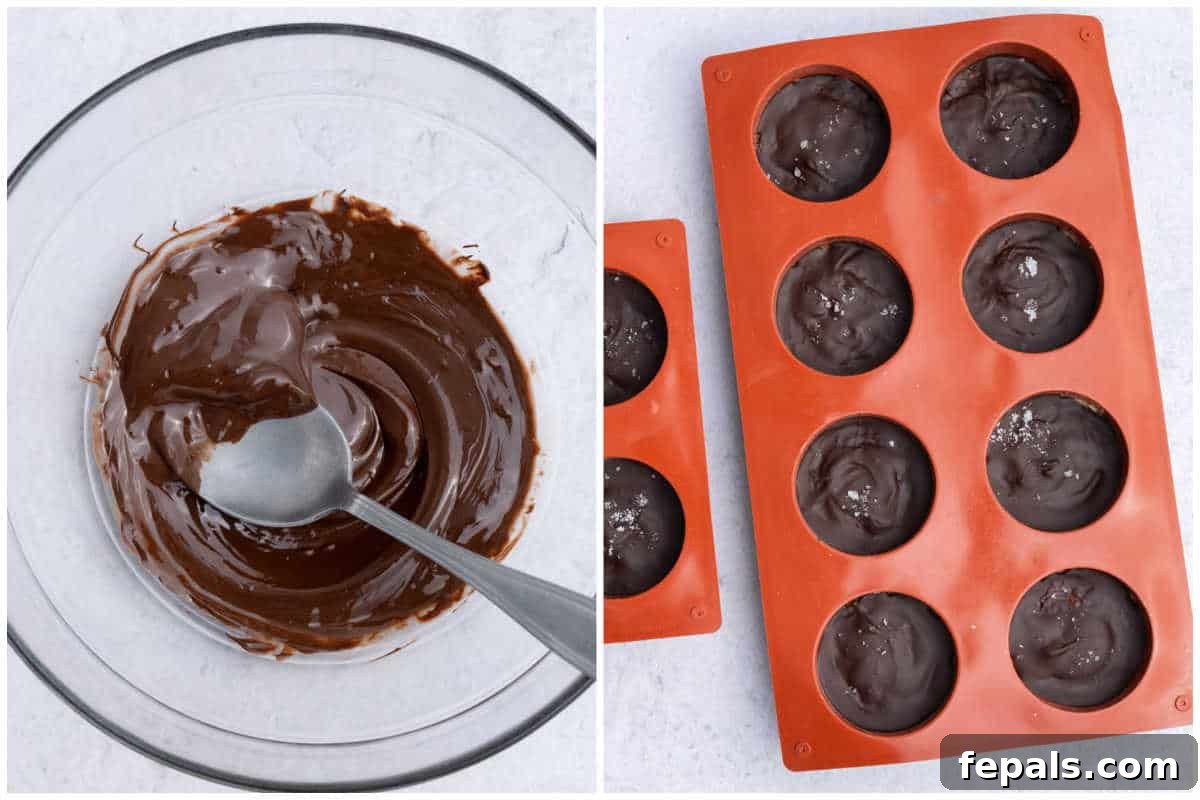
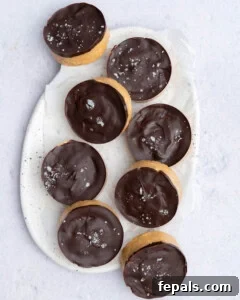
Add the Chocolate Layer: Spoon a small amount of melted chocolate over each chilled oat cup and spread it evenly. Sprinkle with flaky sea salt, if using.
Chill and Serve: Place the peanut butter oat cups in the refrigerator for 2 to 3 hours, or until the chocolate layer is completely set. Carefully remove them from the molds and enjoy chilled.
Store: Keep the oat cups in an airtight container in the refrigerator for up to 7 days.
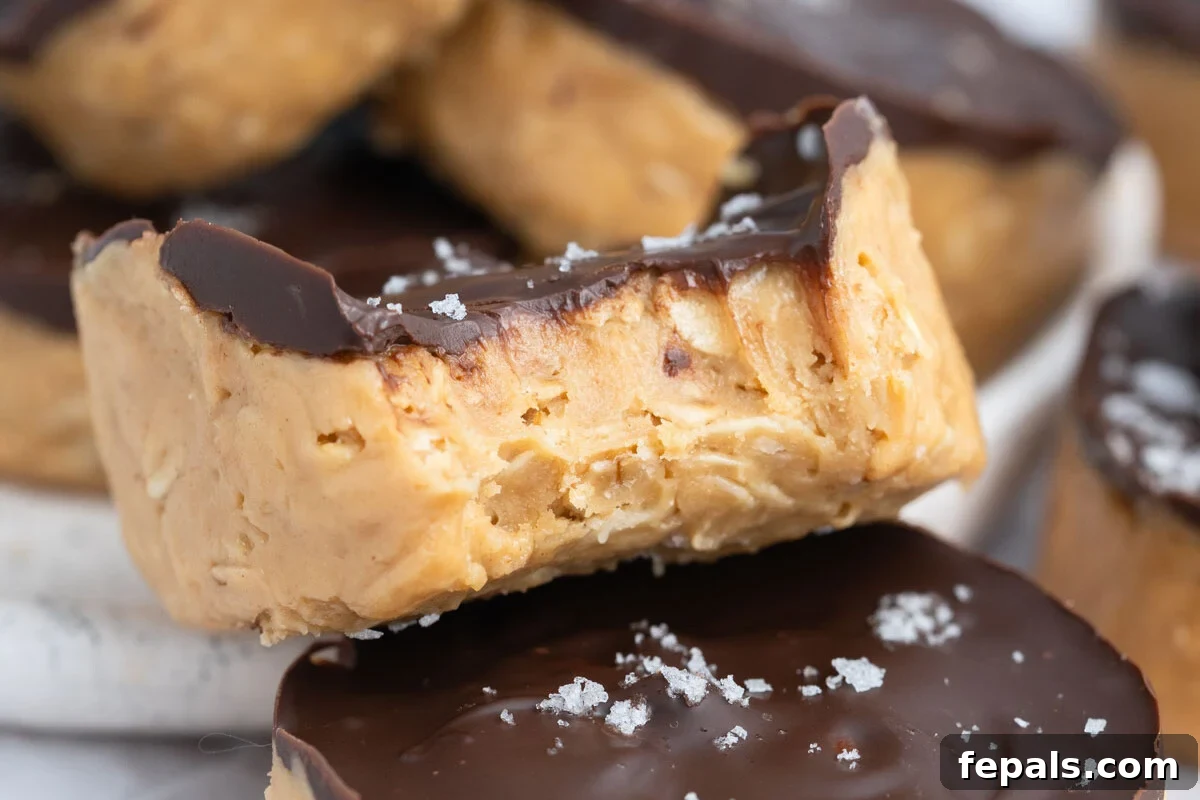
Recipe Notes
- Natural peanut butter should be stirred well before measuring so the oil is evenly mixed in.
- Silicone molds make the cups easier to remove than paper liners.
- The number of cups may vary depending on the size of your muffin pan or molds.
- If the base feels too sticky, add one or two extra tablespoons of almond flour.
- For the neatest layers, chill the peanut butter base fully before adding the melted chocolate.
Storage
- Storing: Store the oat cups in an airtight container in the refrigerator for up to 7 days.
- Freezing: For longer storage, freeze them for up to 3 months. Let them sit at room temperature for a few minutes before serving.
Common Mistakes to Avoid
- Not Pressing the Mixture Firmly Enough: A loose base can fall apart after chilling. Press the oat mixture down firmly in each mold.
- Skipping the Chill Time: The base needs time to firm up before the chocolate is added. This helps the layers stay clean and stable.
- Overheating the Chocolate: Melt the chocolate in short intervals and stir well each time to keep it smooth.
- Removing Too Early: Wait until the chocolate has completely set before removing the cups from the molds.
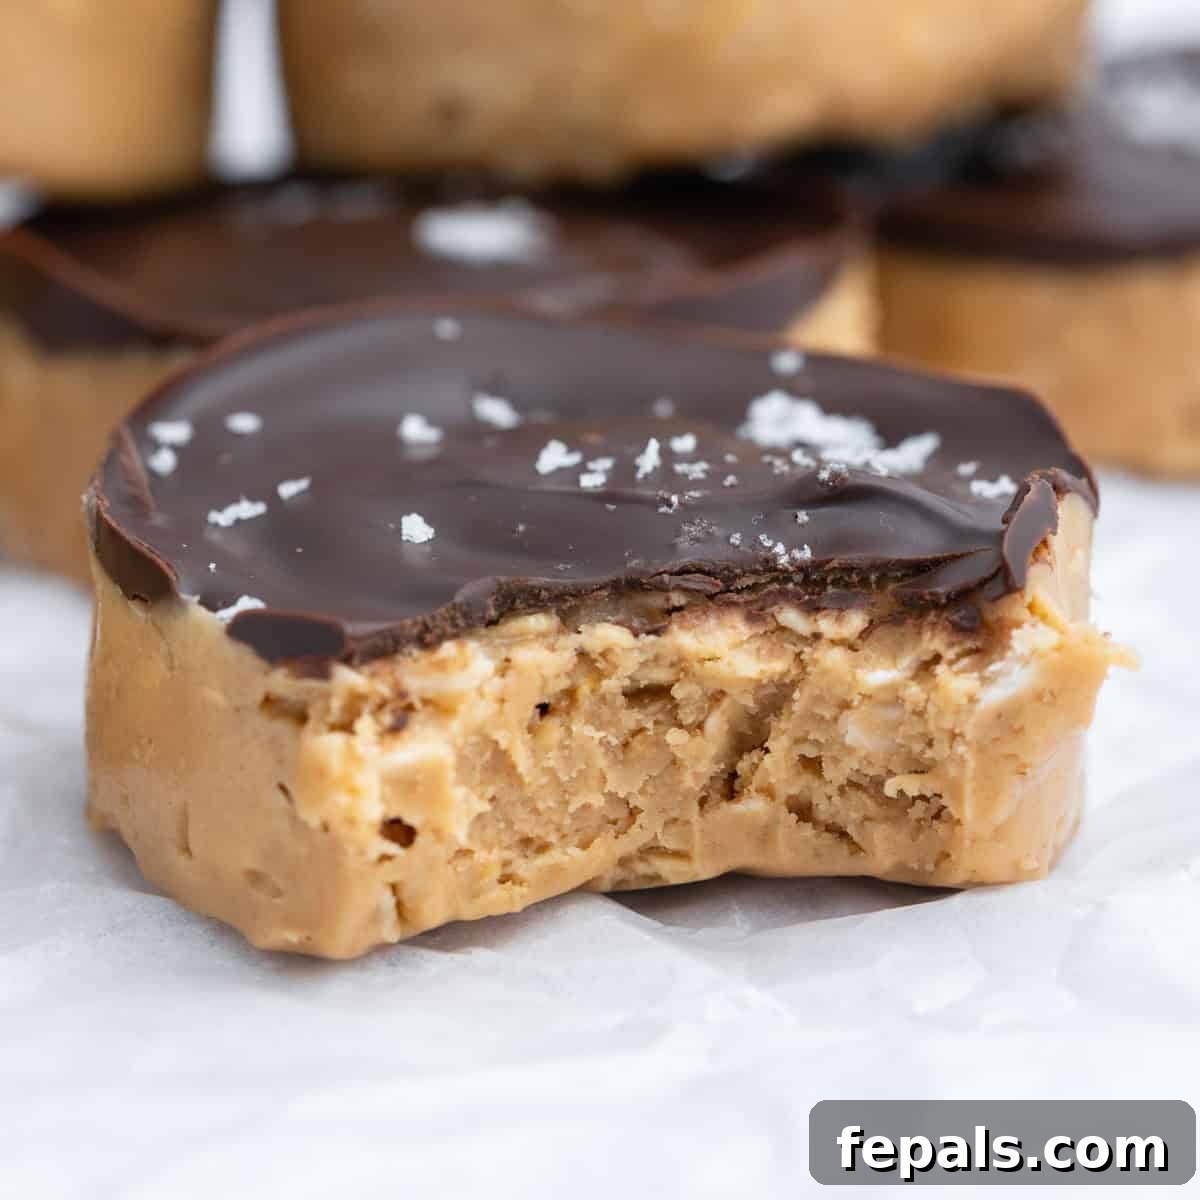
Common Questions
Yes. Use maple syrup instead of honey and choose dairy-free chocolate chips.
Yes. Quick oats will work, but the texture will be slightly softer. If quick oats are what you have on hand, they are fine to use.
Yes. Almond butter, cashew butter, and sunflower seed butter can all be used in this recipe.
Yes. These oat cups freeze well and can be stored in the freezer for up to 3 months.
You May Also Like
- Chocolate Chip Protein Bars
- Peach Dump Cake
- Chocolate Chip Cookie Bars
- Cottage Cheese Banana Muffins
- Almond Butter Cookies
Thank you for being here and cooking along with me. If you try this recipe, I would love to hear how it turned out.
No Bake Peanut Butter Oat Cups
Ingredients
For the base
- 1 cup rolled oats
- 1 cup creamy peanut butter
- ½ cup honey, or maple syrup
- ⅓ cup almond flour
For the top layer
- ⅔ cup dark chocolate chips
- 1 teaspoon coconut oil, optional
- Flaky salt
Instructions
-
In a medium bowl, add the rolled oats, creamy peanut butter, honey or maple syrup, and almond flour.

-
Mix well with a spatula until the ingredients are fully combined.
-
Divide the mixture evenly into 10 to 12 lined muffin cups or silicone molds. Press the mixture firmly into each cup.
-
Freeze for 1 to 2 hours, or until the base is firm.
-
Melt the dark chocolate chips with the coconut oil in 30-second intervals, stirring between each interval, until smooth.
-
Spoon a small amount of melted chocolate over each oat cup. Sprinkle with flaky sea salt if desired.
-
Refrigerate for 2 to 3 hours, or until the chocolate is set. Remove from the molds and serve chilled.
-
Store in a sealed container in the refrigerator for up to 7 days.
Notes
- Use well-stirred natural peanut butter for the best texture.
- If the mixture feels too sticky, add an extra tablespoon or two of almond flour.
- Silicone muffin molds make removing the oat cups easier once they are set.
- Allow the chocolate layer to fully harden before unmolding for clean edges.
- Maple syrup can be used instead of honey for a vegan version.
- Store chilled because the oat cups will soften at room temperature.
- Sprinkle flaky sea salt over the chocolate while it is still warm.
Nutrition
Calories: 271 kcal
Carbohydrates: 27 g
Protein: 7 g
Fat: 16 g
Sugar: 17 g
Nutrition information is automatically calculated and should be used as an approximation.