
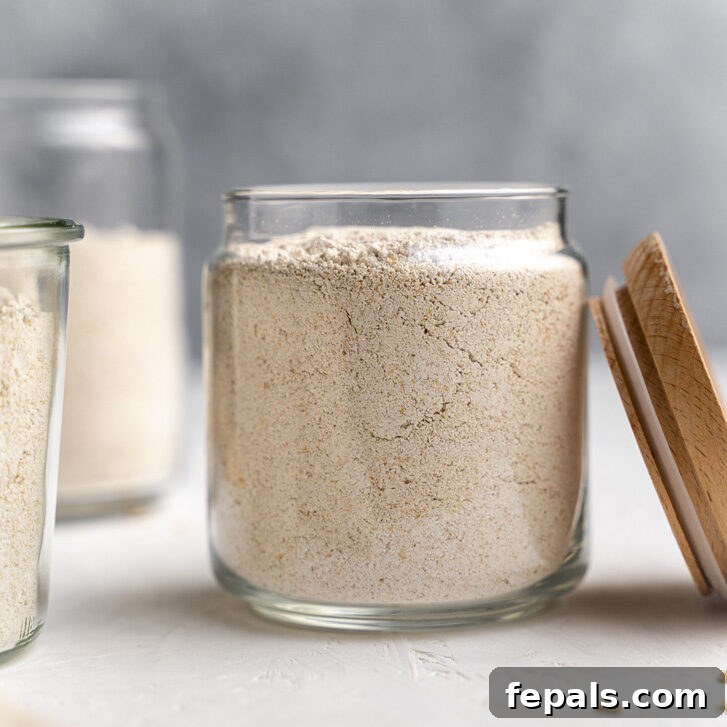
Unlock the secret to healthier, more versatile baking with this comprehensive guide on how to make oat flour at home. In just minutes, you can transform simple rolled oats into a finely ground, nutrient-rich, and naturally gluten-free flour alternative. This step-by-step tutorial will equip you with all the knowledge to create your own homemade oat flour, perfect for everything from fluffy muffins and artisan breads to delectable desserts and savory dishes. Discover the ease, affordability, and countless benefits of incorporating this whole-grain marvel into your culinary repertoire.
Once you master the simple step-by-step process of making oat flour, you’ll gain access to a fantastic whole-grain flour substitute that shines in a vast array of recipes. Imagine whipping up tender banana oatmeal pancakes, fudgy brownies, moist loaf breads like this healthy lemon loaf, chewy cookies, and hearty gluten-free bread – all with your homemade flour. Oat flour boasts a subtly sweet, nutty flavor that imparts a wonderfully light and fluffy texture to baked goods, enhancing their appeal without overpowering other ingredients. Best of all, when prepared with certified gluten-free oats, it provides a safe and delicious option for those with gluten sensitivities or celiac disease.
While commercially produced oat flour is readily available in grocery stores, crafting it yourself at home offers significant advantages. Not only is it incredibly easy and time-efficient, typically taking mere minutes, but it’s also remarkably more affordable. This DIY approach gives you complete control over the quality and freshness of your ingredients, ensuring your baked goods taste their absolute best.
Key Advantages of Homemade Oat Flour
- Effortless Preparation: Making your own oat flour is an exceptionally simple and rapid process. It requires only one ingredient – oats – and a single, straightforward step using a high-speed blender or food processor. Minimal effort, maximum reward!
- Delightful Flavor & Texture: Recipes made with fresh, homemade oat flour consistently yield baked goods with an invitingly light and fluffy texture, coupled with a pleasant, understated nutty flavor that complements both sweet and savory applications.
- Incredibly Versatile: From breakfast favorites like muffins and pancakes to satisfying main dishes and decadent desserts, oat flour is a remarkably adaptable ingredient. It can be used in countless recipes where you might typically reach for wheat flour, offering a healthier and often gluten-free alternative.
- Cost-Effective: Purchasing whole rolled oats is significantly cheaper than buying pre-made oat flour. This makes homemade oat flour a budget-friendly choice for health-conscious bakers.
- Freshness Guaranteed: Grinding your oats just before use ensures maximum freshness, preserving the delicate flavors and nutritional integrity that can diminish in pre-packaged flours over time.
What Exactly is Oat Flour?
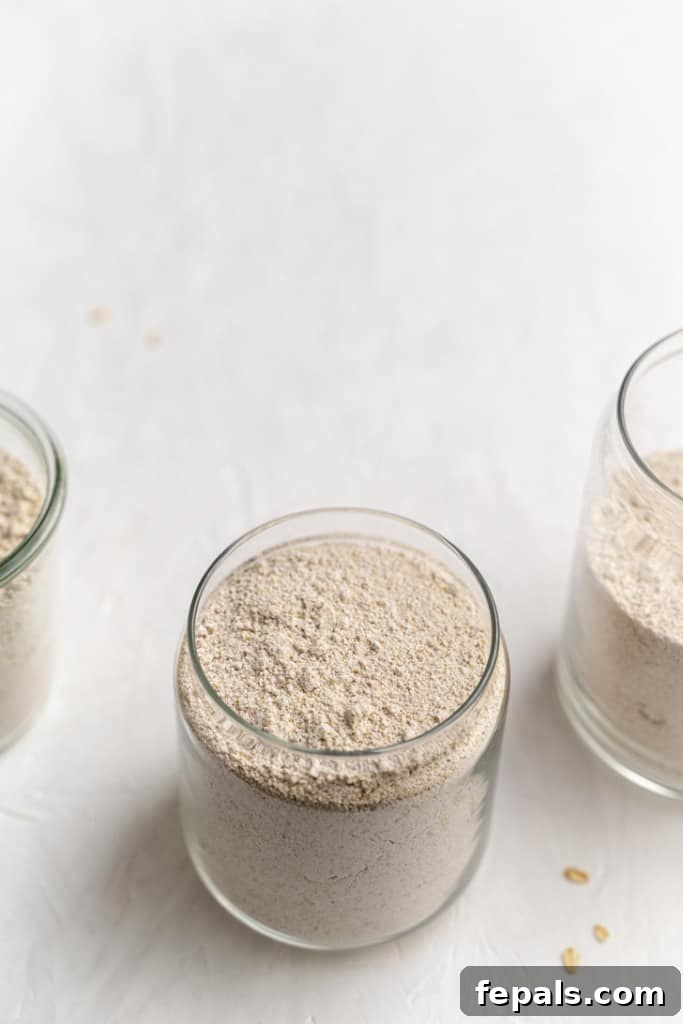
Oat flour is a wholesome, whole-grain flour produced by finely grinding or blending whole rolled oats into a delicate powder or meal. It has surged in popularity as a stellar gluten-free alternative to traditional wheat flour in a wide range of baking and cooking applications. Unlike many other gluten-free flours that are blends of various starches and grains, oat flour is a single-ingredient flour, offering a pure and unprocessed option. It shares some textural similarities with whole wheat flour due to its whole-grain nature, but its naturally gluten-free composition makes it an indispensable ingredient for those seeking to avoid gluten without sacrificing flavor or texture in their baked goods.
Beyond its gluten-free status, oat flour is celebrated for its impressive nutritional profile. It’s a rich source of dietary fiber, particularly beta-glucan, a soluble fiber known for its heart-healthy benefits and ability to help regulate blood sugar levels. It also provides a good amount of plant-based protein, essential vitamins (like B vitamins), and minerals such as manganese, phosphorus, and magnesium. Incorporating oat flour into your diet is an excellent way to boost your intake of these vital nutrients while enjoying delicious meals.
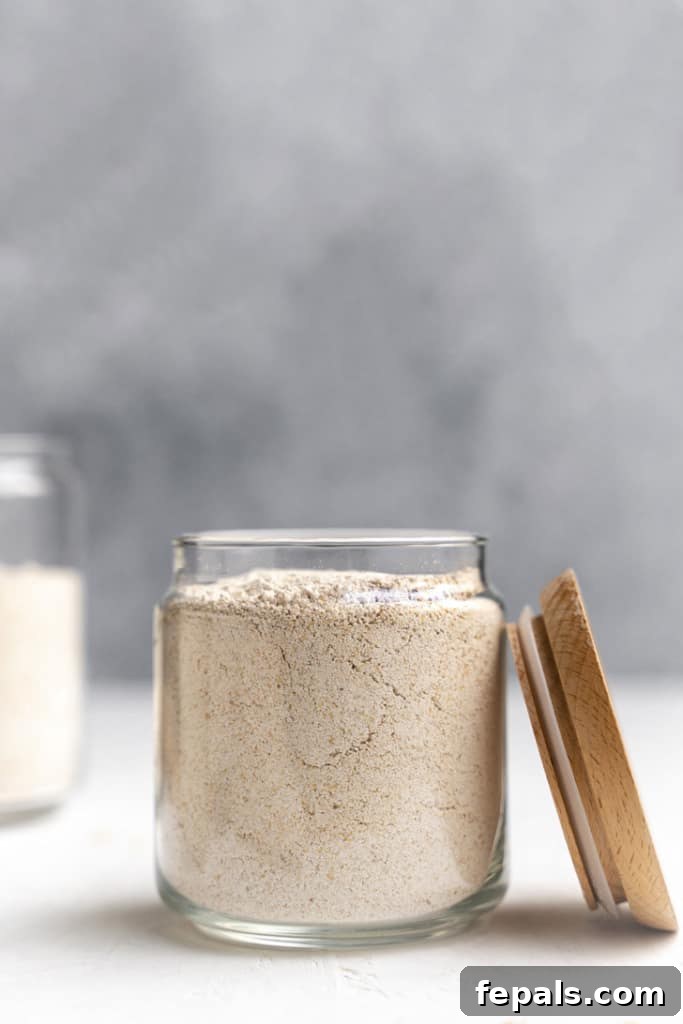
Baking with Oat Flour: Essential Tips and Substitution Ratios
While oat flour can often be used as a direct substitute for other flours in many recipes, it’s important to understand its unique characteristics to achieve the best results. Due to its lack of gluten, oat flour behaves differently than all-purpose wheat flour. Gluten provides elasticity and structure, so recipes solely relying on oat flour might require slight adjustments to liquid content or the addition of a binding agent like xanthan gum (though this is often not necessary for home baking) to prevent crumbly textures.
Oat flour tends to be more absorbent than wheat flour. This means you generally need more oat flour by volume when substituting it for all-purpose flour. A good starting point for substitution is to use **1 ⅓ cups of oat flour for every 1 cup of all-purpose wheat flour.** Additionally, pay close attention to your batter or dough consistency; if it appears too thick or dry, gradually add a tablespoon or two of extra liquid (water, milk, or a plant-based alternative) until the desired texture is reached. The nutty flavor of oat flour is mild and usually complementary, but it’s a flavor to consider when pairing with other ingredients.
For best results, especially in yeast-based recipes like bread, oat flour is often combined with other gluten-free flours or a small amount of vital wheat gluten (if not strictly gluten-free) to improve elasticity and rise. However, for quick breads, muffins, cookies, and pancakes, oat flour performs beautifully on its own or as the primary flour.
The Only Ingredient You Need
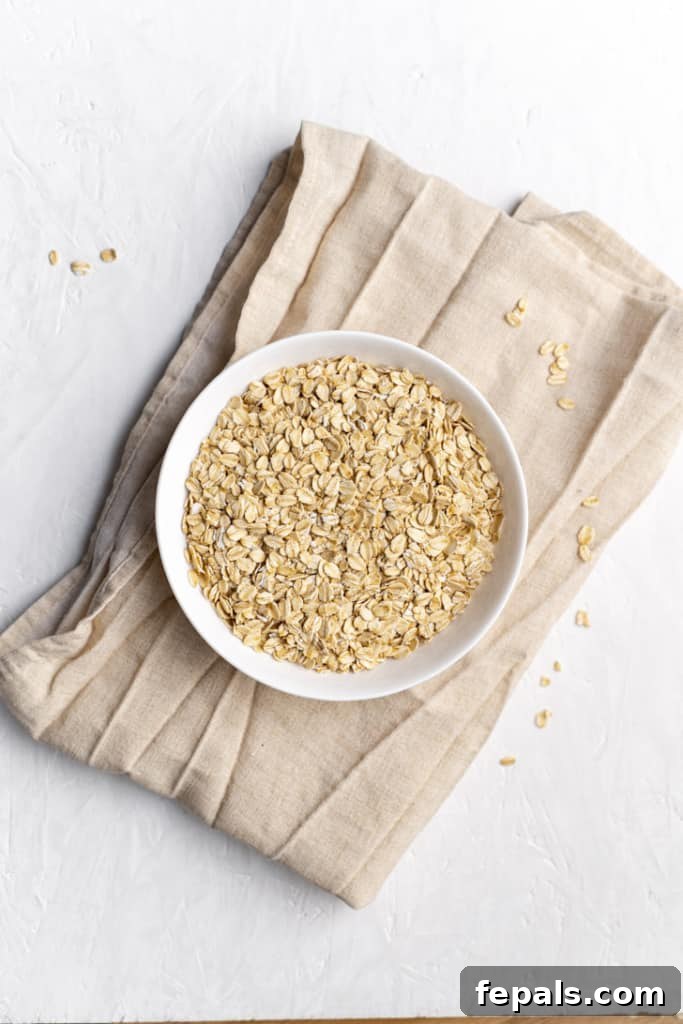
Making this incredible homemade oat flour recipe requires just one humble yet mighty ingredient: oats!
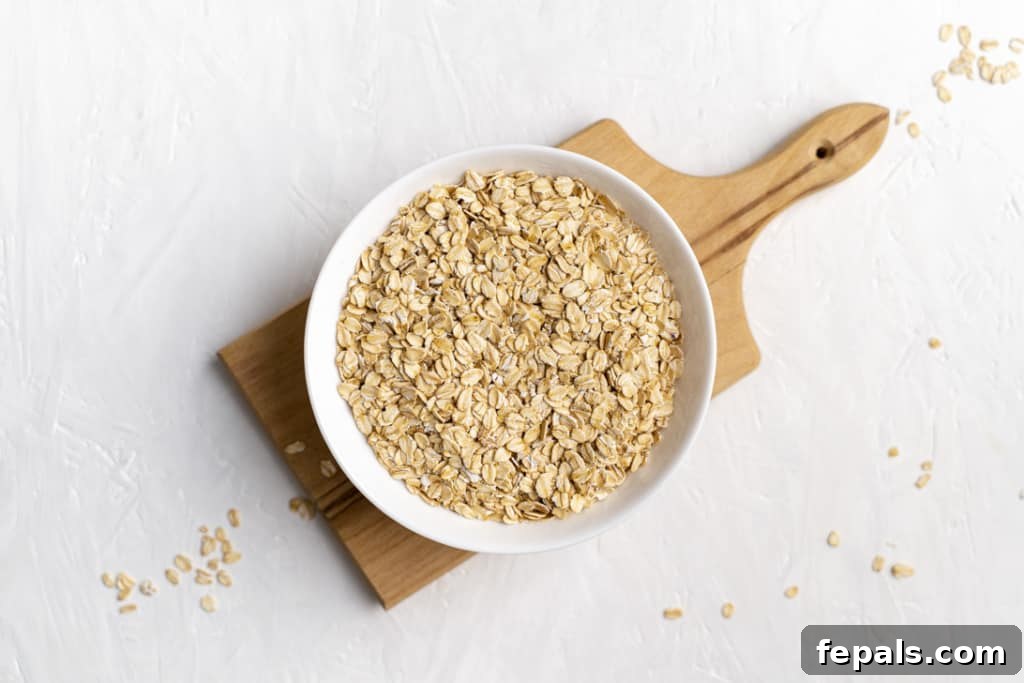
To achieve the perfect light and fluffy consistency that makes oat flour so desirable for baking, the best types of oats to use are **old-fashioned rolled oats** (also known as whole rolled oats). Their larger, flatter flakes allow for a consistent grind into a fine powder. Quick-cooking oats can also be used, as they are pre-steamed and cut into smaller pieces, but they sometimes result in a slightly finer, less textured flour which might absorb liquids differently. While quick oats are acceptable, rolled oats generally yield a superior product for most baking needs.
Steel-cut oats, on the other hand, are highly discouraged for making oat flour. These oats are simply oat groats that have been cut into two or three pieces, making them much harder and denser. Attempting to grind steel-cut oats will likely result in a grittier, coarser flour that will not integrate well into baked goods and could negatively impact their texture. Stick to rolled or quick oats for optimal results.
For those following a gluten-free diet, it is paramount to choose **certified gluten-free oats**. While oats are naturally gluten-free, they are often processed in facilities that also handle wheat, barley, or rye, leading to cross-contamination. Opting for certified gluten-free oats ensures they have been processed and handled in a way that prevents this contamination, making your homemade oat flour truly safe for gluten-sensitive individuals. We also recommend purchasing organic oats when possible for a pure and natural product.
How to Make Oat Flour: A Simple Step-by-Step Guide
Making your own oat flour is remarkably easy and takes mere moments. Here’s a detailed guide using a blender, which is often the most efficient tool for the job.
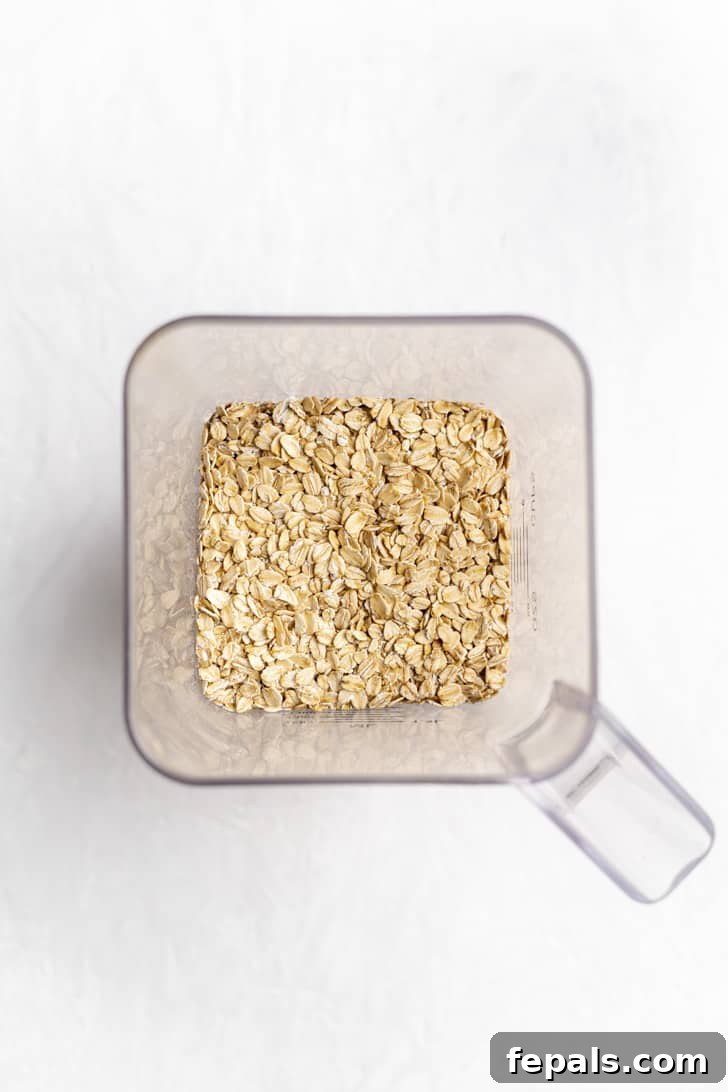
Step 1: Prepare Your Oats
Add the oats: Begin by carefully measuring out your desired quantity of rolled oats. Pour the measured oats directly into the blending container of a high-speed blender or into the bowl of a food processor. Ensure your blender or food processor is clean and completely dry before adding the oats.
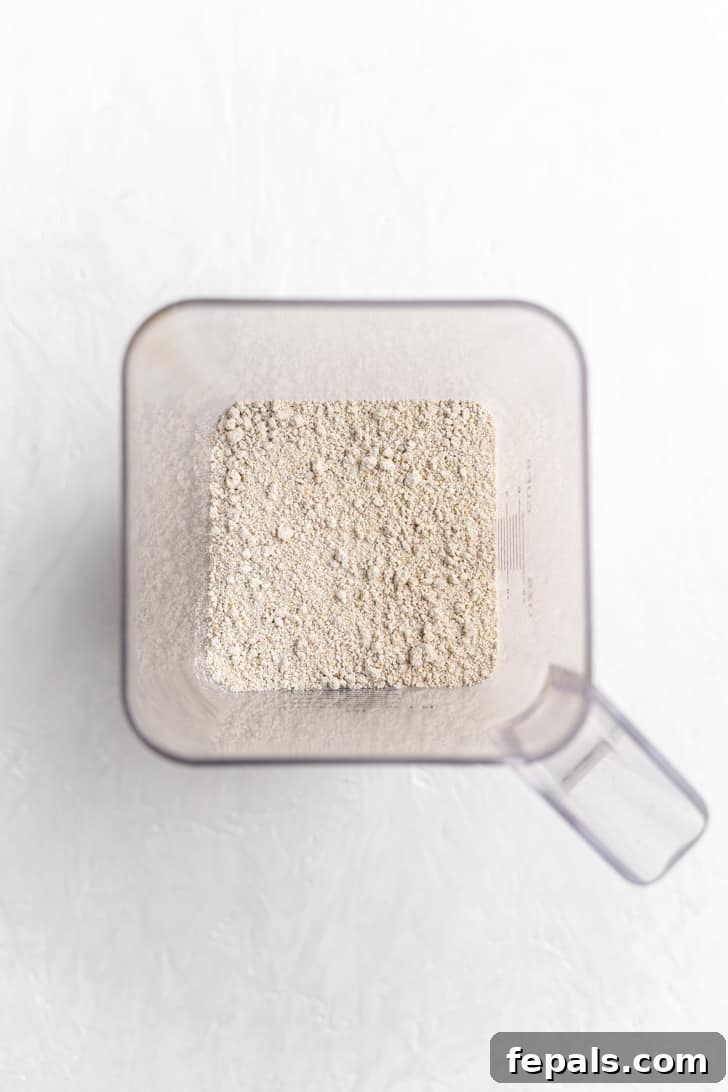
Step 2: Blend Until Fine
Blend: Secure the lid onto your blender or food processor. Begin blending on a medium-to-high setting, or use the “pulse” function, to break down the whole oats. Continue to blend or pulse until the oats are transformed into a fine, uniform powder resembling traditional flour. This process typically takes less than 60 seconds. You may need to stop occasionally to scrape down the sides of the container with a spatula to ensure an even grind. Be careful not to over-blend, as this can generate heat and cause the oats’ natural oils to release, potentially affecting the flour’s texture and shelf life.
Expert Tips for Perfect Homemade Oat Flour
- Accurate Measuring for Baking: For precise baking results, especially when following recipes that require specific flour quantities, it is crucial to measure your oat flour *after* it has been blended. The density changes significantly during grinding. Pack the flour lightly into a measuring cup or use a kitchen scale for the most accurate weight measurements.
- Yield Ratio of Oats to Flour: A good rule of thumb is that for 1 cup of finished oat flour, you will typically need to start with slightly more than 1 cup of whole rolled oats. A common conversion is to blend approximately **1 ¼ cups of rolled oats to yield about 1 cup of oat flour.** This accounts for any loss during blending and compaction.
- Choosing Your Oats Wisely: As previously mentioned, we highly recommend using old-fashioned rolled oats over quick-cooking oats whenever possible. Rolled oats tend to produce a more consistent and slightly coarser grind, which is ideal for a wider range of baked goods, providing better structure and texture.
- Avoid Overheating: Blending oats for too long, especially in a less powerful blender, can generate heat. This heat can warm the oats and cause their natural oils to release, potentially leading to a slightly greasy flour or reducing its shelf life. Blend in short bursts and allow the blender to rest if it feels warm.
- Sifting for Finer Flour: For exceptionally light and airy baked goods, you might consider sifting your homemade oat flour after blending. This extra step removes any larger pieces or unground oats, ensuring a very fine and consistent texture. Any larger pieces can be re-blended.
- Making Gluten-Free a Priority: If you or someone you’re baking for has celiac disease or gluten sensitivity, always ensure you’re using oats explicitly labeled as “certified gluten-free.” This certification guarantees that the oats have been processed in facilities free from cross-contamination with gluten-containing grains.
Frequently Asked Questions About Oat Flour
Yes, absolutely! At its core, oat flour is simply whole rolled oats that have been finely ground into a powder. There are no other ingredients, additives, or processes involved in creating pure oat flour, making it a natural and wholesome option for your baking and cooking needs.
In most cases, yes, it is significantly more cost-effective to make your own oat flour at home rather than purchasing pre-packaged bags from the store. For instance, a 20-ounce bag of a popular brand’s gluten-free oat flour might cost around $8, whereas a larger 32-ounce bag of their gluten-free rolled oats could be found for approximately $7. This means you get more raw material for less money, and the simple act of grinding it yourself saves you the premium price. Pricing, of course, can vary based on your specific grocery store, brand, and local promotions.
You can certainly substitute oat flour for all-purpose flour in many recipes, but it’s important to account for their differences. Oat flour has a unique density and texture compared to wheat flour and tends to absorb more liquid. As a general guideline, for every 1 cup of all-purpose flour, you should use approximately **1 ⅓ cups of oat flour**. Additionally, be mindful of the batter or dough consistency. If it appears too thick or difficult to stir, gradually incorporate a bit more liquid, such as water or milk, until it reaches the desired texture. For recipes heavily reliant on gluten for structure (like certain yeast breads), you might need to combine oat flour with other flours or a binding agent for optimal results.
It is not recommended to use steel-cut oats for making oat flour. Steel-cut oats are much harder and less processed than rolled oats, making them difficult to grind into a fine, consistent flour. Attempting to do so will likely result in a gritty, coarse flour that will not perform well in baking and can give your finished products an undesirable texture. Always opt for rolled oats or quick-cooking oats for the best homemade oat flour.
While oat flour lacks gluten, which provides elasticity, it doesn’t inherently make baked goods dense if used correctly. Its fine texture often contributes to a surprisingly light and tender crumb. The key is to adjust liquid ratios (as oat flour is more absorbent) and sometimes add a leavening agent or blend with other flours if a very airy structure is desired. For recipes like muffins, cookies, and pancakes, oat flour often results in a wonderfully moist and fluffy product.
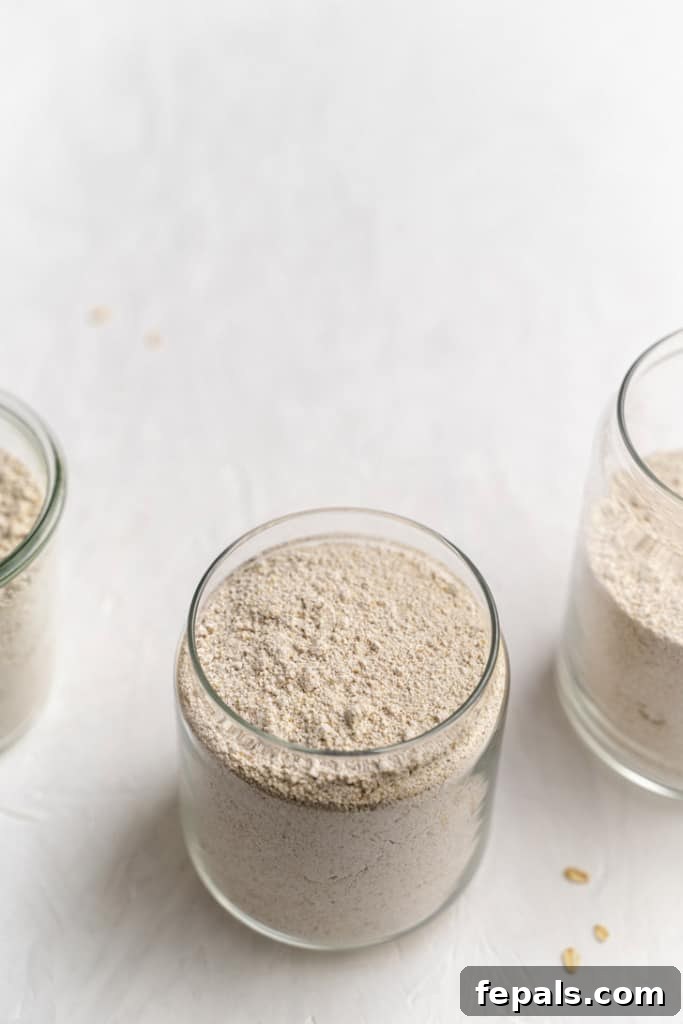
Storing Your Homemade Oat Flour
Proper storage is essential to maintain the freshness and extend the shelf life of your homemade oat flour. Due to the natural oils present in oats, it’s more susceptible to becoming rancid than highly refined flours. To keep your oat flour at its best:
- Airtight Container: Always transfer your freshly ground oat flour to an airtight container immediately after making it. This prevents exposure to air and moisture, which can accelerate spoilage. Glass jars with tight-fitting lids or sturdy plastic containers work perfectly.
- Room Temperature: For short-term storage (up to 3 months), you can keep homemade oat flour in an airtight container in a cool, dark pantry or cupboard. Ensure it’s away from direct sunlight or heat sources.
- Refrigeration: To extend its freshness even further, especially in warmer climates or if you plan to store it for longer, keep your oat flour in the refrigerator. It can last up to 6 months when chilled.
- Freezing: For maximum shelf life (up to 1 year), oat flour can be stored in the freezer. Simply place it in an airtight, freezer-safe bag or container. When ready to use, allow it to come to room temperature before measuring and incorporating into your recipes.
Delicious Recipes to Try with Oat Flour
Now that you’ve mastered the art of making your own oat flour, it’s time to put it to good use! Explore these delightful recipes that beautifully incorporate the wholesome goodness of oats and oat flour:
- Raspberry Oatmeal Bars
- Cranberry Oat Bars
- Chocolate Overnight Oats
- Healthy Cowboy Cookies
- Gluten-Free Monster Cookies
- Fluffy Banana Oatmeal Pancakes
- Healthy Lemon Loaf
- Your favorite muffin, bread, or cookie recipes (with appropriate substitutions!)
Discover More Culinary How-To Guides
If you found this comprehensive tutorial on making oat flour helpful, you’ll likely appreciate our other practical and easy-to-follow how-to guides. Expand your kitchen skills and culinary knowledge with these helpful resources:
- How to Cook Chickpeas
- How to Cook Broccoli On the Stove
- Homemade Tartar Sauce
- How to Cut Cabbage
- (3 Ways) How to Cut Bell Peppers
- How to Cut an Orange
- How to Make Caramelized Onions
- How to Make Cajun Seasoning
- Cutting Potatoes Into Fries
- How to Cut Green Onions
- How to Make Nutella
- Homemade Croutons

Get My Free eBook!
Unlock delicious and healthy meals! Grab my free ebook featuring 20 of my top 30-minute family-friendly healthy dinner recipes. No sign-up required, just pure culinary inspiration!
[Please note: The original content included an interactive form. This has been removed as per the instruction to clean Javascript. This section now serves as a static invitation.]
We hope this detailed guide has inspired you to try making your own oat flour! If you give this simple process a try, or use your homemade oat flour in one of our recipes, please share your experience. Leave us some feedback in the comment section below, and don’t forget to rate the recipe! We would absolutely love it if you shared this valuable tutorial with your friends and family.
FOLLOW us on FACEBOOK | INSTAGRAM | PINTEREST | TWITTER for all of our latest blog posts and delicious recipes.
How to Make Oat Flour
Rena
1 cup oat flour
5 mins
0 mins
5 mins
Ingredients
- 1 1/4 cup rolled oats, certified gluten-free as desired
Instructions
-
Place measured rolled oats into a high-speed blender or food processor.
-
Blend or pulse on high until the oats are transformed into a fine powder, resembling flour. This should take less than 1 minute. Stop periodically to scrape down the sides if needed for an even grind.
Notes
- Measuring: Always measure the amount of oat flour needed *after* it has been blended. Approximately 1 1/4 cups of whole rolled oats will yield about 1 cup of blended oat flour.
- Storing: Store your homemade oat flour in an airtight container at room temperature for up to 3 months, or in the refrigerator for up to 6 months. For longest freshness, store in the freezer for up to 1 year.
- Oat Type: For best results and a smooth texture, use old-fashioned rolled oats. Avoid steel-cut oats, as they will result in a gritty flour.
Nutrition Facts (per 1 cup oat flour)
Calories: 384kcal
Carbohydrates: 69g
Protein: 13g
Fat: 7g
Saturated Fat: 1g
Polyunsaturated Fat: 2g
Monounsaturated Fat: 2g
Sodium: 6mg
Potassium: 367mg
Fiber: 10g
Sugar: 1g
Calcium: 53mg
Iron: 4mg
Nutrition information is automatically calculated and is an approximation. Values can vary based on specific ingredients and preparation methods.
Additional Information
How To, Basic Ingredient
American, Global
Tried this recipe?
Mention @healthyfitnessmeals or tag #healthyfitnessmeals!