
Master the Art of Homemade Breadcrumbs: Fresh & Toasted Recipes
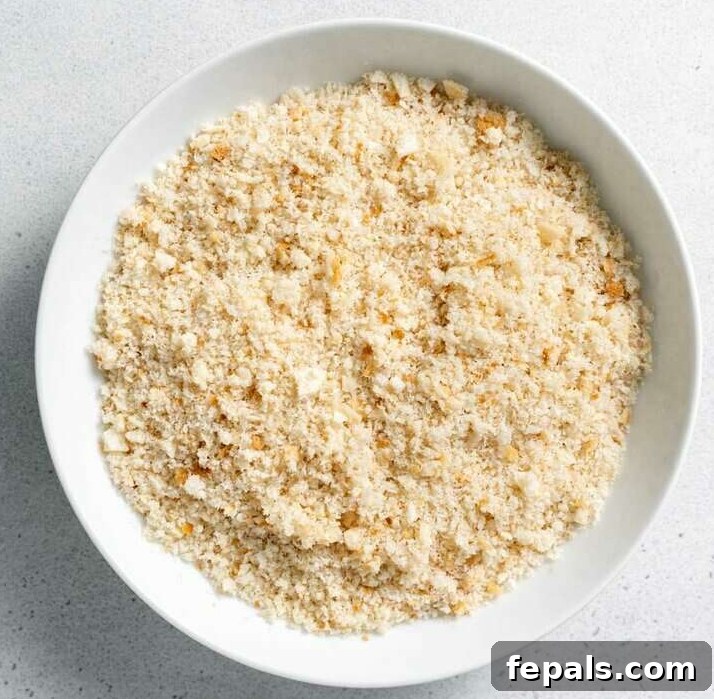
Transforming a humble loaf of stale bread into a culinary marvel is simpler than you think. This comprehensive guide will teach you how to make incredibly versatile and flavorful homemade breadcrumbs from scratch. Whether you need soft, fluffy crumbs for binding or golden, crispy ones for a topping, you’ll discover two easy methods—fresh and toasted—that will elevate your cooking and virtually eliminate food waste. Ditch the store-bought varieties that often contain unwanted additives and lack the vibrant taste of fresh ingredients. Get ready to create the tastiest breadcrumbs you’ll ever use!
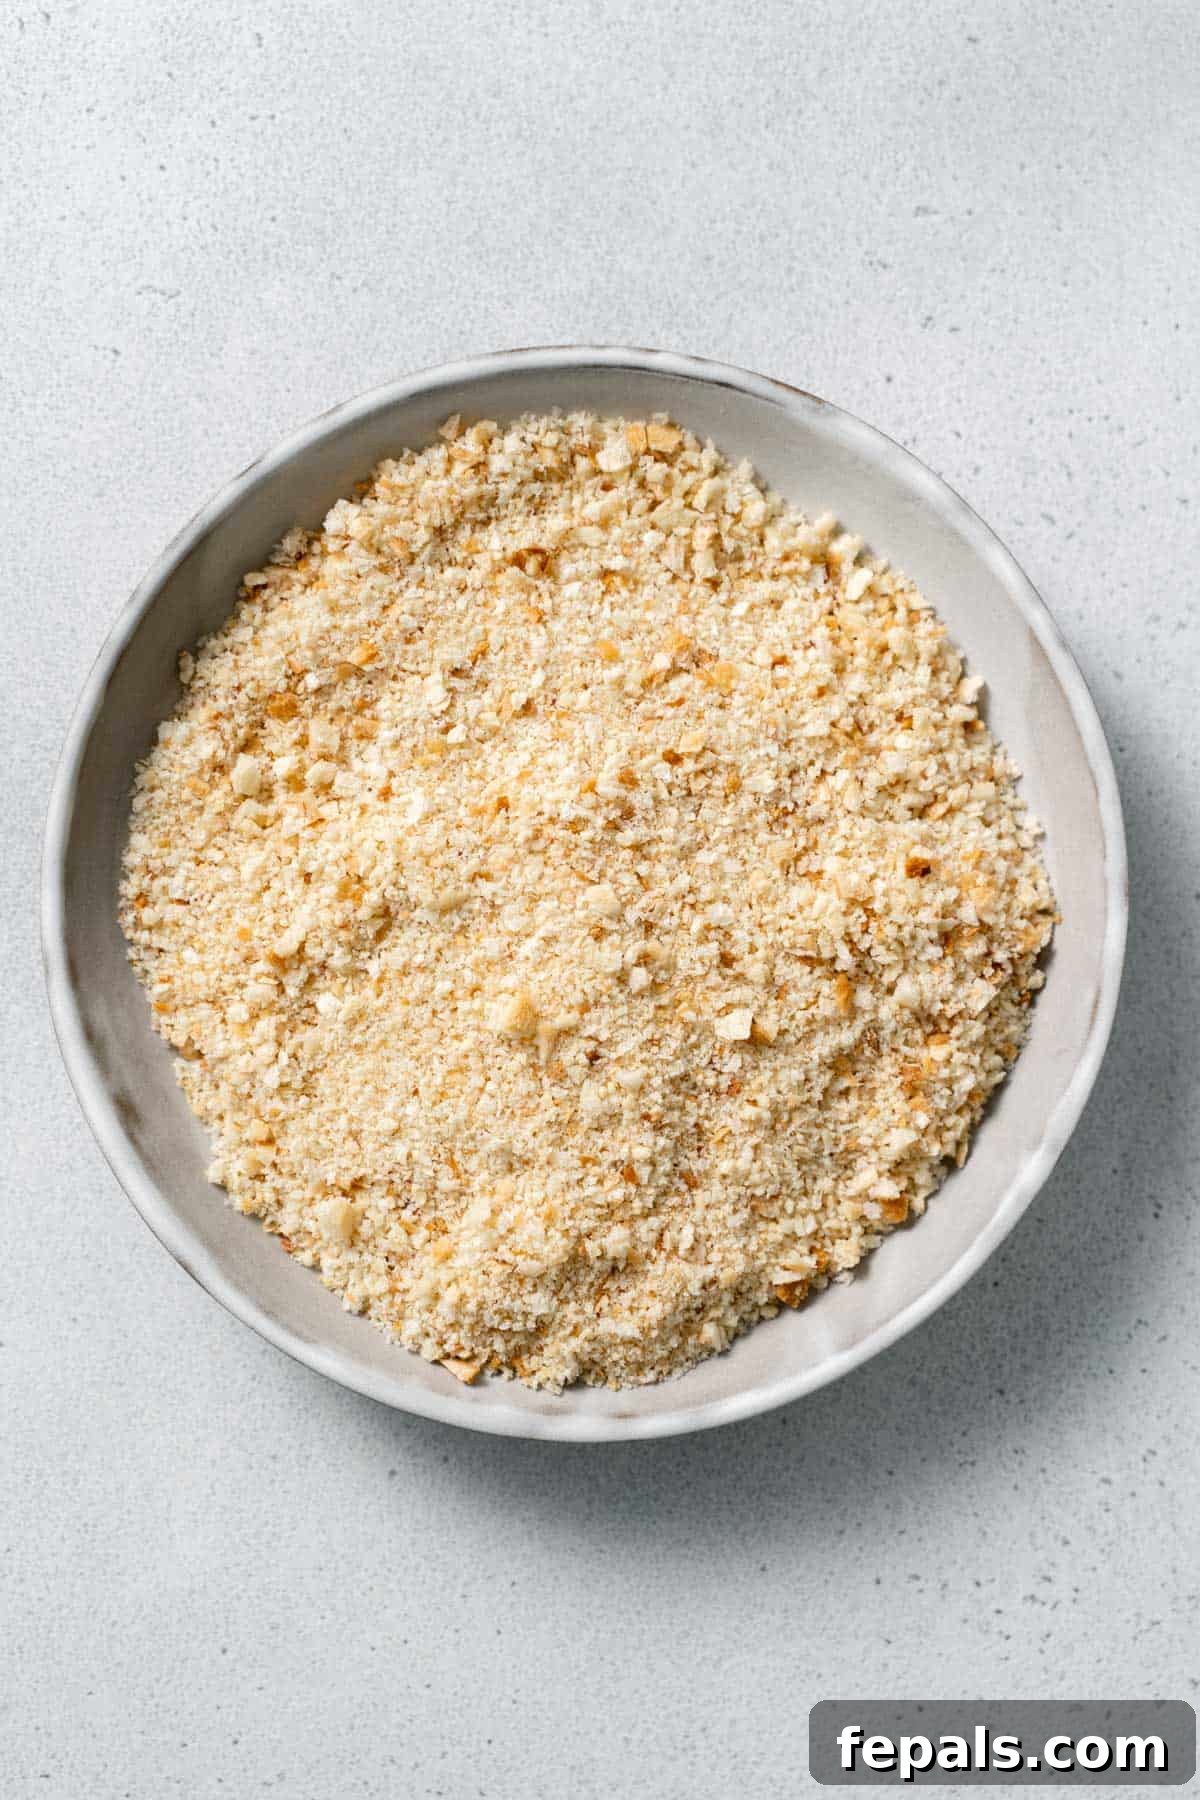
Learning how to make your own fresh breadcrumbs is not only incredibly easy and quick, but it also requires minimal effort and simple kitchen tools. All you truly need is a loaf of stale bread and a food processor to achieve airy, light, and perfectly textured crumbs, ideal for a vast array of recipes. The beauty of homemade crumbs lies in their adaptability; you can customize the flavor and texture to suit any dish, from savory to even subtly sweet applications.
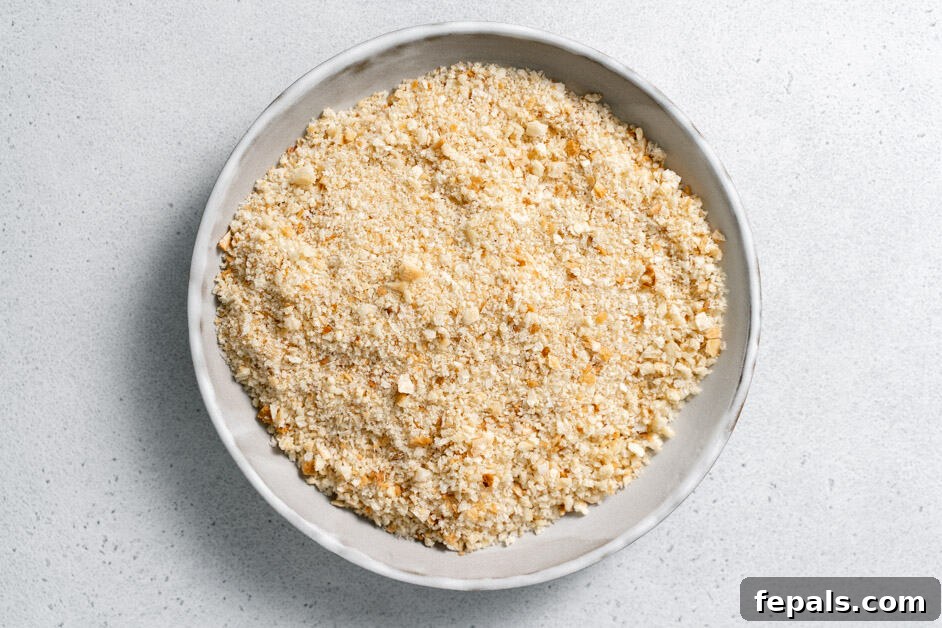
The type of bread you choose significantly influences the final taste and texture of your bread crumbs. While a classic white loaf provides a neutral base, experimenting with different kinds of bread can add unique dimensions to your dishes. For instance, a touch of Italian seasoning in this recipe gives the crumbs an inviting herbal note, but you have the freedom to omit it or substitute it with any spice blend that complements your meal. These homemade crumbs strike a perfect balance, offering a texture that’s a delightful cross between light, fluffy regular breadcrumbs and the crisp, airy quality of panko. You can easily adjust the processing time to achieve your desired level of fineness or coarseness, ensuring they’re perfect for everything from binding meatballs to adding a crunchy topping to your favorite casserole or a warm bowl of soup.
Why Choose Homemade Breadcrumbs? The Undeniable Benefits
Making your own breadcrumbs at home offers a multitude of advantages over their store-bought counterparts. It’s a practice that benefits your wallet, your cooking, and the environment.
- Cost-Effective and Eco-Friendly: One of the most compelling reasons to make breadcrumbs at home is to save money and reduce food waste. Instead of discarding that last bit of bread or buying expensive pre-packaged crumbs, you can repurpose leftover loaves, baguettes, or even sandwich bread. This simple act turns potential waste into a valuable kitchen staple, contributing to a more sustainable household.
- Superior Flavor and Texture: Homemade breadcrumbs boast a freshness and depth of flavor that store-bought options simply cannot match. You have complete control over the type of bread used, which directly impacts the crumb’s character. Furthermore, you can achieve your desired texture—from a fine, almost flour-like powder ideal for binding, to a coarser, more rustic crumb perfect for adding a satisfying crunch.
- Control Over Ingredients: When you make breadcrumbs yourself, you know exactly what goes into them. This means no hidden preservatives, excessive sodium, or artificial flavors often found in commercial products. You can keep them plain for maximum versatility or season them with your favorite herbs and spices, tailoring them precisely to your dish.
- Versatility in the Kitchen: Homemade breadcrumbs are incredibly versatile. They can be used fresh for moisture-rich binding or toasted for a dry, crispy finish. This adaptability makes them suitable for a wide range of recipes, from savory main courses to light appetizers.
- Perfect for Meal Prep: Making a batch of breadcrumbs takes mere minutes, and they store beautifully. This makes them an excellent component of your meal prep routine, ensuring you always have this essential ingredient on hand whenever inspiration strikes. Having them ready to go streamlines cooking and encourages more homemade meals.
Elevate Your Dishes: Creative Uses for Homemade Breadcrumbs
Homemade breadcrumbs are a secret weapon in the kitchen, capable of transforming ordinary dishes into something extraordinary. Here are some of the common and creative ways to incorporate them into your homemade recipes:
- Crunchy Toppings: Sprinkle toasted breadcrumbs generously atop your fresh pasta dishes, creamy soups, gratins, roasted vegetables, or even simple salads for an irresistible textural contrast. They add a delightful crispiness to otherwise soft dishes.
- Classic Breading: Use breadcrumbs to create a perfectly crisp coating for various proteins and vegetables. They are essential for breading chicken breasts, fish fillets, pork cutlets, or even homemade onion rings and zucchini sticks before baking or frying.
- Flavorful Binders: Fresh breadcrumbs are an invaluable ingredient for binding mixtures together. They add structure and moisture to recipes like homemade crab cakes, juicy meatballs, hearty meatloaf, and flavorful veggie burgers, preventing them from falling apart during cooking.
- Stuffing and Fillings: Incorporate breadcrumbs into your stuffing recipes for poultry, mushrooms, or bell peppers. They absorb flavors beautifully and add a pleasing bulk and texture to your fillings.
- Ultimate Mac and Cheese Topping: No baked macaroni and cheese is complete without a golden, crunchy breadcrumb topping. Mix them with a little melted butter and cheese before baking for a truly indulgent crust.
- Thickening Agent: In some culinary traditions, fine breadcrumbs can be used to thicken sauces or stews, adding body and a subtle flavor.
- Dessert Crumb Toppings: With a sweeter bread (like challah or brioche) and a touch of cinnamon and sugar, breadcrumbs can become a delicious crumb topping for fruit crisps, crumbles, or even a base for no-bake pie crusts.
Selecting the Perfect Bread for Your Crumbs
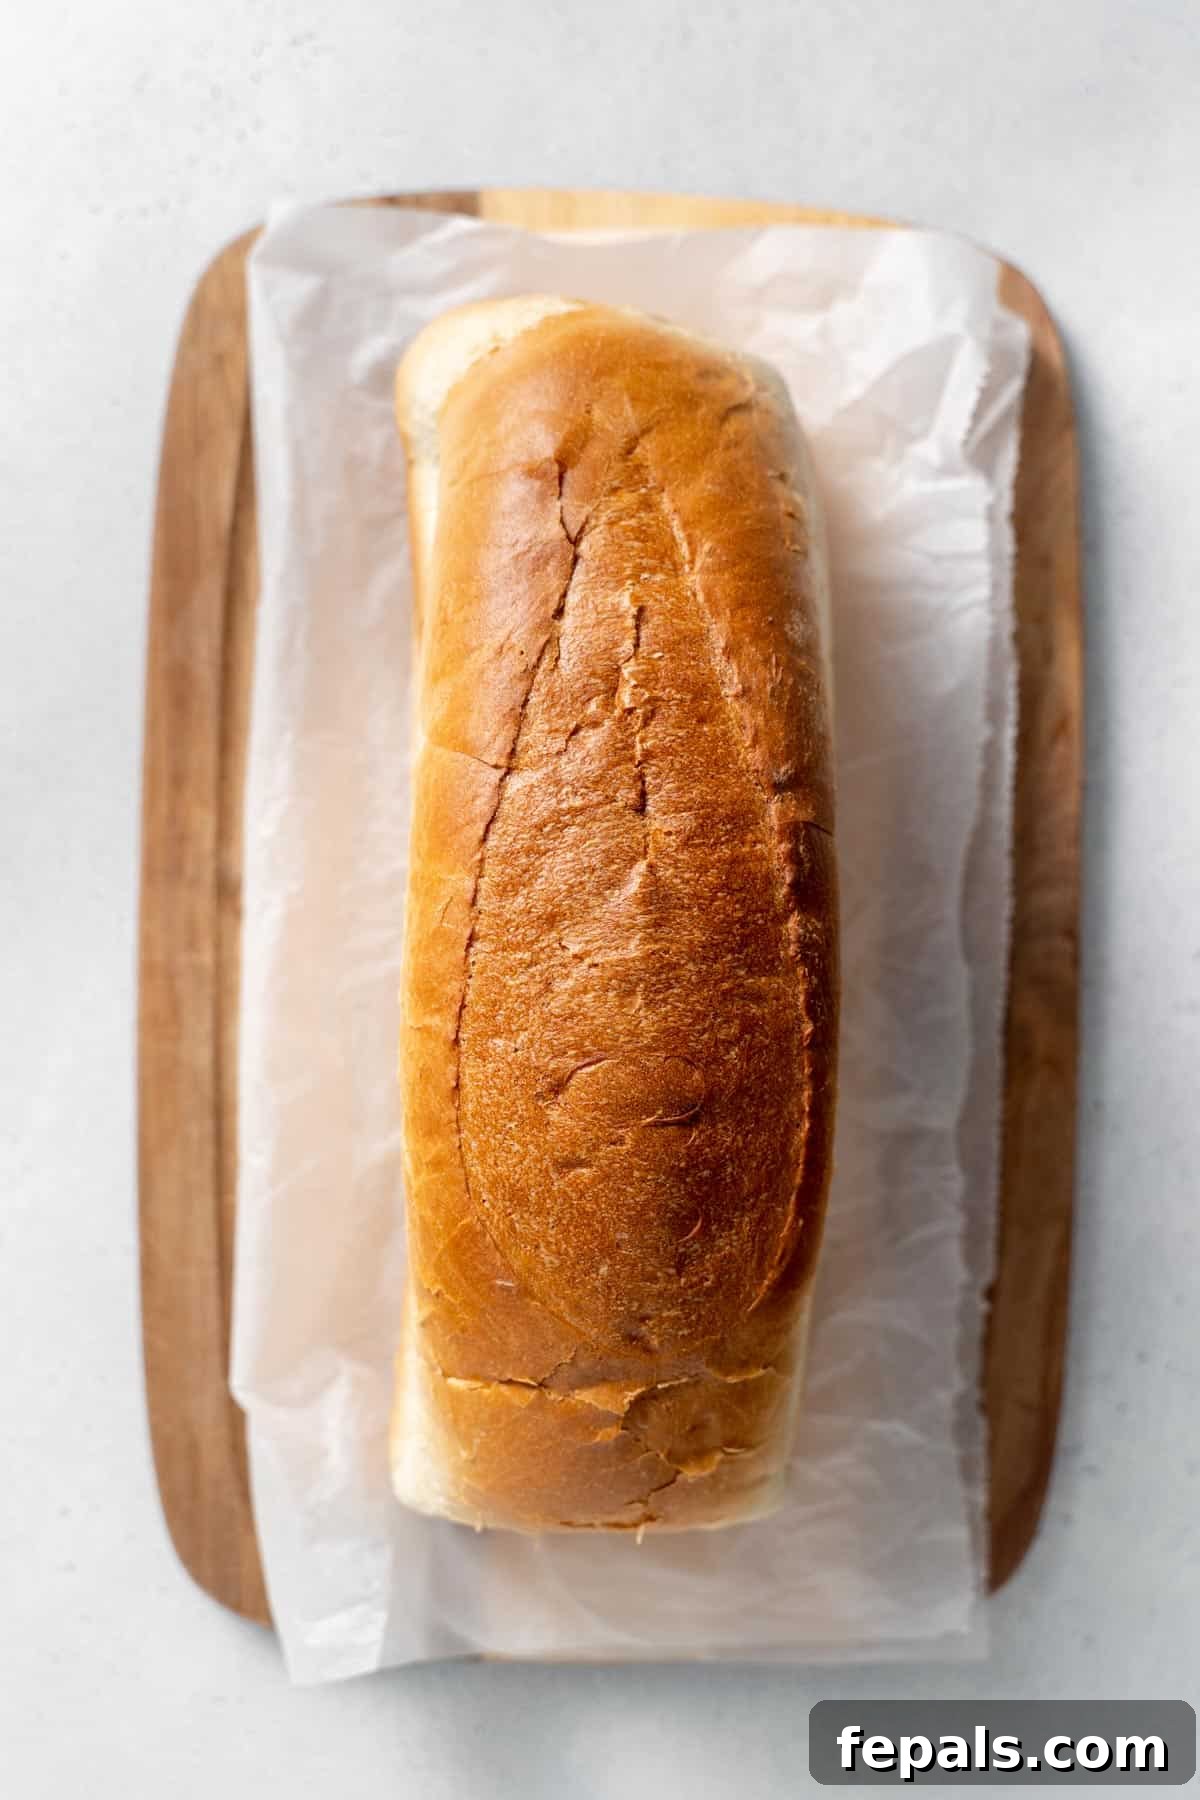
The foundation of exceptional homemade breadcrumbs lies in the quality and type of bread you use. While virtually any bread can be transformed, understanding their characteristics will help you achieve the best results for your specific culinary needs.
- Why Stale Bread is Key: The most crucial tip is to use stale bread. Fresh bread contains too much moisture, which can lead to gummy, clumpy crumbs in the food processor and makes them less ideal for toasting. Stale bread, on the other hand, crumbles easily and toasts up beautifully crisp. If your bread isn’t quite stale, you can speed up the process by leaving it uncovered on the counter overnight or lightly toasting slices in a low oven for about 10-15 minutes before processing.
- Variety is the Spice of Life:
- White Sandwich Bread: This is a classic choice, yielding neutral-flavored breadcrumbs with a fine, soft texture when fresh, or a light crispness when toasted. It’s ideal for dishes where you want the breadcrumbs to blend into the background.
- Artisan Loaves (Sourdough, Ciabatta, Baguette): These breads offer a more robust flavor profile and a denser crumb. Sourdough breadcrumbs, for example, will impart a delightful tang, perfect for savory applications like stuffing or gratins. The crusts on these breads can also add extra texture and a deeper color when toasted.
- Whole Wheat or Multigrain Bread: If you prefer a nuttier flavor and a slightly more rustic texture, whole wheat or multigrain breads are excellent options. They lend a wholesome quality to dishes and are great for breading vegetables or adding to savory bakes.
- Challah or Brioche: For richer, slightly sweeter breadcrumbs, challah or brioche can be wonderful. These are fantastic for applications where a hint of sweetness and richness is desired, such as a topping for sweet potato casserole or even certain dessert crumbles.
- What to Avoid (or Use Mindfully): While most breads work, be cautious with heavily flavored breads unless that specific flavor is intended for your dish. For instance, a rye bread might be too dominant for a delicate fish breading, but perfect for a unique stuffing.
Essential Tools for Crumb Creation
Making homemade breadcrumbs is a straightforward process that doesn’t require a lot of fancy equipment. Here are the tools that will make your crumb-making journey smooth and efficient:
- Food Processor: This is the star of the show. A food processor quickly and efficiently breaks down bread into consistent crumbs, allowing you to control the texture from fine to coarse with just a few pulses. It’s the easiest way to achieve uniform results.
- Baking Sheet and Parchment Paper: If you’re opting for toasted breadcrumbs, a baking sheet lined with parchment paper is essential. The parchment paper prevents sticking and makes cleanup a breeze, ensuring your crumbs toast evenly without burning.
- Airtight Storage Containers: Whether you prefer glass jars, zip-top bags, or plastic containers, having airtight storage is crucial for maintaining the freshness and extending the shelf life of your homemade breadcrumbs.
- Alternatives (If You Don’t Have a Food Processor):
- Blender: A high-powered blender can work similarly to a food processor for smaller batches of breadcrumbs, though the consistency might be slightly less uniform.
- Grater: For a more traditional, rustic approach, you can grate dry bread by hand using a box grater. This requires more effort but yields unique textures.
- Rolling Pin: Place dry bread in a sturdy sealed bag and use a rolling pin or mallet to crush it into crumbs. This method is great for achieving very coarse, irregular crumbs.
Two Easy Methods to Make Homemade Breadcrumbs
In this guide, we’ll explore two distinct methods for making breadcrumbs at home, catering to whether you desire soft, fresh crumbs or wonderfully crunchy, toasted ones. Both techniques are incredibly simple and yield fantastic results.
Method 1: Fresh, Soft Breadcrumbs (Unbaked)
Fresh breadcrumbs are perfect for recipes where you need a binding agent or a softer texture. They are typically made from slightly stale or even relatively fresh bread, as their moisture content is an advantage in these applications.
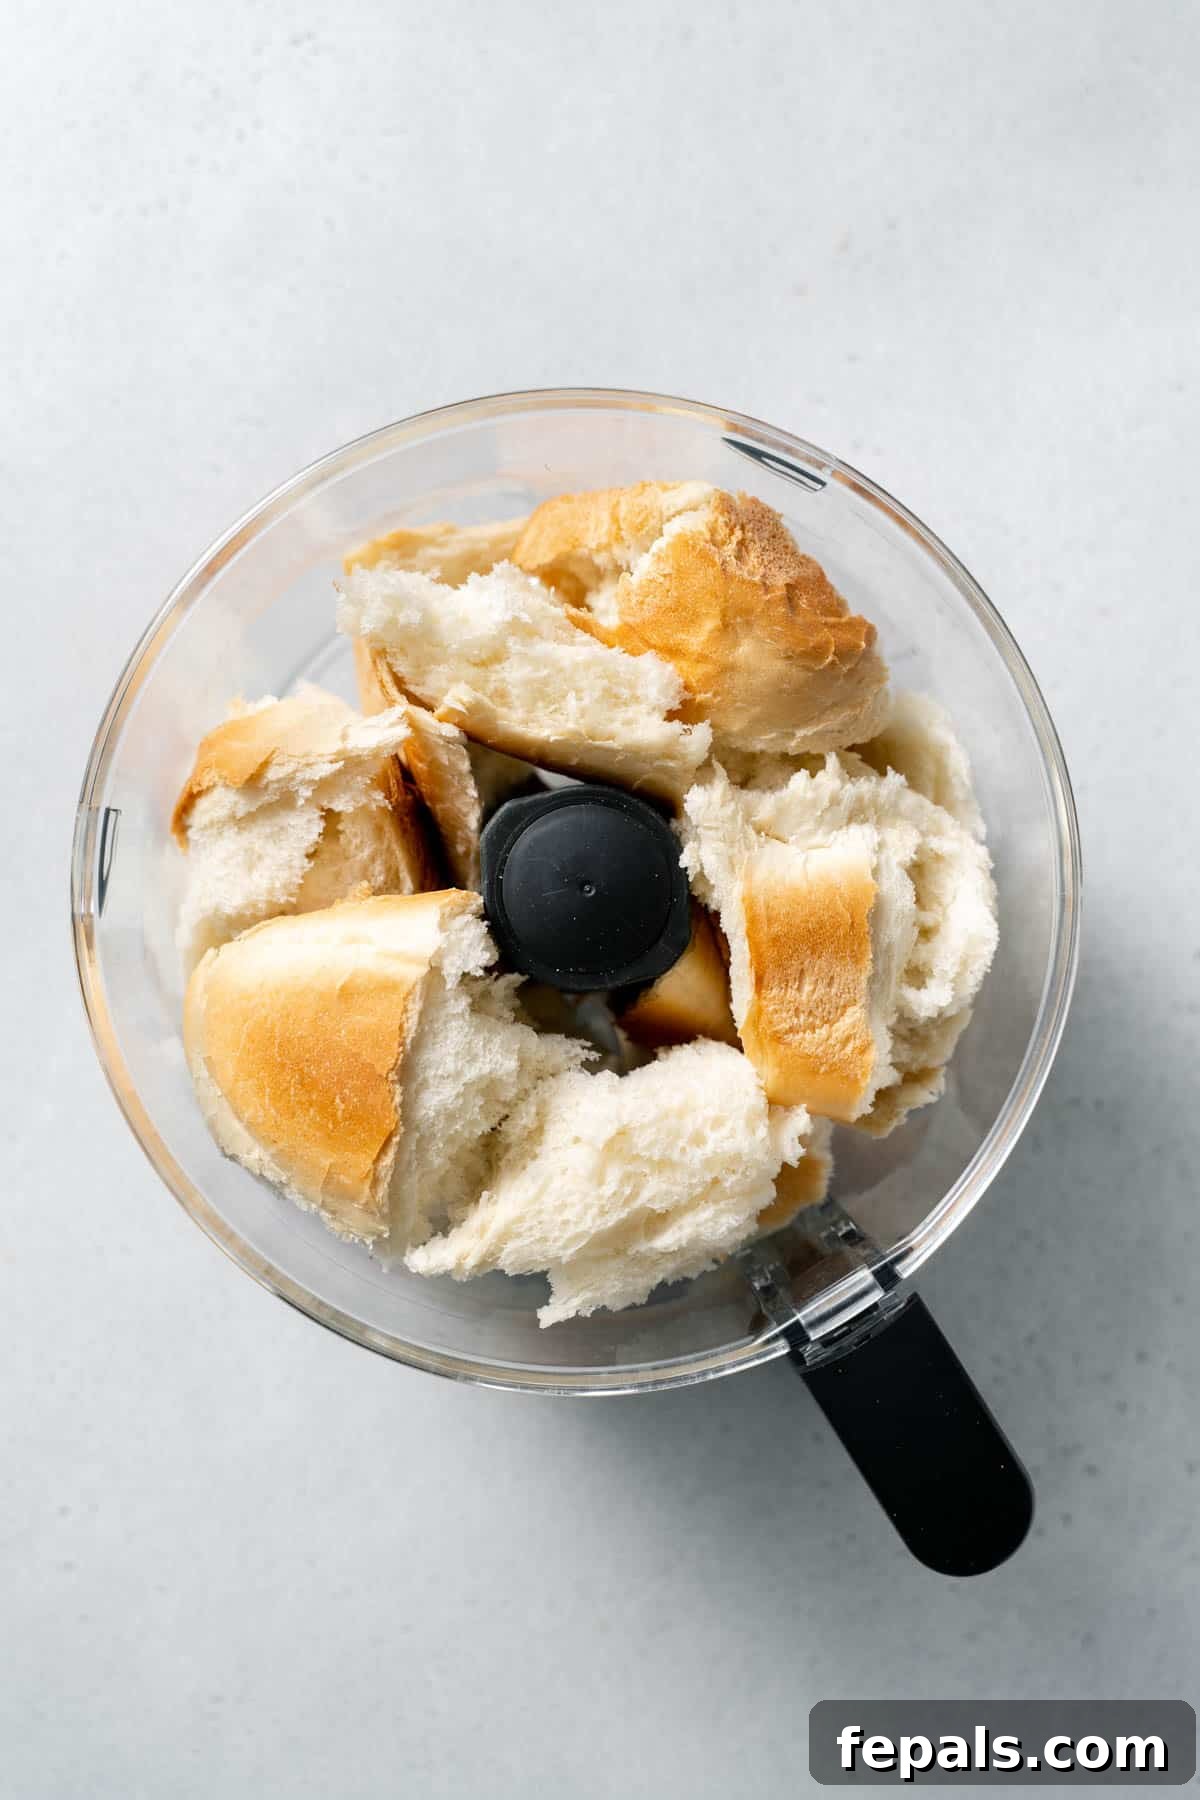
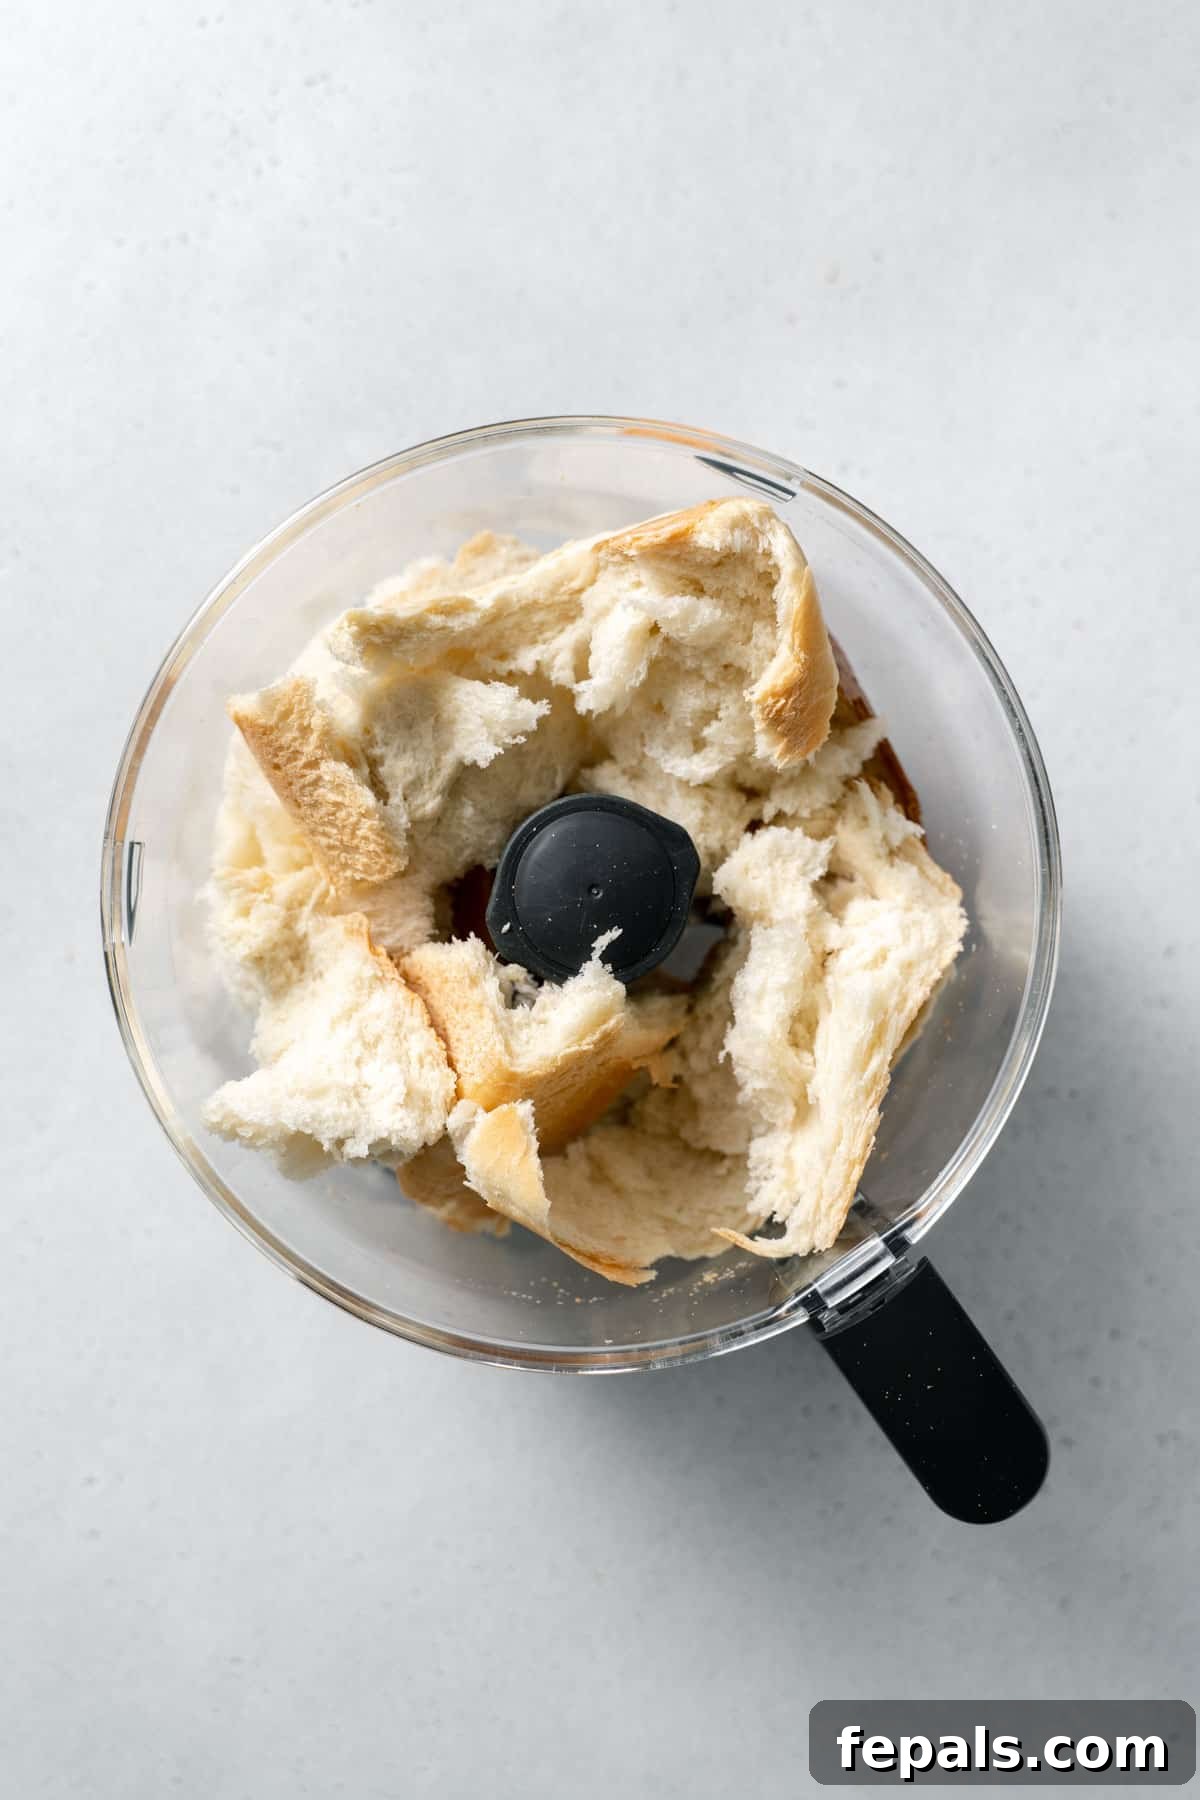
- Prepare the Bread: Take your chosen loaf of bread (it can be slightly stale or even a day or two old). Tear it into small, manageable pieces, roughly 1-2 inches in size. This helps the food processor work more efficiently.
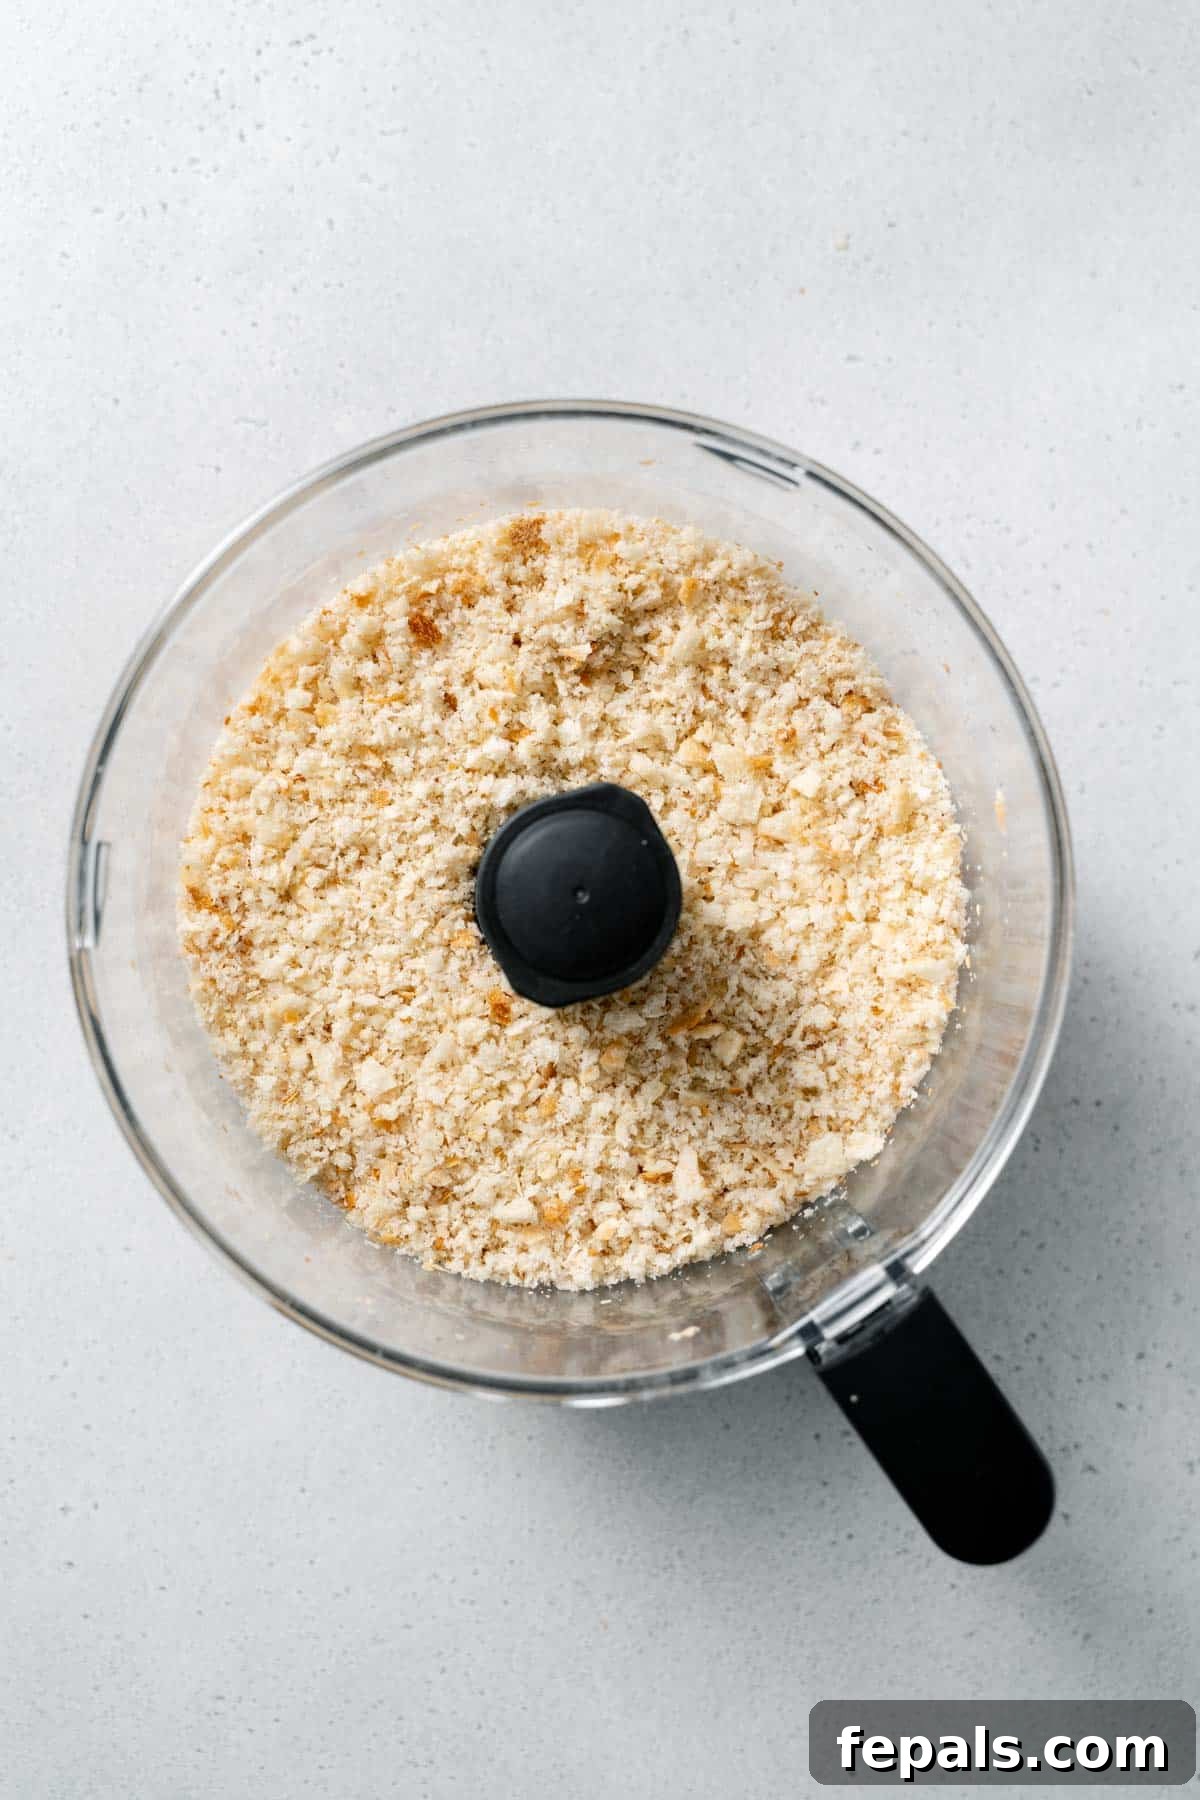
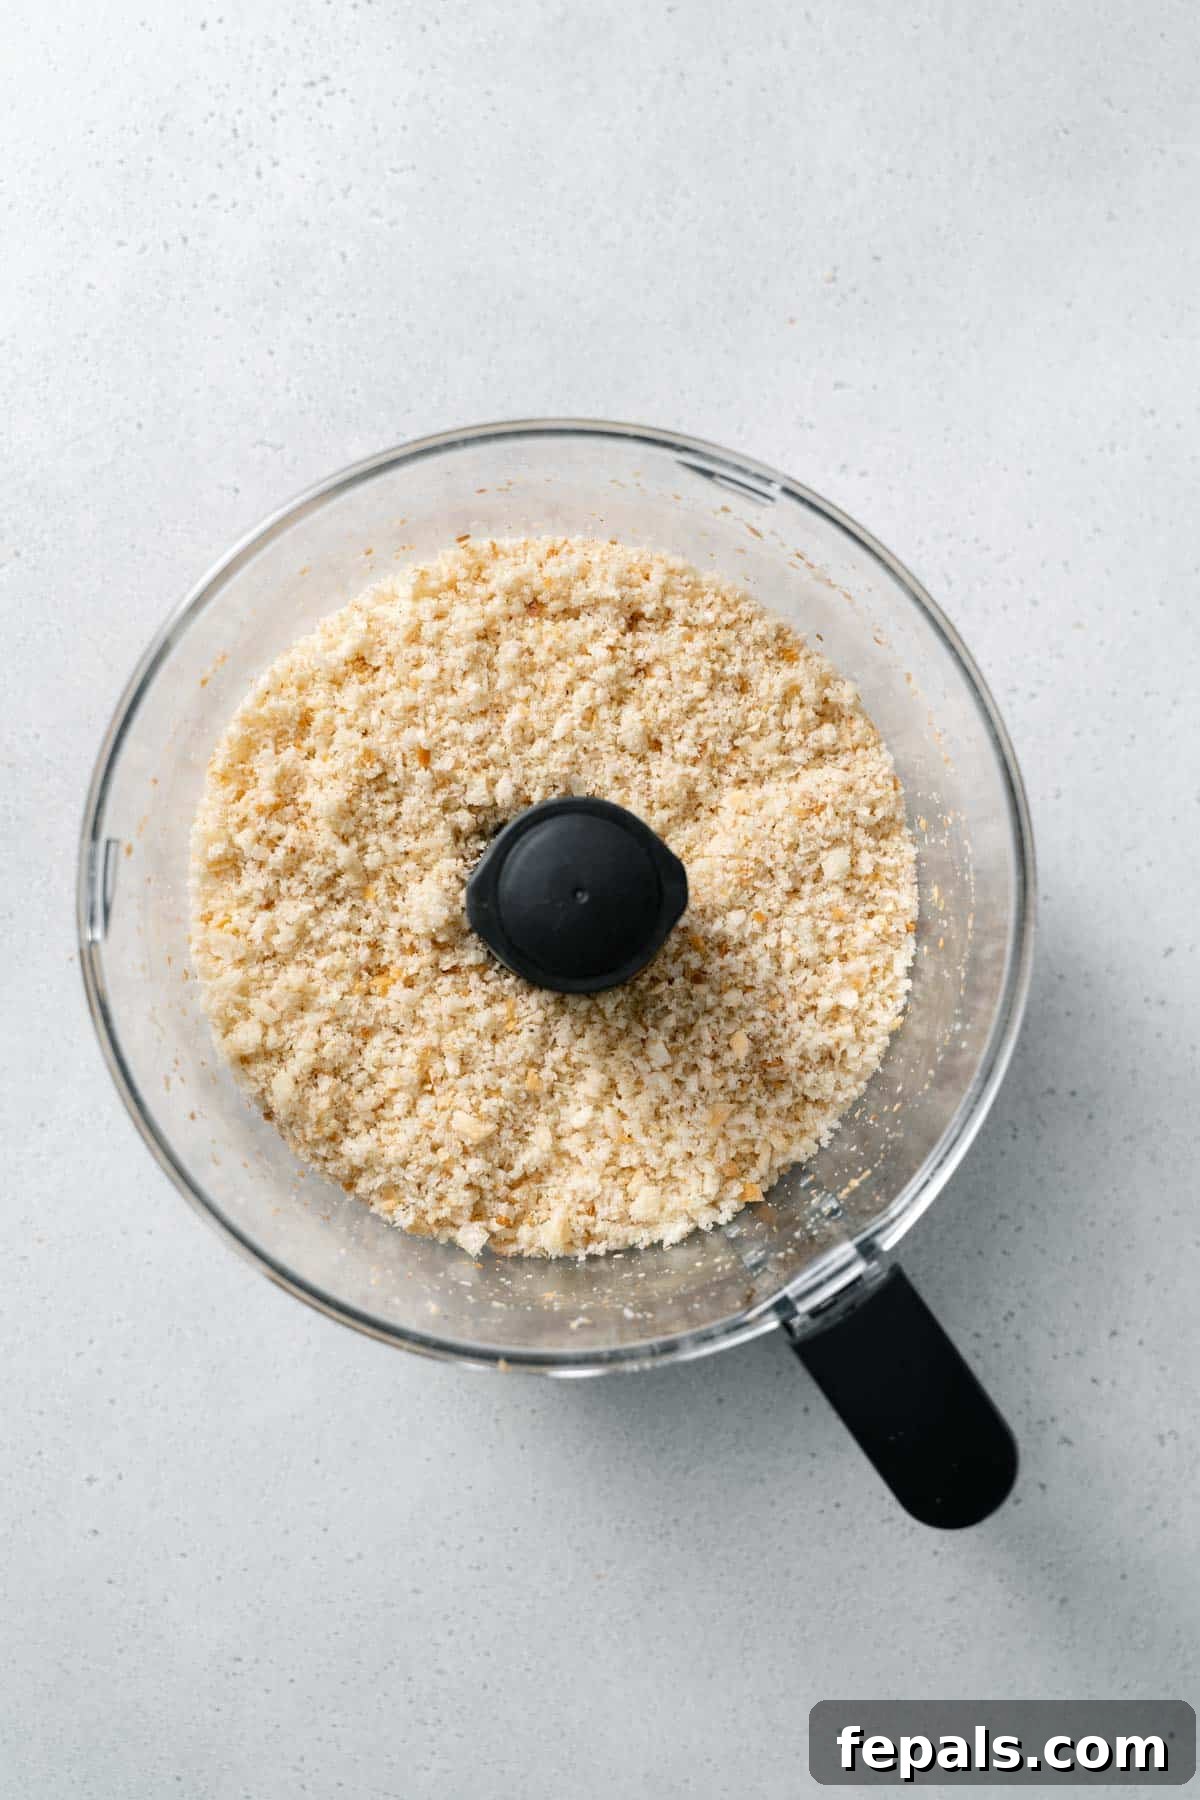
- Process to Perfection: Place the torn bread pieces into the bowl of your food processor. Pulse the bread in short bursts, rather than blending continuously. This method allows you to control the consistency, preventing the crumbs from becoming a paste. Continue pulsing until the breadcrumbs reach your desired texture—typically fine and uniform for binding, or slightly coarser if preferred.
- Use or Store: Your fresh, soft breadcrumbs are now ready to be used immediately in your recipe. If you’re not using them right away, refer to the storage tips below to keep them fresh.
Method 2: Baked & Toasted Crispy Breadcrumbs
Toasted breadcrumbs offer a delightful crunch and a deeper, nuttier flavor, making them ideal for toppings and crispy coatings. This method involves a simple baking step after processing.
- Preheat Your Oven: Begin by preheating your oven to 300 degrees Fahrenheit (150 degrees Celsius). This moderate temperature ensures the crumbs dry out and toast evenly without burning.
- Prepare Stale Bread: Grab your stale loaf of bread. The staler the bread, the crispier your toasted crumbs will be. Tear it into small pieces, similar to the fresh breadcrumb method.
- Process the Bread: Place the stale bread pieces into your food processor. Pulse until the pieces are light, fine, and uniform in size. For a panko-like texture, process slightly less, leaving them a bit flakier.
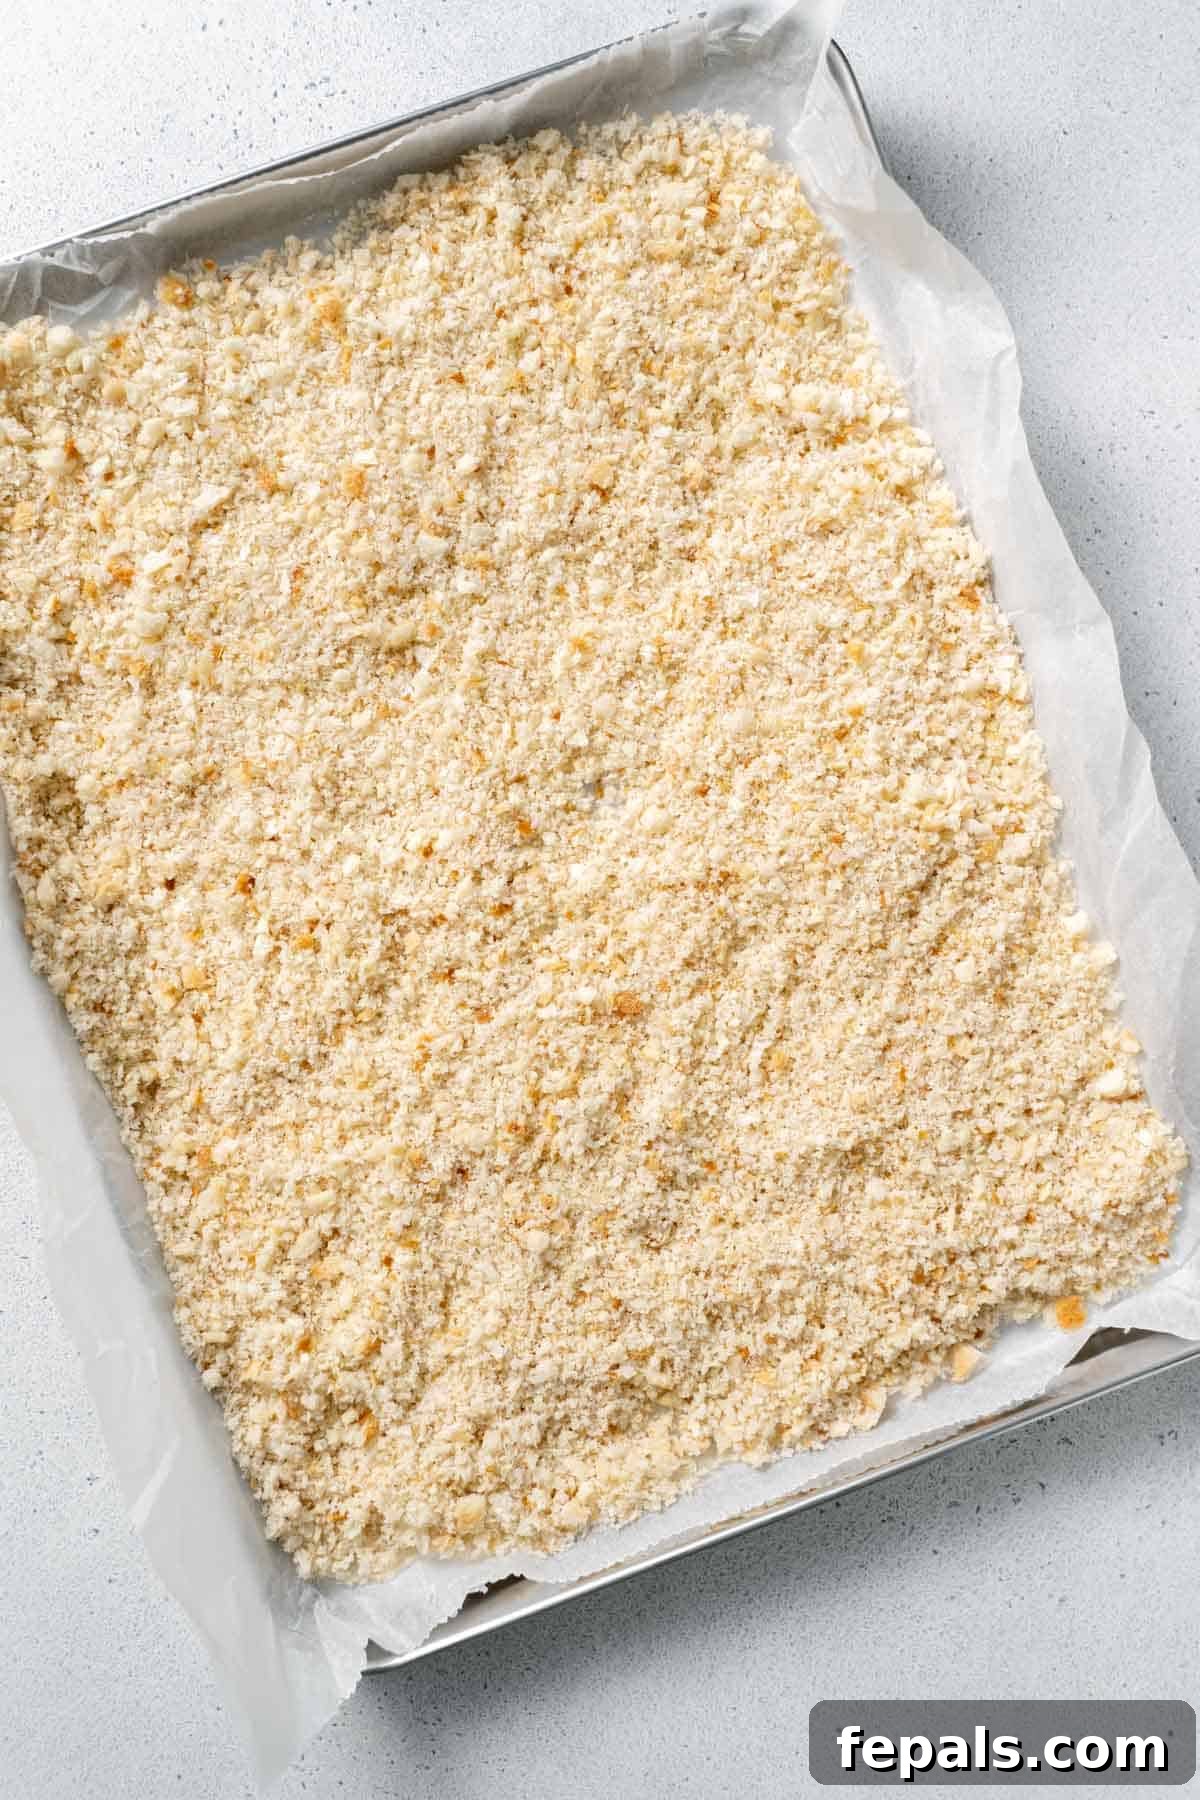
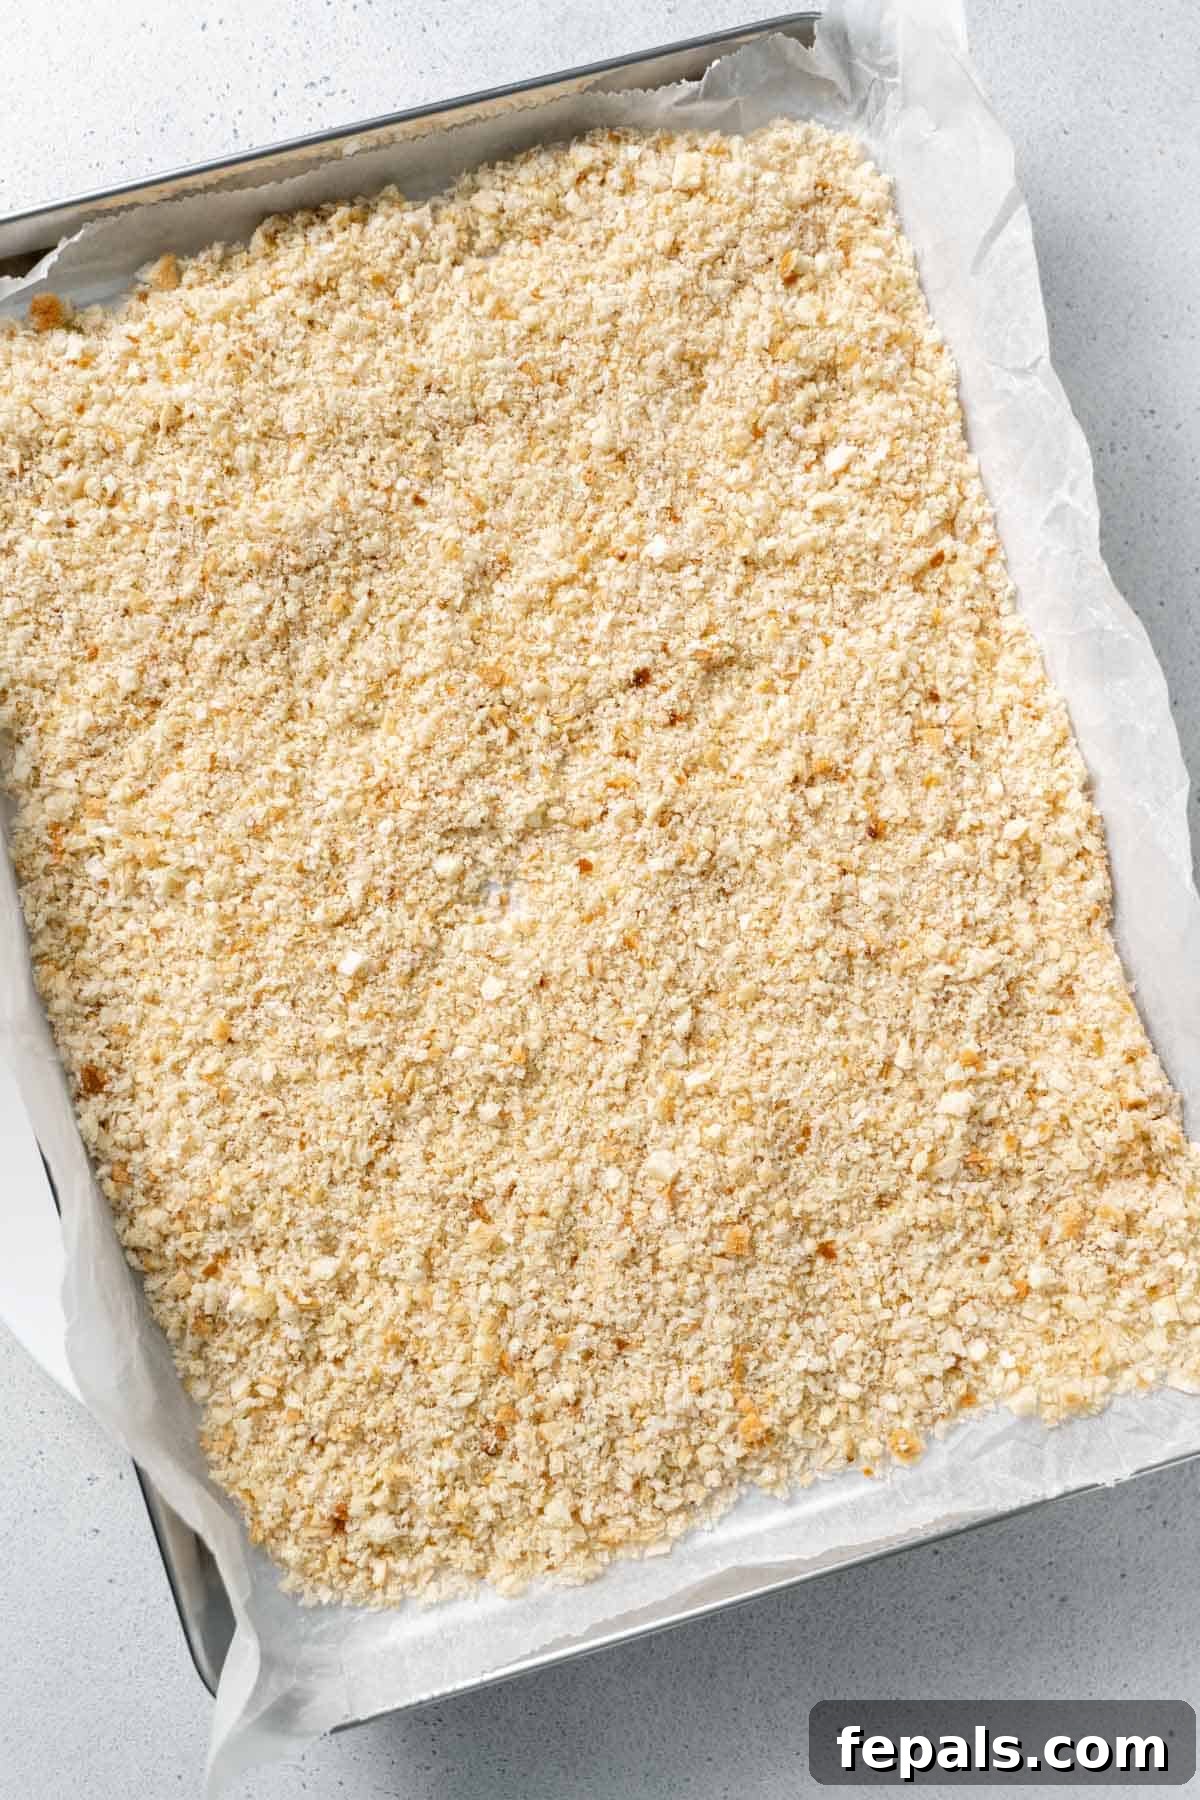
- Season and Spread: Transfer the processed crumbs to a baking sheet lined with parchment paper. If you wish to add Italian seasoning or any other herbs and spices, this is the perfect time. Stir the crumbs and seasonings together thoroughly with a spoon or your fingers to ensure an even distribution.
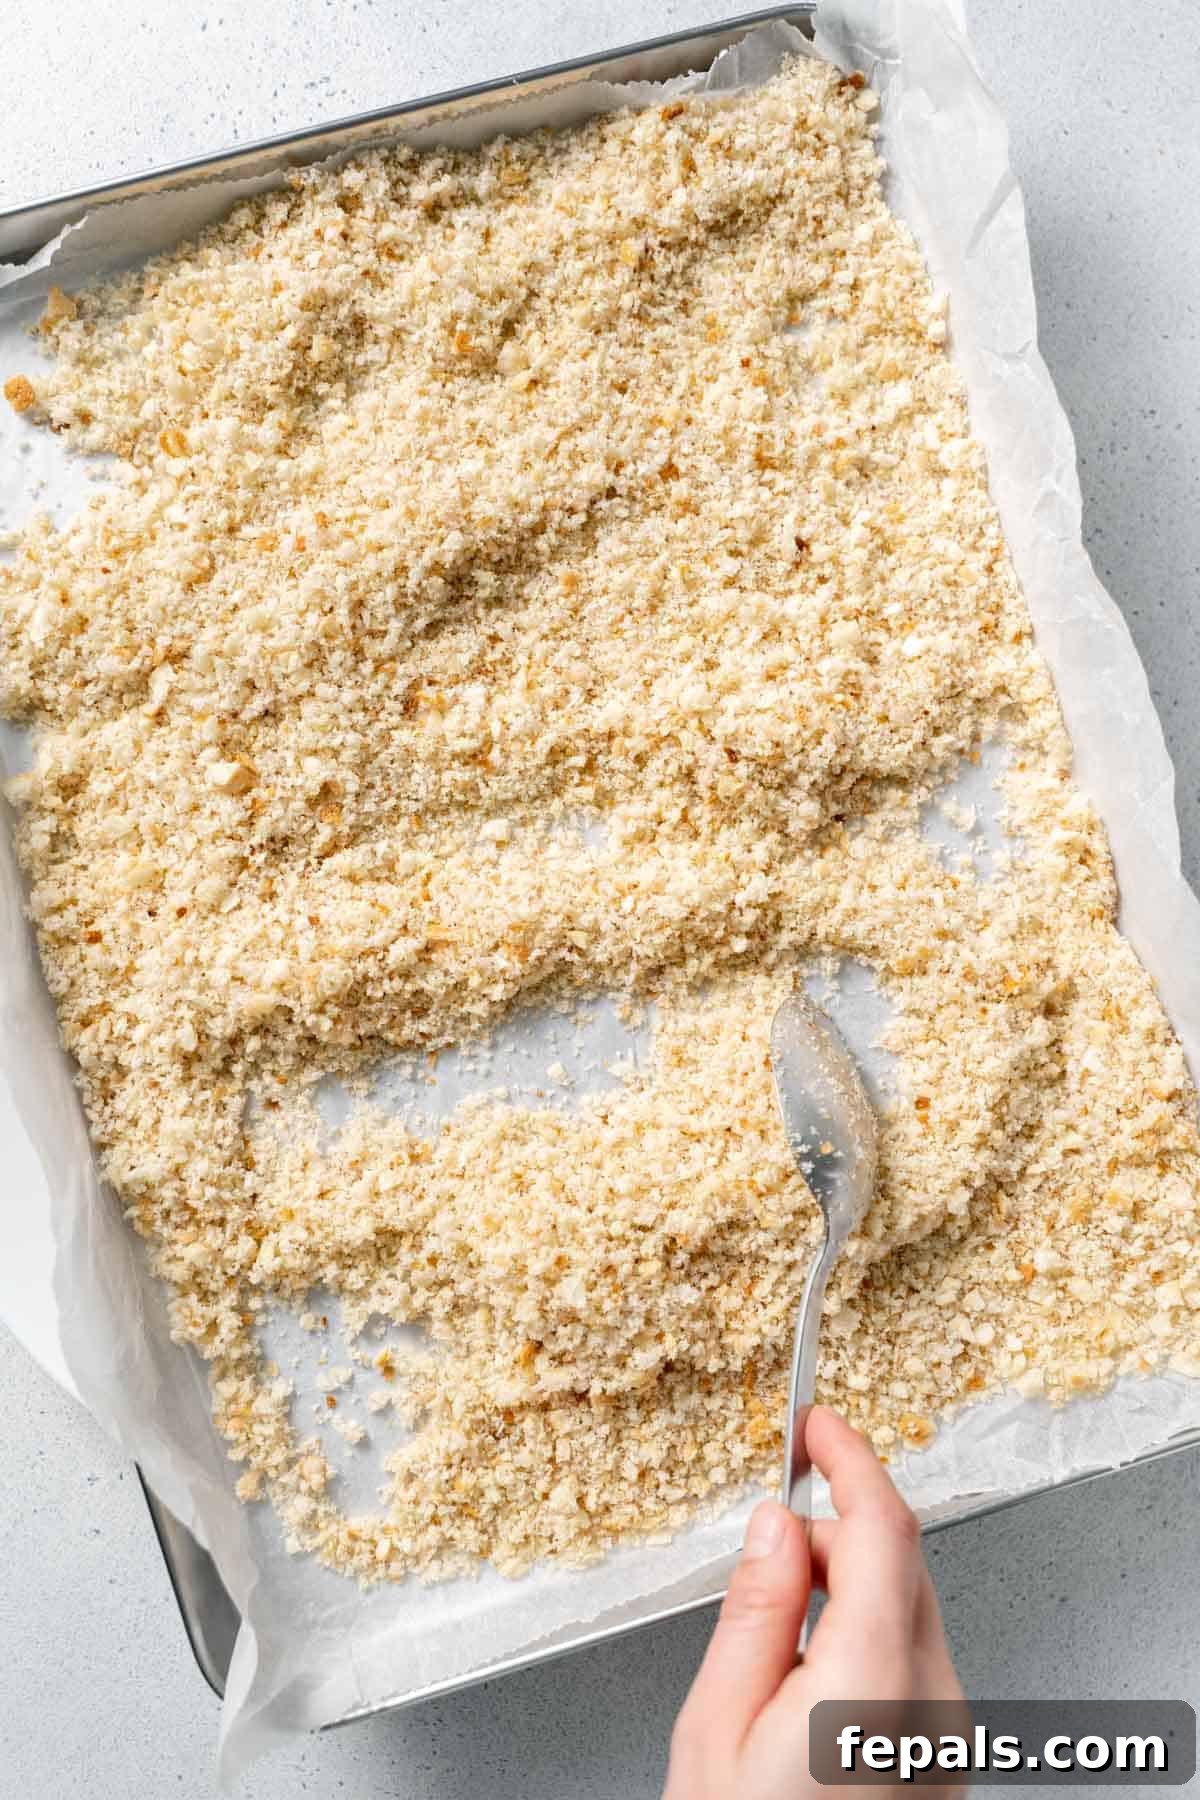
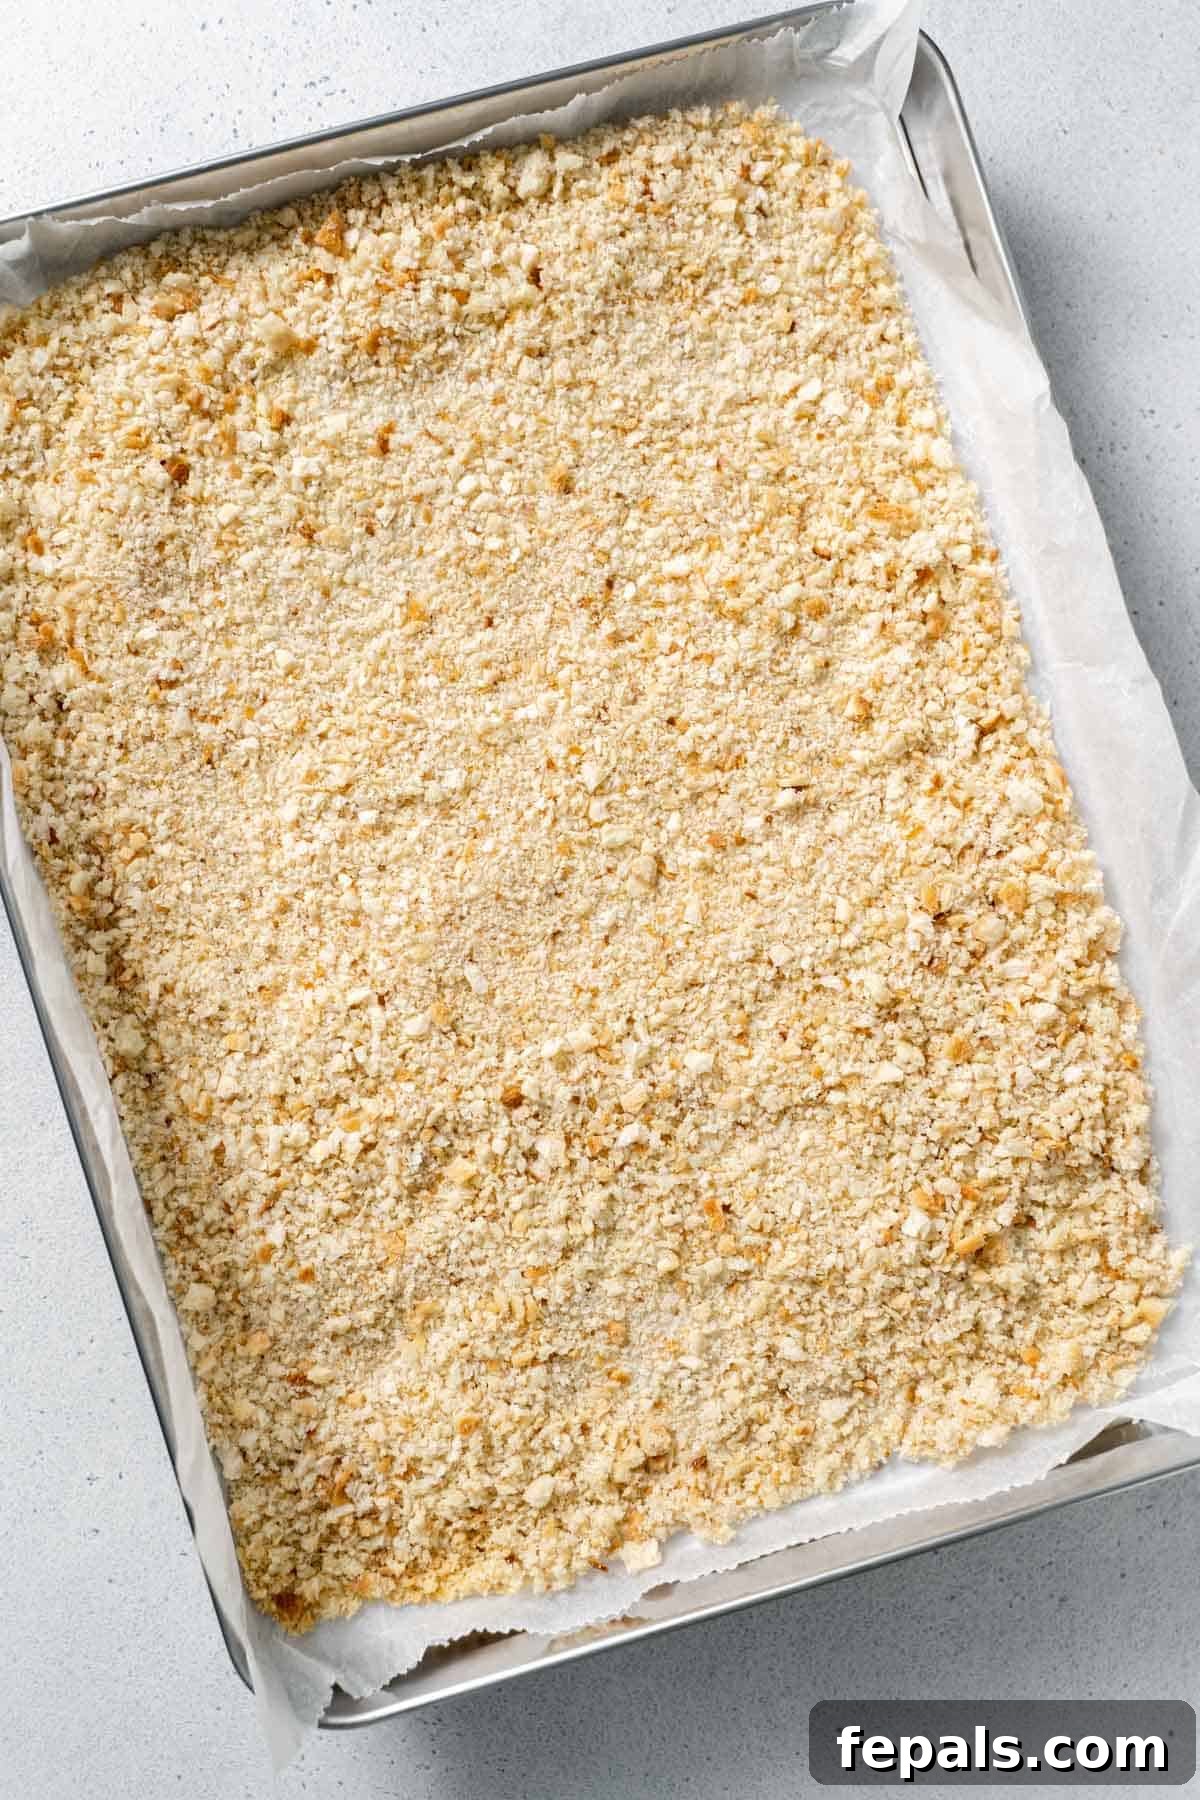
- Bake Until Golden: Bake the breadcrumbs in the preheated oven for approximately 20 minutes. The key is to stir the breadcrumbs every five minutes to promote even drying and browning. Continue baking until they are completely dry, lightly golden brown, and delightfully crisp.
- Cool Completely: Once baked, remove the breadcrumbs from the oven and spread them out on the baking sheet to cool completely. Cooling is crucial before storage, as any residual warmth can create condensation and lead to soggy crumbs. Once cooled, they are ready to enjoy!
Tips for Perfect Breadcrumbs & Storage
Achieving perfectly homemade breadcrumbs is simple, but a few tips can ensure optimal flavor, texture, and longevity.
- Texture Control is Key: The magic of a food processor is its ability to create different textures. For fine, soft crumbs ideal for binding meatballs or thick sauces, pulse for a longer duration until the consistency is uniform and powder-like. For coarser, panko-like crumbs that add a fantastic crunch to toppings, pulse in shorter bursts, leaving some larger, irregular pieces. Experiment to find your preferred texture!
- Flavor Variations Beyond Italian Seasoning: While Italian seasoning is a wonderful addition, don’t limit yourself! Consider these delicious variations:
- Garlic & Herb: Add garlic powder, onion powder, and dried oregano.
- Spicy Crumbs: Mix in a pinch of paprika, chili powder, or red pepper flakes.
- Cheesy Crumbs: Incorporate grated Parmesan cheese before toasting for a savory, umami boost.
- Fresh Herbs: Finely chop fresh rosemary, thyme, or parsley and mix them in after the crumbs have cooled (for maximum flavor and color).
- Lemon Zest: A touch of lemon zest adds a bright, zesty note perfect for fish or chicken dishes.
You can also toast your crumbs with a drizzle of olive oil or melted butter for extra richness.
- Smart Storage Solutions: Proper storage is essential for preserving the quality of your homemade breadcrumbs.
- Pantry (Toasted Crumbs): Once completely cooled, toasted breadcrumbs can be stored in an airtight container or sealed jar in your pantry for up to one year. Ensure they are bone-dry to prevent mold.
- Refrigerator (Fresh Crumbs): Fresh, unbaked breadcrumbs are more perishable due to their moisture content. Store them in an airtight container in the refrigerator for up to 3-5 days.
- Freezer (Both Types): For extended storage, the freezer is your best friend. Both fresh and toasted breadcrumbs can be frozen in airtight containers or freezer-safe bags for up to one year. This is especially recommended if you live in a humid environment, which can shorten shelf life. When ready to use, simply thaw them at room temperature or add them directly to your recipe (they’ll defrost quickly).
- Troubleshooting Common Issues:
- Too Moist/Gummy: This usually happens with fresh bread that hasn’t been allowed to stale enough. For soft crumbs, a little moisture is okay, but for toasted crumbs, ensure your bread is truly stale. If they feel damp after processing, spread them thinly on a baking sheet and air-dry for an hour before baking.
- Uneven Texture: Pulse the bread in batches and scrape down the sides of the food processor bowl periodically to ensure all pieces are processed evenly.
- Burning During Toasting: Keep a close eye on your breadcrumbs in the oven and stir them every 5 minutes. Ovens can vary, so adjust baking time as needed. A lower temperature and frequent stirring are key to even, golden browning.
Frequently Asked Questions
If you lack a food processor or blender, you can still easily make breadcrumbs by hand. Place your dry or stale bread pieces in a sturdy sealed bag (a Ziploc bag works well). Close the bag, removing as much air as possible, then use a rolling pin, a meat mallet, or even the bottom of a heavy pan to smash and crush the bread until it breaks down into small, fine pieces. This method is surprisingly effective for rustic crumbs.
To achieve truly dry and crunchy breadcrumbs, you’ll need to toast them in the oven. After processing your stale bread into crumbs, spread them thinly and evenly on a parchment-lined baking sheet. Bake them at a low temperature (around 300°F or 150°C) for about 20 minutes, stirring every 5 minutes, until they are golden brown and completely dry. Allow them to cool fully before storing to ensure maximum crispness.
Yes, absolutely! If you don’t own a food processor, a blender can be an excellent alternative for creating breadcrumbs. Simply break your stale bread into smaller chunks that fit comfortably into your blender. Pulse in short bursts, just like you would with a food processor, until you reach your desired crumb consistency. Be mindful not to over-blend, as this can turn the bread into a paste.
Regular breadcrumbs are made from various types of bread, including crusts, resulting in a dense, fine texture. Panko breadcrumbs, on the other hand, are a Japanese-style crumb made from crustless white bread that is processed into large, flaky shards. This unique structure allows Panko to absorb less oil when fried and provides a lighter, crispier coating. You can achieve a texture similar to Panko at home by using crustless bread and pulsing it for a shorter duration in the food processor, aiming for larger, irregularly shaped flakes.
The shelf life of homemade breadcrumbs depends on how they are prepared and stored. Fresh, unbaked breadcrumbs will last for 3-5 days in an airtight container in the refrigerator. Toasted (baked) breadcrumbs, once completely cooled and stored in an airtight container in a cool, dry pantry, can last for up to a year. For even longer storage, both fresh and toasted breadcrumbs can be frozen for up to a year in freezer-safe bags or containers.
Notes and Tips
- Storage Best Practices: For long-lasting results, always ensure your toasted breadcrumbs are completely cool and dry before placing them in an airtight container. Store them in a cool, dark cupboard for up to one year. If you live in a particularly humid climate, or want to extend their freshness even further, storing them in the freezer is an excellent option for both fresh and toasted varieties.
- Any Bread Works: Don’t feel restricted to a specific type of bread. The beauty of this recipe is its flexibility. Utilize whatever stale loaf you have on hand – be it white, whole wheat, sourdough, or even leftover hot dog or hamburger buns. The key is its staleness.
- Customize Your Flavor: While Italian seasoning adds a delicious touch, feel free to experiment! Omit it for plain breadcrumbs, or use a different herb blend such as dried oregano, thyme, garlic powder, onion powder, or even a pinch of paprika for unique flavor profiles tailored to your specific dish.
Other Recipes You Might Enjoy
- How To Make Almond Milk
- Homemade Almond Butter
- How To Make Croutons
- Homemade Taco Seasoning
- Vegan Mashed Potatoes
- How to make Apple Sauce
Get my free eBook!
Grab my free ebook featuring 20 of my top 30 minutes family-friendly healthy dinner recipes.
If you try this versatile breadcrumb recipe and love it, please leave some feedback in the comment section below, and don’t forget to give it a rating! Your support means a lot, and I would be thrilled if you shared it with friends and family.
FOLLOW me on FACEBOOK | INSTAGRAM | PINTEREST | TWITTER for all of my latest blog posts and recipes.
How To Make Breadcrumbs
Equipment
-
1 food processor
Ingredients
Fresh Nonbaked Breadcrumbs
- 1 loaf bread
Baked Crispy Breadcrumbs
- 1 loaf bread, stale
- 1 tablespoon Italian seasoning, optional
Instructions
Fresh Nonbaked Breadcrumbs
-
Tear the bread into pieces, add to a food processor, and pulse until fine and ready for use.
Baked Crispy Breadcrumbs
-
Tear the stale bread of choice into pieces and then pulse in a food processor.
-
Add the pulsed bread to a parchment-lined baking pan. If adding Italian seasoning, add it at this point, and combine using a spoon or your fingers.
-
Bake at 300 degrees F (150 degrees C) for 20 minutes or until dry and lightly golden brown. Stir every 5 minutes.
-
Remove from oven and allow it to cool completely before storing.
Notes
- How to store breadcrumbs: Place your breadcrumbs in a sealed jar and store them in your cupboard for up to one year. If you live in a humid environment, you’ll need to store your breadcrumbs in the freezer.
- Any kind of loaf of bread will work for this breadcrumb recipe! Just use whatever stale loaf of bread you have in your home whenever you need to make breadcrumbs.
- Omit the Italian seasoning or use a different herb blend for extra delicious flavors.
- Nutrition facts is for 2 cups of bread crumbs
Nutrition
Nutrition information is automatically calculated, so should only be used as an approximation.
Additional Info
Making homemade breadcrumbs is a game-changer for any home cook. It’s a simple, sustainable practice that not only prevents food waste but also adds unparalleled freshness and flavor to your dishes. By following these easy methods, you’ll always have a supply of perfectly textured crumbs ready for any culinary adventure. Enjoy the satisfaction of transforming a humble loaf into a versatile kitchen essential!