
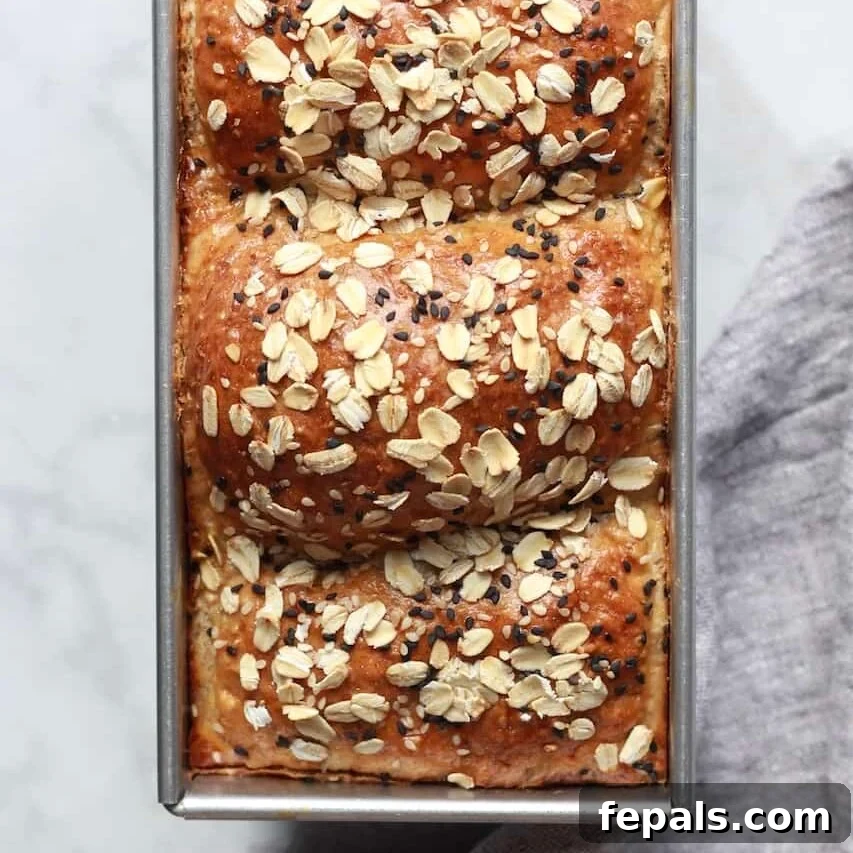
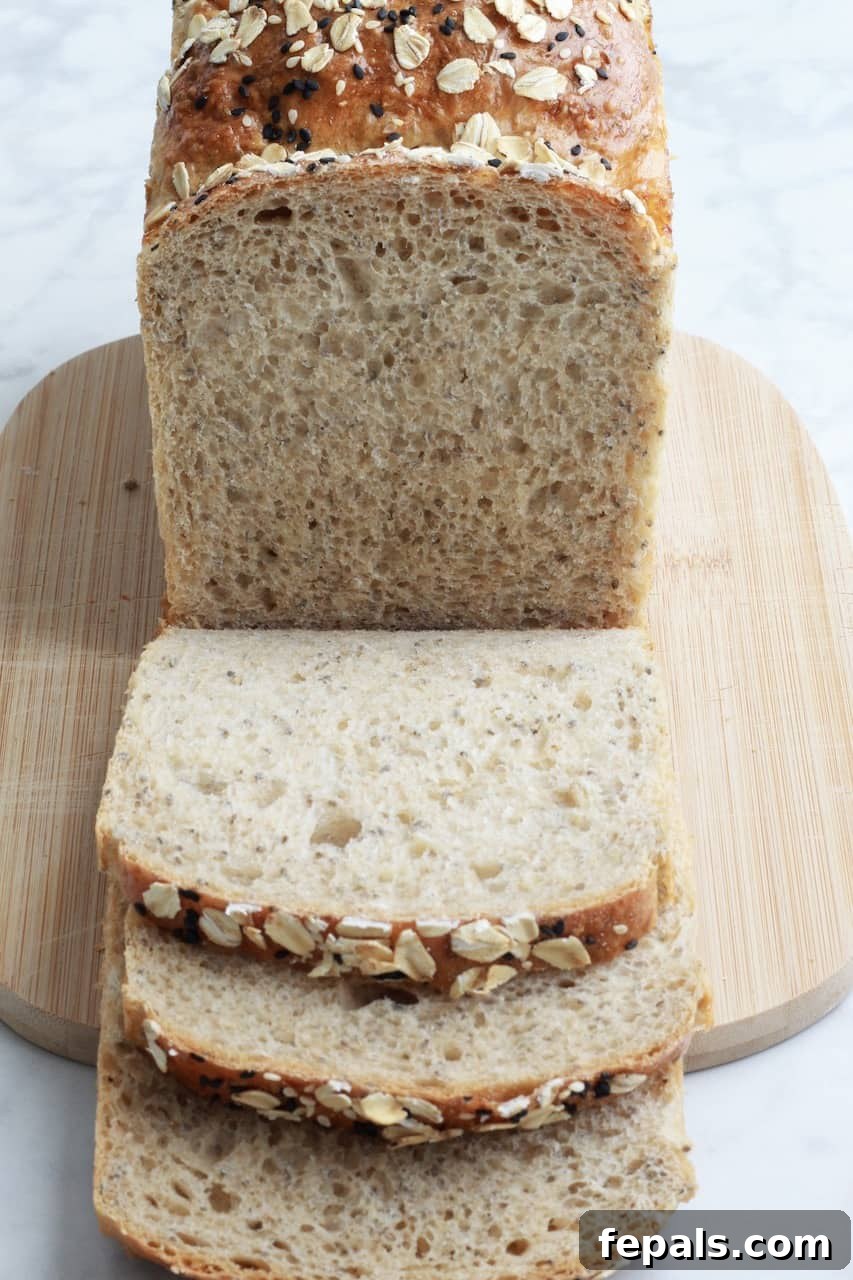
This Chia Seed Whole Wheat Bread recipe offers a truly satisfying experience with its robust flavor and rich texture. It’s a deliciously dense, homemade loaf that’s incredibly versatile – perfect for crafting hearty sandwiches, dipping into your favorite soups, enjoying as a nutritious breakfast, or simply savoring as a wholesome snack any time of day.
If you appreciate the comforting taste of homemade baked goods, you might also love my homemade dinner rolls for another delightful treat.
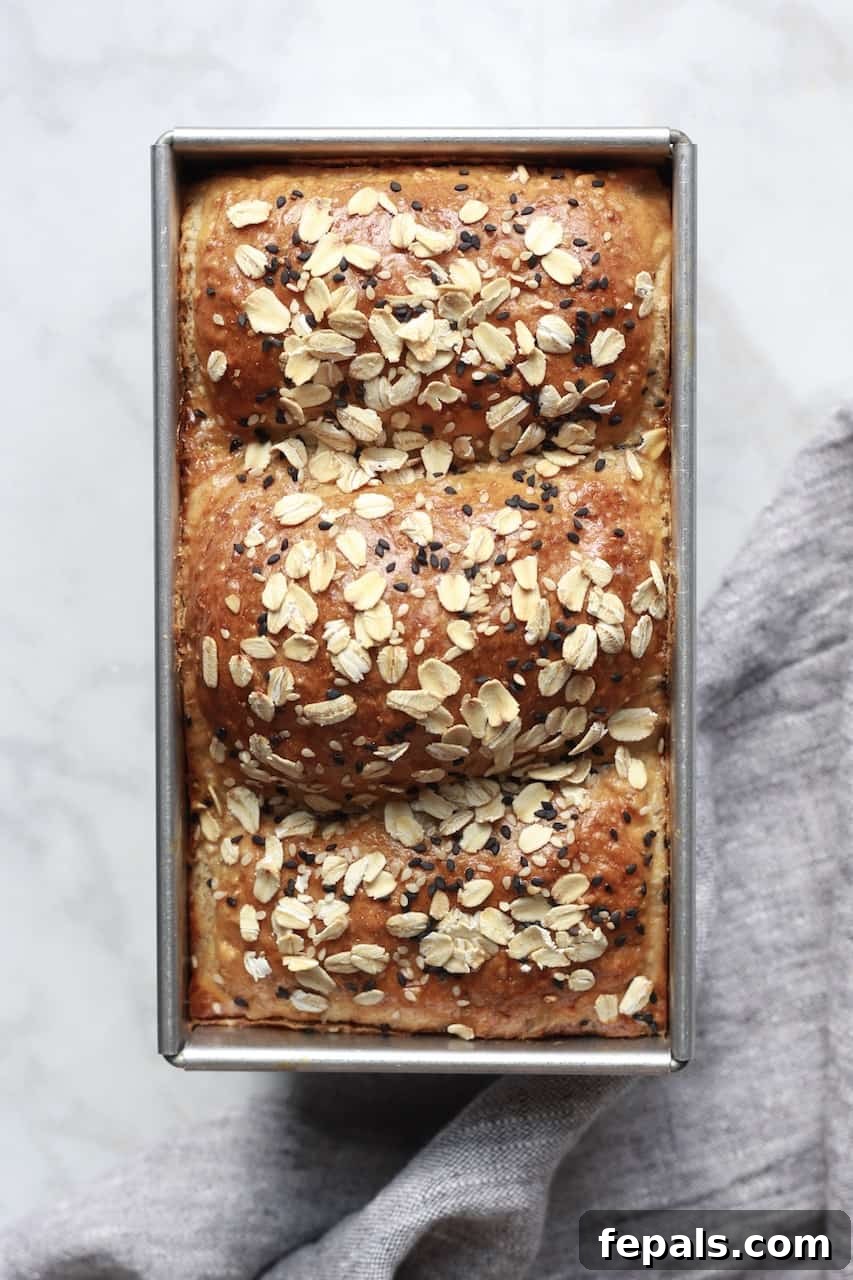
Brimming with the goodness of nutrient-rich chia seeds and crafted with wholesome whole wheat flour, this rustic Homemade Whole Wheat Bread is more than just delicious – it’s soft, wonderfully fluffy, and packed with health benefits. Every bite delivers a delightful chew and a hearty satisfaction that makes it truly exceptional. Best of all, despite its impressive qualities, it’s surprisingly easy to make right in your own kitchen.
Looking for more delightful bread recipes? Explore options like my Healthy Banana Bread Recipe for a sweet indulgence, or perhaps my Chocolate Chip Pumpkin Bread for a seasonal favorite!
Why You’ll Love This Chia Seed Whole Wheat Bread
There are countless reasons why this Chia Seed Whole Wheat Bread will become a staple in your home. From its incredible flavor profile to its ease of preparation and impressive nutritional value, this recipe truly stands out:
- Irresistibly Delicious: Imagine the comforting aroma filling your kitchen as this beautiful loaf bakes to golden perfection. It’s hearty without being overly dense, naturally sweetened with just a touch of honey, and boasts a depth of flavor that store-bought bread simply can’t match. It’s perfect slathered with butter, as the base for a gourmet sandwich, or simply enjoyed on its own.
- Effortlessly Easy Baking: Don’t own a bread maker? No problem! This recipe is designed to be straightforward and accessible for home bakers of all skill levels. The prep is simple, and the process, while requiring a bit of patience for rising, is incredibly rewarding. Soon, you’ll be enjoying fresh, artisan-quality bread with minimal fuss.
- Packed with Wholesome Goodness: This isn’t just any bread; it’s a nutritional powerhouse. Loaded with omega-3 rich chia seeds, topped with wholesome rolled oats, and made predominantly with fiber-packed whole wheat flour, each slice delivers a robust nutritional punch. It’s a smart choice for those seeking a healthier, more fulfilling bread option.
- Versatile for Every Meal: Its hearty texture and balanced flavor make it incredibly versatile. Use it for a savory turkey sandwich, toast it for breakfast with avocado, serve it alongside a hearty stew, or enjoy it lightly toasted with jam. The possibilities are endless!
The Nutritional Powerhouse: Chia Seeds and Whole Wheat Flour
One of the standout features of this bread is its incredible nutritional profile, primarily thanks to two star ingredients: chia seeds and whole wheat flour. Understanding their benefits will make you appreciate every single bite even more.
The Magic of Chia Seeds
Chia seeds, tiny but mighty, are a fantastic addition to any diet, and especially to homemade bread. They are an excellent source of:
- Omega-3 Fatty Acids: Crucial for heart health and brain function, often found in fish, but abundantly available in these plant-based seeds.
- Dietary Fiber: Chia seeds are loaded with fiber, which aids digestion, helps maintain healthy blood sugar levels, and contributes to a feeling of fullness, making this bread more satisfying.
- Protein: They provide a good amount of plant-based protein, essential for muscle repair and growth.
- Minerals: Rich in calcium, magnesium, phosphorus, and manganese, all vital for bone health and various bodily functions.
In bread, chia seeds add a pleasant, subtle crunch and help improve the bread’s texture and moisture retention, keeping it fresh for longer.
The Wholesomeness of Whole Wheat Flour
Choosing whole wheat flour over refined white flour significantly boosts the nutritional value of your bread. Whole wheat flour contains all three parts of the wheat kernel – the bran, germ, and endosperm – unlike white flour, which only contains the endosperm. This means it’s packed with:
- Fiber: Much higher in fiber than white flour, promoting digestive health and helping to regulate blood sugar.
- Vitamins and Minerals: A rich source of B vitamins (niacin, thiamine, folate), iron, magnesium, and zinc, all of which are stripped away during the processing of white flour.
- Antioxidants: Contains beneficial plant compounds that help protect the body against disease.
The combination of these two ingredients creates a bread that is not only incredibly flavorful but also deeply nourishing, making it a smart choice for your family’s table.
Essential Ingredients You’ll Need
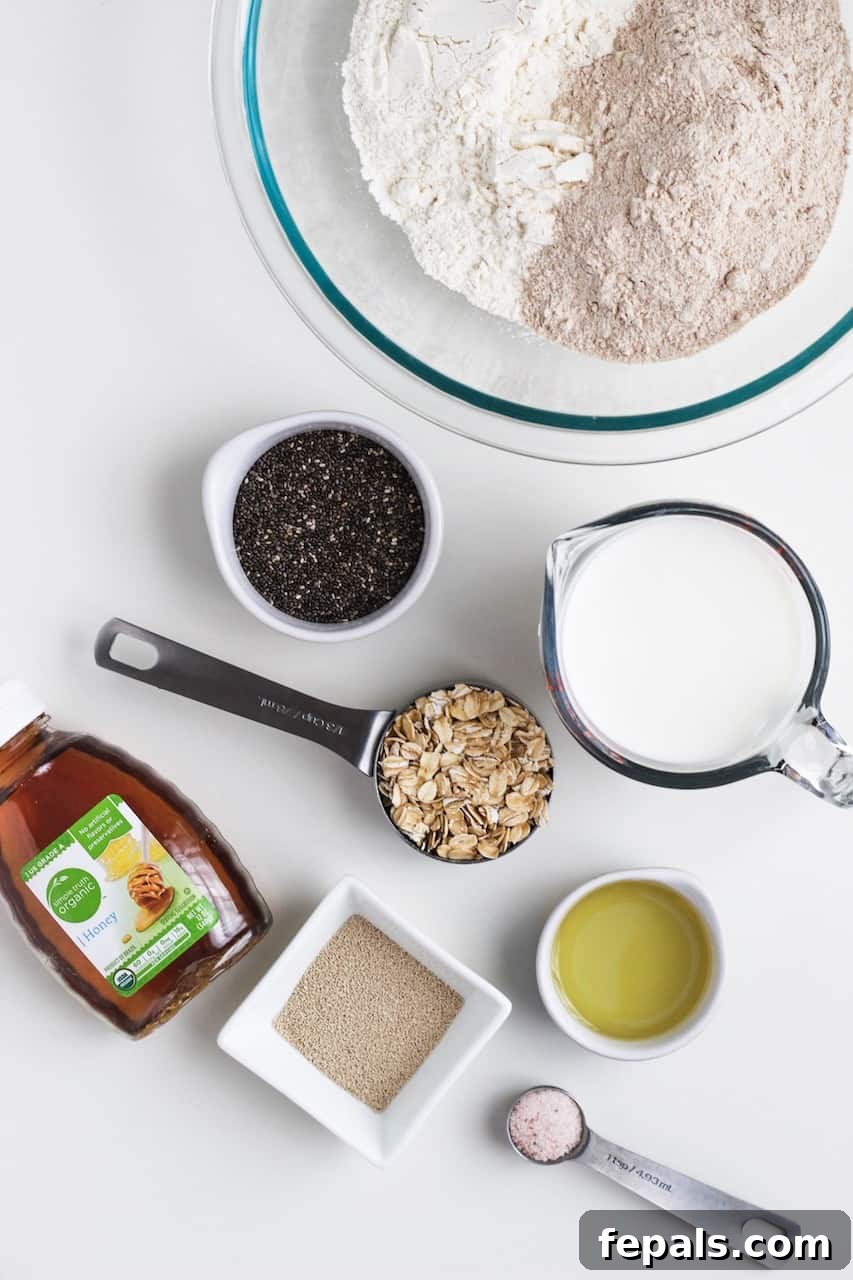
Gathering your ingredients before you begin ensures a smooth baking process. Here’s what you’ll need for this wholesome chia seed whole wheat bread:
- Bread Flour: Provides the gluten necessary for a chewy texture and good structure.
- Whole Wheat Flour: Adds a nutty flavor, rich fiber content, and a hearty texture. You can substitute with additional white flour if you prefer a lighter loaf, but the whole wheat is key for the nutritional benefits and distinctive taste of this recipe.
- Active Dry Yeast: The leavening agent that makes your bread rise beautifully. Ensure it’s fresh for optimal results.
- Rolled Oats: Adds a lovely texture and a dose of fiber, enhancing the rustic feel of the bread.
- Chia Seeds: Our star ingredient for nutrition and a delightful crunch. While optional, they are highly recommended for their health benefits and texture.
- Honey: Sweetens the bread naturally and helps activate the yeast. Agave nectar is a great alternative if you prefer.
- Warm Milk: Crucial for activating the yeast. Ensure it’s between 105-115°F (40-46°C) – too hot will kill the yeast, too cold won’t activate it.
- Avocado Oil: Contributes to a soft crumb and moist texture. Olive oil can be used as a substitute.
- Egg: Used for an egg wash to create a beautiful golden-brown crust and help toppings adhere.
- Salt: Essential for flavor balance and controlling yeast activity.
For precise measurements and quantities, please refer to the comprehensive recipe card at the end of this article!
Mastering the Art of Baking: Step-by-Step Guide to Homemade Whole Wheat Bread
Baking homemade bread might seem intimidating, but with these clear, step-by-step instructions, you’ll achieve a perfect loaf of chia seed whole wheat bread every time. No bread maker required, just a little patience and love!
-
Activate the Yeast
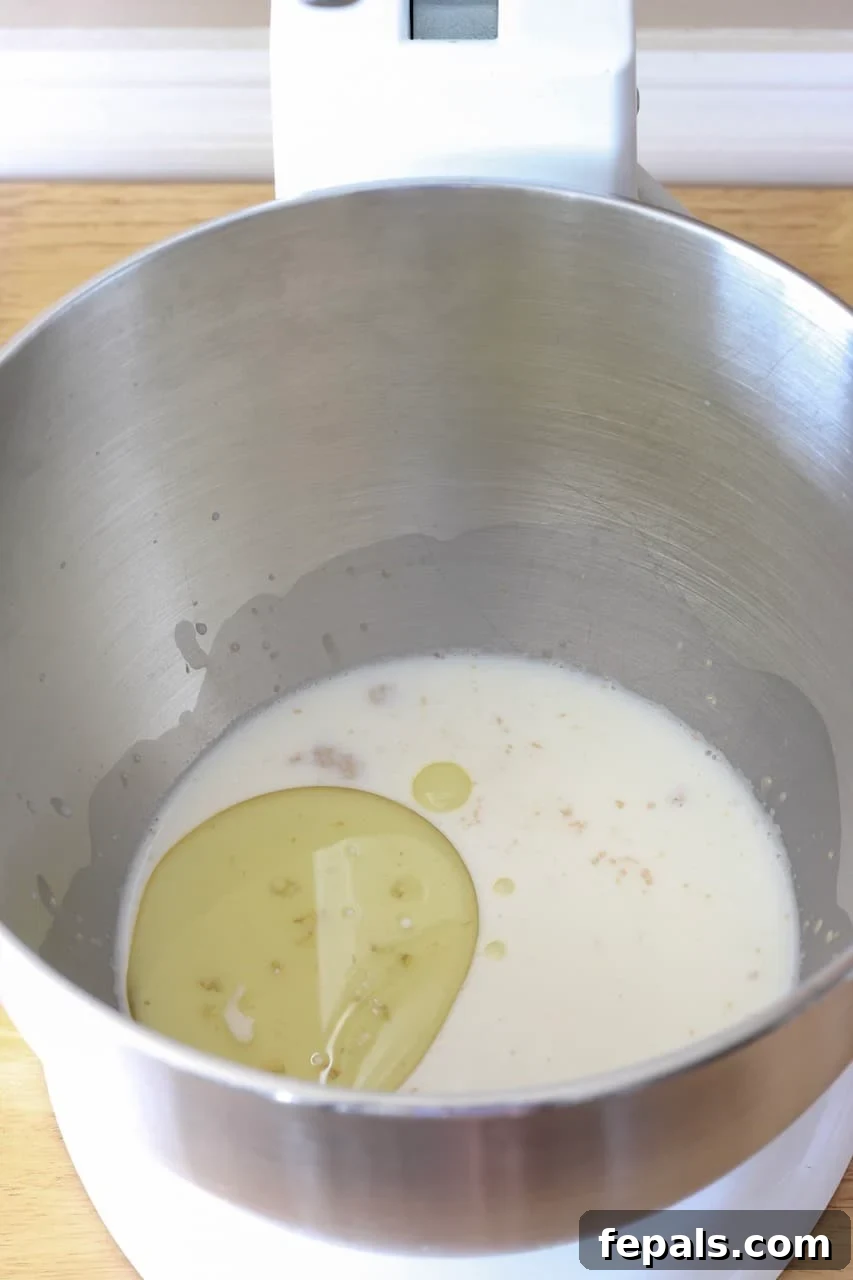
In a spacious mixing bowl, combine the warm milk (ensure it’s between 105-115°F or 40-46°C), active dry yeast, and rolled oats. Give it a gentle stir and allow it to sit undisturbed for about 10 minutes. This crucial step allows the yeast to “bloom,” meaning it activates and begins to froth, indicating it’s alive and ready to work its magic. If your yeast doesn’t bloom, your bread won’t rise, so don’t skip this!
-
Prepare and Knead the Dough
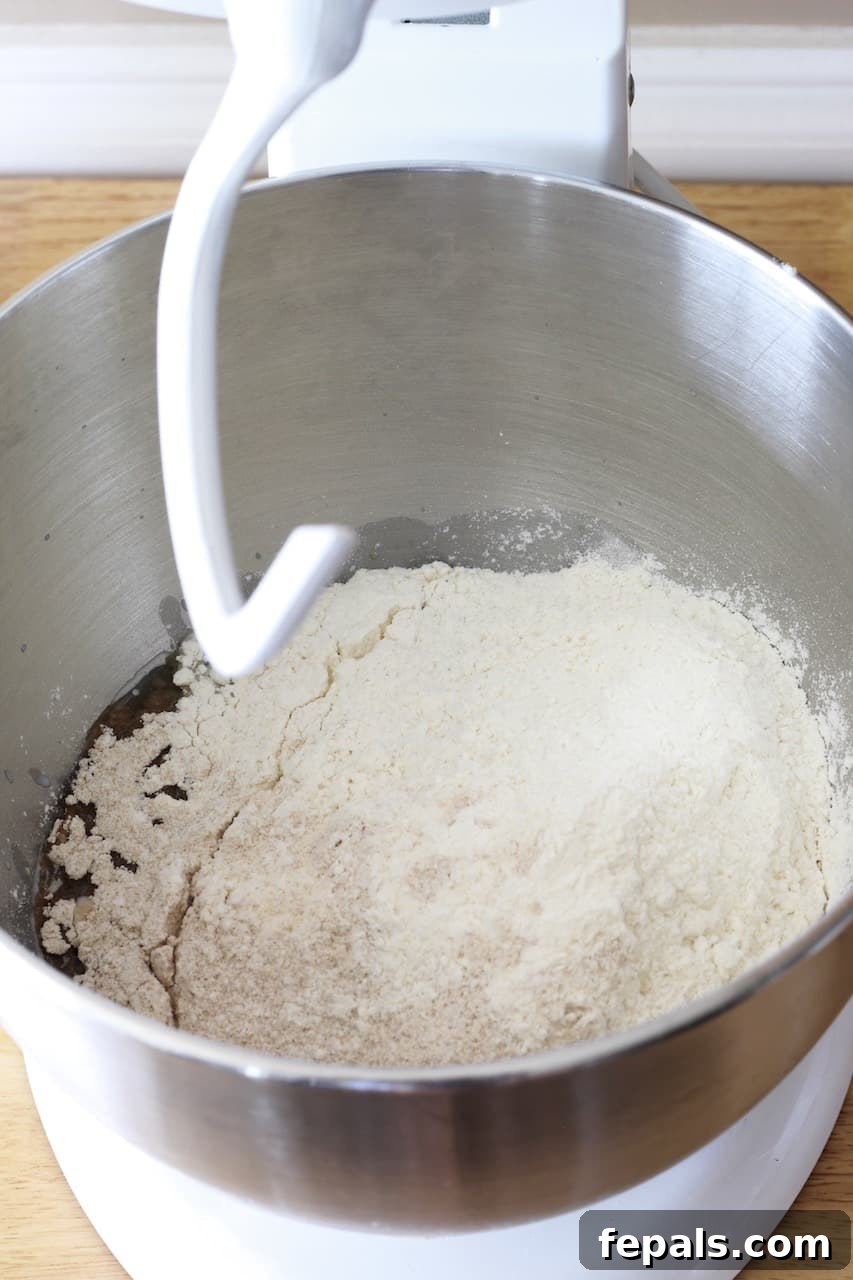
Once your yeast is active, attach a dough hook to your stand mixer. Begin mixing the yeast mixture at the slowest speed. Gradually add the avocado oil and honey, mixing for another minute to fully incorporate these wet ingredients. With the mixer still running at a low speed, slowly add the bread flour, whole wheat flour, and salt. Increase the mixer speed to medium and allow it to knead the dough for approximately 8 minutes. During the last minute of kneading, add the chia seeds, ensuring they are evenly distributed throughout the dough. Proper kneading is vital for developing the gluten, which gives bread its structure and chewy texture. The dough is perfectly kneaded when it passes the “windowpane test” – you should be able to stretch a small piece of dough thin enough to see light through it without tearing.
-
First Proofing (Rising)
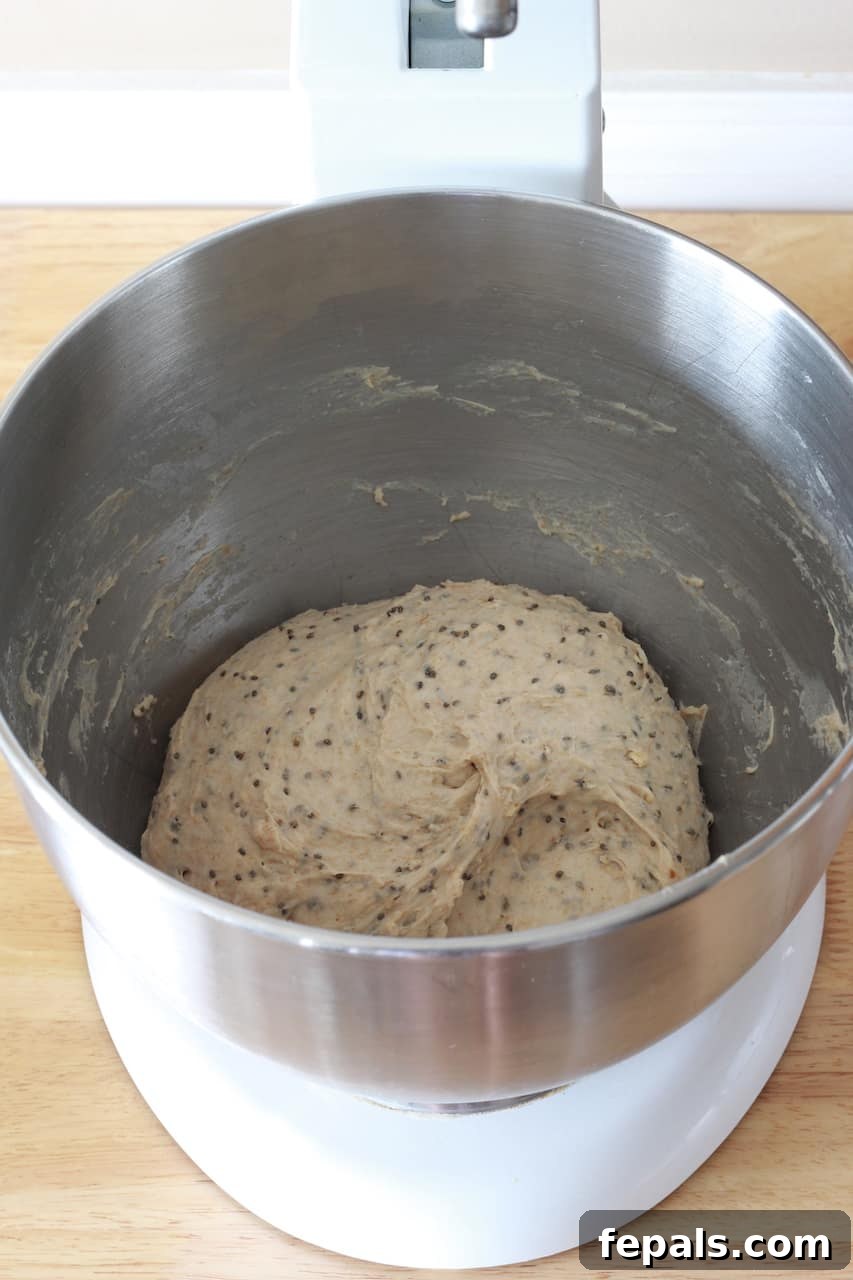
Lightly grease a clean bowl with a little oil. Transfer the kneaded dough into this greased bowl, turning it once to coat all sides. Cover the bowl tightly with a clean tea towel or plastic wrap. Find a warm, draft-free spot in your kitchen (an oven with just the light on can work wonders) and let the dough proof for about 1 hour, or until it has visibly doubled in size. This first rise allows the yeast to produce carbon dioxide, creating air pockets and giving the bread its light, airy texture.
-
Shape and Second Proofing
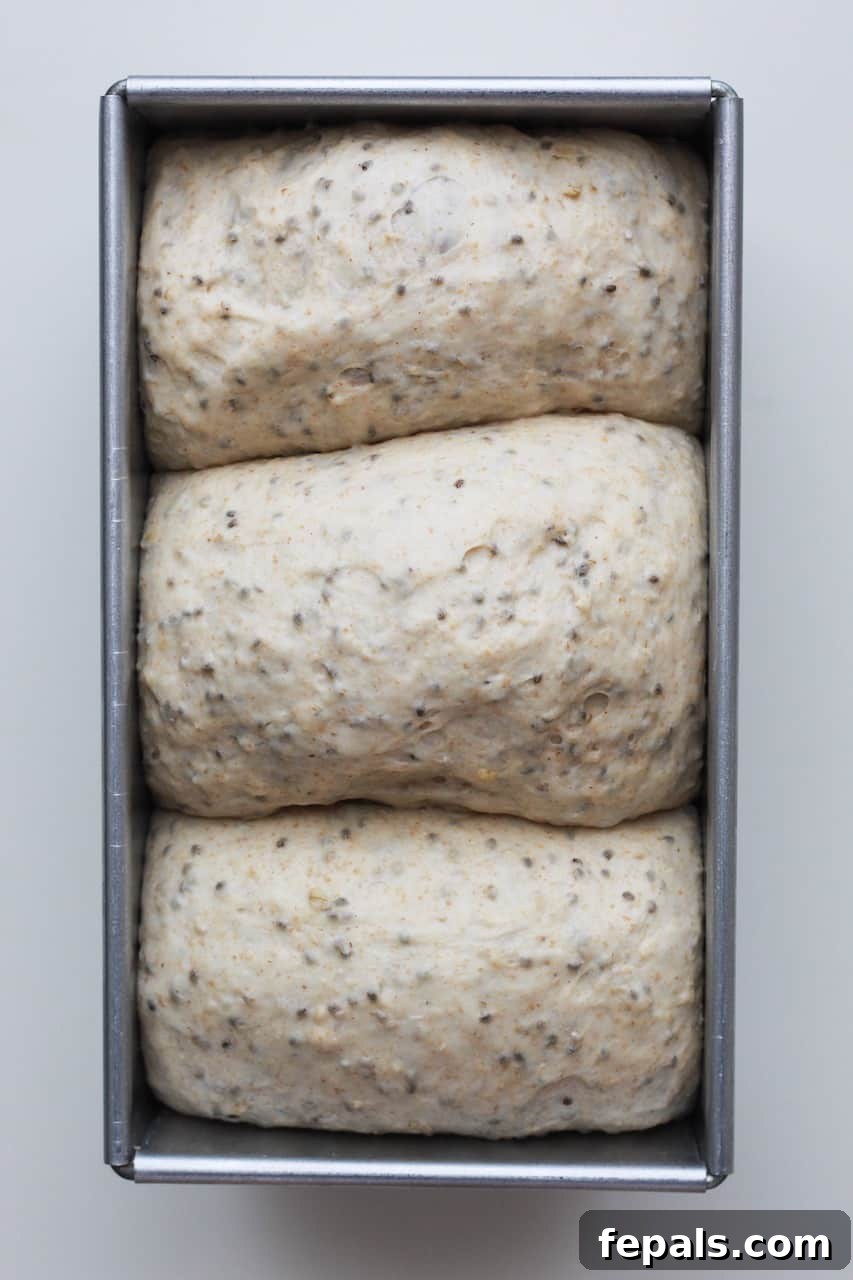
Once the dough has doubled, gently punch it down to release the trapped air. This step, called “degassing,” creates a finer crumb structure. Lightly grease a standard loaf pan. Shape the dough into a rectangular loaf that fits snugly into your prepared pan. Place the shaped dough into the loaf pan, cover it again, and let it proof for a second time, typically for about 45 minutes, or until it has risen noticeably and almost doubled in size within the pan.
-
Bake to Perfection
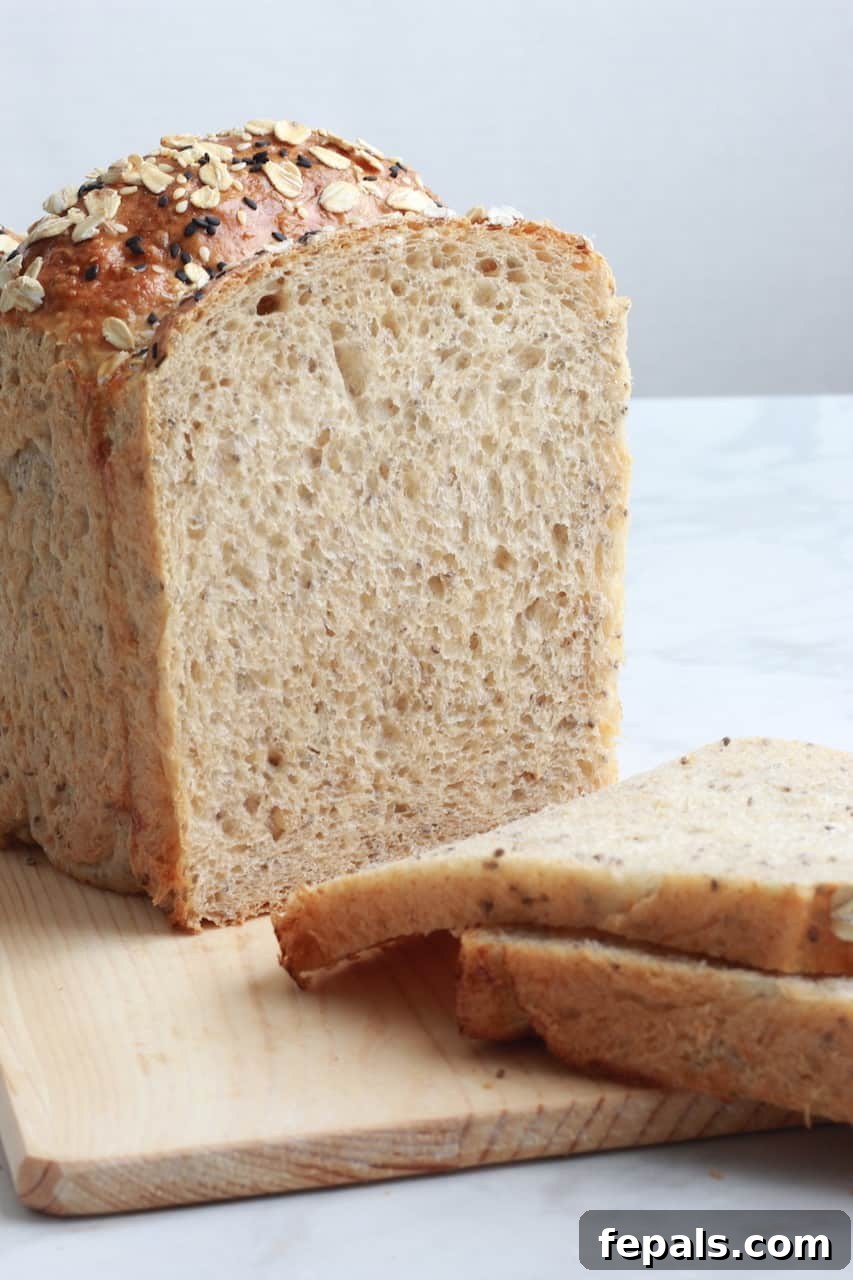
Preheat your oven to 350°F (175°C). Just before baking, gently brush the top of the risen loaf with an egg wash (one egg whisked with a tablespoon of water). This creates a beautiful, shiny, golden crust and acts as a glue for toppings. Sprinkle a generous amount of extra oats and chia seeds on top for added texture and visual appeal. Bake the loaf for approximately 30 minutes, or until it reaches a rich golden brown color on top and sounds hollow when tapped on the bottom. An instant-read thermometer inserted into the center should register between 190°F to 200°F (88-93°C) for perfect doneness.
-
Cool and Serve
Once baked, remove the loaf from the oven and immediately transfer it to a wire cooling rack. Allow the bread to cool completely to room temperature before slicing. Slicing warm bread can lead to a gummy texture. Patience is key here! Once cooled, slice it up and enjoy your incredibly fresh, homemade chia seed whole wheat bread.
Expert Tips for a Flawless Chia Seed Whole Wheat Loaf
Achieving bakery-quality bread at home is within your reach! Here are some invaluable tips to ensure your homemade whole wheat bread turns out perfectly every time:
- The Windowpane Test: A well-kneaded dough is key. You’ll know your dough is ready when it passes the “windowpane test.” Take a small piece of dough and gently stretch it. If you can stretch it thin enough to see light through it without it tearing, your gluten is sufficiently developed. This ensures a strong, elastic dough that will rise beautifully.
- Grease Your Loaf Pan: Always make sure your loaf pan is thoroughly greased. This prevents the bread from sticking and makes for easy removal after baking, ensuring a perfectly shaped loaf.
- Optimal Proofing Environment: Dough needs warmth to rise. Place your covered bowl or loaf pan in a warm, draft-free spot. A slightly warm oven (turned off, with just the light on) or a sunny spot can create an ideal environment for your dough to double in volume.
- Know When Dough is Done Rising: For both proofing stages, the dough is considered “done” rising when it has doubled in volume. You can also gently poke it with a floured finger; if the indentation slowly springs back, it’s ready. If it springs back too quickly, it needs more time; if it collapses, it’s over-proofed.
- Punching Down the Dough: After the first proof, gently punch down the dough. This releases excess air, redistributes the yeast, and helps create a finer, more even crumb structure in your finished bread. Then, shape it carefully to fit into your greased loaf pan.
- Testing for Doneness: Beyond a golden-brown crust, your bread is truly done when it reaches an internal temperature of 190°F to 200°F (88-93°C) when measured with an instant-read thermometer. It should also sound hollow when tapped on the bottom.
- Sweetener Adjustments: The honey adds a subtle sweetness. Feel free to reduce the amount if you prefer a less sweet bread. Maple syrup or agave nectar are excellent substitutes for honey, offering similar benefits and flavor profiles.
- Egg Wash for Perfection: Don’t skip the egg wash! Brushing the top of the loaf with an egg wash before baking gives it a gorgeous, glossy, golden-brown crust and ensures that any sprinkles of oats or chia seeds stick firmly in place.
- Accurate Measuring: Especially with flour, precise measurements are crucial. Use a kitchen scale for the most accurate results, or use the “spoon and level” method if measuring by volume (spoon flour into the measuring cup, then level off with a straight edge).
- Cool Completely: Resist the urge to slice into your warm bread immediately! Allowing the bread to cool completely on a wire rack lets the internal structure set, preventing a gummy texture and ensuring clean slices.
Serving Suggestions for Your Homemade Whole Wheat Bread
Once your Chia Seed Whole Wheat Bread is baked to perfection and cooled, the possibilities are endless! Its hearty nature and delightful flavor make it a fantastic base for a variety of meals and snacks.
- Classic Sandwiches: Elevate your lunch! This bread is perfect for hearty deli sandwiches, a classic BLT, or a vibrant veggie and hummus creation.
- Toasted Breakfast: Slice and toast it for breakfast. Top with avocado and a poached egg, almond butter and banana, or simply a dollop of your favorite jam.
- Soup Dippers: Serve thick slices alongside a steaming bowl of homemade lentil soup, chili, or a creamy tomato bisque. Its sturdy texture is ideal for soaking up broth.
- Bruschetta or Crostini: Lightly toast thin slices, rub with garlic, drizzle with olive oil, and top with fresh tomatoes, basil, and mozzarella for a healthy appetizer.
- Side to Savory Dishes: Perfect with a Sunday roast, a weeknight casserole, or a fresh salad.
- Simple Snack: A slice with a smear of butter and a sprinkle of sea salt is often all you need to truly appreciate its wholesome flavor.
Storage and Freezing Your Homemade Bread
Homemade bread, free from preservatives, tastes best when fresh. However, with proper storage, you can extend its life and enjoy it for days or even weeks!
How Long Does Homemade Bread Last?
Unlike store-bought loaves, homemade bread doesn’t have the same preservatives to keep it shelf-stable for extended periods. Once your Chia Seed Whole Wheat Bread is completely cool, store it in an airtight container or a plastic bag to prevent it from drying out. Kept at room temperature, it typically stays fresh for 2-3 days. For longer storage, the refrigerator is your friend, where it can last for at least a week, though it might become slightly firmer.
Can I Freeze This Bread?
Absolutely! Freezing is an excellent way to preserve your homemade whole wheat bread. For convenience, I highly recommend slicing the entire loaf before freezing. This way, you can easily grab just a slice or two whenever you need it without having to thaw the entire loaf. Simply place the slices in a freezer-safe bag or wrap them tightly in plastic wrap and then foil to prevent freezer burn. It will last for up to 3 months in the freezer. Thawing is quick and easy: a slice will usually thaw at room temperature in about 30 minutes, or you can pop it directly into the toaster on the defrost setting for a warm, fresh-tasting slice in minutes.
Frequently Asked Questions
How long does homemade bread last?
Homemade bread typically lasts 2-3 days at room temperature. If stored in the refrigerator in an airtight container or plastic bag, it can last for up to a week. Because it lacks commercial preservatives, it won’t have the extended shelf life of store-bought varieties, but the fresh taste more than makes up for it!
Can I freeze homemade whole wheat bread?
Yes, absolutely! Freezing is a fantastic way to extend the life of your homemade whole wheat bread. It’s best to slice the loaf first, then wrap the slices tightly in freezer-safe bags or plastic wrap before placing them in the freezer. This allows you to easily take out just a few slices at a time. It thaws quickly at room temperature (about 30 minutes) or can be put directly into a toaster.
Does whole wheat bread take longer to rise than white bread?
Yes, typically whole wheat bread dough will take a bit longer to rise compared to a dough made with regular white flour. This is because the whole wheat flour contains the bran and germ, which are heavier and can impede gluten development and yeast activity slightly. Patience is key for a good rise!
What is the “windowpane test” for bread dough?
The “windowpane test” is a method to determine if your dough has been kneaded enough. To perform it, pinch off a small piece of dough (about the size of a golf ball) and gently stretch it with your fingers. If you can stretch it thin enough to see light passing through it without the dough tearing, it means the gluten has developed sufficiently, and your dough is perfectly kneaded.
Can I use instant yeast instead of active dry yeast?
Yes, you can often substitute instant yeast for active dry yeast. Instant yeast doesn’t require proofing in warm liquid first; you can usually mix it directly with the dry ingredients. If substituting, you might use slightly less instant yeast (around 25% less) or follow the package instructions, and reduce the initial resting time as instant yeast acts faster.
More Delicious Bread Recipes to Explore
- Cottage Cheese Bread
- Blueberry Lemon Bread
- Lemon Poppy Seed Zucchini Bread
- Blueberry Zucchini Bread
- Chocolate Zucchini Bread

Get My Free eBook!
Grab my free ebook featuring 20 of my top 30-minute family-friendly healthy dinner recipes. Simply enter your name and email below to receive your copy!
Finally, if you try this delicious recipe and love it, please leave us some feedback in the comment section below and don’t forget to give it a rating! Your reviews help other home bakers, and we’d be thrilled if you shared it with your friends and family.
FOLLOW me on FACEBOOK | INSTAGRAM | PINTEREST | TWITTER for all of my latest blog posts and healthy recipes!
Homemade Chia Oat Whole Wheat Bread
Rena
10 servings
15 mins
30 mins
2 hrs
45 mins
Pin
This Chia Seed Whole Wheat Bread is hearty with loads of texture. It’s a dense and delicious homemade bread that’s perfect for sandwiches, dipping soup, for breakfast, or just as a snack!
Ingredients
- 2 cups bread flour
- ¾ cup whole wheat flour
- 1 packet of active dry yeast
- ½ cup rolled oats
- ½ teaspoon salt
- 3 tablespoons chia seeds
- 1 tablespoon honey
- 1 ¼ cup warm milk
- 3 tablespoons avocado oil
- 1 egg for egg wash
Instructions
- In a mixing bowl, add in warm milk, yeast, and oats and let it stand for 10 mins to allow the yeast to bloom.
- With a dough hook attachment and at the slowest speed, gradually mix the yeast mixture. Add in oil and honey, and mix it for another minute.
- While mixing, gradually add in bread flour, whole wheat flour, and salt. Allow the mixer to knead the dough for about 8 minutes at medium speed. At the last minute, add in chia seeds.
- The dough is ready when it passes the windowpane test and there isn’t much dough sticking to the sides of the bowl.
- Transfer the dough into a greased bowl, cover with a tea towel and allow the dough to proof in a warm place for about 1 hour or double in size.
- After the first proof, punch the dough to release the air and shape it in a rectangular shape to fit into the greased loaf pan.
- Place the dough into the greased loaf pan and let it proof for the second time, about 45 minutes.
- Preheat the oven at 350F. Brush the top of the loaf with some egg wash and sprinkle some oats and chia seeds.
- Bake the loaf for about 30 minutes or until golden brown. Remove from the oven, and let it cool for about 10 minutes before removing it from the pan.
- Place the loaf on a cooling rack until it is completely cooled to room temperature. Slice it up and enjoy it.
Notes
- The dough is ready when it passes the windowpane test and there isn’t much dough sticking to the sides of the bowl.
- Make sure to use a greased loaf pan.
- Allow the dough to proof in a warm place.
- You’ll know your dough is done rising when it has doubled in volume.
- After the first proof, punch the dough, this releases the air and you can then shape it to fit into the greased loaf pan.
- Your bread is done when it’s golden brown on top and has an internal temperature from 190°F to 200°F on an instant-read thermometer.
- You can reduce the honey if you wish. Also, maple syrup or agave may be substituted for the honey.
- Make sure to brush the top of the loaf with some egg wash so the oats and chia seeds will stick.
Nutrition
Carbohydrates: 32g
Protein: 7g
Fat: 8g
Saturated Fat: 1g
Cholesterol: 19mg
Sodium: 138mg
Potassium: 140mg
Fiber: 3g
Sugar: 3g
Vitamin A: 73IU
Calcium: 69mg
Iron: 1mg
Nutrition information is automatically calculated, so should only be used as an approximation.
Additional Info
Tried this recipe?
Mention @healthyfitnessmeals or tag #healthyfitnessmeals!