
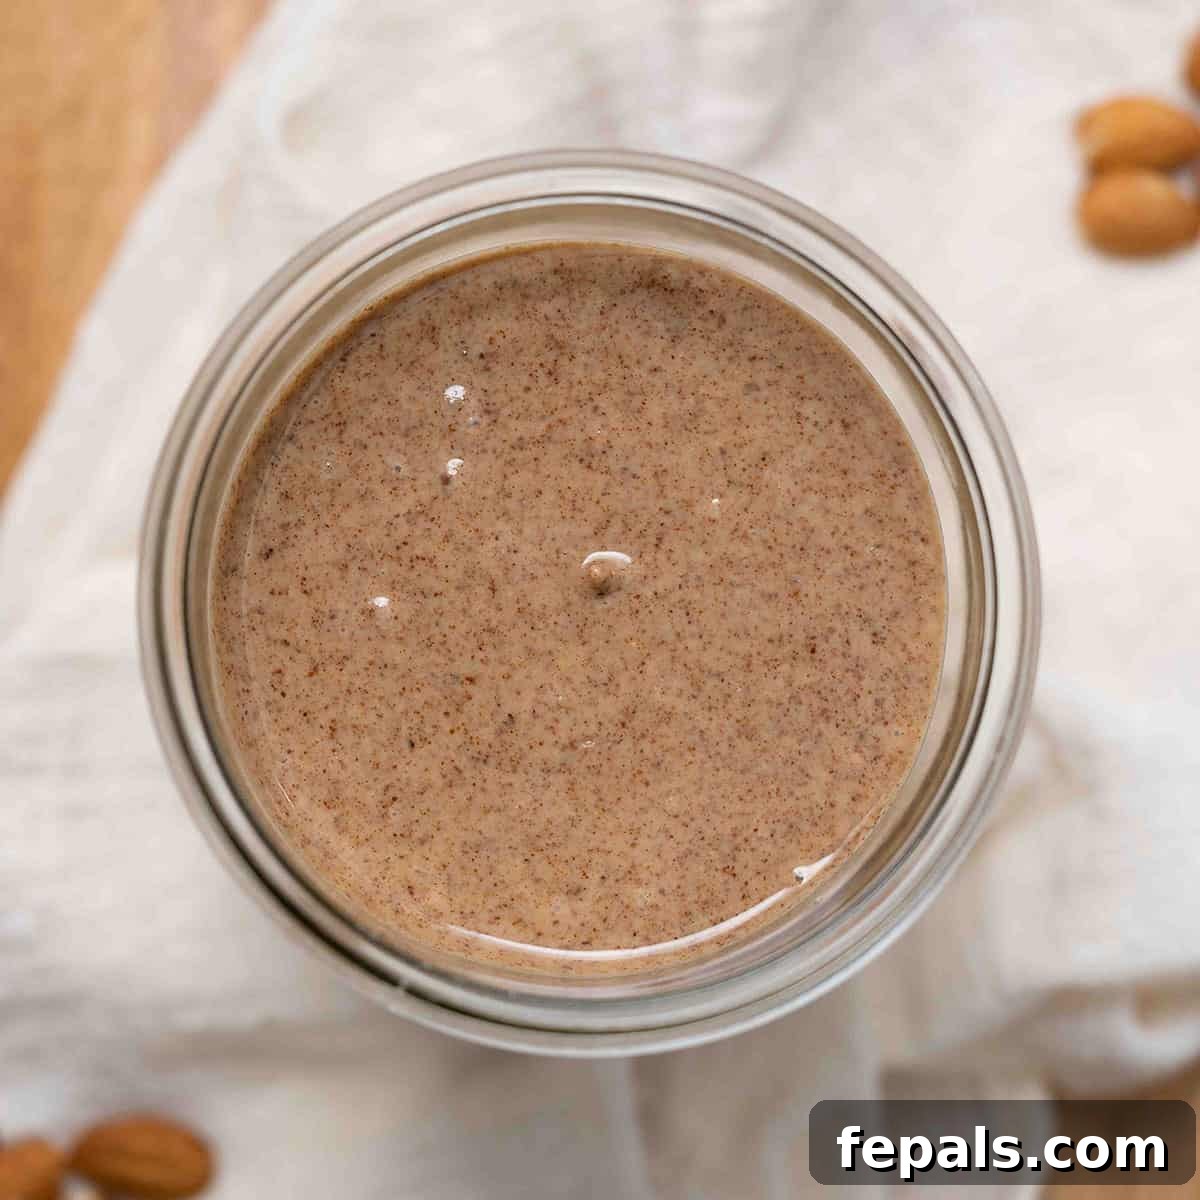
Mastering Homemade Almond Butter: Your Ultimate Guide to Creamy Perfection
Discover the delightful simplicity of crafting your own thin and creamy almond butter at home. All you need are a few basic ingredients – primarily almonds and a pinch of salt – along with a reliable food processor, and you’ll be well on your way to creating a spread that far surpasses its store-bought counterparts. This comprehensive guide will walk you through every step, ensuring a perfect batch every time.
For those eager to explore other homemade nut butter creations, you might also enjoy our guide on how to make homemade cashew butter.
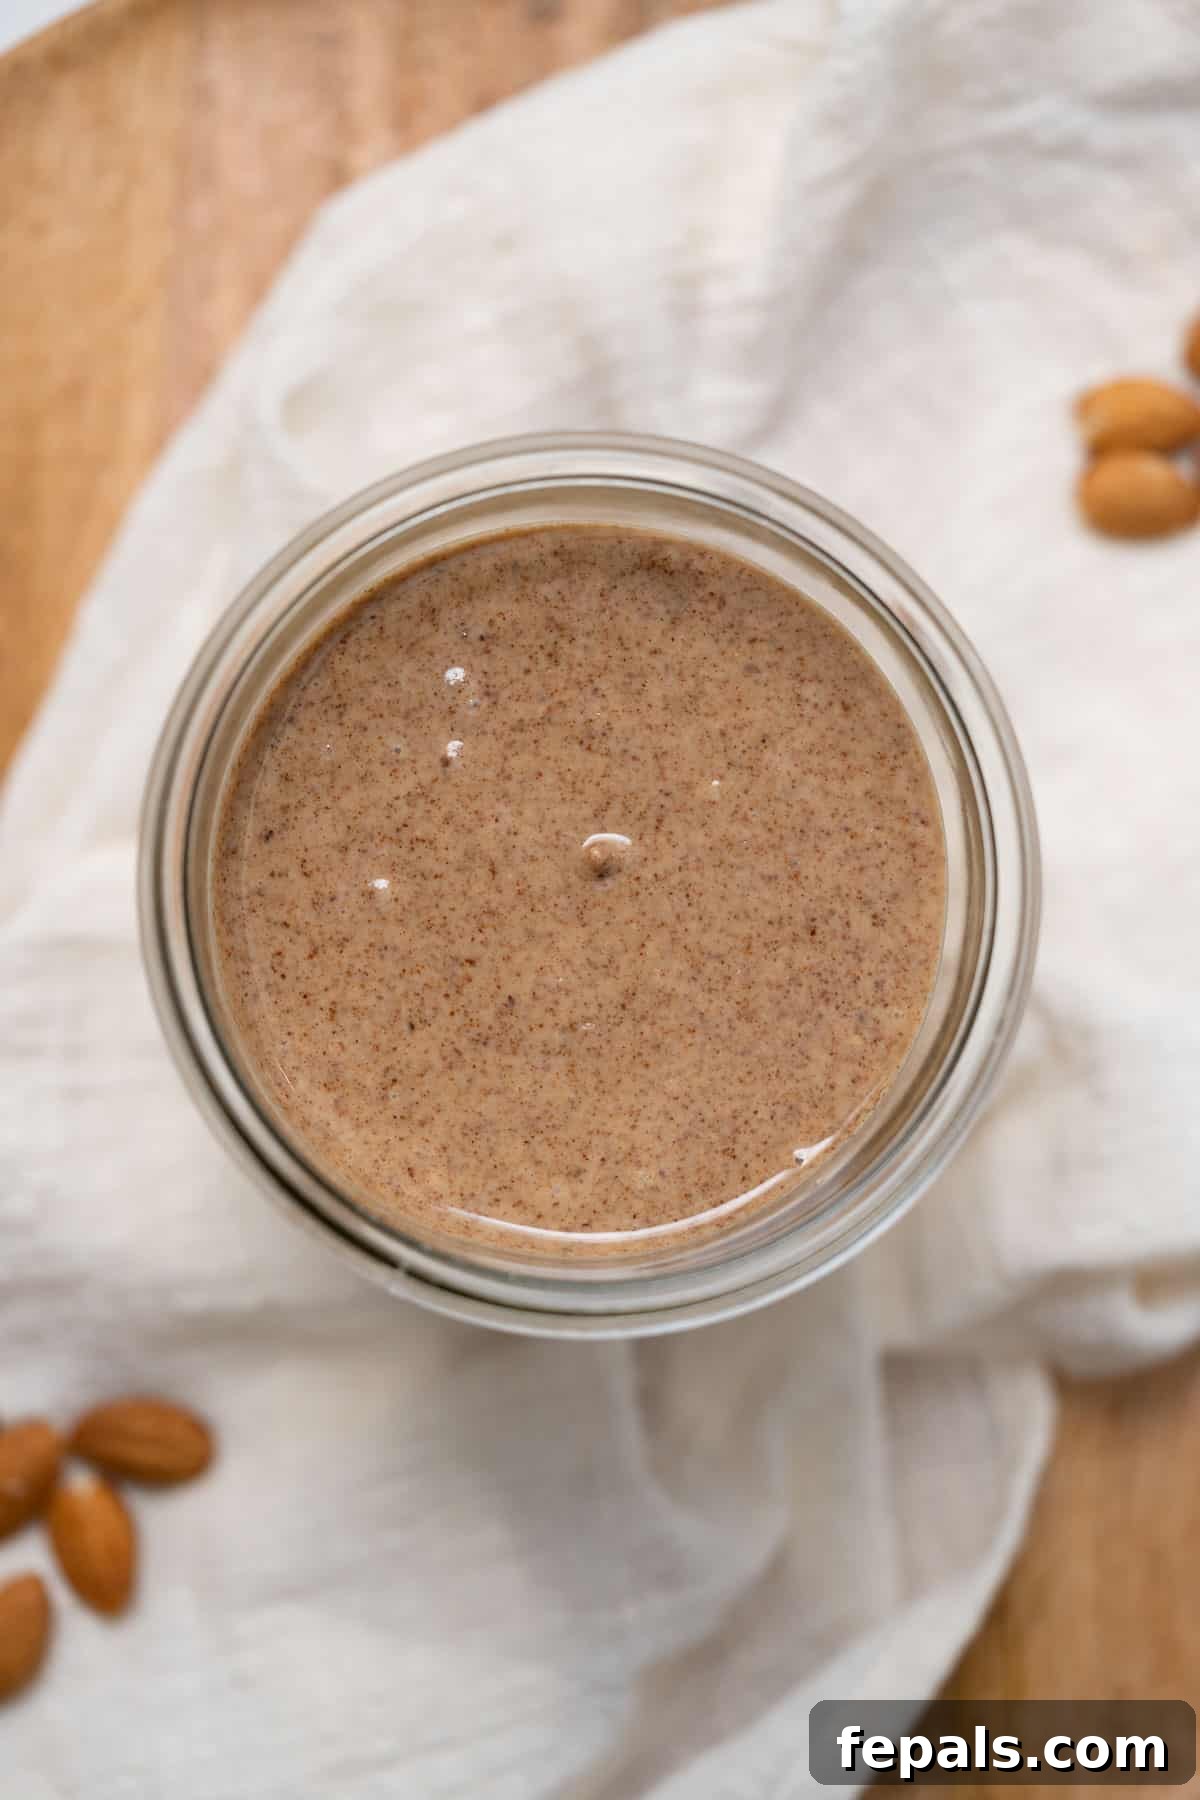
Homemade almond butter boasts a naturally smooth, creamy, and wonderfully runny consistency. This ideal texture makes it incredibly versatile, perfect for integrating into your favorite baking recipes, stirring into overnight oats, or simply drizzling over fresh fruit. Once you experience the rich flavor and superior quality of this easy, cost-effective, and absolutely delicious recipe, you’ll likely find yourself saying goodbye to commercial brands forever.
The magic happens with minimal effort, requiring just a powerful food processor or a high-speed blender. In mere minutes, you can transform humble raw almonds into a delectable nut butter, ready to be enjoyed immediately or stored for future use. Keeping a jar of homemade almond butter on hand is a fantastic idea; it’s not only rich in protein but also adds a fantastic flavor boost to smoothies and makes a healthy, satisfying accompaniment to apple slices in lunchboxes.
Why Make Your Own Almond Butter? Unlocking Flavor, Health & Savings
Choosing to make your own almond butter offers a myriad of benefits that extend beyond just taste. Here’s why this simple kitchen endeavor is a game-changer for your pantry and your well-being:
- Effortless Preparation: Forget complicated steps! Making almond butter at home is incredibly straightforward. With just almonds and a food processor (or a high-speed blender), you’re set. Simply add the almonds, blend, and watch them transform. This minimal effort yields maximum reward, making it accessible even for novice cooks.
- Superior Nutritional Profile: Raw almond butter is a nutritional powerhouse. It’s naturally abundant in heart-healthy monounsaturated fats, dietary fiber, and plant-based protein, making it exceptionally filling and satisfying. Additionally, almonds are a good source of Omega-3 fatty acids, amino acids, and essential vitamins and minerals like Vitamin E, magnesium, and calcium. By making it yourself, you control exactly what goes in, avoiding unwanted added sugars, unhealthy oils, and preservatives often found in store-bought varieties. It’s the perfect guilt-free snack for anyone committed to a healthy lifestyle.
- Excellent for Meal Prepping: Streamline your healthy eating routine by preparing a batch of fresh homemade almond butter at the start of the week. It’s an ideal component for quick breakfasts, energizing snacks, or even adding depth to savory dishes. With a jar ready in your pantry or fridge, healthy eating becomes effortless – just open and enjoy!
- Significant Cost Savings: Store-bought almond butter can be surprisingly expensive. By purchasing raw almonds in bulk, you can drastically reduce the cost per ounce. This homemade method not only provides a superior product but also offers substantial savings, allowing you to enjoy your favorite nut butter more frequently without breaking the bank. You’ll have plenty of delicious leftovers for various culinary adventures.
- Unmatched Freshness and Flavor Customization: The taste of freshly made almond butter is simply unparalleled. Toasting the almonds before blending unlocks a deeper, more robust nutty flavor that you won’t find in most commercial brands. Furthermore, making it yourself allows for endless customization. You can adjust the salt level, add a touch of sweetness, or infuse it with spices like cinnamon or vanilla, tailoring it perfectly to your palate.
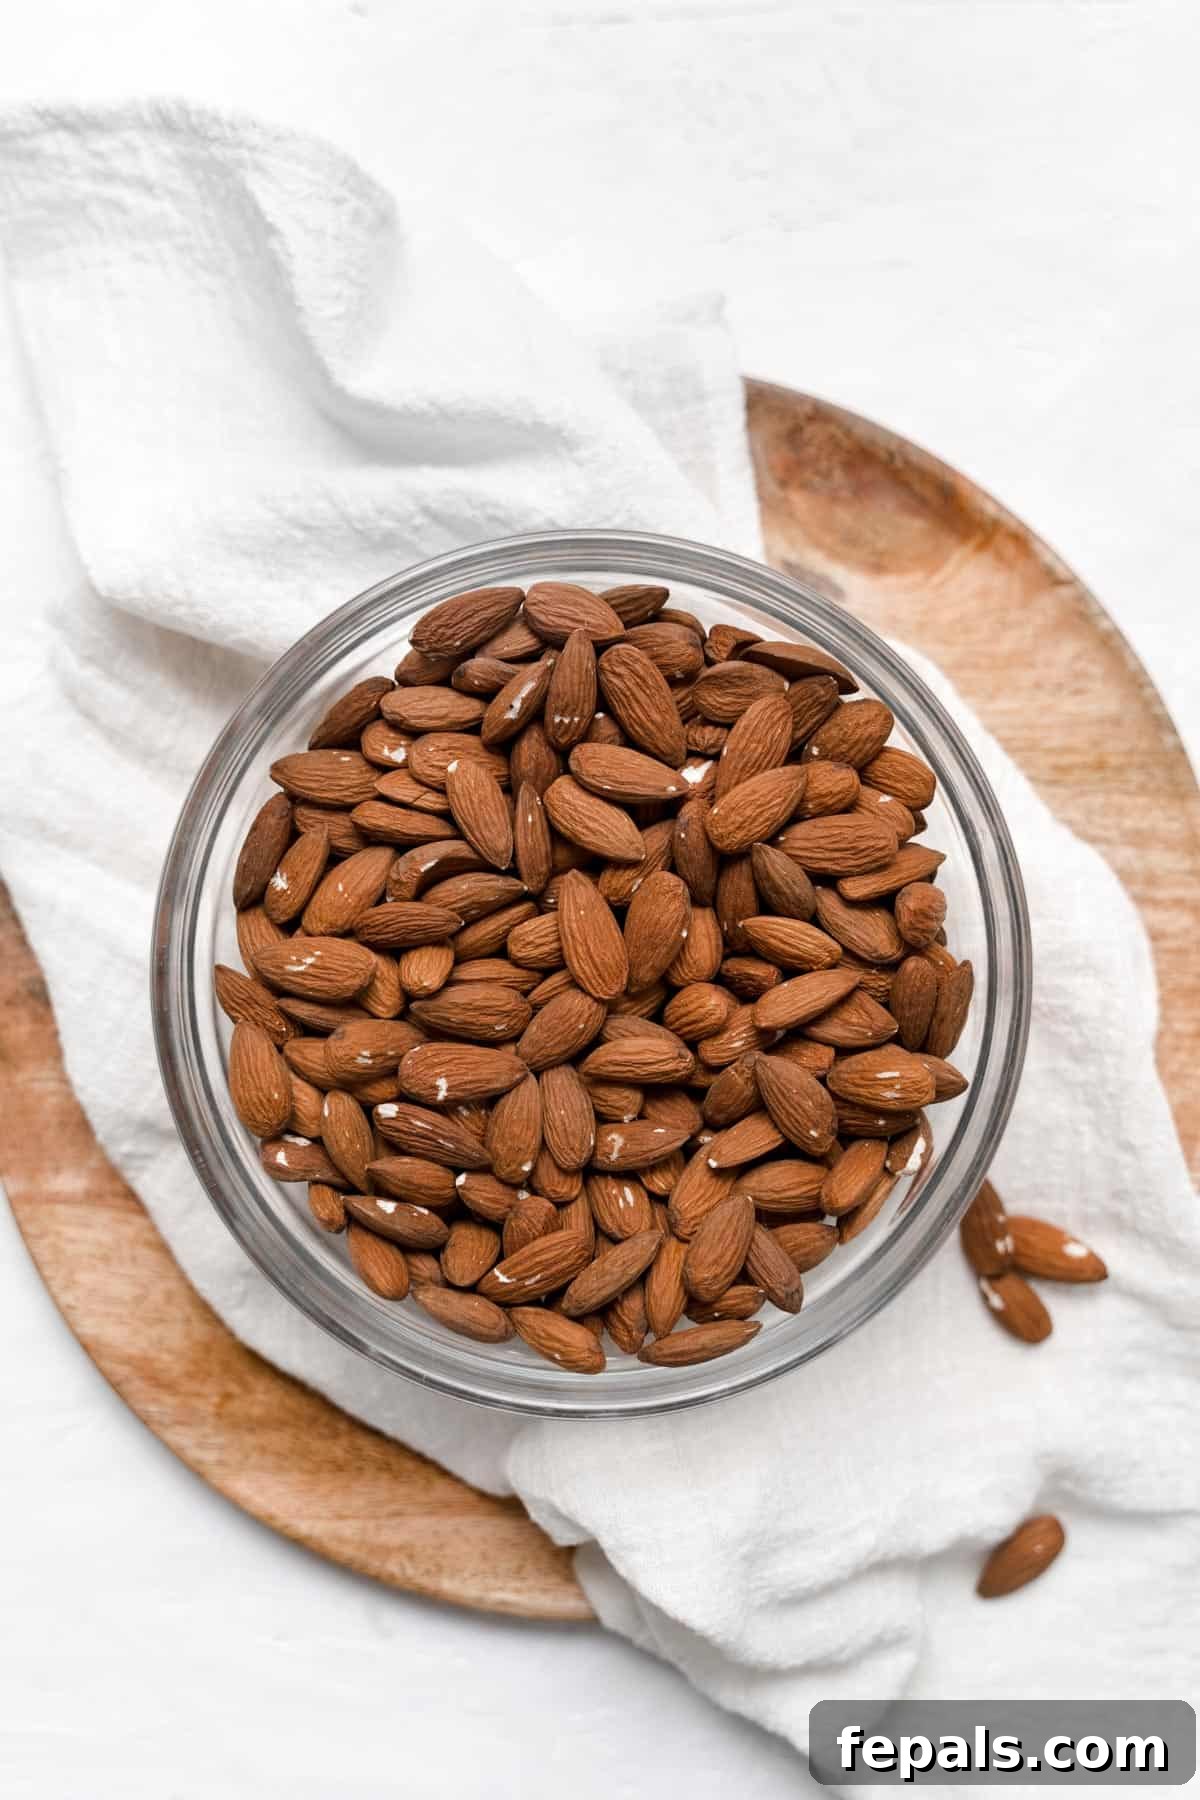
Almond Butter vs. Peanut Butter: A Nutritional Showdown
Both almond butter and peanut butter are celebrated for being rich sources of nutrients, healthy fats, fiber, and protein, making them excellent additions to a balanced diet. However, there are subtle differences that might influence your choice.
Almond butter is often considered slightly more nutritionally dense due to its higher content of certain vitamins and minerals, particularly Vitamin E, magnesium, and calcium. It generally contains less sugar and often fewer saturated fats than many commercial peanut butter brands, especially those with added sweeteners and oils. The monounsaturated fats in almond butter are particularly beneficial for heart health.
Peanut butter, while still incredibly healthy, typically boasts a slightly higher protein content per serving. It also often contains higher levels of niacin (Vitamin B3) and folate. However, it’s more commonly associated with allergens, as peanut allergies are widespread. From a flavor perspective, peanut butter has a distinct, strong nutty taste that many adore, while almond butter tends to be milder and slightly sweeter, offering a more delicate flavor profile.
Ultimately, both are fantastic choices. The “healthier” option often comes down to personal preference, dietary needs, and checking the ingredient label for added sugars or unhealthy oils. For those seeking slightly lower sugar content and a broader spectrum of micronutrients, or avoiding peanuts due to allergies, almond butter is often the preferred choice. However, both can be part of a wholesome diet.
The Art of Homemade Almond Butter: A Simple Step-by-Step Guide
Get ready to create a batch of incredibly creamy, rich, and raw almond butter that you’ll want to make again and again. With just a few straightforward steps, you’ll have your favorite nut butter ready in no time!
Equipment You’ll Need:
- Food processor or high-speed blender
- Baking sheet
- Parchment paper
- Airtight jar for storage
Ingredients:
- 3 cups raw almonds
- 1 teaspoon salt (adjust to taste)
- A dash of vanilla extract or cinnamon (optional, for added flavor)
Instructions:
Step 1: Prepare for Toasting
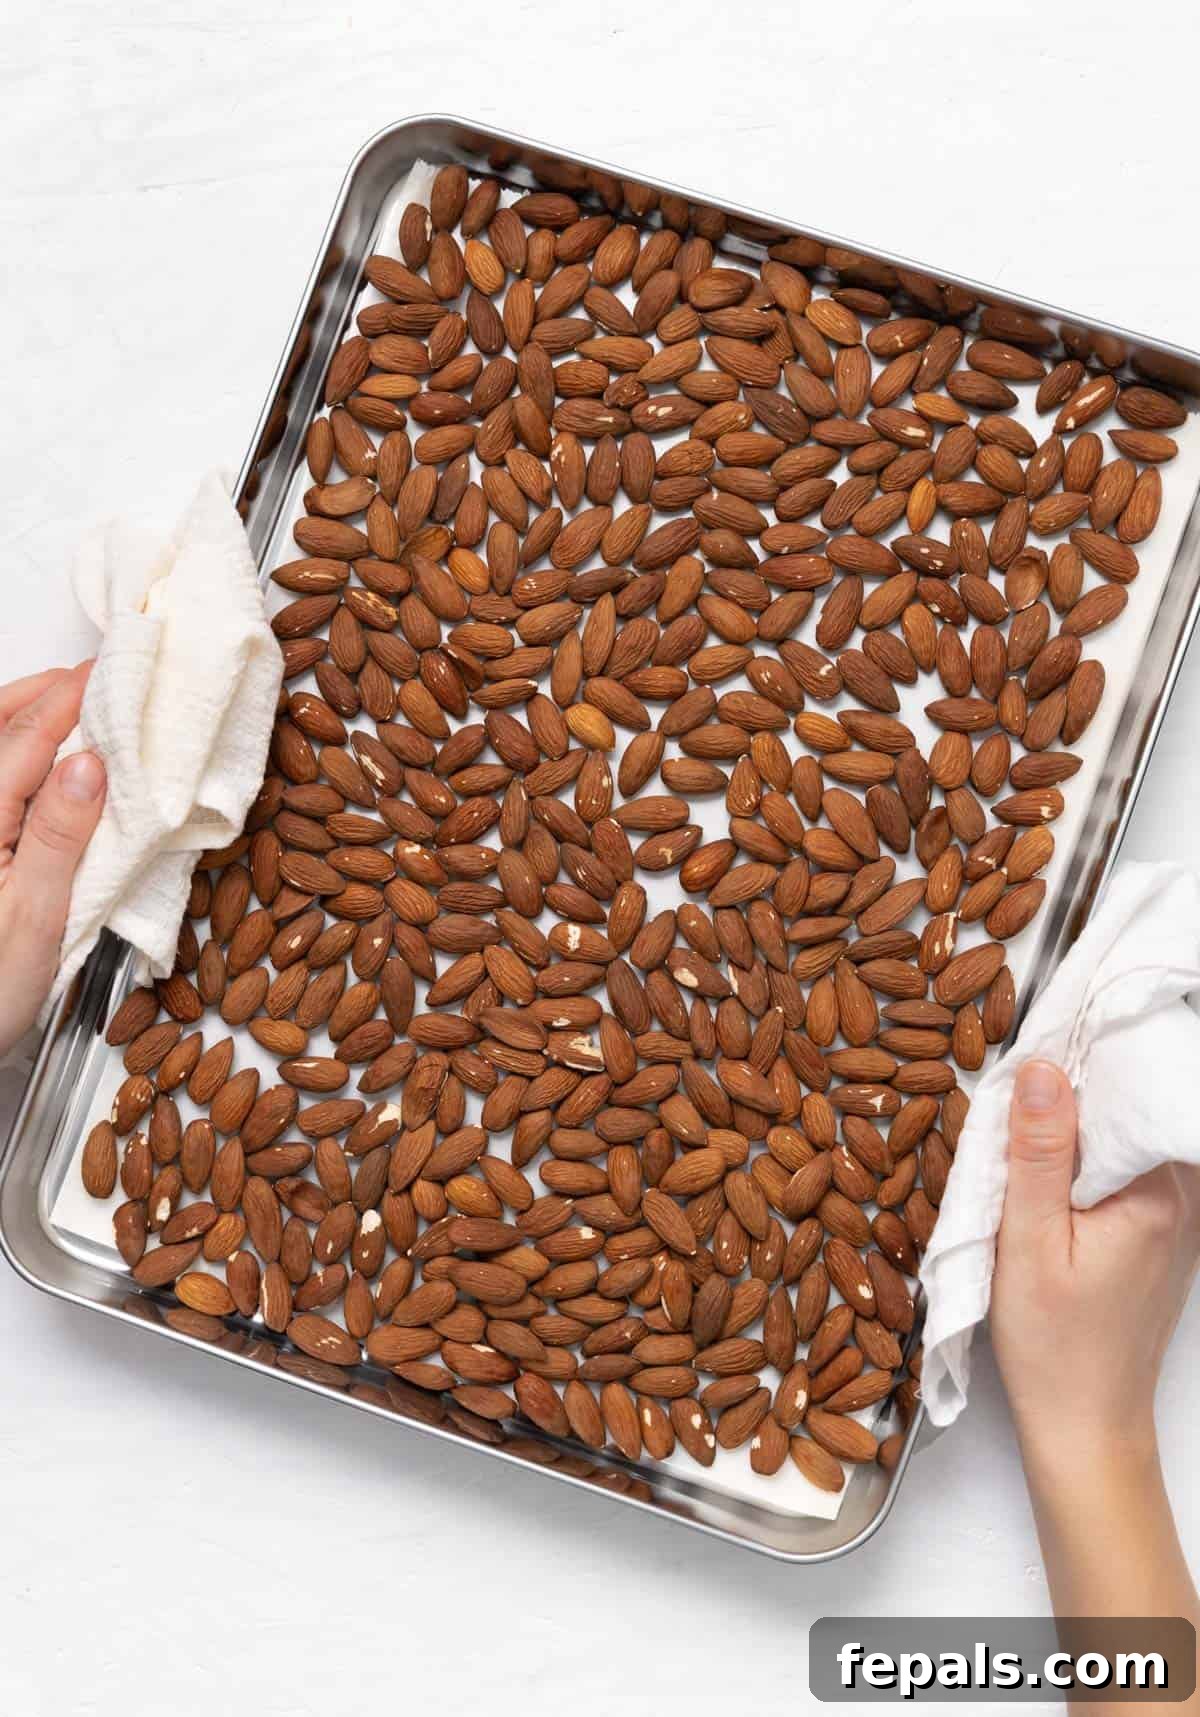
First, preheat your oven to 350 degrees Fahrenheit (175°C). While the oven is heating, spread a thin, even layer of raw almonds onto a baking sheet lined with parchment paper. Ensure the almonds are not overlapping too much for even toasting. Toasting the almonds is a crucial step as it enhances their natural nutty flavor and helps release their oils, which is essential for achieving a smooth and creamy butter.
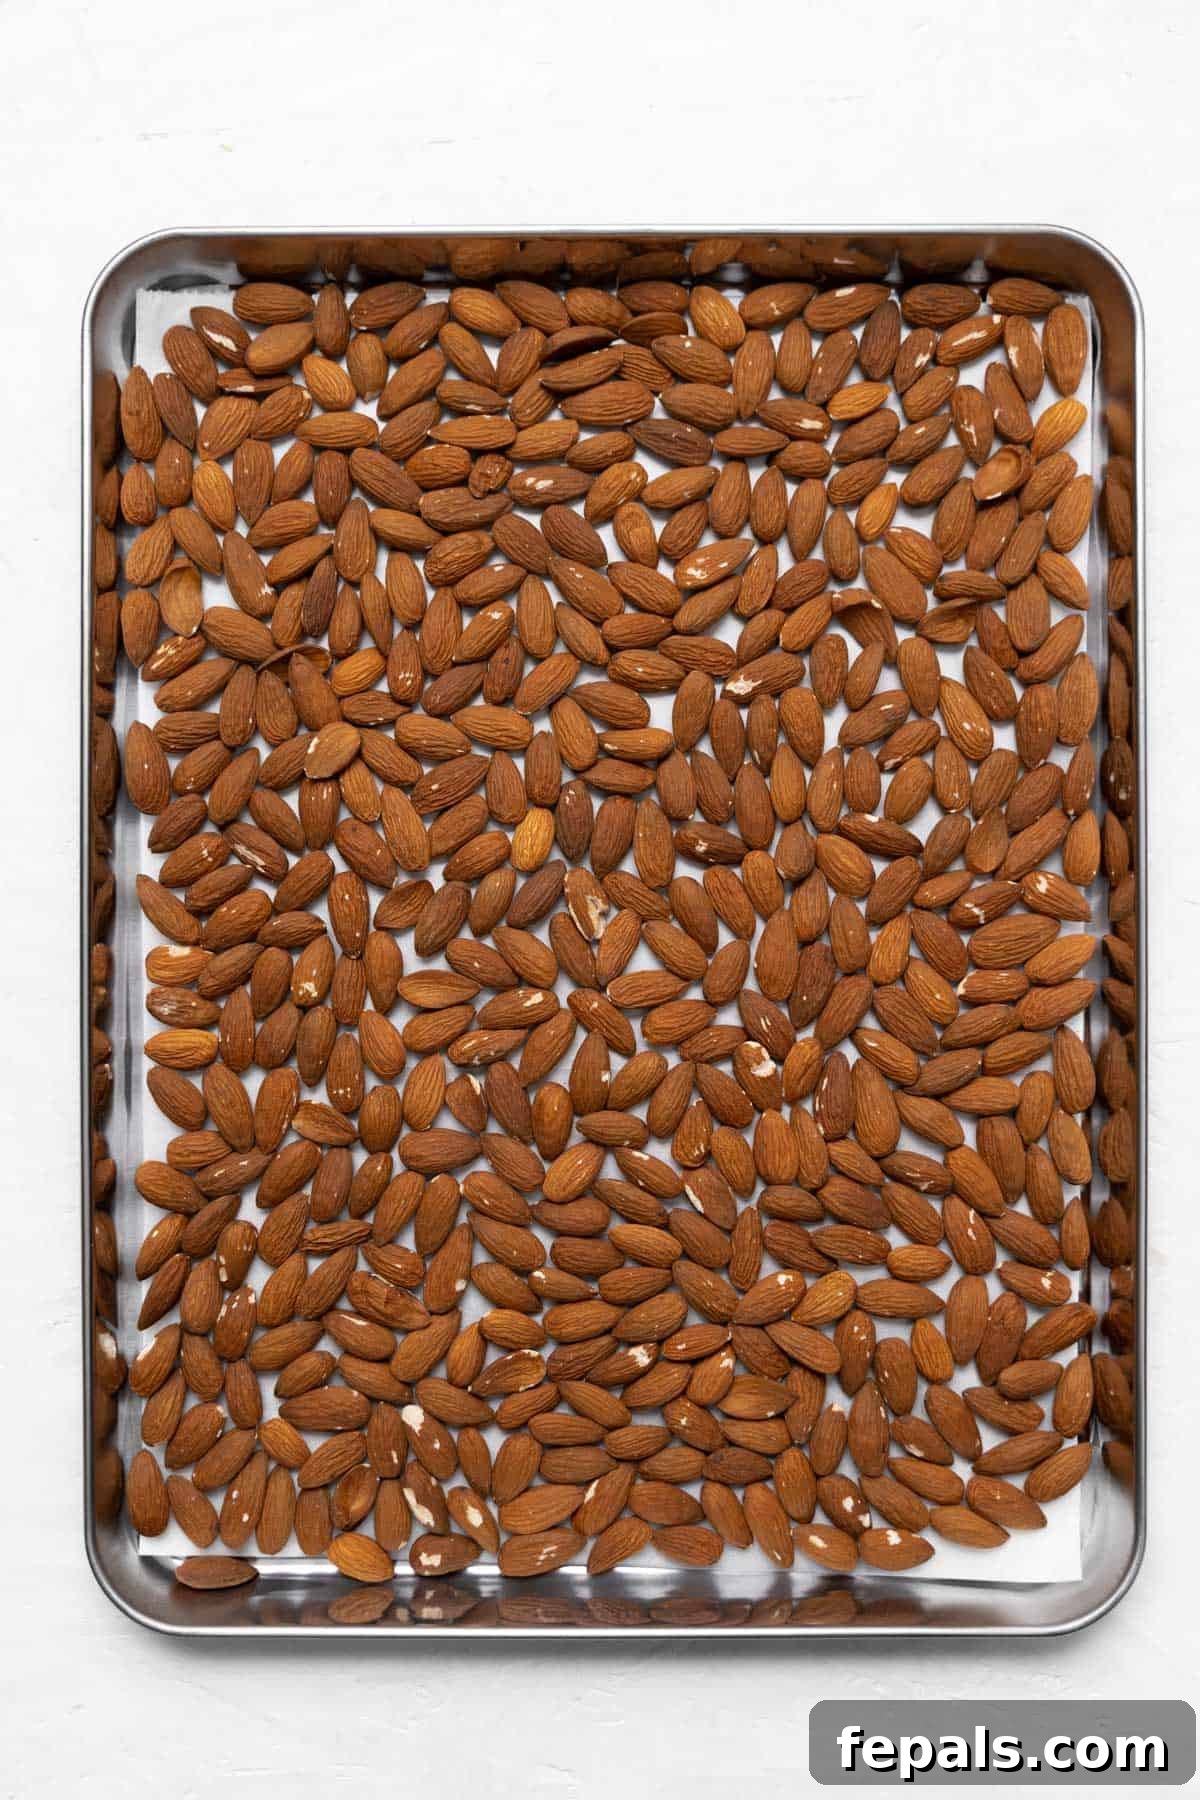
Step 2: Toast the Almonds
Once the oven has reached temperature, carefully place the baking tray with almonds into the oven. Toast the almonds for approximately ten minutes. Make sure to stir them halfway through to ensure even toasting and prevent burning. After ten minutes, remove the almonds from the oven and allow them to cool completely on the baking sheet for at least ten minutes. Cooling is important as it prevents overheating your food processor and helps achieve a better texture.
Step 3: The Initial Pulse and Grind
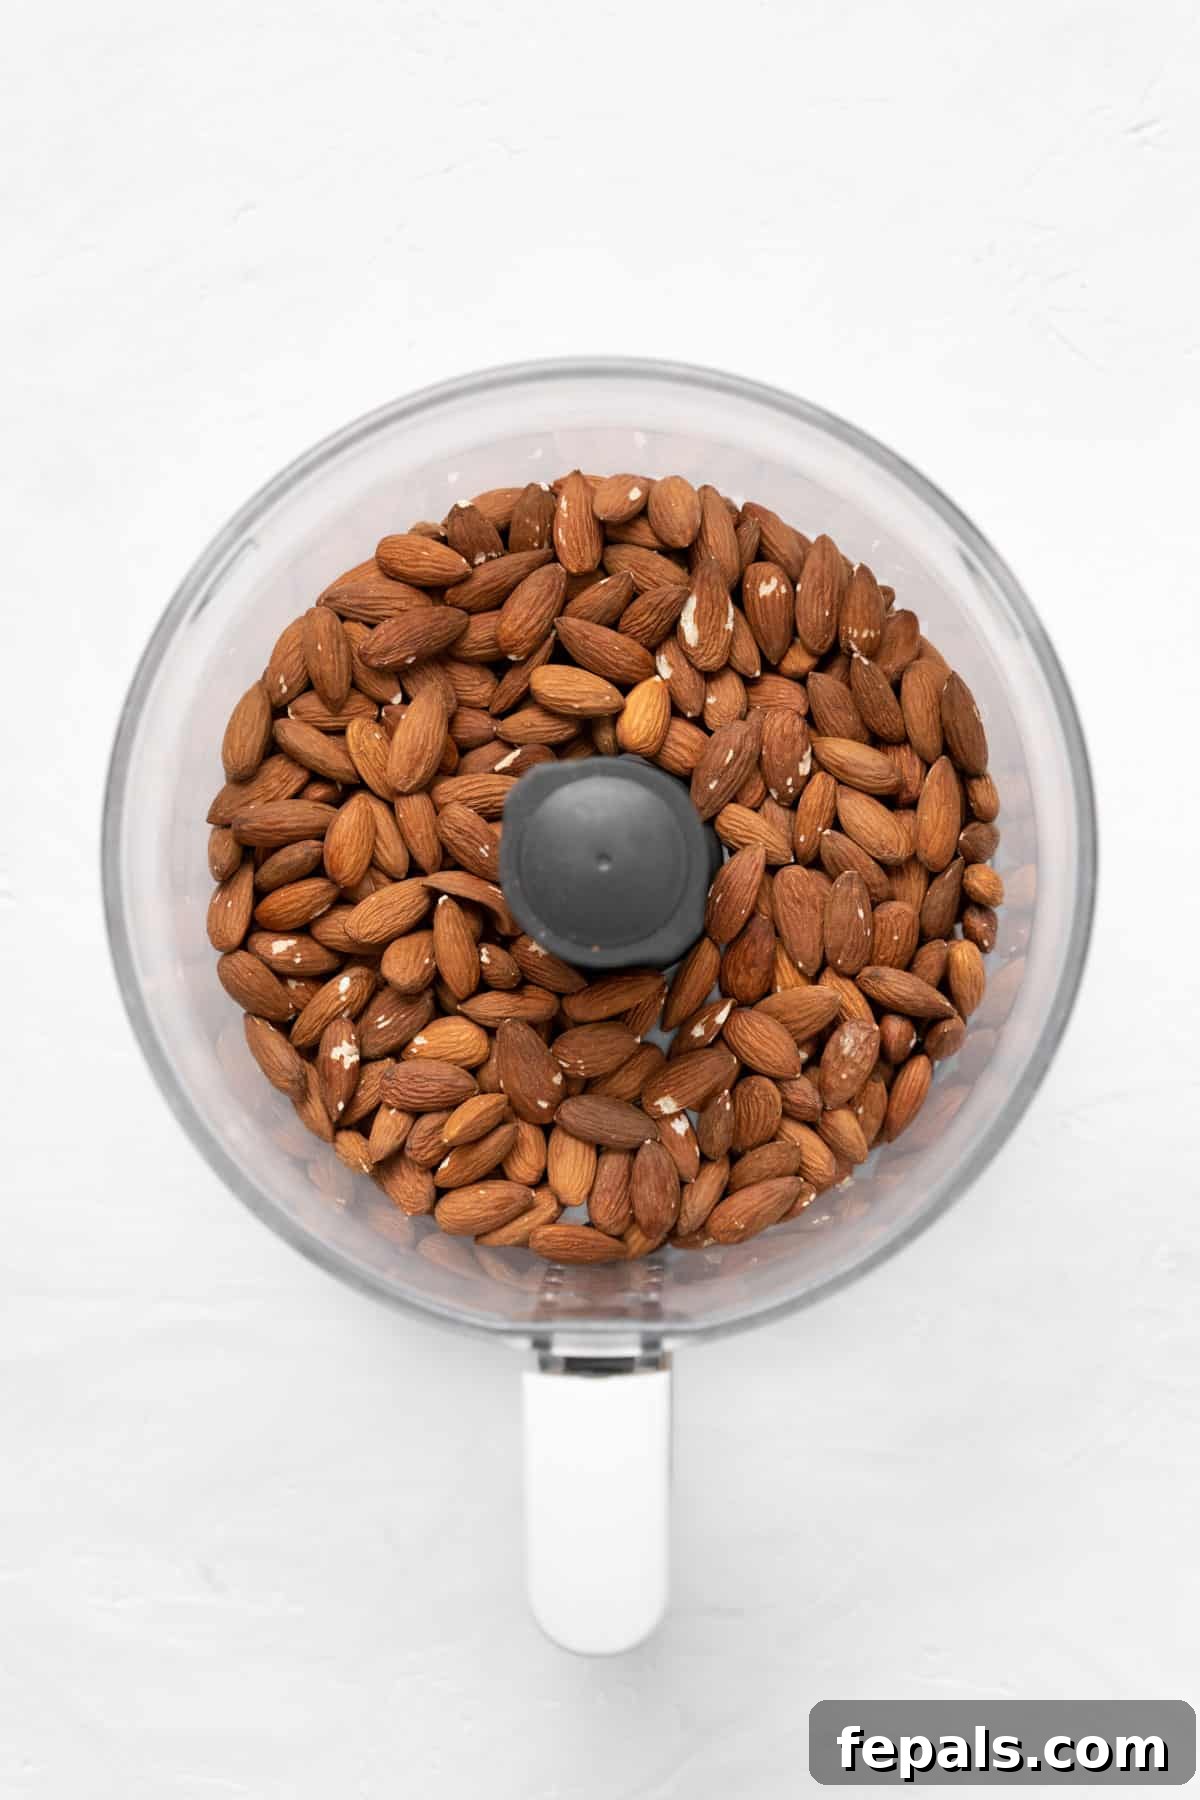
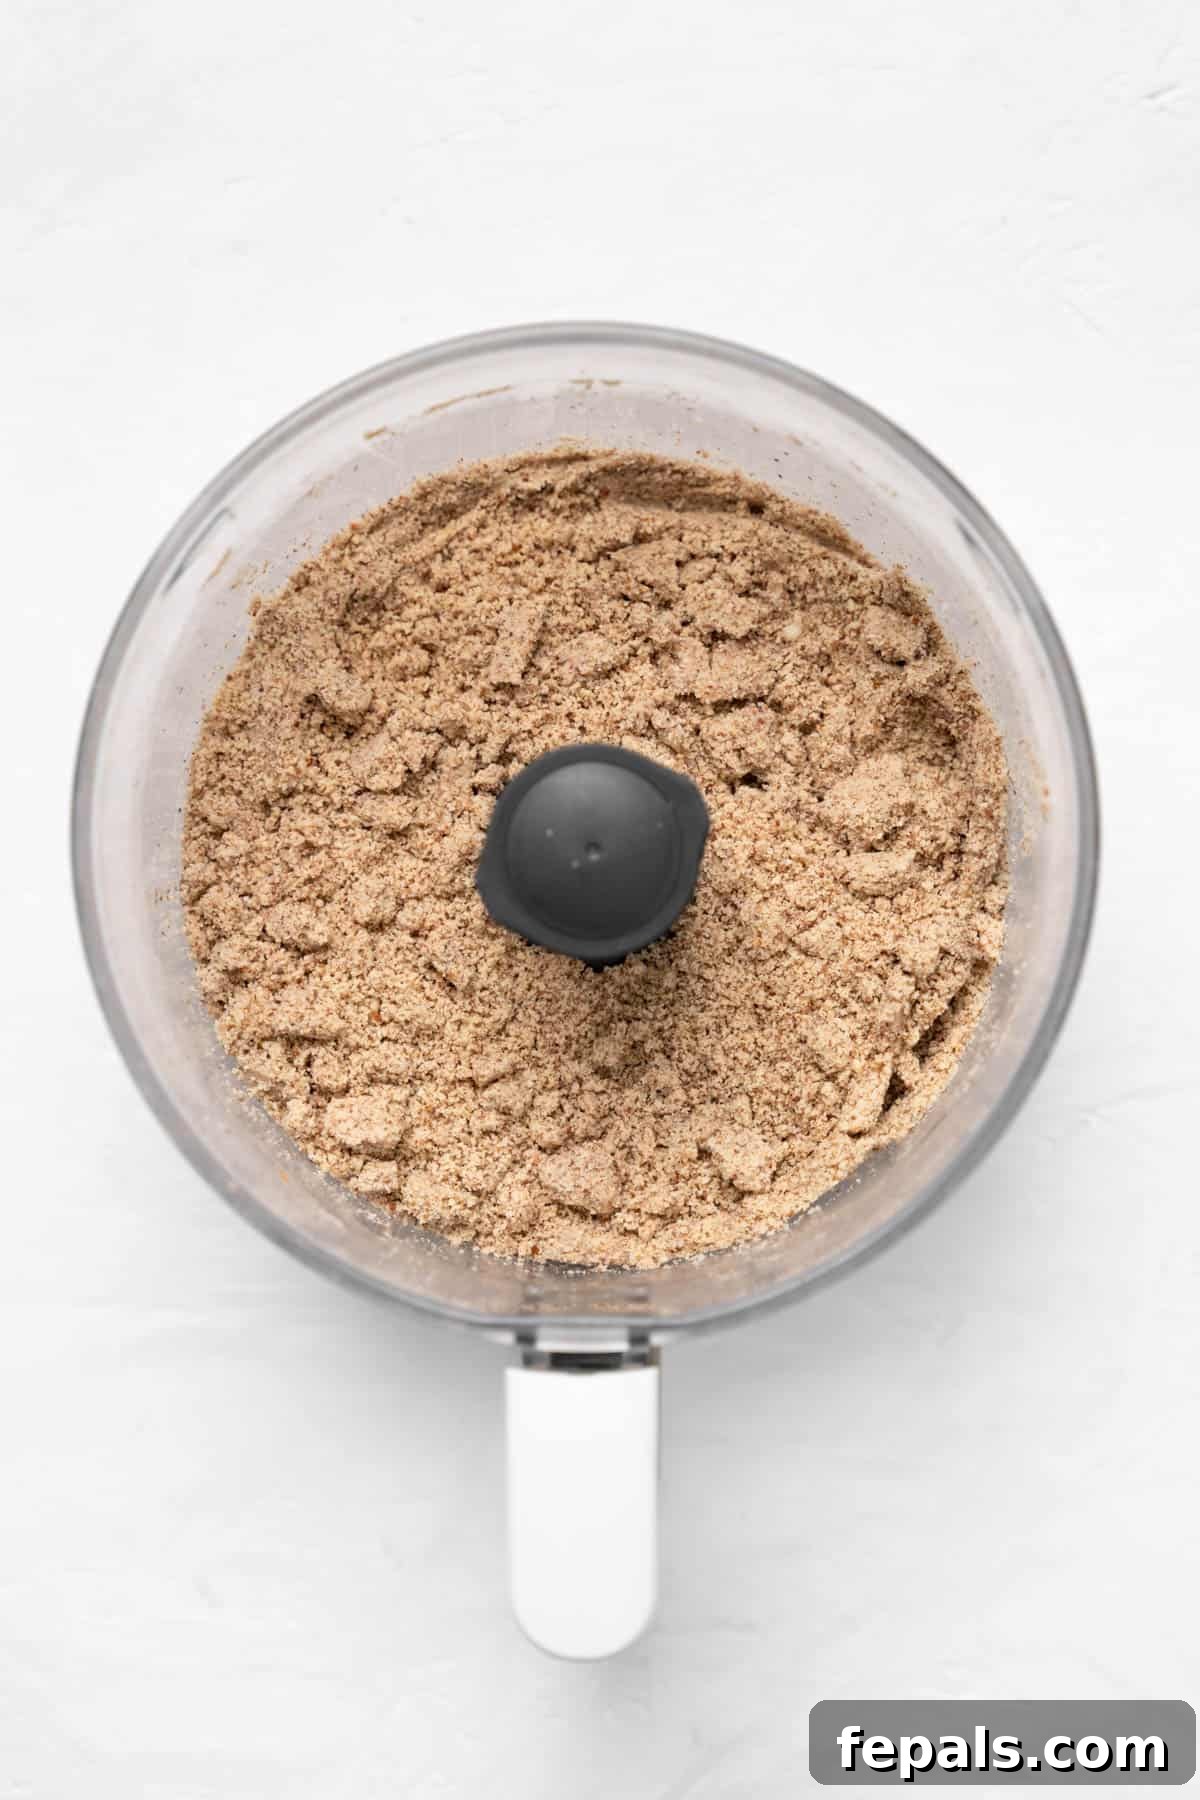
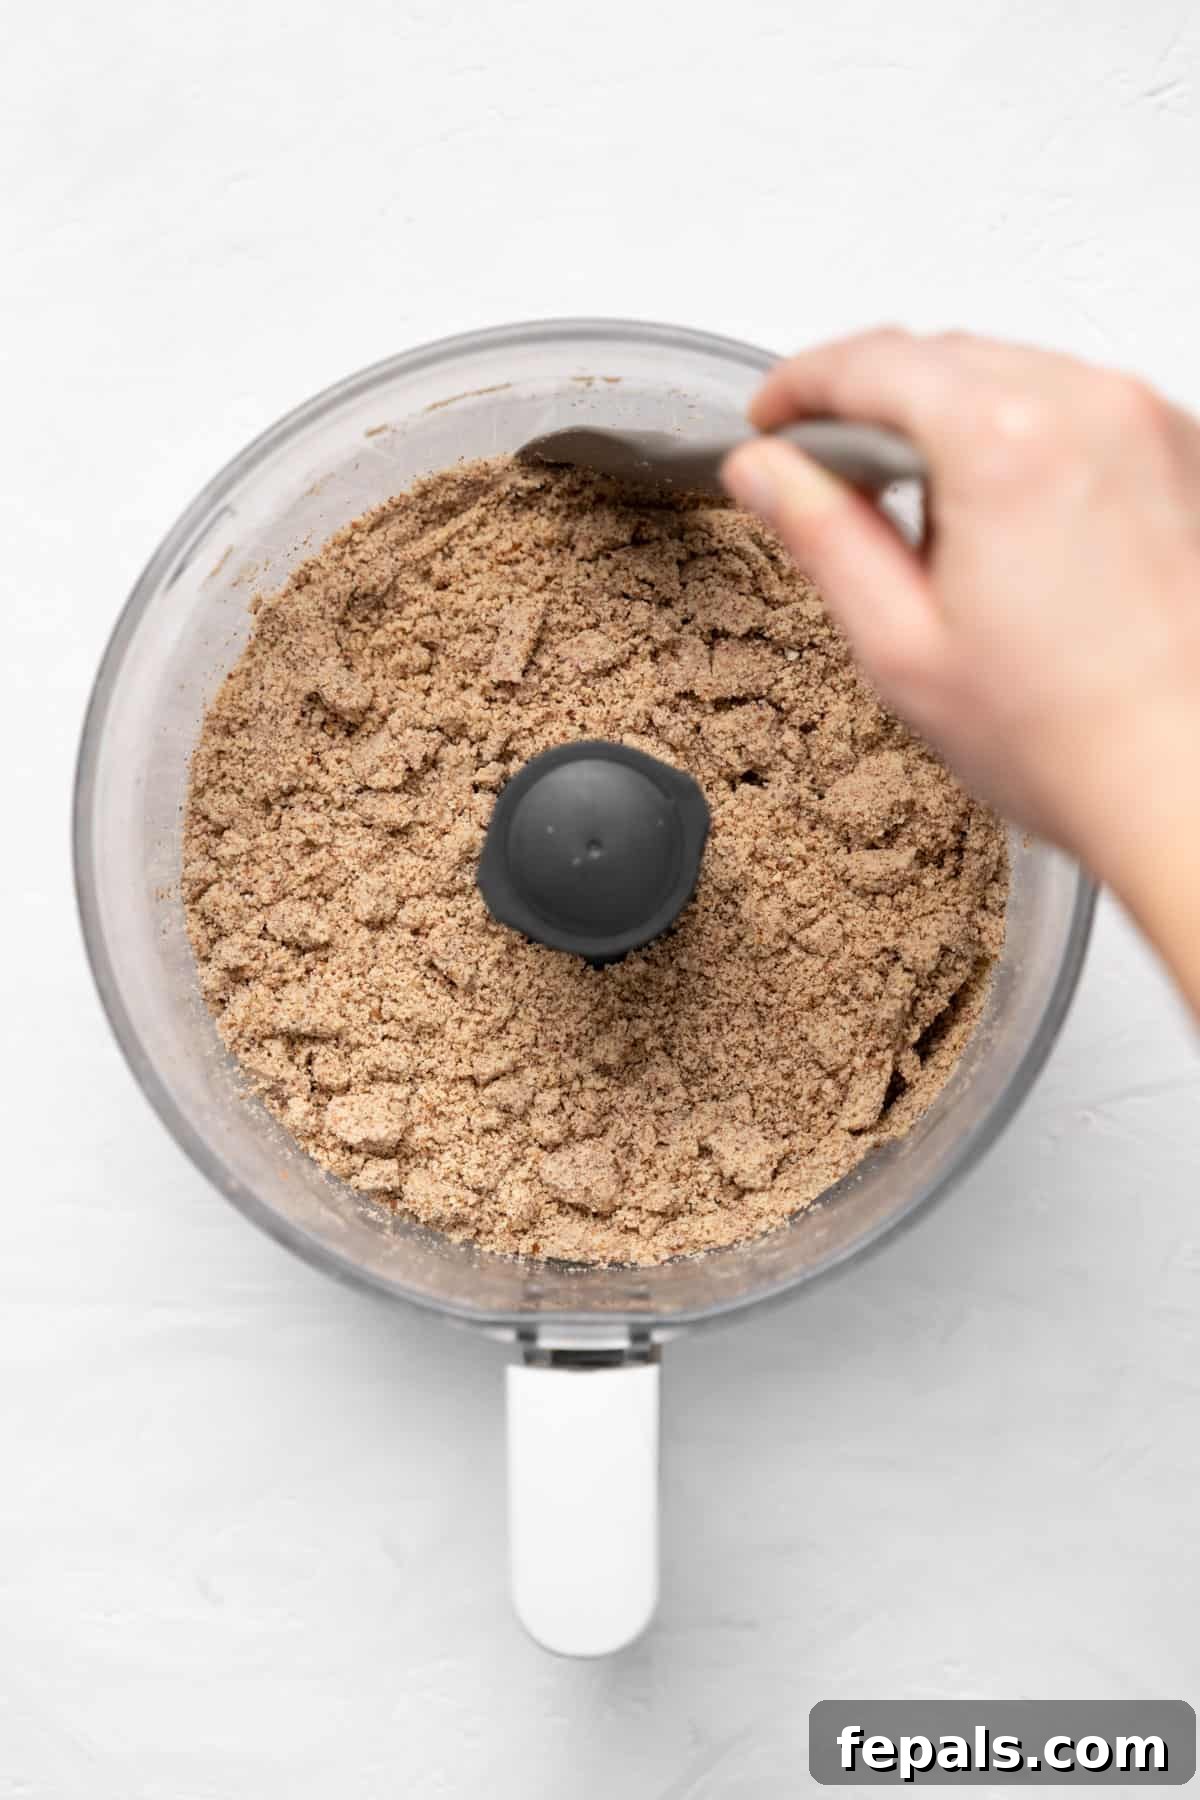
Next, transfer the toasted and cooled almonds into your food processor or high-speed blender. Begin by lightly pulsing the almonds. You’ll notice them breaking down into smaller pieces, then gradually forming a coarse meal. Periodically, pause the machine and use a spatula to scrape down the sides of the food processor bowl. This ensures all the almonds are evenly processed and helps prevent any dry bits from sticking to the edges. Continue to chop and pulse the almonds until they become a smooth, fine meal.
Step 4: The Transformation to Creaminess – Patience is Key!
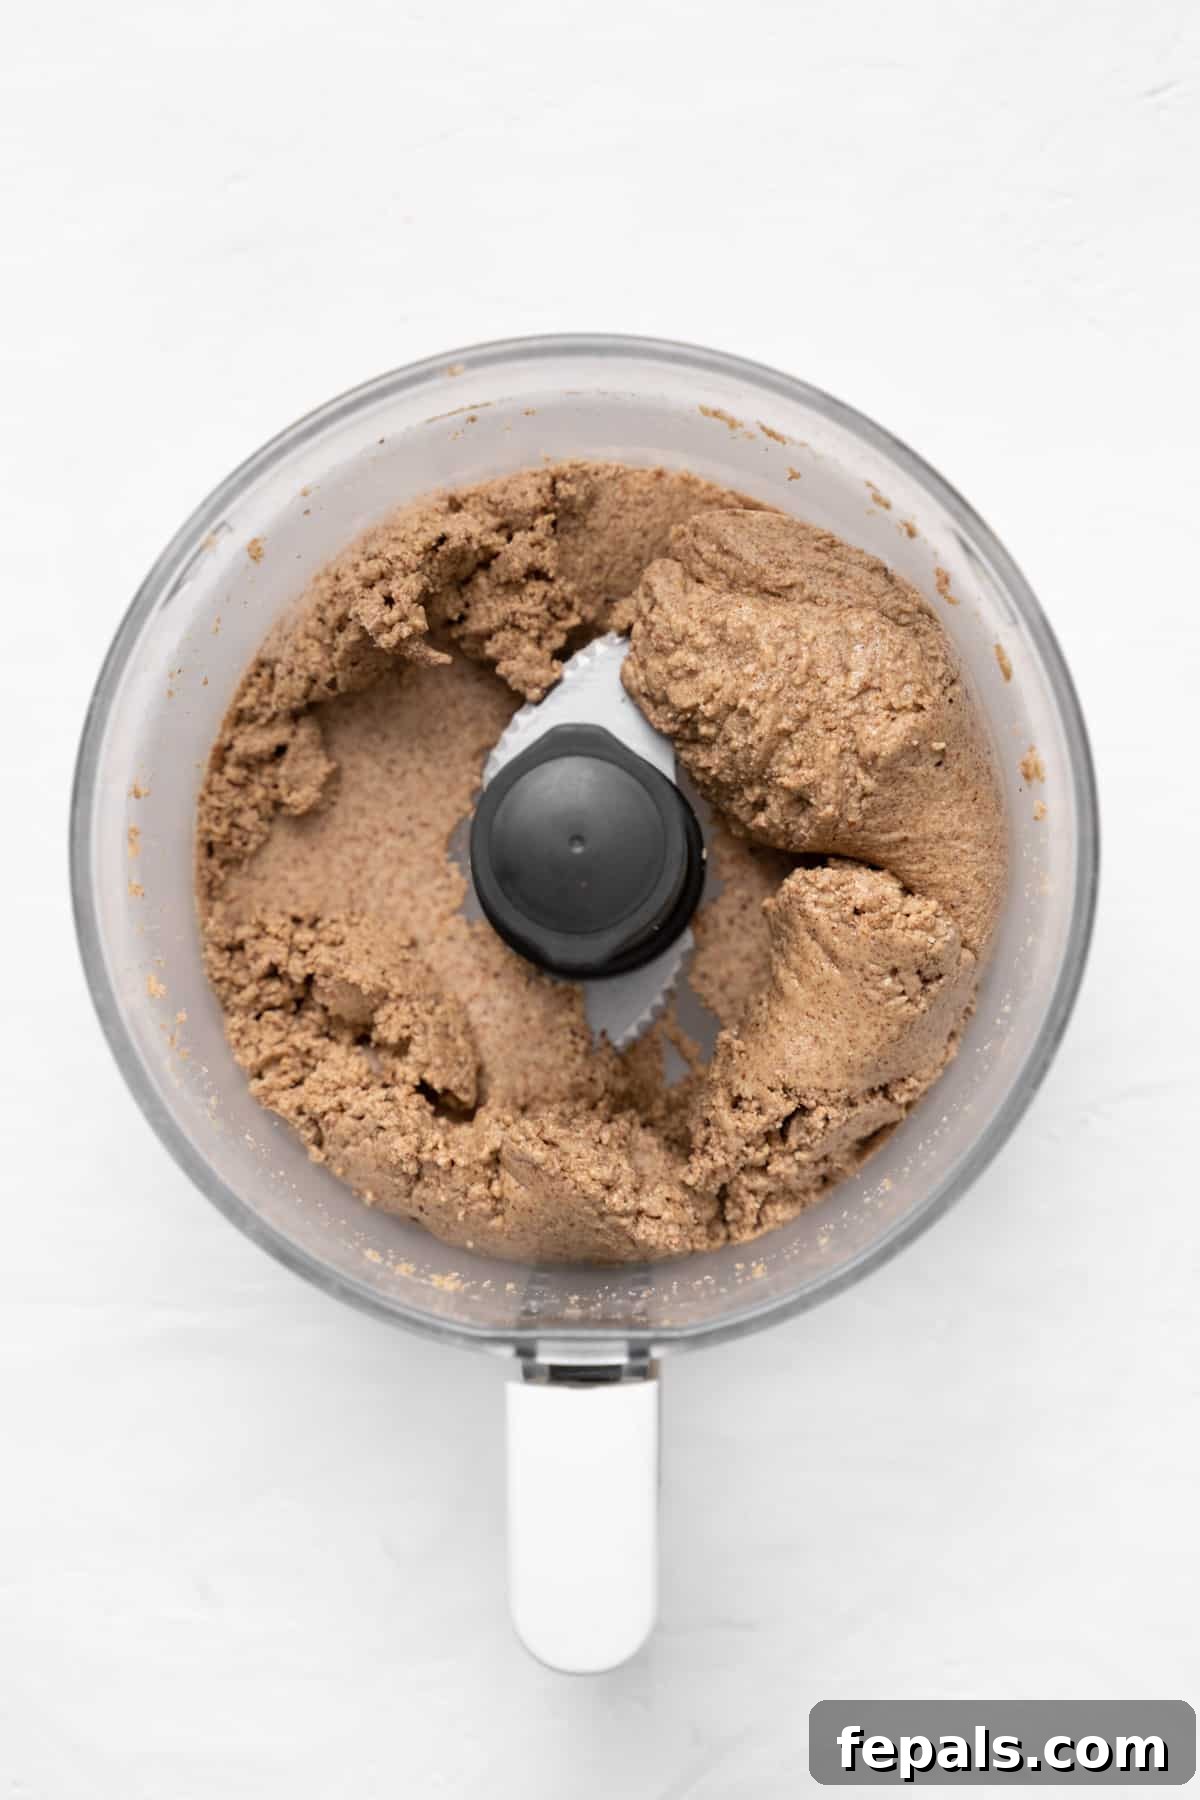
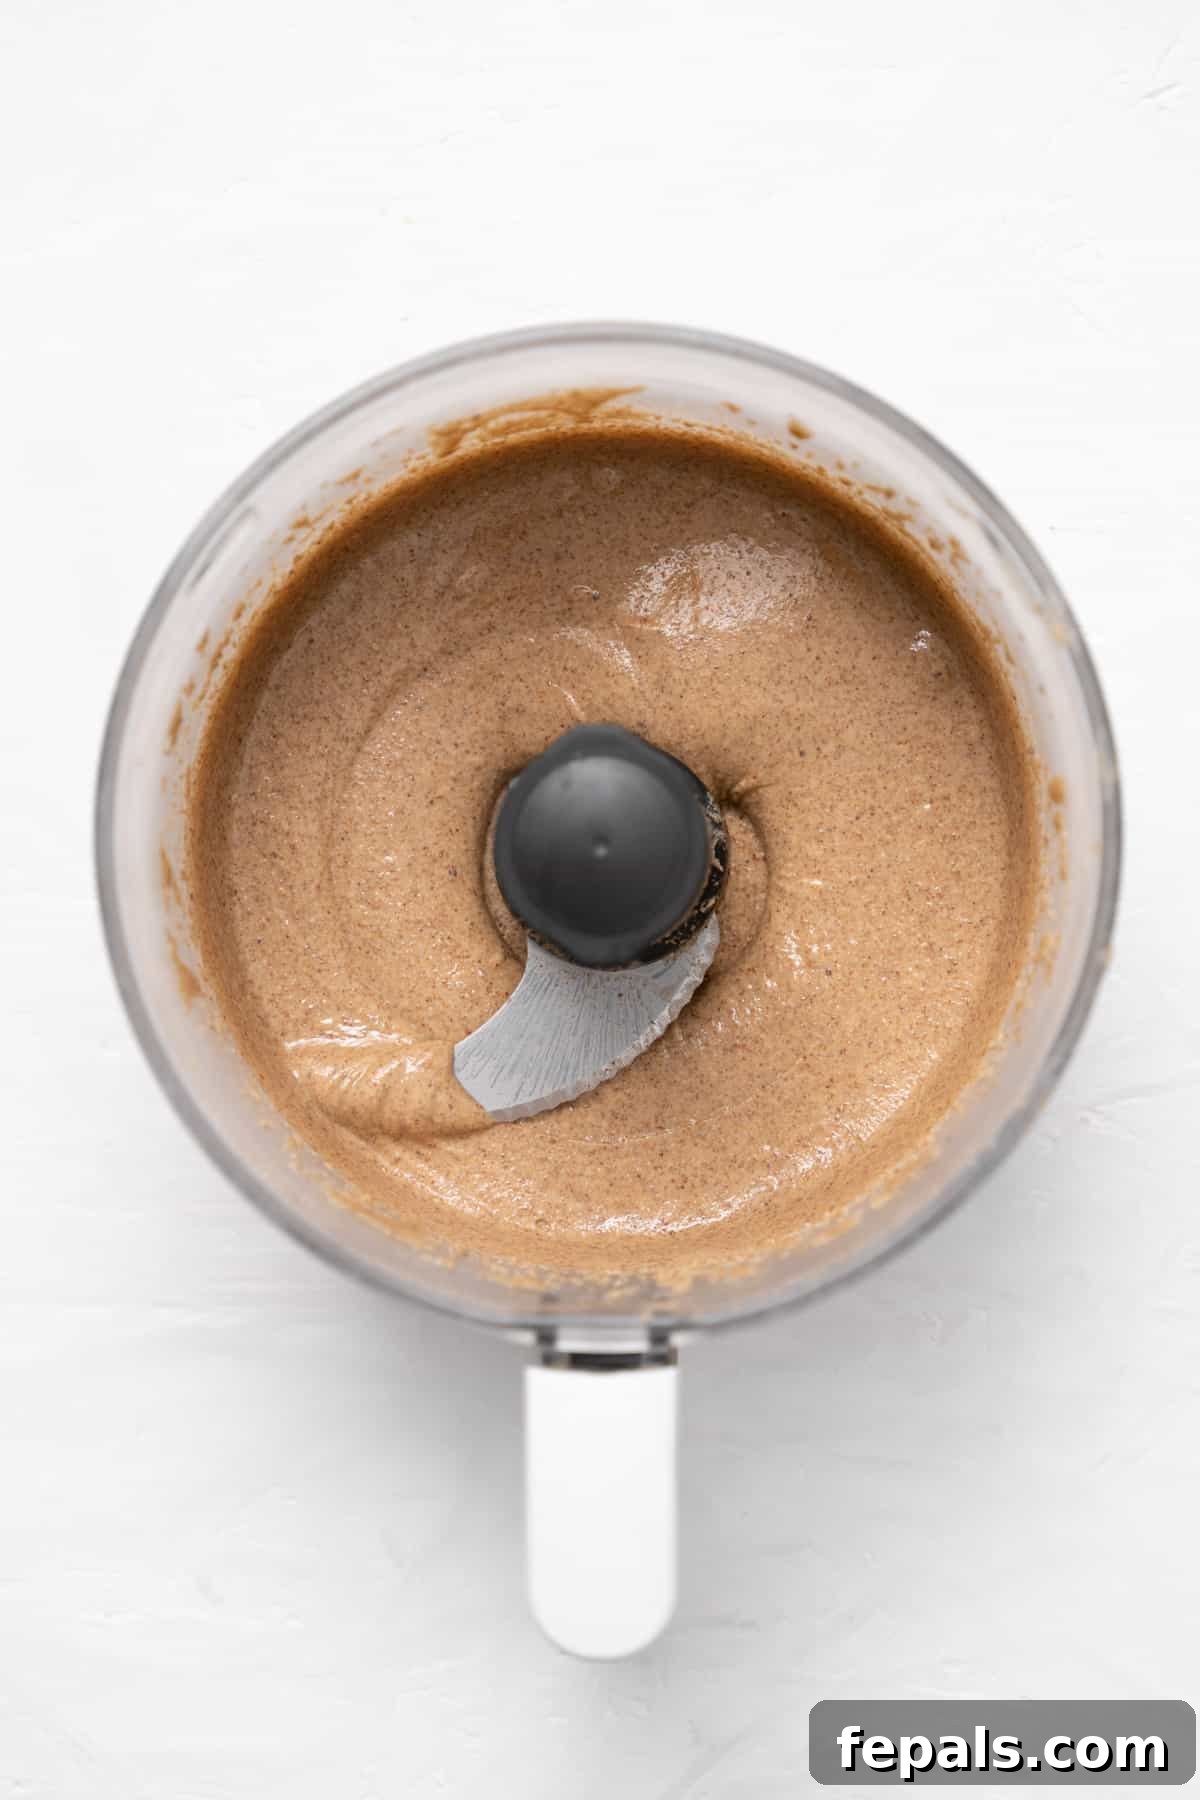
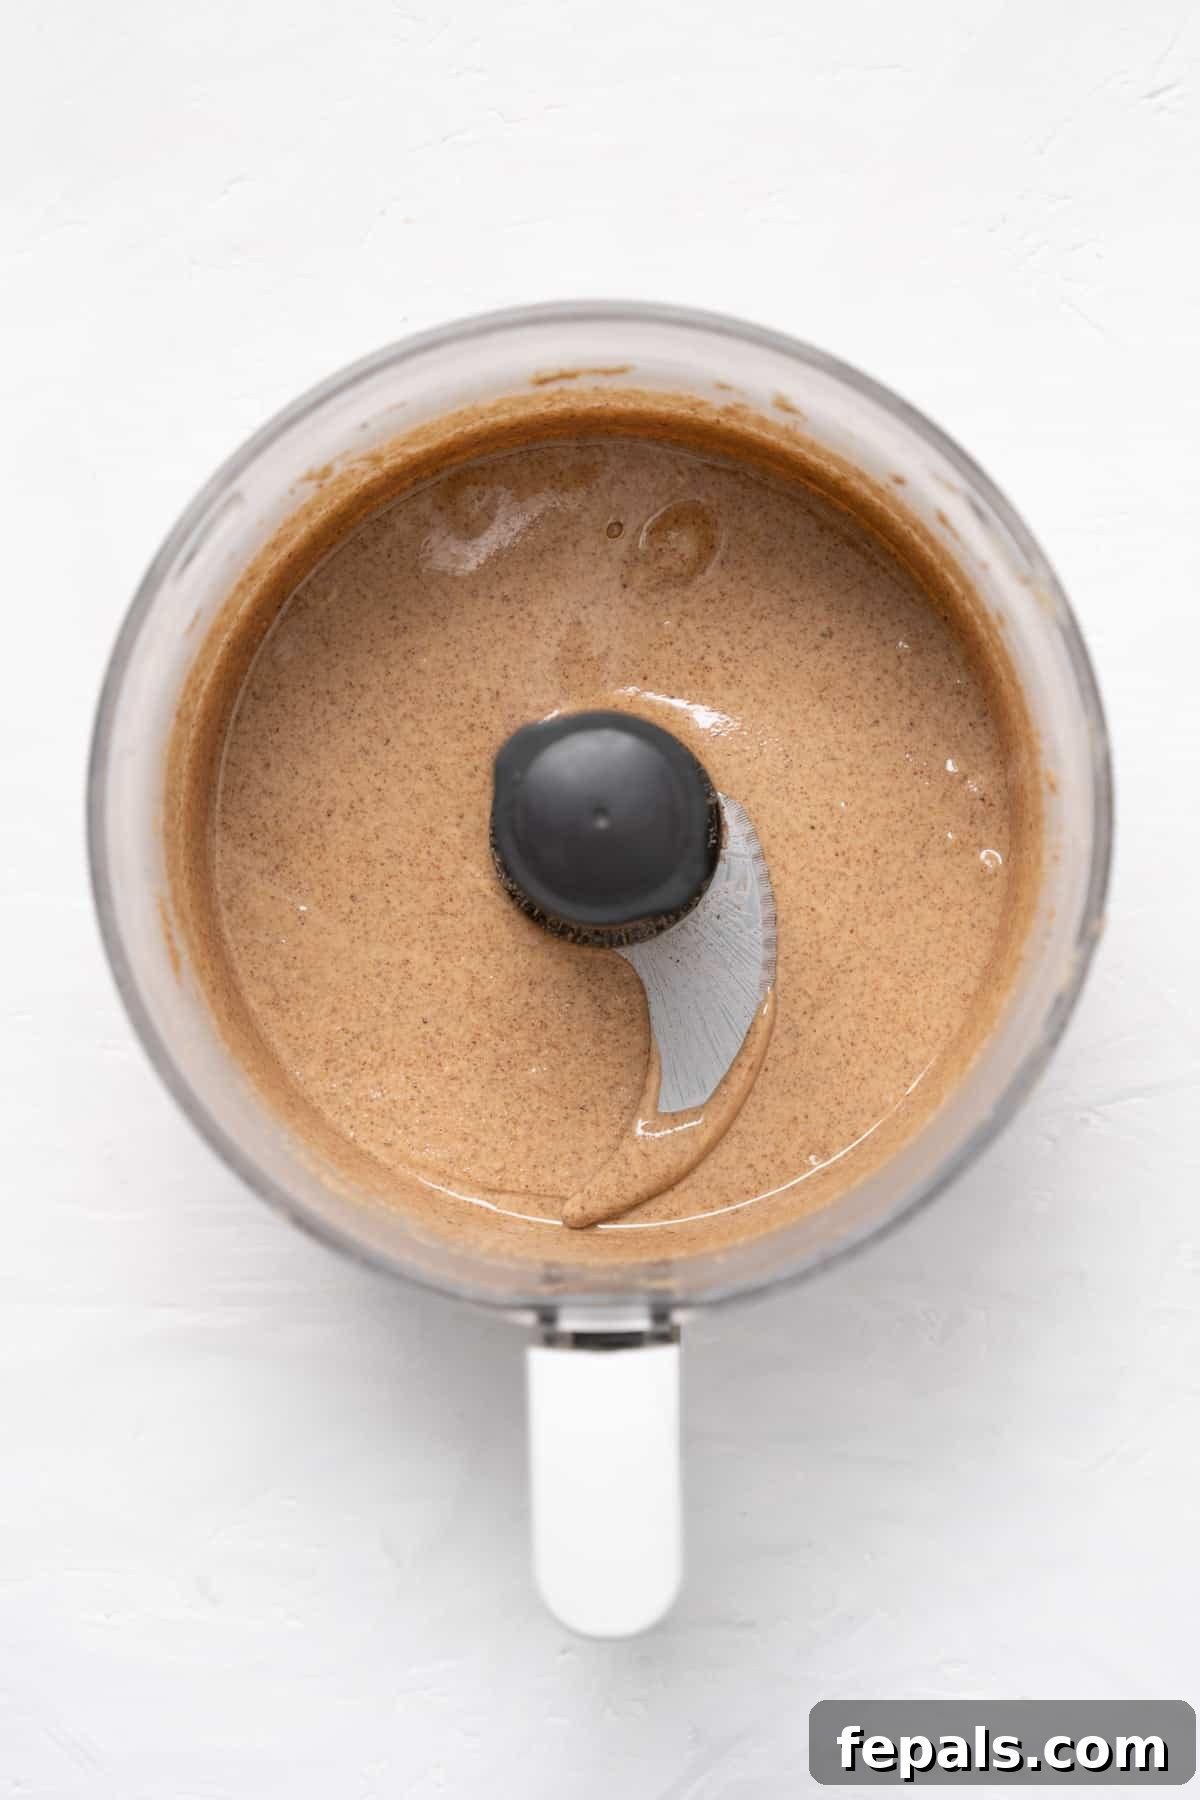
This is the longest part of the process, but don’t be discouraged. The almonds will go through several stages: from a dry meal to a thick, pasty ball, and eventually, as their natural oils are released, they will transform into a creamy, liquid butter. Keep blending continuously, scraping down the sides as needed. You might think it will never get creamy, but trust the process! The friction from the blades will warm the almonds, encouraging the release of their oils. Continue blending until the almond butter starts to become thin, glossy, and achieve that ultra-creamy, runny consistency you desire.
Step 5: Season and Final Blend
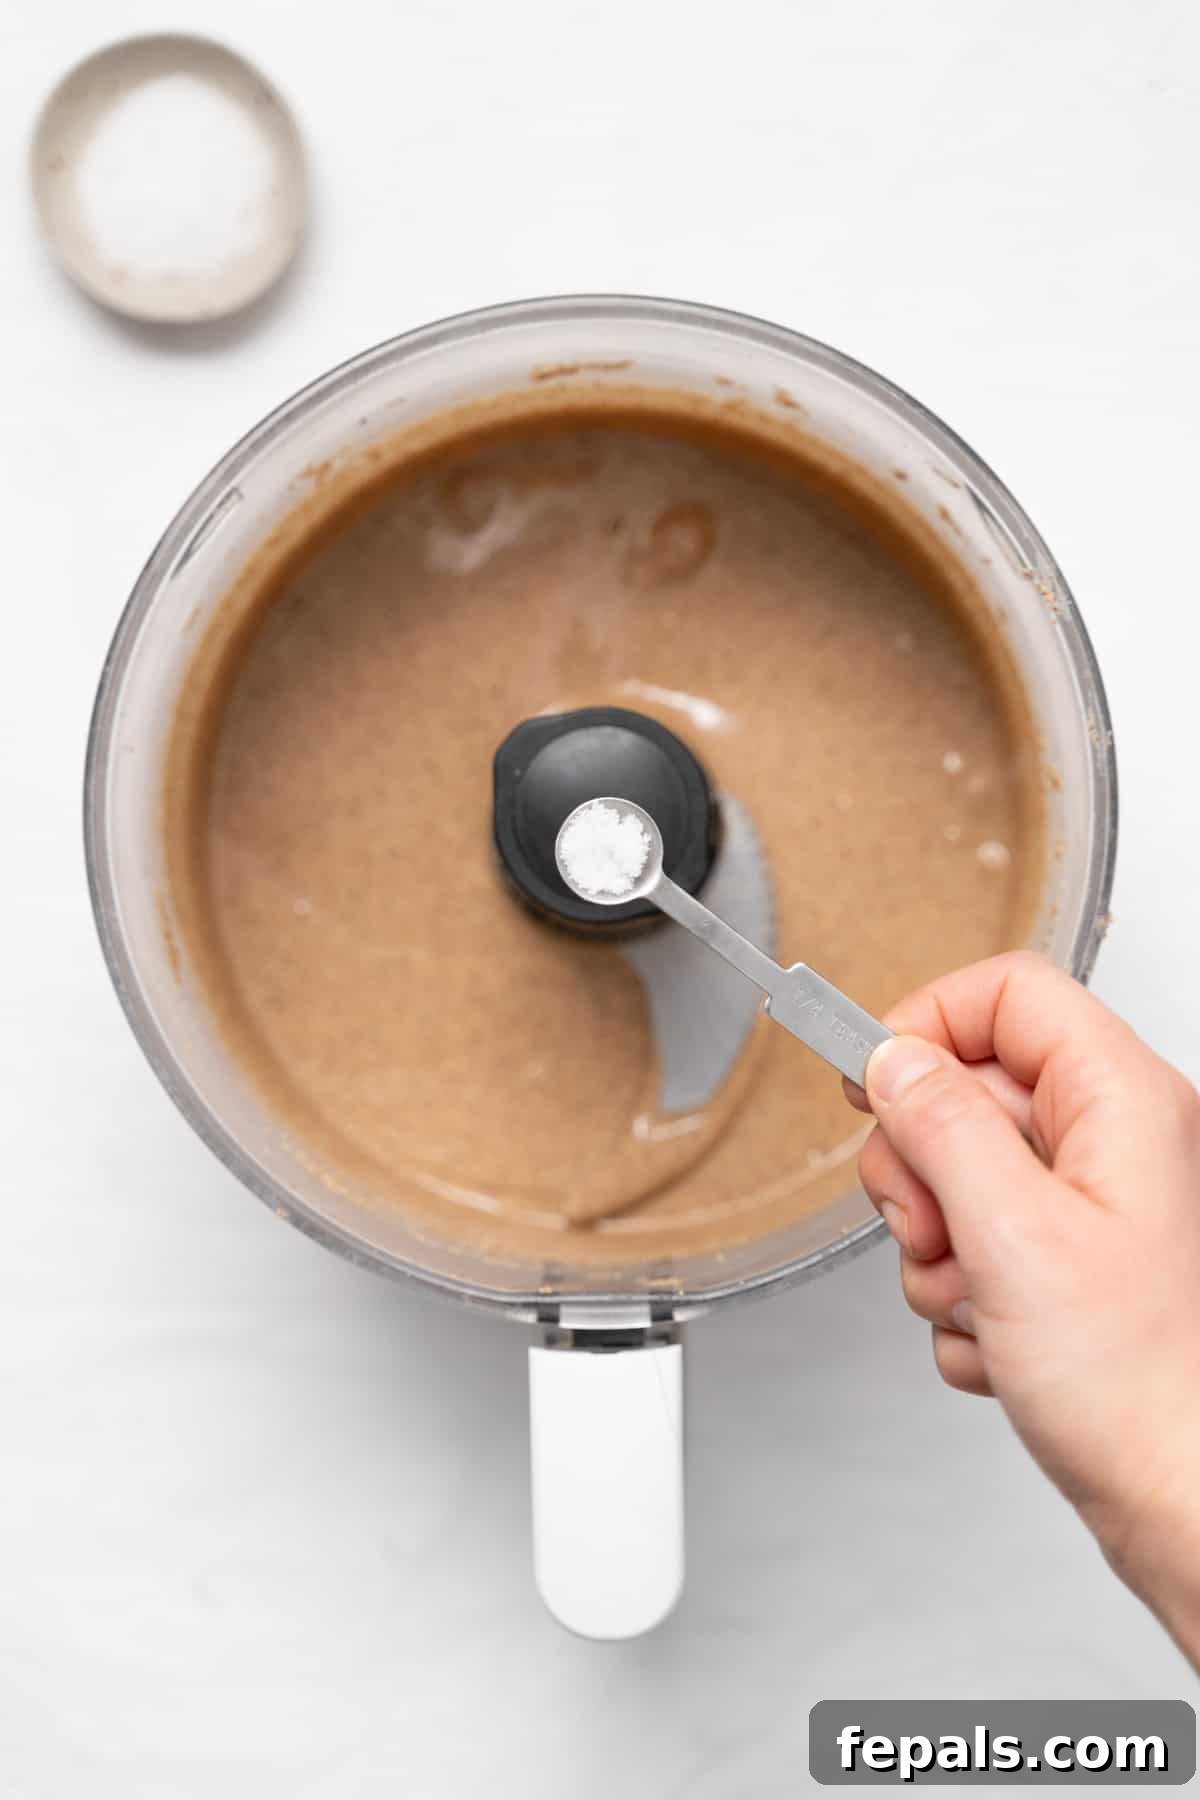
Once your almond butter has reached the desired smooth and creamy consistency, it’s time to add your flavor enhancers. Incorporate one teaspoon of salt. This will balance the flavors and bring out the natural sweetness of the almonds. If you’re using optional additions like vanilla extract or cinnamon, now is the time to add them. Continue to blend for another 30-60 seconds to ensure all the additions are thoroughly mixed into the smooth butter.
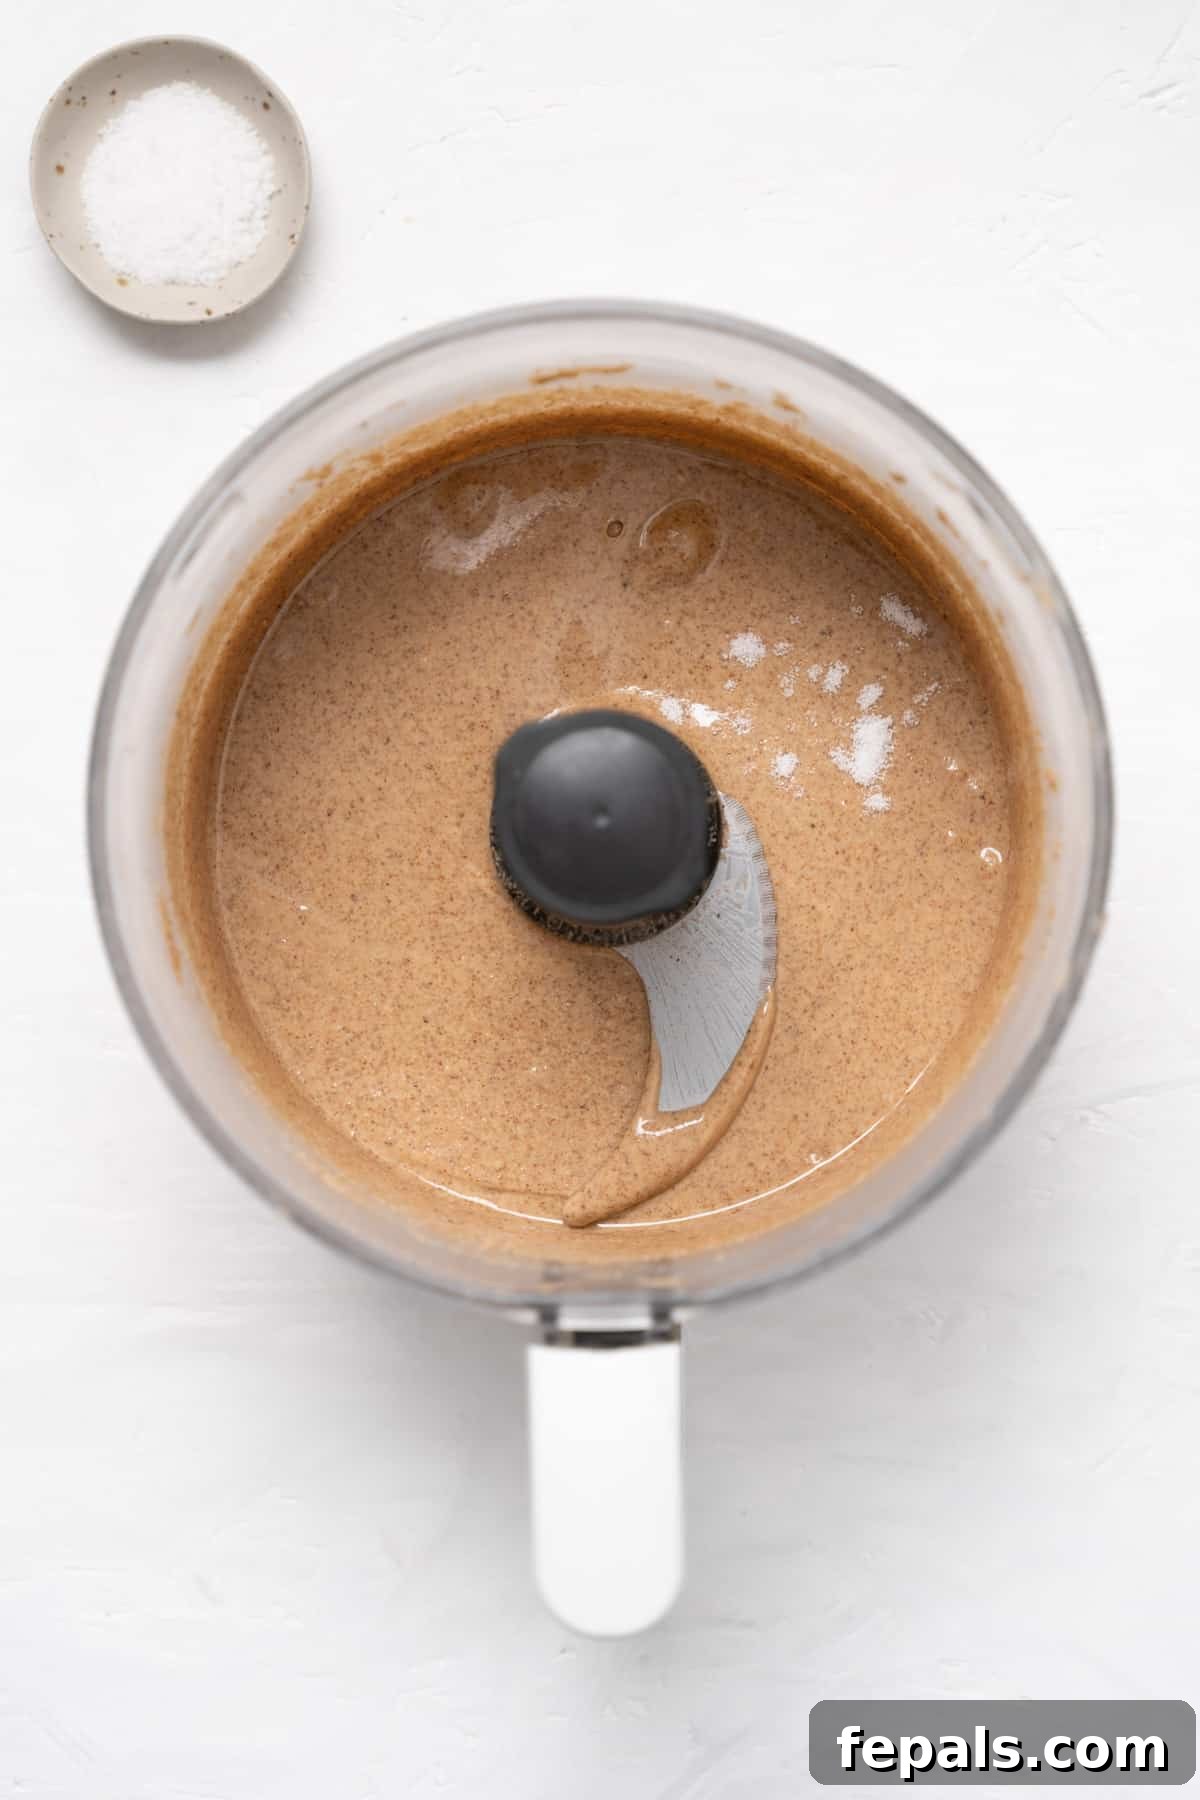
Step 6: Serve or Store
Once the almond butter is beautifully runny and smooth, and the salt (and any other desired flavorings) has been thoroughly incorporated, it’s ready to be served or stored. Carefully pour the freshly made almond butter into a clean, airtight jar. A tight-fitting lid is essential to maintain its freshness and prevent it from oxidizing until you’re ready to enjoy it.
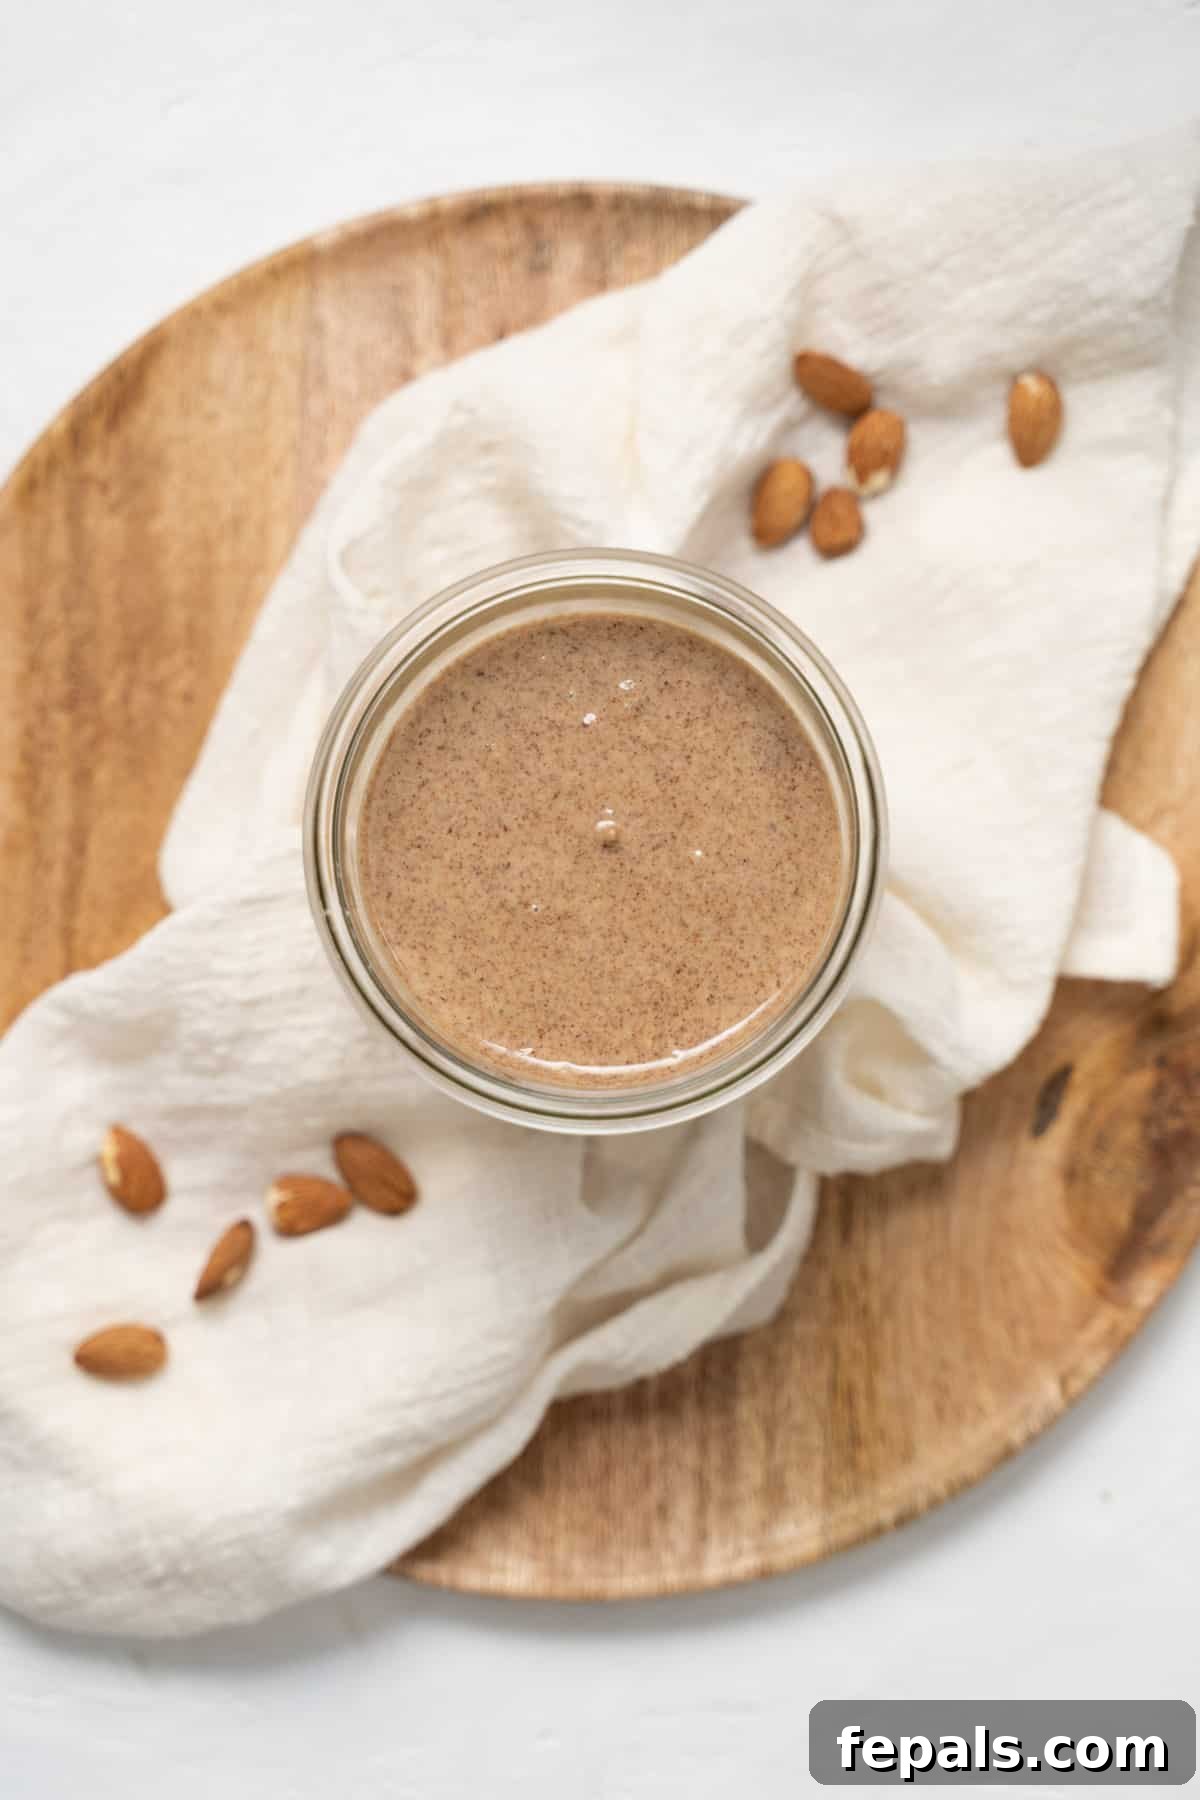
Enjoy your homemade creation! This raw almond butter is incredibly versatile and pairs wonderfully with crackers, banana slices, various other fruits, oatmeal, milkshakes, and smoothies. The possibilities for enjoying natural almond butter are truly endless!
Frequently Asked Questions About Homemade Almond Butter
Here are answers to some common questions about making and storing your own delicious almond butter:
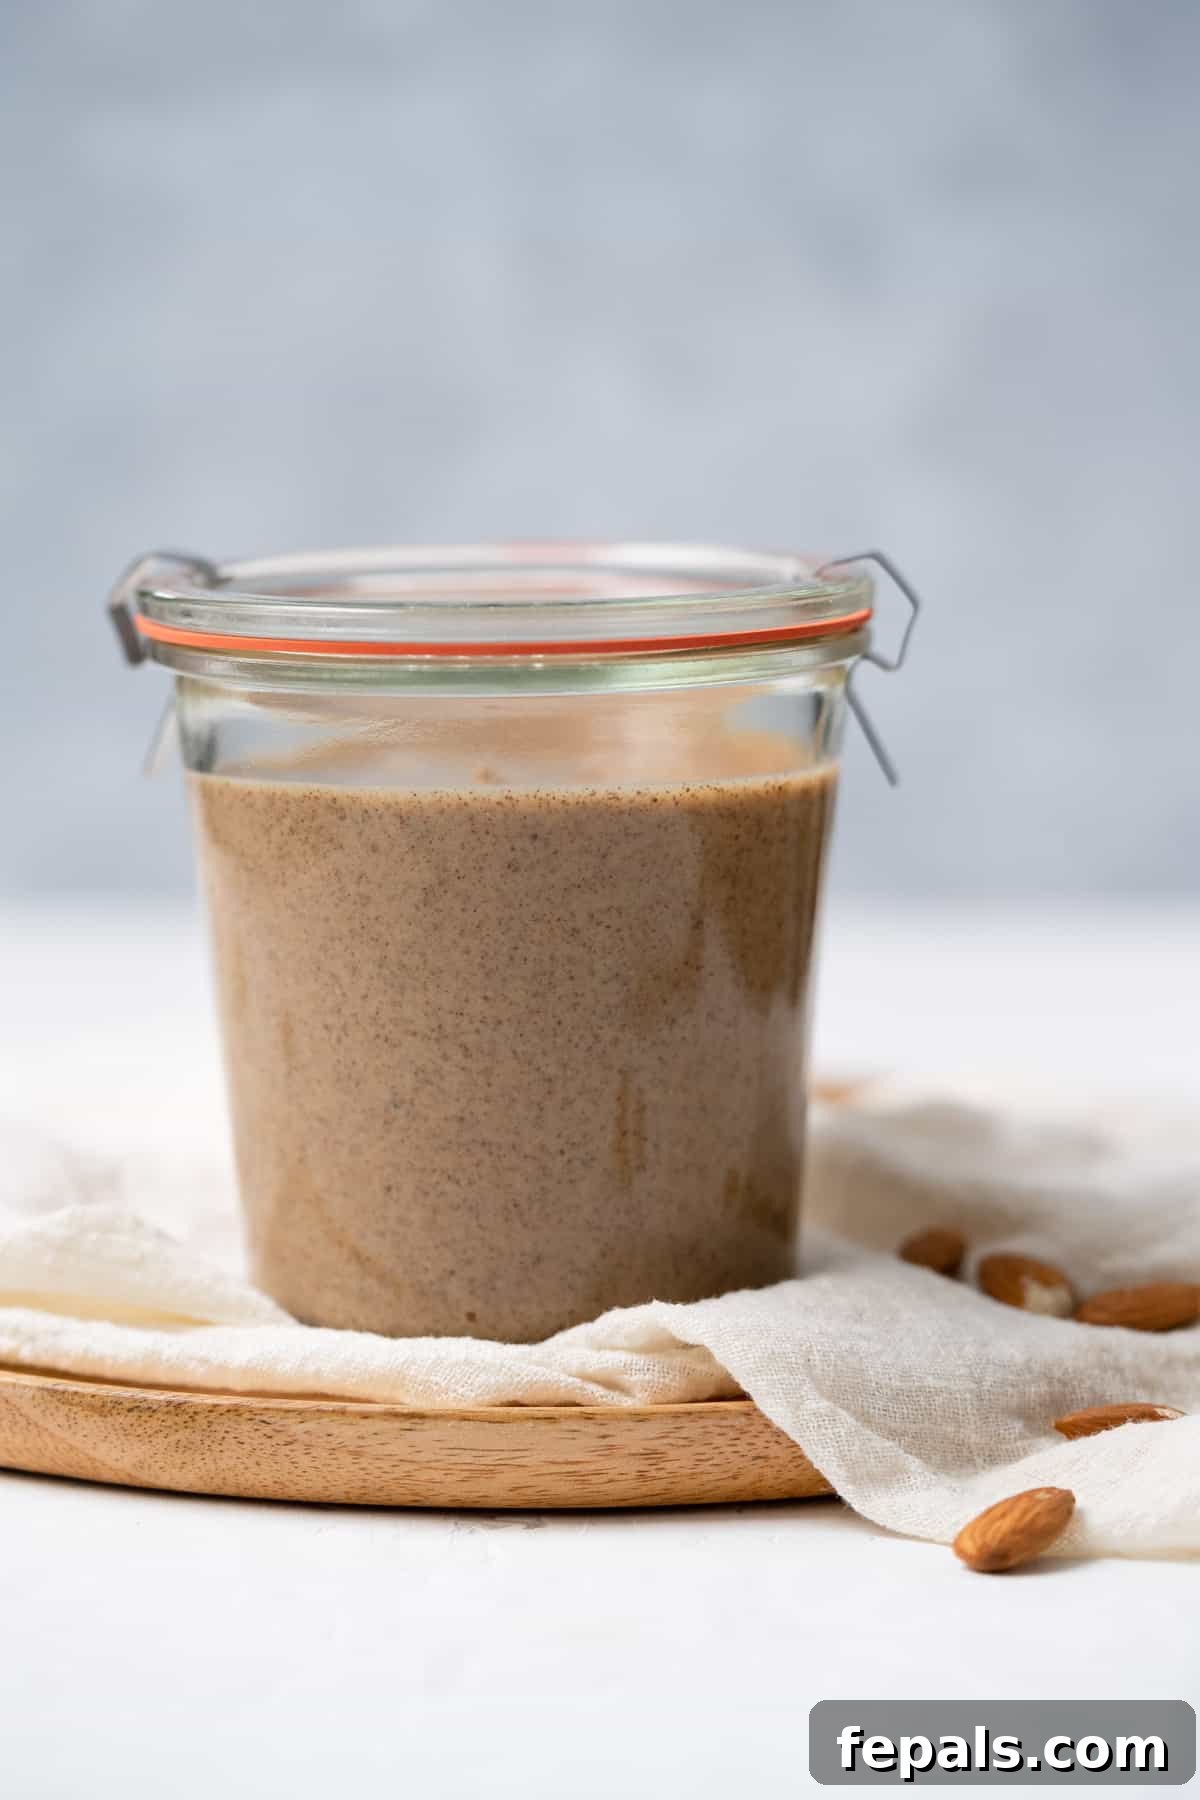
When stored in an airtight container or jar, homemade almond butter will remain fresh at room temperature for up to two weeks. If you prefer to extend its shelf life, you can store it in the refrigerator for up to 3-4 weeks. The oils may separate, but a quick stir will bring it back to its creamy consistency.
Yes, absolutely! While a food processor is often recommended for its wide base and specific blade design, a high-speed blender can also yield excellent results. Just ensure your blender is powerful enough to handle the workload and that you frequently scrape down the sides to ensure even processing and prevent the motor from overheating.
Yes, you can and should use raw almonds! The process outlined in this guide specifically starts with raw almonds, which you then toast yourself. Toasting the raw almonds is a critical step that brings out their rich, nutty flavor and facilitates the release of their natural oils, leading to a smoother, creamier butter.
While some recipes suggest soaking almonds (often referred to as “activating” them) to reduce phytic acid and improve digestibility, it’s not strictly necessary for making almond butter. If you do choose to soak them, you’ll need to thoroughly dehydrate them afterward, which can add significant time to the process. For simple and quick almond butter, dry raw almonds that are then toasted are perfectly fine.
Patience is the most common answer! The transformation from whole almonds to creamy butter can take anywhere from 10 to 20 minutes, depending on your appliance’s power. It will go through stages: coarse meal, fine meal, thick paste, and finally, a smooth, runny butter. Keep blending and scraping down the sides. Ensure your food processor or blender is powerful enough, and don’t try to make too small of a batch, as a sufficient quantity helps the blades work effectively.
Expert Tips for the Best Homemade Almond Butter
Achieving that perfect, silky-smooth almond butter is easier with these insider tips:
- Embrace Patience: As mentioned in the instructions, the blending process takes time. It can feel like an eternity, especially when the almonds turn into a thick, dry ball. Resist the urge to add oil! Just keep blending, and scraping down the sides of the food processor bowl frequently. The natural oils will eventually release, and the butter will become wonderfully creamy and thin.
- Don’t Skip the Toasting: Toasting the almonds isn’t just an optional step; it’s essential. This process deepens the nutty flavor profile significantly and warms the almonds, making it easier for them to release their natural oils during blending. The result is a more flavorful and smoother butter.
- Proper Storage is Key: For optimal freshness and to prevent spoilage, store your homemade almond butter in an airtight container. While it can be kept in a cool, dry spot at room temperature for up to two weeks, refrigerating it will extend its shelf life to about 3-4 weeks. If stored in the fridge, it might thicken, but a good stir will restore its spreadable consistency.
- Experiment with Flavorings: Once you’ve mastered the basic recipe, feel free to get creative! A dash of vanilla extract adds a lovely aroma, while a pinch of cinnamon or cardamom can introduce a warm, exotic note. For a hint of sweetness, consider adding a tiny amount of maple syrup or honey during the final blending stage, but remember to start small and taste as you go.
- Use a High-Quality Appliance: A robust food processor or a high-speed blender is your best friend for making nut butters. Lesser powerful machines might struggle to break down the almonds efficiently, leading to a gritty texture or even overheating the motor.
Creative Ways to Enjoy Your Homemade Almond Butter
Your freshly made almond butter is incredibly versatile and can elevate countless meals and snacks. Here are even more delicious ways to use this healthy spread – it’s the perfect solution whenever you need a flavorful and nutritious pick-me-up:
- Breakfast Boosts:
- **Smoothies & Protein Shakes:** Add a tablespoon for healthy fats and protein.
- **Overnight Oats & Oatmeal:** Stir it in for creaminess and nutty flavor.
- **Toast & Bagels:** A classic spread, perhaps topped with banana slices or berries.
- **Pancakes & Waffles:** Drizzle it over your favorite stack instead of syrup.
- **Yogurt Parfaits:** Layer with yogurt, granola, and fruit.
- Healthy Snacks:
- **Fruit Dip:** Fantastic with apple slices, banana, pears, or celery sticks.
- **Crackers & Rice Cakes:** A quick and satisfying snack.
- **Energy Balls & Granola Bars:** A binding ingredient that adds nutrition and flavor.
- **Stuffed Dates:** Fill pitted dates with almond butter for a naturally sweet treat.
- Savory Applications:
- **Salad Dressings:** Whisk into vinaigrettes for a creamy, nutty base.
- **Sauces & Marinades:** Adds richness to Asian-inspired dishes or stir-fries.
- **Sandwiches & Wraps:** A healthier alternative to other spreads.
- Decadent Desserts:
- **Baking:** Use it in cookies, brownies, or muffins for moisture and flavor.
- **Ice Cream Topping:** Drizzle warm almond butter over vanilla ice cream.
- **Homemade Fudge:** A key ingredient for healthier, rich fudge.
- **Protein Bites:** Combine with protein powder, oats, and sweetener for no-bake treats.
More Healthy & Delicious Guides
Continue your culinary journey with these other helpful guides from our kitchen:
- How to Cut an Apple Into Slices
- How to Make Almond Milk
- How to cut Leeks
- Homemade Hummus
- How to Cook Rice on the Stove
- Homemade Cashew Butter
If you try this recipe and love it, please leave us some feedback in the comment section below and don’t forget to rate it! We would be thrilled if you shared this delicious recipe with your friends and family.
FOLLOW me on FACEBOOK | INSTAGRAM | PINTEREST | TWITTER for all of my latest blog posts and recipes.
How to Make Almond Butter at Home
Rena
16 ounces
5 mins
5 mins
10 mins
Pin
Equipment
-
Food processor or high-speed blender
-
Baking sheet
-
Parchment paper
-
Airtight jar
Ingredients
- 3 cups raw almonds
- 1 teaspoon salt
- A dash of Vanilla or Cinnamon, optional
Instructions
-
Preheat the oven to 350 degrees Fahrenheit (175°C). Spread a thin layer of almonds onto a baking sheet with parchment paper.
-
Place the baking tray with almonds into the oven. Toast the almonds in the oven for 10 minutes, stirring halfway. Remove the almonds from the oven and allow them to cool for 10 minutes.
-
Place the toasted and cooled almonds in a food processor (or blender.) Lightly pulse the almonds little by little, pausing to clean the sides of the food processor, then continue to chop the almonds until they become smooth.
-
The almond butter will eventually get creamier and creamier as you keep blending it. Keep blending until the almond butter starts to become thin and ultra-creamy.
-
Finally, you can add your add-ins like salt or spices. Add one teaspoon of salt, then continue to blend the almond butter.
-
Once the almond butter has become runny and the salt has been added, it’s ready to be served or stored. Carefully, pour the almond butter into a jar with a tight-fitting lid so it remains fresh until you’re ready to eat it.
Notes
- Every ounce of almond butter contains approximately 155 calories.
- This recipe yields about 1.5 cups of almond butter, enough to fill a 16-ounce jar.
- Store the almond butter leftovers either in the refrigerator or in a cool dry spot at room temperature in an airtight container.
Nutrition (per ounce, approximate)
Calories:
155kcal
Carbohydrates:
6g
Protein:
6g
Fat:
13g
Saturated Fat:
1g
Polyunsaturated Fat:
3g
Monounsaturated Fat:
8g
Trans Fat:
0.004g
Sodium:
146mg
Potassium:
197mg
Fiber:
3g
Sugar:
1g
Vitamin A:
0.3IU
Calcium:
72mg
Iron:
1mg
Nutrition information is automatically calculated and should only be used as an approximation.
Additional Info
Snack
American
Tried this recipe?
Mention @healthyfitnessmeals or tag #healthyfitnessmeals!