
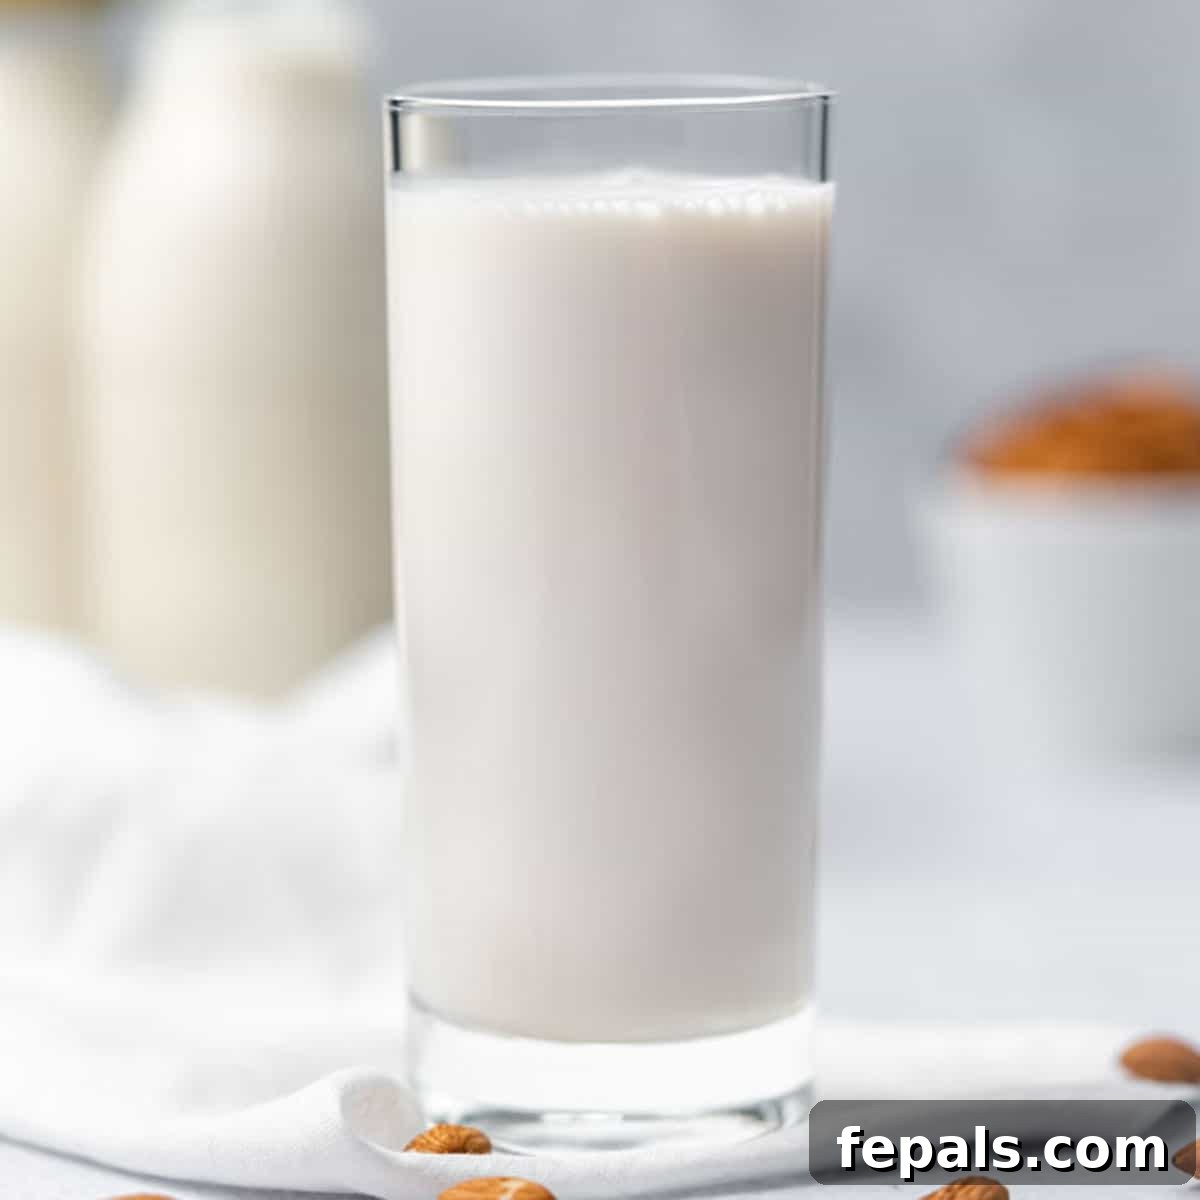
Unlock the secret to deliciously fresh, homemade goodness right in your kitchen with this incredibly easy recipe for homemade almond milk. Forget store-bought versions filled with unnecessary additives; crafting your own offers unparalleled freshness, pure flavor, and complete control over ingredients. This guide will walk you through making creamy, naturally sweet, and perfectly thin almond milk, with optional delightful hints of vanilla and maple syrup, all starting from simple, wholesome raw almonds. Get ready to elevate your culinary experience with a staple that’s both healthy and incredibly satisfying.
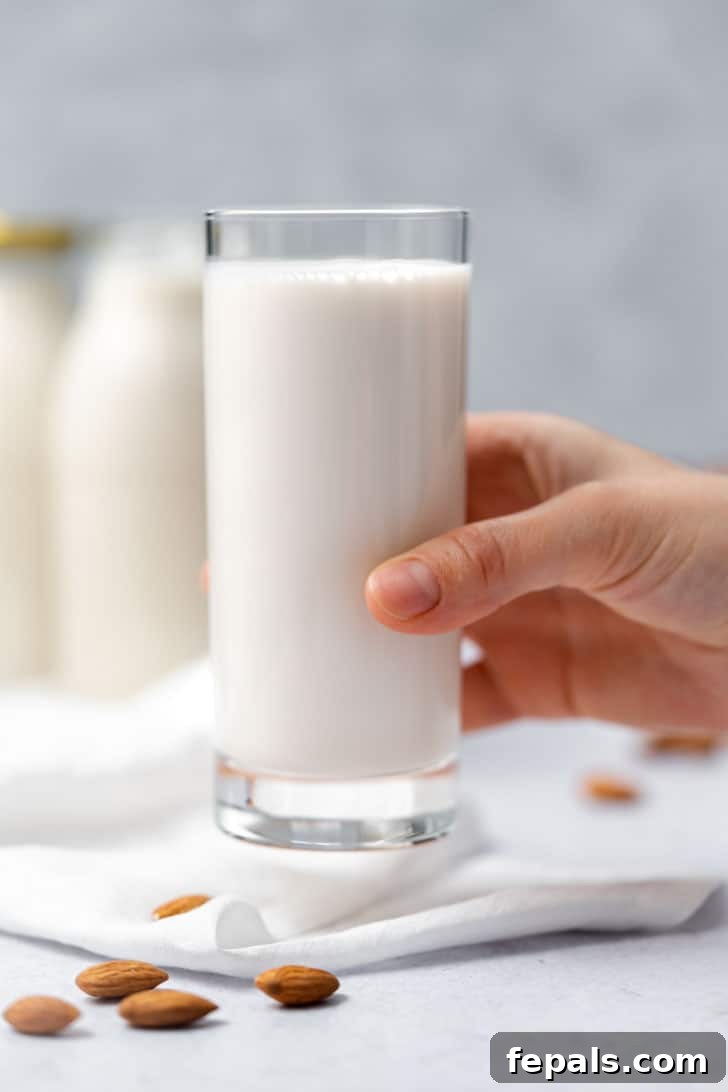
Having a fresh batch of almond milk on hand is a game-changer for any kitchen. This versatile dairy alternative is not just for cereal; it’s an essential component for smoothies, baking, coffee, and countless other recipes. Learning how to make almond milk at home ensures you always have a pure, nourishing, and delicious option readily available. With minimal effort, you can prepare a pitcher full of this wholesome plant-based milk in under five minutes using just a high-speed blender, making it a perfect solution for busy schedules and a healthy alternative to quick grocery store runs.
Creating your own plant-based milks, especially this exquisite homemade almond milk, offers numerous advantages. It’s significantly more cost-effective than purchasing cartons regularly, contributing to a more sustainable lifestyle by reducing packaging waste. Beyond the practical benefits, homemade versions boast a naturally creamy texture and a superior, richer flavor profile that store-bought varieties simply can’t match. This makes it an ideal, healthy choice for the entire family. Imagine starting your day with a bowl of granola or cereal bathed in your own freshly made almond milk, or incorporating its subtle nutty flavor into your favorite baking recipes, from fluffy pancakes to delectable chia puddings like this chocolate chia pudding.
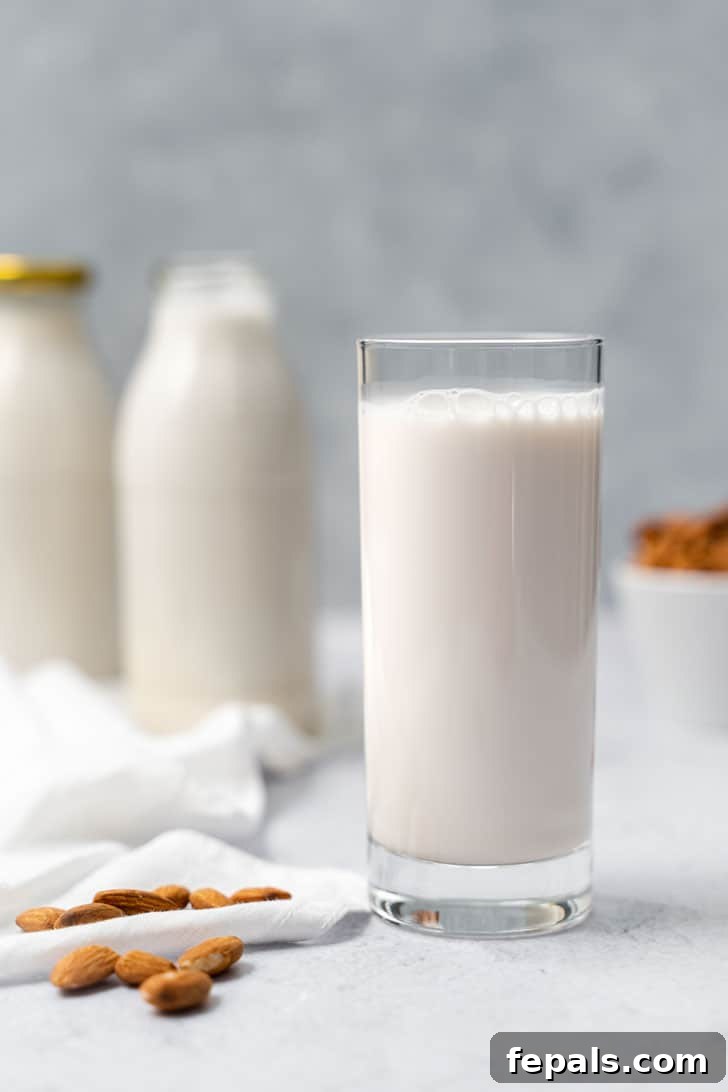
Why Homemade Almond Milk is Superior: Unveiling the Benefits
Ditching the store-bought cartons for a homemade alternative isn’t just a trend; it’s a choice for superior quality and health. When you decide to make almond milk from scratch, you open up a world of benefits that significantly enhance your daily diet and culinary endeavors. Here’s why making your own nut milk is truly the best choice:
- Unmatched Creaminess and Rich Flavor: The difference in taste and texture is undeniable. Our almond milk recipe guarantees a thick, luxurious creaminess and rich, authentic flavor because it’s crafted with premium raw almonds and the perfect almond-to-water ratio. Unlike commercial options that can be watery and bland, this homemade version offers a truly satisfying mouthfeel and a pure, unadulterated nutty taste.
- Complete Control Over Ingredients: This is perhaps the most significant advantage. By making your own, you entirely bypass the artificial thickeners, emulsifiers, added sugars, and preservatives often found in supermarket almond milks. You decide what goes into your body, ensuring a clean, wholesome beverage free from unwanted additives. This makes it an ideal option for those with dietary restrictions or simply seeking a healthier lifestyle.
- Effortless Customization: One of the joys of homemade plant-based milk is the freedom to tailor it to your exact preferences. While delicious on its own, this almond milk serves as a perfect canvas for your favorite flavors. Experiment with a dash of vanilla extract for warmth, a sprinkle of cinnamon or nutmeg for spice, or a swirl of maple syrup, honey, or even monk fruit for natural sweetness. The possibilities are endless, allowing you to create a unique flavor profile for every occasion.
- Cost-Effective and Eco-Friendly: Over time, making your own almond milk proves to be a more economical choice. A single bag of raw almonds yields multiple batches of milk, often at a fraction of the cost of pre-packaged alternatives. Furthermore, by reducing reliance on plastic cartons, you actively contribute to decreasing environmental waste, making it a more sustainable option for both your wallet and the planet.
- Maximize Usage: Don’t Waste the Leftover Almond Pulp! A fantastic bonus of making almond milk is the flavorful leftover pulp. This fibrous byproduct is far too precious to discard! Rich in fiber and retaining a delightful almond essence, the pulp can be repurposed into an array of delicious and healthy treats. Incorporate it into baking recipes like cakes, cookies (such as these cranberry oatmeal cookies), muffins (like these apple muffins), or even oatmeal bakes (like this blueberry baked oatmeal). It also adds a nutritional boost to smoothies and energy bites.
Delicious Pairings: What to Serve Your Homemade Almond Milk With
The versatility of homemade almond milk knows no bounds. Its delicate flavor and creamy texture make it an excellent accompaniment to a wide variety of dishes and beverages. Here are just a few ideas to inspire you:
- Breakfast Staples: Pour it over your favorite cereal, granola, or muesli. It’s also fantastic in oatmeal, overnight oats, or blended into a vibrant fruit and veggie smoothie.
- Baked Goods and Desserts: A perfect match for cookies, muffins, cakes, and pastries. Use it as a dairy substitute in any recipe that calls for milk to add a subtle nutty depth.
- Hot Beverages: Elevate your morning routine by adding it to tea, coffee, or hot chocolate for a dairy-free creamy touch. It froths beautifully for lattes!
- Puddings and Chia Bowls: Create luscious chia puddings, rice puddings, or tapioca puddings. Its creaminess is ideal for achieving the perfect consistency.
- Savory Dishes: Don’t limit it to sweet treats! Almond milk can be used in creamy sauces, soups, or even mashed potatoes for a plant-based twist.
- Simple Pleasure: Enjoy a chilled glass on its own, perhaps with a sprinkle of cinnamon or a drizzle of maple syrup for a refreshing and healthy snack.
Step-by-Step Guide: How to Make Almond Milk at Home
Making your own creamy almond milk is a surprisingly straightforward process that yields incredibly rewarding results. Follow these simple steps to create your fresh batch:
Step 1: Soak the Almonds for Optimal Texture
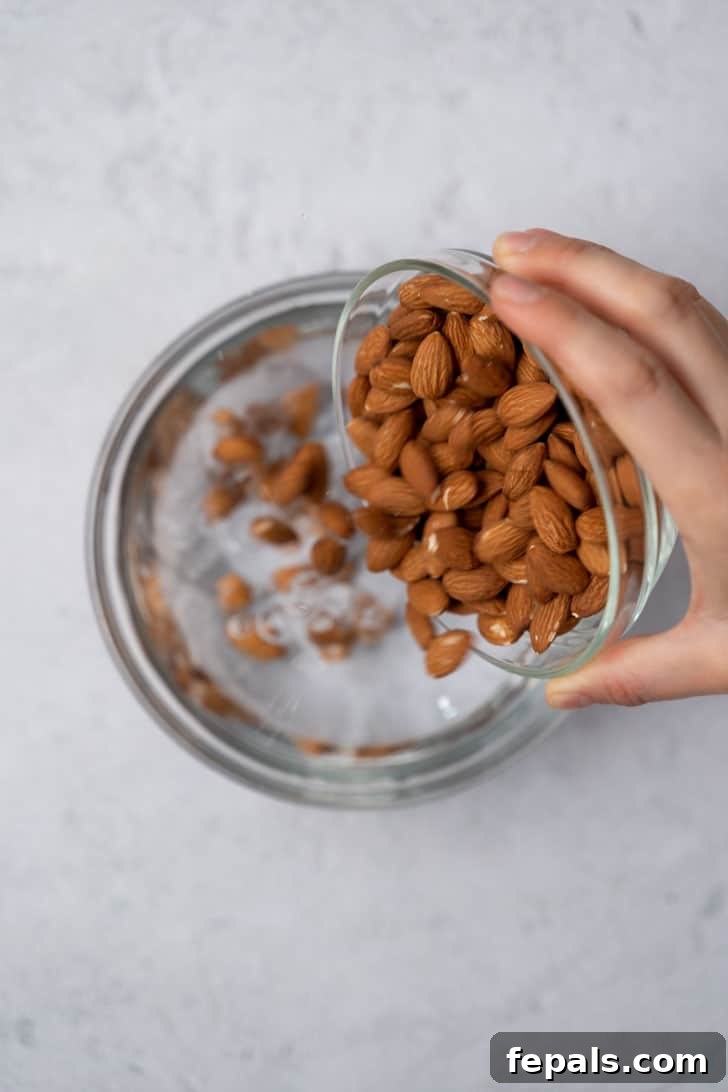
Begin by placing your raw almonds in a bowl and covering them with water. It’s crucial to soak the almonds for at least two to three hours, or ideally, overnight. Soaking softens the almonds, making them easier to blend into a smooth, creamy consistency and enhancing their digestibility. Once soaked, drain the almonds thoroughly and rinse them a few times under cold running water to remove any excess residue.
Step 2: Blend with Fresh, Filtered Water
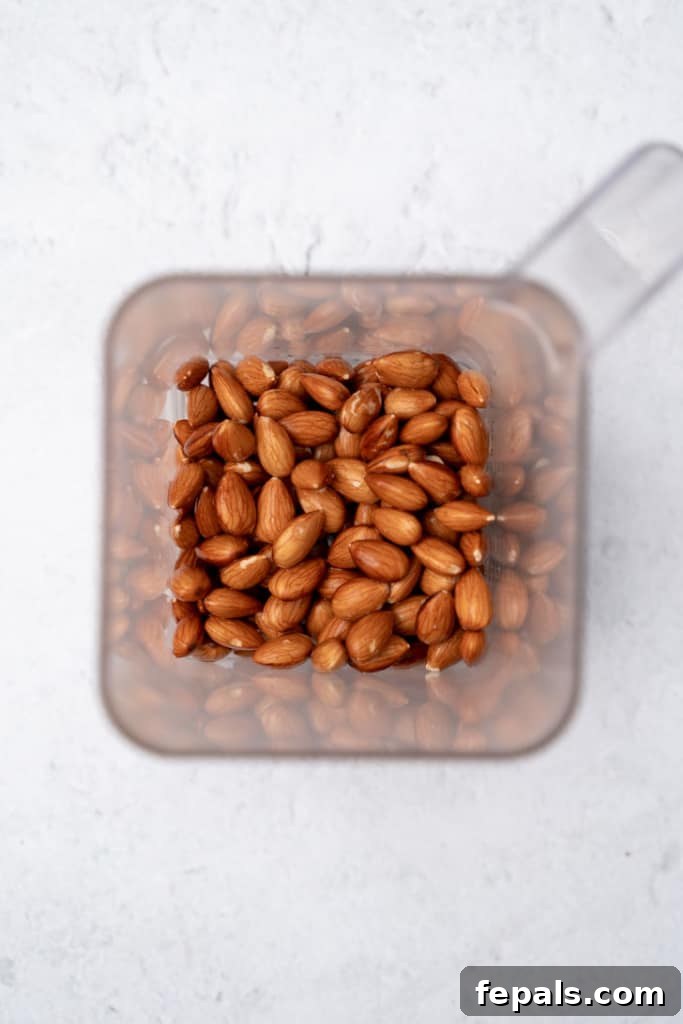
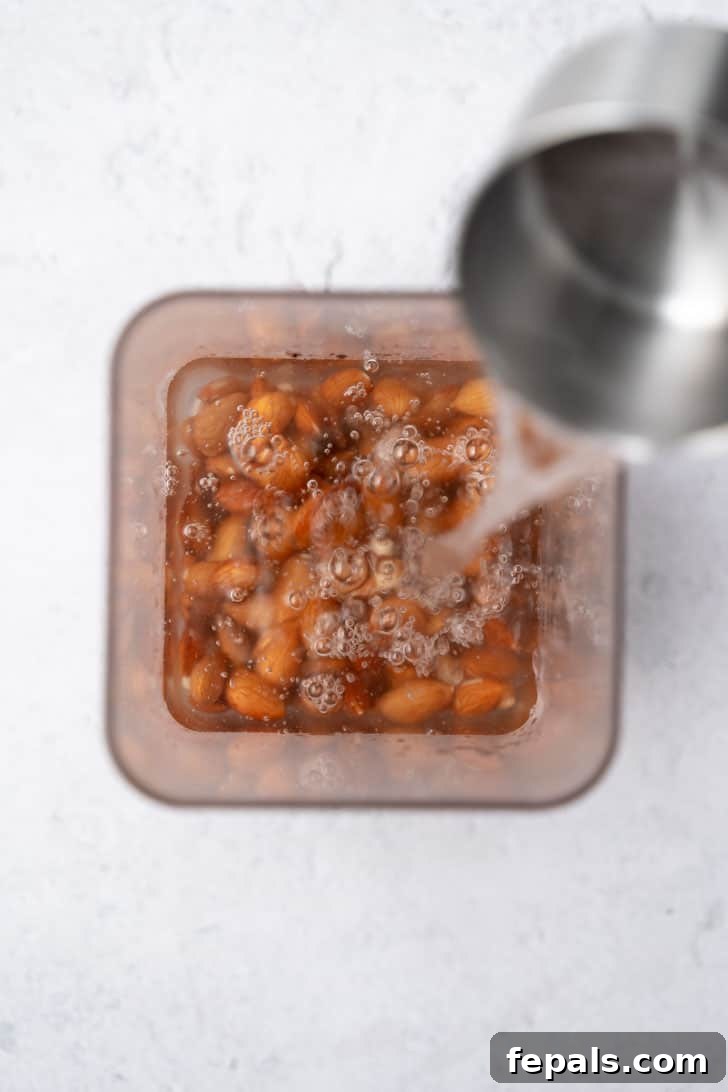
Transfer the rinsed and soaked almonds to a high-powered blender. This is a key tool for achieving maximum creaminess. Next, add four cups of cold, filtered water to the blender. Using cold, filtered water is important for both taste and shelf life of your finished milk.
Step 3: Add Optional Flavorings
If you desire to enhance your homemade almond milk with additional flavors, now is the time to add them. A teaspoon of vanilla extract or a tablespoon of maple syrup (or honey) will add a lovely sweetness and aroma. Feel free to experiment with a pinch of sea salt to bring out the nutty notes, or a dash of cinnamon for a warming spice.
Step 4: Achieve Perfect Creaminess through Blending
Secure the lid on your blender and blend all the ingredients on high speed for approximately two to three minutes. The goal is to achieve a completely creamy consistency with absolutely no visible chunks of almond remaining. The longer you blend, the smoother and richer your milk will be. Listen for a consistent hum, indicating the almonds are thoroughly pulverized.
Step 5: Strain for a Silky Smooth Finish
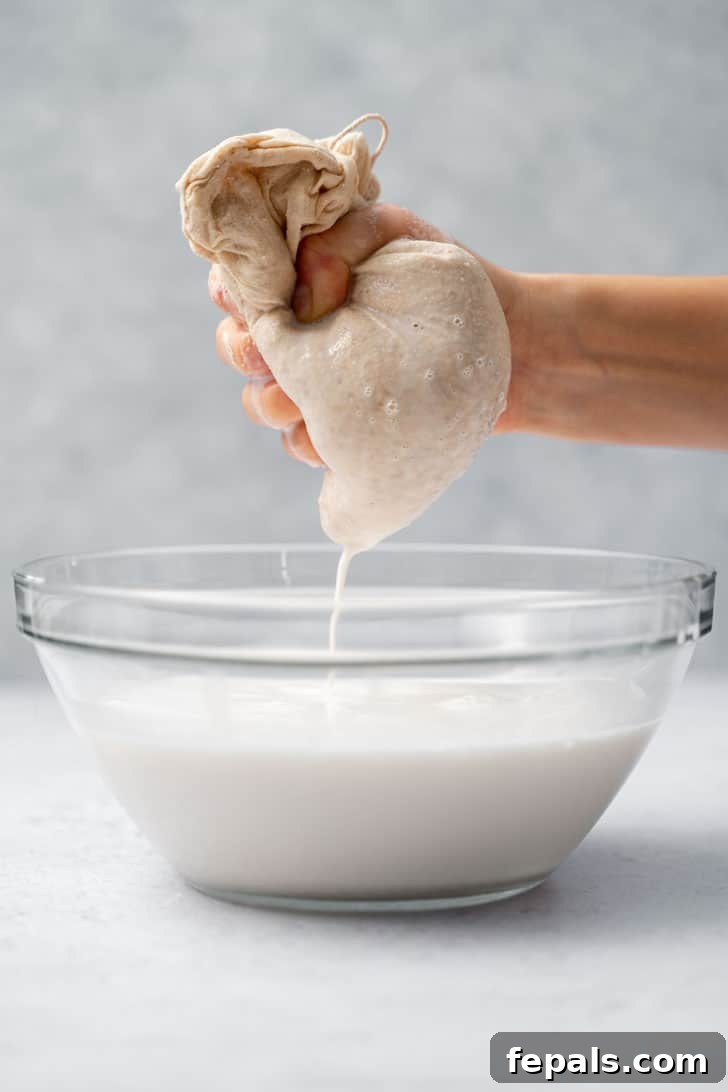
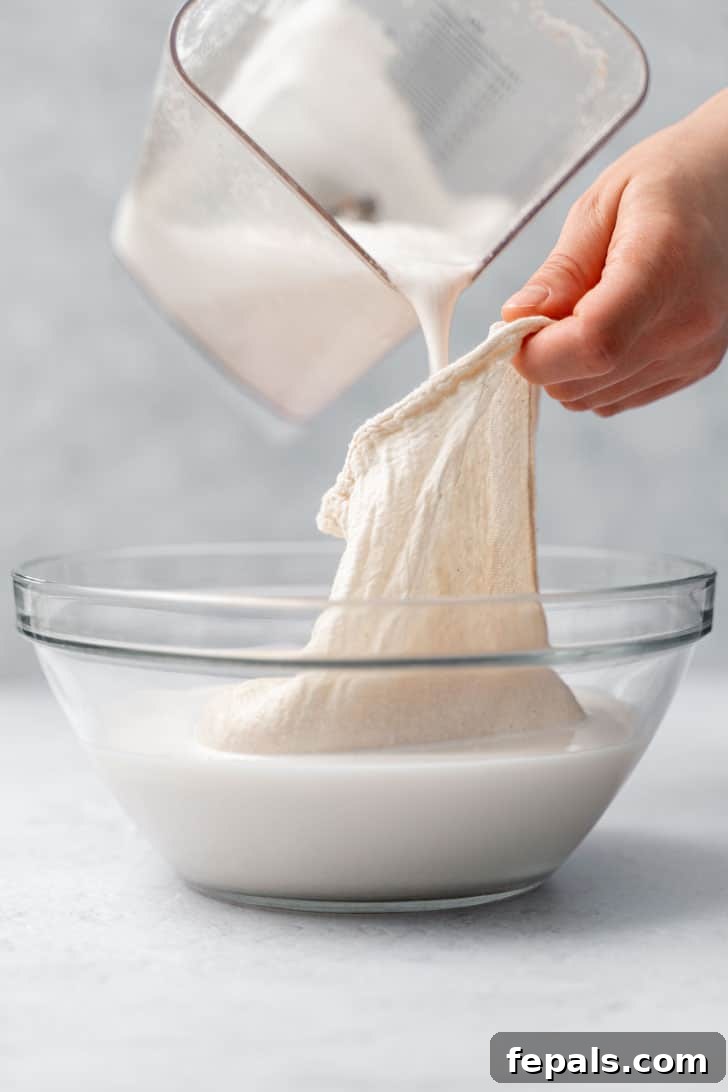
Once blended, place a nut milk bag or a fine-mesh cloth (such as cheesecloth) over a large bowl. Carefully pour the creamy blended almond mixture into the bag. Now, using your hands, gently but firmly squeeze the bag to strain the milk into the bowl. Continue squeezing until all the liquid has been extracted, leaving behind the almond pulp in the bag.
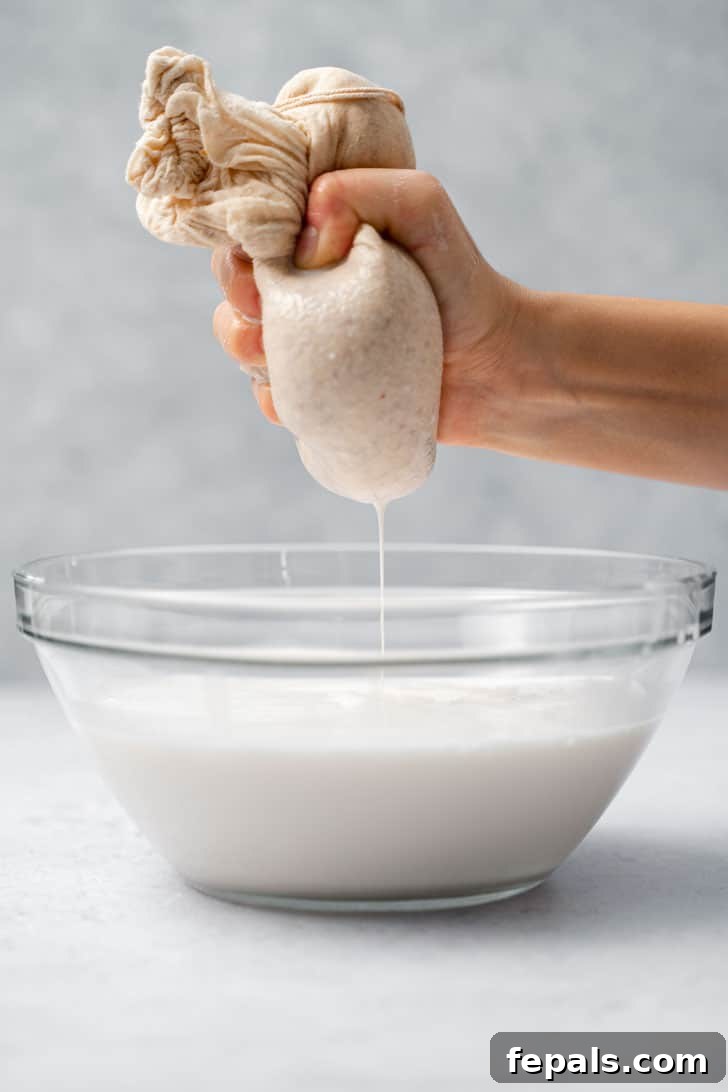
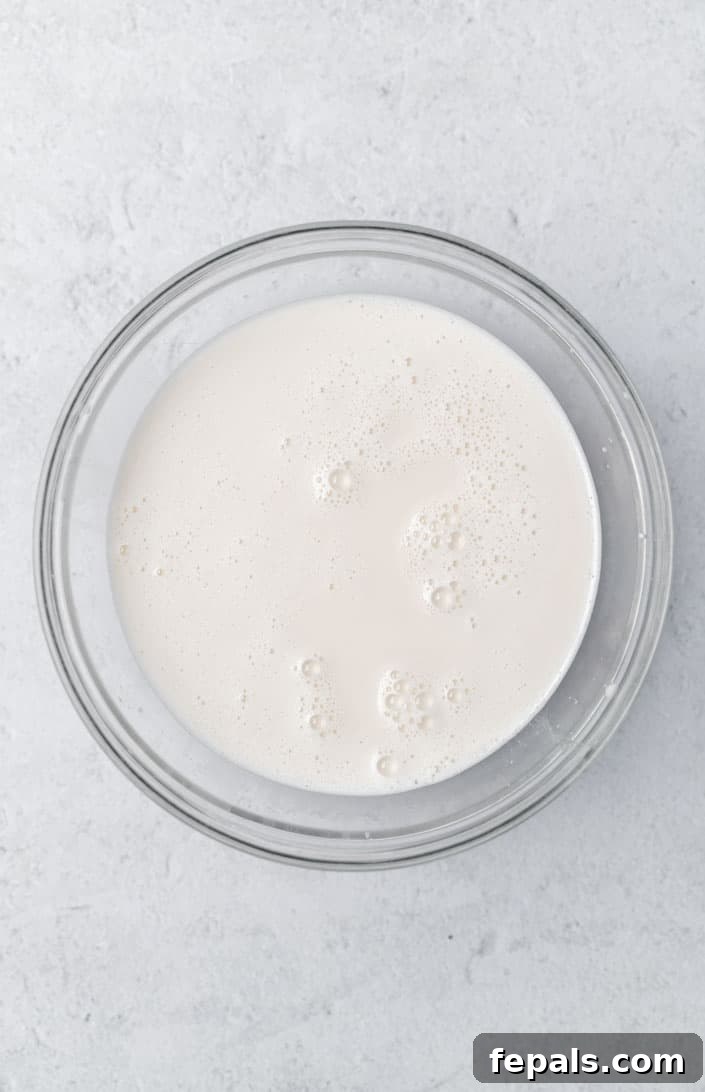
The remaining almond pulp in the bag is a valuable ingredient, rich in fiber, protein, and nutrients. Be sure to save it for your favorite baking recipes, smoothies, or even homemade almond flour. Do not discard this nutritious byproduct!
Step 6: Serve Immediately or Store for Later
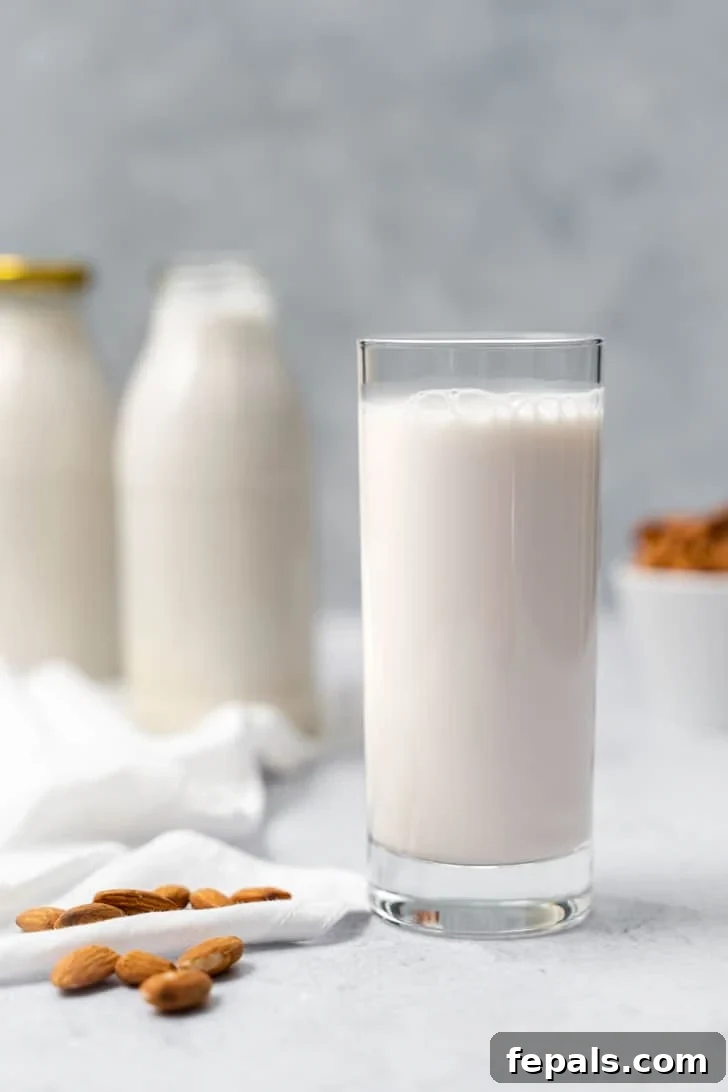
Your freshly made almond milk is now ready to enjoy! Pour it into individual cups if you plan to serve it right away. For later use, transfer the almond milk into airtight storage bottles or containers and refrigerate. Properly stored, your homemade almond milk will stay fresh and delicious for up to three to five days.
Frequently Asked Questions About Homemade Almond Milk
To enhance the flavor of your almond milk, don’t shy away from customization. The easiest way is to add more natural sweetener like maple syrup or honey, and a generous splash of pure vanilla extract. For an extra layer of warmth and complexity, consider incorporating your favorite spices such as cinnamon, nutmeg, or even a hint of cardamom during the blending process. A tiny pinch of sea salt can also surprisingly boost the overall flavor profile by balancing the sweetness and nutty notes.
The leftover almond pulp is a valuable, nutrient-rich ingredient. You can spread it thinly on a baking sheet and dehydrate it in a low oven or food dehydrator to make your own fine almond meal or flour, perfect for gluten-free baking. Alternatively, incorporate the moist pulp directly into various baked goods like cookies, muffins, quick breads, energy bars, or even as a base for veggie burgers. Its fiber content and subtle almond flavor add depth and nutrition to many recipes.
Several factors contribute to the shelf life of your homemade almond milk. Always start with cold, filtered water, and ensure your almonds are thoroughly soaked and rinsed. Keeping all equipment (blender, nut milk bag, storage containers) meticulously clean and sanitized is crucial to prevent bacterial growth. Store the milk in airtight glass bottles or containers in the coldest part of your refrigerator immediately after preparation. While some recipes suggest up to a week, it’s best to consume homemade almond milk within three to five days for optimal freshness and safety.
Yes, soaking the almonds is a highly recommended and essential step for making the best homemade almond milk. Soaking softens the almonds significantly, allowing them to blend much more smoothly and completely. This results in a noticeably creamier, less gritty texture for your finished milk. Additionally, soaking can help activate enzymes, making the nuts easier to digest and improving nutrient absorption. While technically possible to blend unsoaked almonds, the resulting milk will be thinner and more fibrous.
Expert Tips for the Best Homemade Almond Milk
Achieving the perfect batch of homemade almond milk is simple with a few insider tips:
- Experiment with Other Nuts and Seeds: While almonds are fantastic, don’t limit yourself! This versatile recipe can be adapted to create other delicious plant-based milks. Try using oats for oat milk, cashews for an ultra-creamy cashew milk, or hemp hearts for a nutritious hemp milk. Adjust soaking times and water ratios as needed for best results.
- Sweetener Choices: The beauty of homemade milk is tailoring the sweetness. Beyond maple syrup and honey, consider natural, sugar-free alternatives like monk fruit sweetener or a few pitted dates for a caramel-like sweetness. Adjust the quantity to your personal preference.
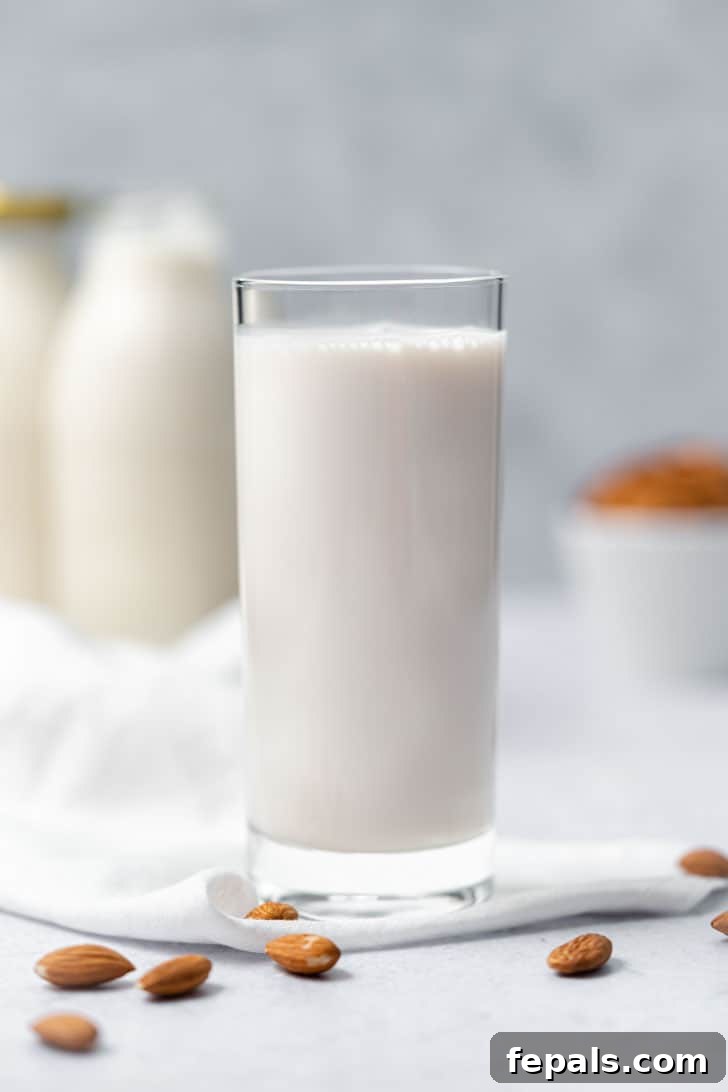
- Optimal Storage: For maximum freshness and to extend its shelf life, store your homemade almond milk in the coldest part of your refrigerator. While it’s best consumed within 3-5 days, some batches might last up to seven to 10 days if stored in impeccably clean, airtight containers. Always shake well before each use.
- Alternative Straining Methods: If you don’t own a dedicated nut milk bag, don’t worry! A fine-mesh sieve lined with several layers of cheesecloth or a clean, thin kitchen towel works just as effectively for straining out the almond pulp and achieving a smooth texture.
- Serving Suggestions: Beyond its use in recipes, enjoy your homemade almond milk simply chilled. It’s perfect with your favorite snacks, desserts, or as a refreshing base for protein shakes.
- Water Quality Matters: Using filtered water will significantly improve the taste of your almond milk, removing any unpleasant tap water flavors and allowing the natural almond essence to shine through.
Other Healthy & Delicious Recipes You Will Enjoy
If you love this homemade almond milk recipe, you’ll surely enjoy exploring more healthy and delicious options:
- No-bake Peanut Butter Bars
- Healthy Blueberry Muffins
- Peanut Butter Stuffed French Toast
- Hot Chocolate Oatmeal Bowl
- Chocolate Oatmeal Cookies

We hope you enjoy making and savoring your homemade almond milk! If you try this recipe and love it, please take a moment to leave your feedback and a rating in the comment section below. Your thoughts and experiences are invaluable, and we’d be thrilled if you shared this recipe with your friends and family.
FOLLOW me on FACEBOOK | INSTAGRAM | PINTEREST | TWITTER for all of my latest blog posts and recipes.
How to Make Almond Milk at Home
Pin

Equipment
-
1 high-powered blender
-
Nut milk bag or fine-mesh cloth
Ingredients
- 1 cup raw almonds, soaked for at least 2-3 hours or overnight
- 4 cups cold water, filtered
Optional Flavorings
- 1 teaspoon vanilla extract
- 1 tablespoon maple syrup , or honey (adjust to taste)
Instructions
-
Soak Almonds: Place the raw almonds in a bowl and cover with water. Soak overnight or for at least 2-3 hours. Drain the soaked almonds and rinse them thoroughly a few times under cold water.
-
Blend Ingredients: Transfer the soaked and rinsed almonds to a high-powered blender. Add 4 cups of cold, filtered water.
-
Add Flavorings (Optional): If desired, add vanilla extract, maple syrup, honey, or any other preferred sweeteners/spices to the blender at this stage.
-
Achieve Creaminess: Blend on high speed for approximately 2-3 minutes, or until the mixture is completely creamy and smooth with no almond chunks remaining.
-
Strain the Milk: Place a nut milk bag or a fine-mesh cloth over a large bowl. Pour the blended almond milk mixture into the bag, then firmly squeeze the bag with your hands to extract all the liquid into the bowl. The almond pulp will remain in the bag, which can be reused for other recipes.
-
Serve or Store: Pour the fresh almond milk into glasses if serving immediately. For storage, transfer it into airtight bottles or containers and refrigerate for up to 3-5 days. Shake well before serving.
Notes
- Nut Substitutions: Feel free to try this recipe with other nuts like cashews or even oats and hemp hearts for different plant-based milks.
- Sweetener Options: Use honey, maple syrup, or sugar-free alternatives like monk fruit sweetener to taste. Pitted dates can also add natural sweetness.
- Storage Duration: Store homemade almond milk in an airtight container in the refrigerator for 3 to 5 days. For best freshness, consume within this timeframe.
- Straining Alternative: A fine sieve lined with multiple layers of cheesecloth can be used if a nut milk bag is unavailable.
- Versatile Enjoyment: This milk is fantastic on its own, with cereal, in coffee, smoothies, or as a dairy substitute in baking.
- Serving size is approximately one cup.
Nutrition
Nutrition information is automatically calculated, so should only be used as an approximation.