

Mastering the Art of Cutting Oranges: A Comprehensive Guide to Perfect Slices and Segments
Do you love the vibrant zest and juicy sweetness of fresh oranges but find peeling and slicing them a cumbersome task? Learning how to cut an orange into elegant, skin-free slices or segments is simpler than you think! This comprehensive guide will equip you with easy-to-follow techniques to prepare this nutritious fruit in two popular ways: delicate vertical segments (often called supremes) and classic circular slices. Whether you’re enhancing a vibrant fruit salad, preparing a healthy snack, or garnishing a refreshing drink, mastering these methods will elevate your culinary skills and allow you to enjoy your favorite citrus with ease and style.
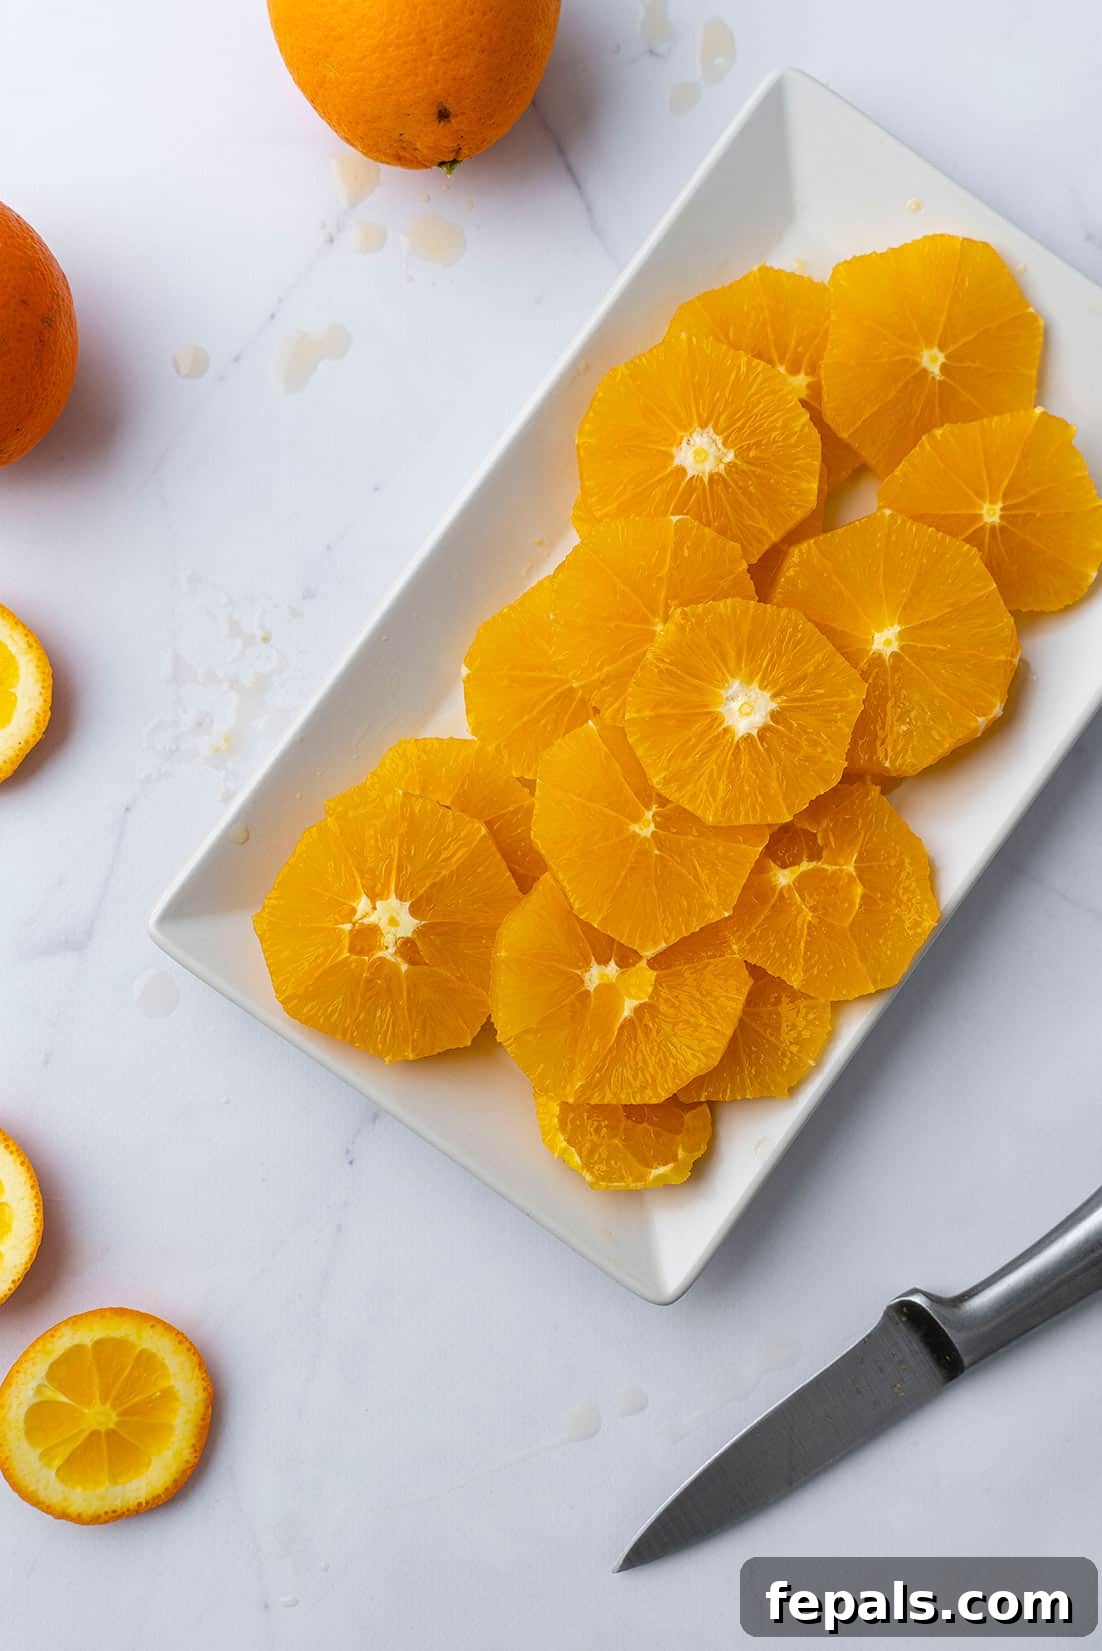
Oranges are more than just delicious; they are a powerhouse of essential nutrients, making them a perfect addition to any diet. From quick snacks for bustling mornings to sophisticated components in gourmet dishes, the versatility of oranges is boundless. Knowing how to efficiently and attractively prepare them unlocks a world of culinary possibilities. Forget wrestling with tough peels and messy membranes; with a sharp knife and a few simple steps, you’ll be slicing and dicing like a pro, making it easier than ever to incorporate this superfruit into your daily routine.
This guide will walk you through everything from selecting the perfect orange at the grocery store to various serving suggestions and proper storage techniques. Our aim is to make the process of cutting an orange not just easy, but enjoyable, ensuring you can savor every succulent bite without any hassle.
The Remarkable Health Benefits of Oranges
Oranges are celebrated worldwide not only for their delightful taste but also for their impressive nutritional profile. Packed with a wide array of vitamins, minerals, and antioxidants, these citrus gems are truly a superfood that supports overall health and well-being. Incorporating oranges regularly into your diet can lead to numerous advantages:
- Immune System Boost: Perhaps the most well-known benefit, oranges are an excellent source of Vitamin C. Just one medium orange can provide over 100% of your daily recommended intake. Vitamin C is crucial for a strong immune system, helping your body fight off colds and infections. It also acts as a powerful antioxidant, protecting your cells from damage caused by free radicals.
- Digestive Health: Oranges are rich in dietary fiber, which is vital for a healthy digestive system. Fiber helps to regulate bowel movements, prevent constipation, and maintain gut health. The soluble fiber in oranges can also help lower cholesterol levels.
- Skin Radiance: The high Vitamin C content in oranges plays a significant role in collagen production. Collagen is the primary structural protein in your skin, responsible for its elasticity and firmness. Regular consumption of oranges can help promote healthy, youthful-looking skin and may even aid in wound healing.
- Heart Health: Oranges contain compounds like flavonoids and carotenoids, which have anti-inflammatory and antioxidant properties. These, along with potassium, contribute to cardiovascular health by helping to regulate blood pressure and reduce the risk of heart disease. The fiber content also assists in managing cholesterol.
- Antioxidant Powerhouse: Beyond Vitamin C, oranges are loaded with various other antioxidants, including hesperidin and naringenin. These compounds combat oxidative stress in the body, which is linked to chronic diseases such as cancer and heart disease.
- Folate for Cell Growth: Oranges provide a good amount of folate (Vitamin B9), which is essential for cell growth and development, particularly important for pregnant women to prevent birth defects.
- Blood Sugar Regulation: Despite their natural sugar content, oranges have a low glycemic index, meaning they release sugar into the bloodstream slowly. Their fiber helps in this process, making them a suitable fruit for managing blood sugar levels when consumed in moderation.
Considering all these benefits, it’s clear why oranges are considered an indispensable part of a balanced diet. Enjoying them fresh, especially when properly prepared, is one of the best ways to reap these incredible health rewards.
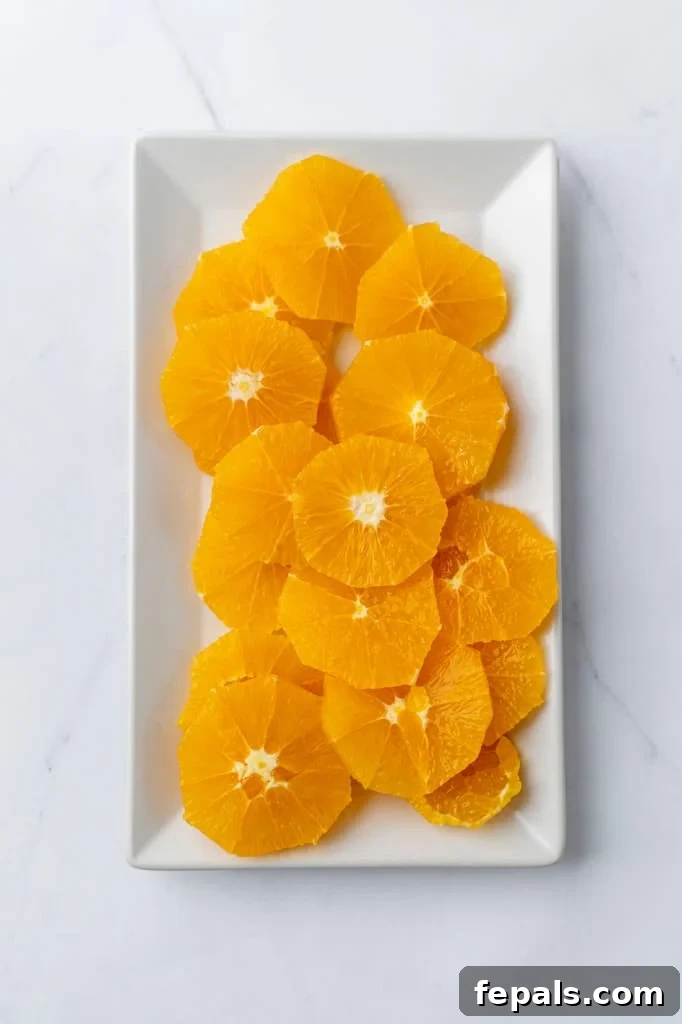
Selecting the Perfect Orange: A Guide for Grocery Shoppers
The journey to perfectly sliced oranges begins even before you pick up your knife. Choosing the right orange at the grocery store can significantly impact its flavor, juiciness, and ease of preparation. Here’s what to look for to ensure you select the best fruit:
- Weight Matters: Always pick an orange that feels heavy for its size. A heavier orange indicates more juice content, which translates to a more flavorful and succulent eating experience. Lighter oranges, conversely, may be dry and less appealing.
- Firmness and Texture: Look for oranges that are firm to the touch. Gently squeeze the fruit; it should have a slight give but not be soft or mushy. The skin should feel finely textured, smooth, and relatively thin. Avoid oranges with soft spots, bruises, or any signs of mold, as these indicate spoilage.
- Color is Not Always Key: While we often associate bright orange with ripeness, the color of an orange doesn’t always reflect its internal quality or sweetness. Some perfectly ripe and delicious varieties might have patches of green or be a lighter shade of orange. Focus more on the weight and firmness rather than solely on the color.
- Aroma: A ripe and flavorful orange will often emit a sweet, citrusy fragrance, especially around its navel or stem end. Give it a gentle sniff – a pleasant aroma is usually a good sign of quality.
By keeping these simple tips in mind, you’ll be able to confidently select the freshest and most delicious oranges, setting the stage for an enjoyable cutting and eating experience.
Essential Tools and Initial Steps for Cutting an Orange
Before diving into the two main cutting methods, ensure you have the right tools and complete the foundational peeling steps. A sharp knife is paramount for both safety and precision, allowing you to cut through the orange effortlessly and minimize waste. A dull knife is more prone to slipping, increasing the risk of injury.
Required Equipment:
-
1 sharp chef’s knife or paring knife
-
1 sturdy cutting board
The Foundation: Peeling the Orange (Supreming Prep)
This initial peeling method prepares the orange for both vertical segments and circular slices, ensuring you remove all the bitter white pith and tough outer skin. This technique is often referred to as “supreming” the orange, as it creates a beautiful, membrane-free fruit.
-
Stabilize the Orange: Place the orange on your cutting board. Using your sharp knife, carefully slice off about 1/4 to 1/2 inch from both the top and the bottom ends of the orange. This creates two flat surfaces, making the orange stable and easier to handle.
-
Remove the Peel: Stand the orange upright on one of its flat ends. Starting from the top, carefully slice downwards, following the natural curve of the orange. Remove the peel and the white pith (the bitter white layer between the skin and the fruit) in strips. Continue rotating the orange and slicing off the peel until all the skin and pith are removed, revealing the vibrant, juicy flesh beneath. Ensure you cut deep enough to remove all the white pith but avoid cutting too much of the edible fruit.


Method 1: Creating Elegant Vertical Segments (Supremes)
This method yields beautiful, juicy segments free from any bitter pith or tough membrane, often referred to as “supremes.” It’s ideal for fruit salads, garnishes, and dishes where a refined presentation is desired.
-
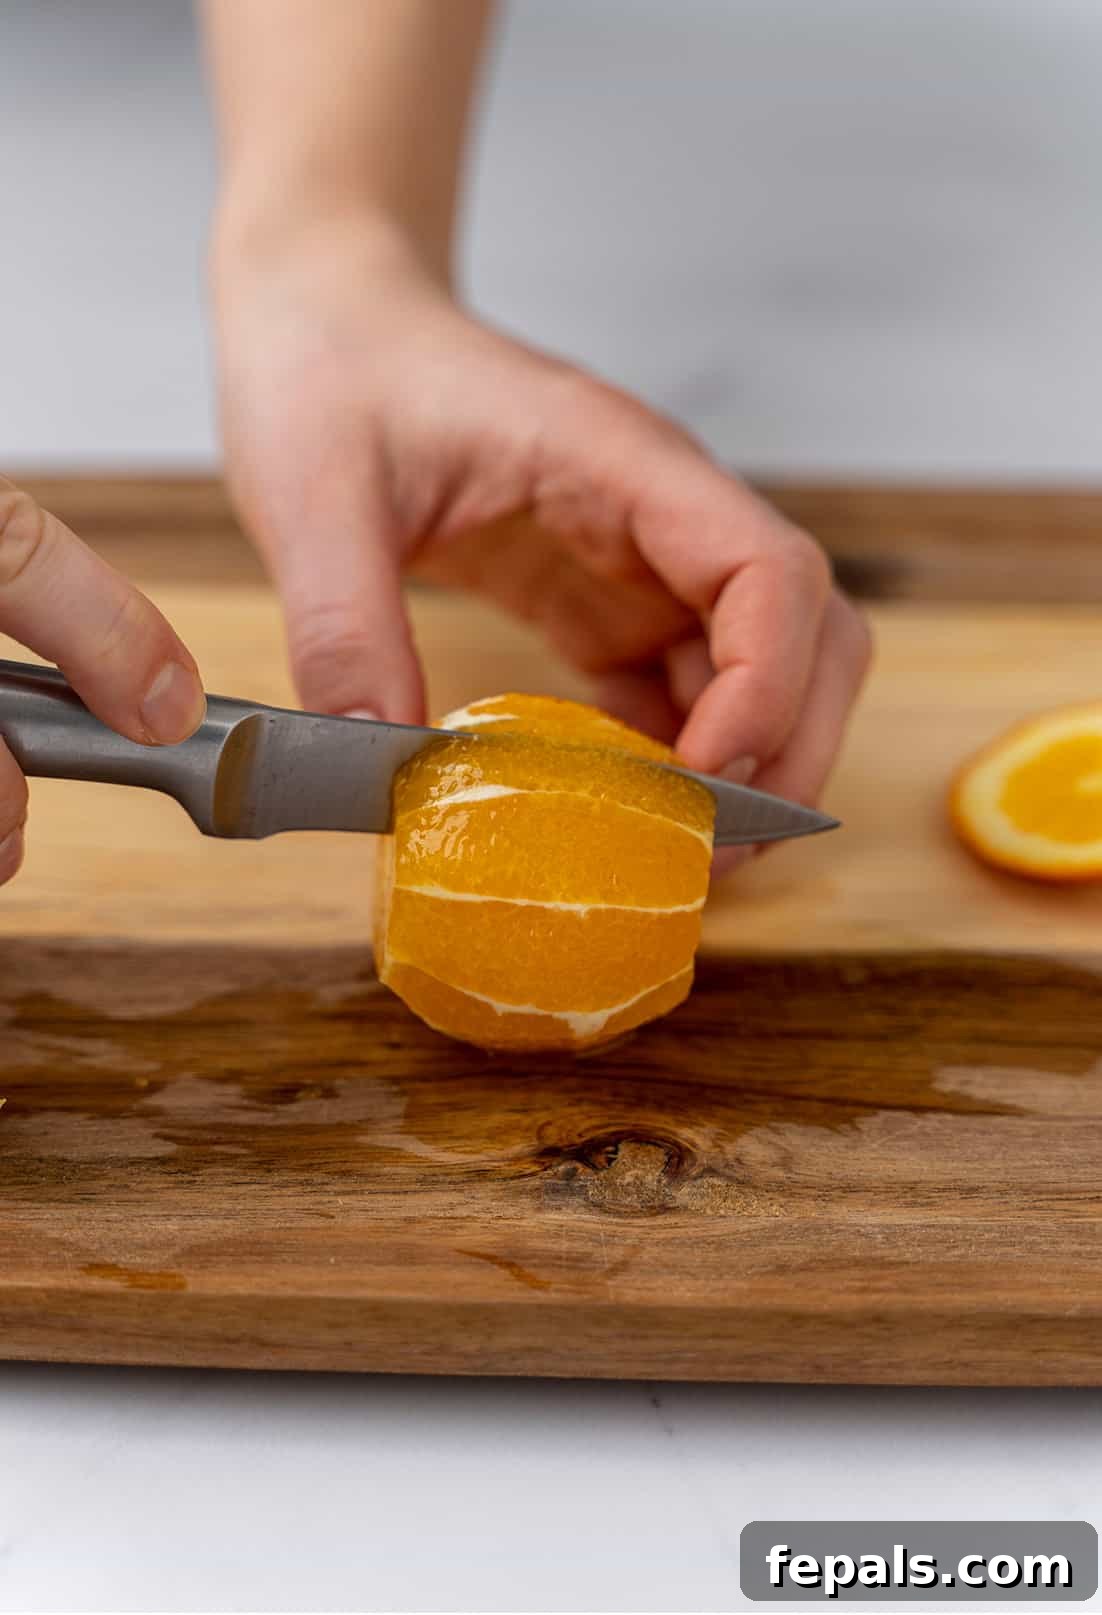
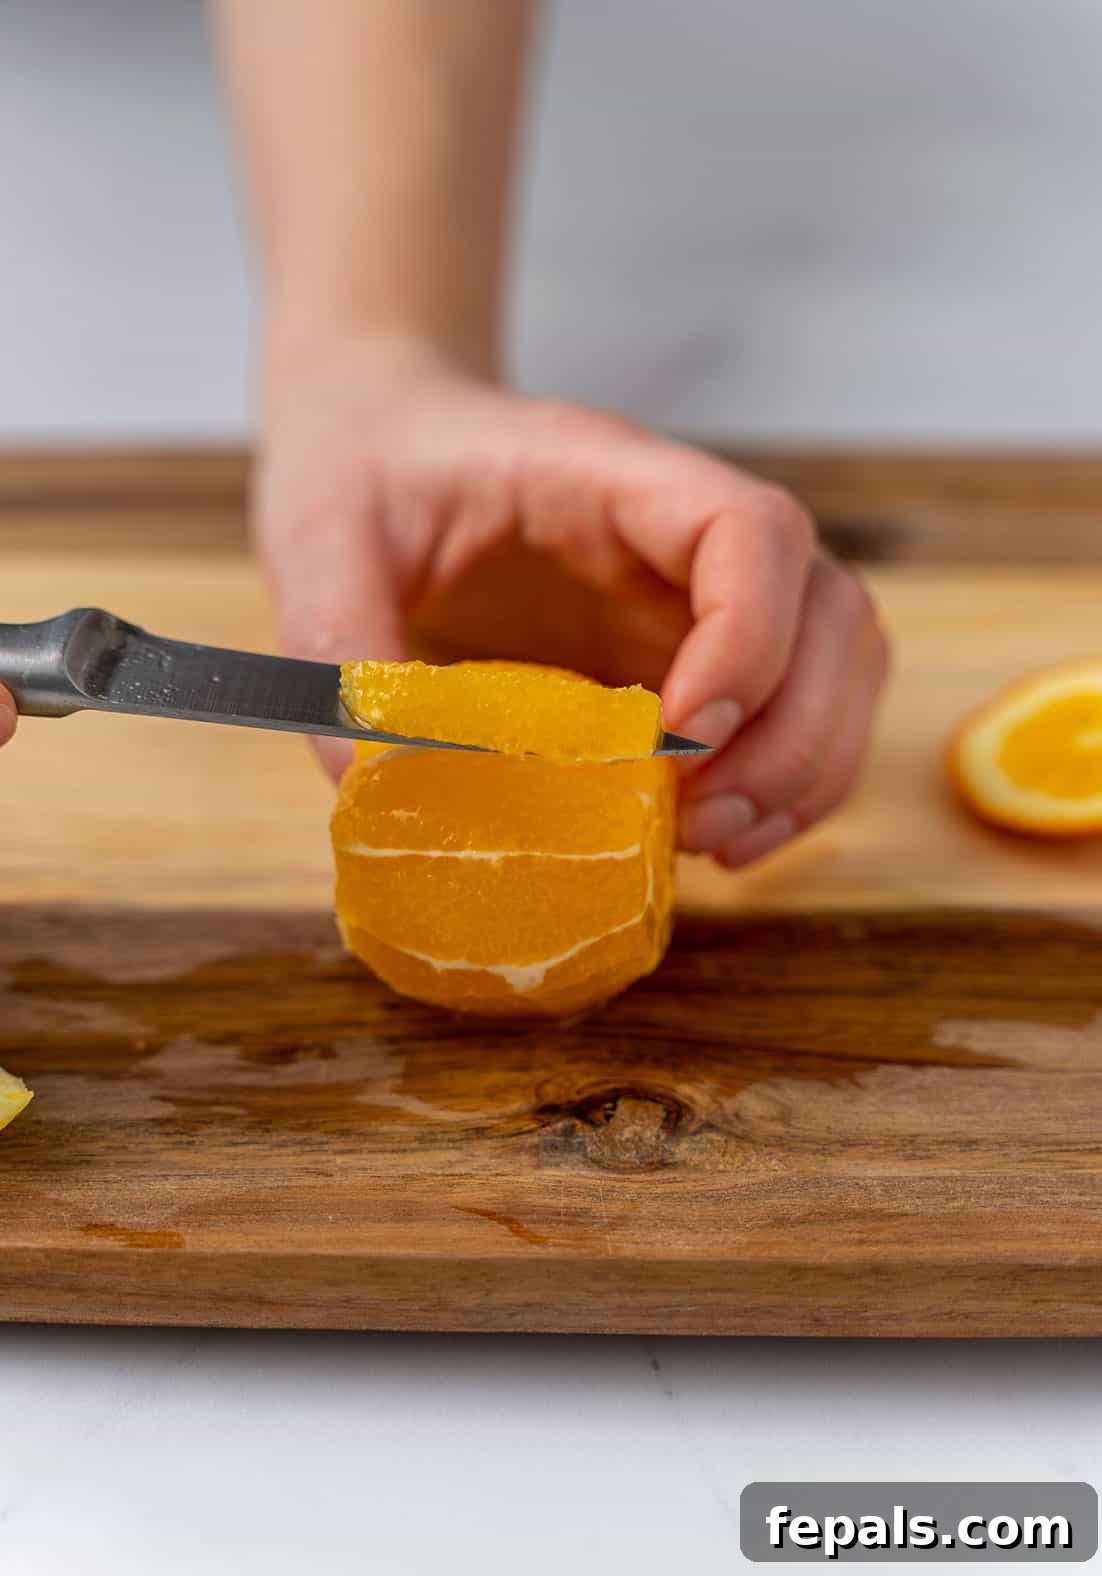
Segmenting the Flesh: With the peeled orange still standing on its flat end or lying on its side, carefully slice along the membranes that separate each individual orange segment. Work your knife from the outer edge towards the center, making sure to cut just inside the membrane. This will allow each clean, juicy segment to be “scooped” out. Rotate the orange and repeat this process for all segments.
-
Collecting the Segments: As you cut each segment, gently ease it away from the core and membranes. Place the completed segments in a bowl. You’ll notice that this method leaves behind the central core and the tough membranes, ensuring every bite is pure, sweet orange flesh.
-
Utilizing Leftovers: Don’t discard the remaining orange core and membranes! You can squeeze them over your collected segments to extract any residual juice, adding an extra burst of flavor, or save them for making infused water or homemade stocks.
Before you know it, you’ll have a bowl full of perfectly prepared vertical orange segments, ready to elevate any dish or simply be enjoyed as a refreshing snack. This method, while requiring a bit more precision, is incredibly rewarding for its superior result.


Method 2: Crafting Classic Circular Slices
For a more traditional presentation, circular slices are perfect. They’re great for garnishing platters, adding to water pitchers, or simply enjoying as a handheld snack. This method is quick and straightforward once the orange is peeled.
-
Prepare the Orange: Begin by following the initial peeling steps outlined above (slicing off the top and bottom, then removing all the skin and pith in strips). Ensure your orange is completely free of any white pith.
-
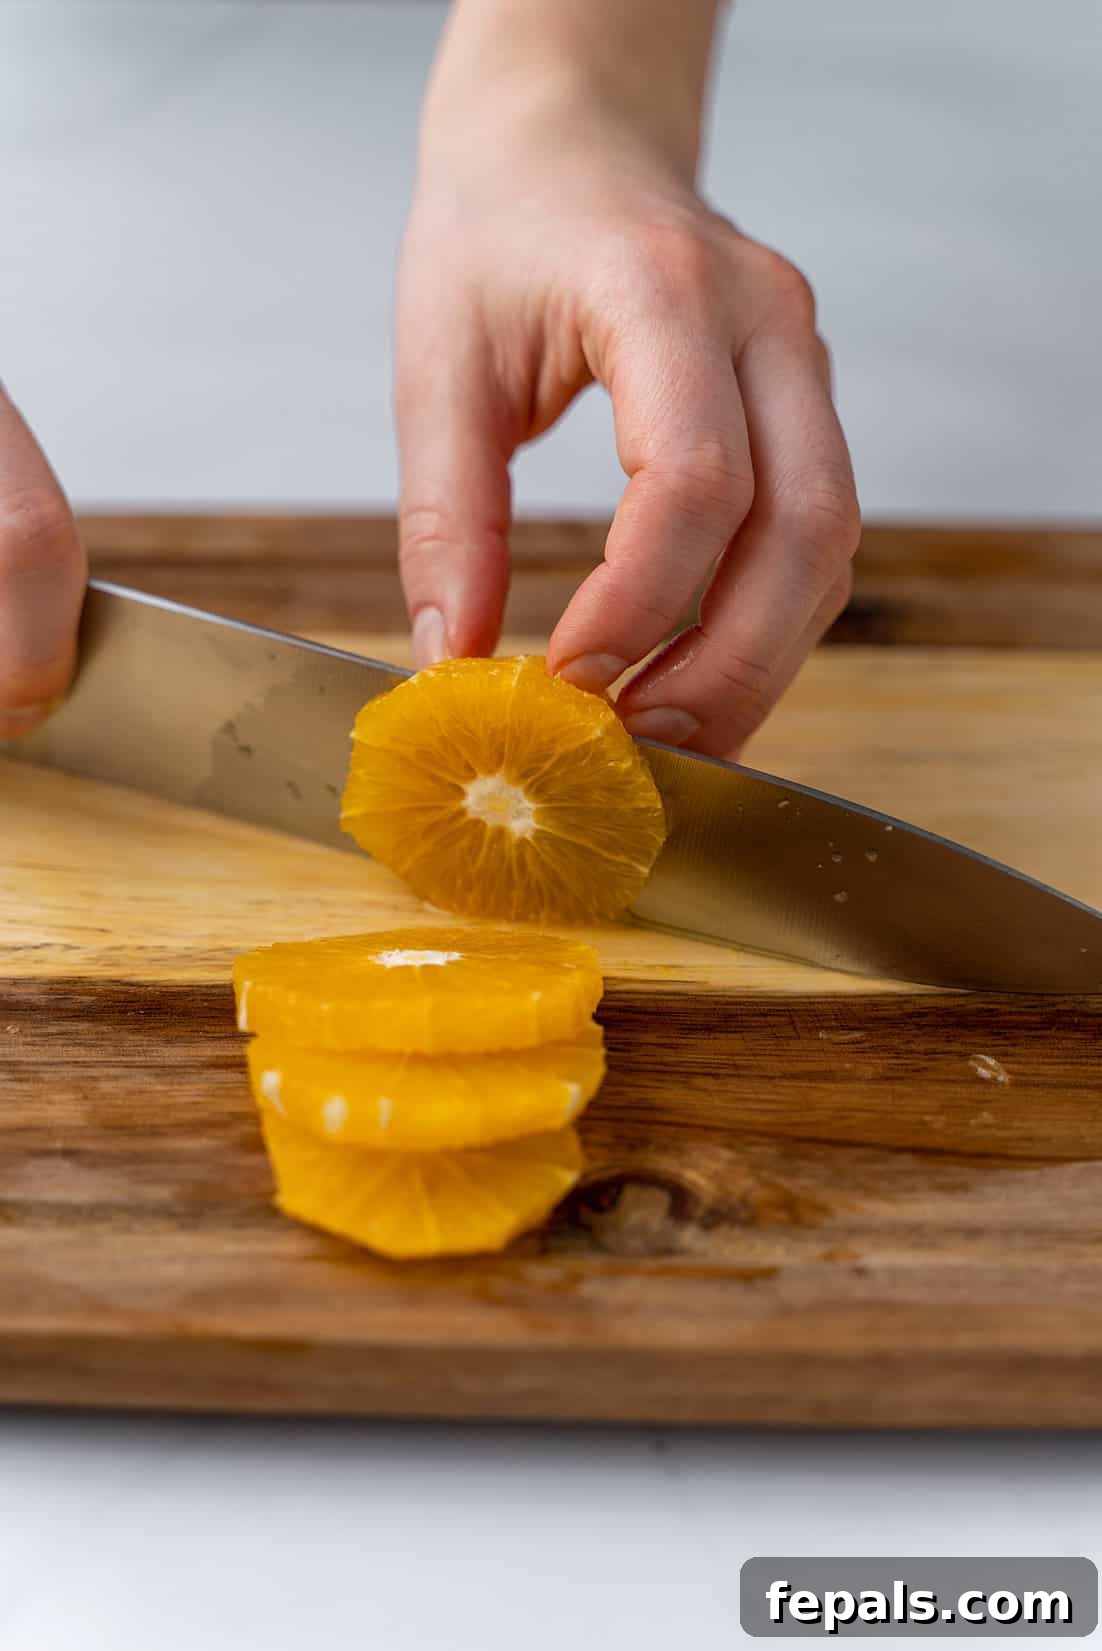
Slice into Rings: Once all the skin has been removed and the vibrant flesh is exposed, lay the orange on its side on the cutting board. Using your sharp knife, slice through the orange from top to bottom, creating circular rings of your desired thickness. For optimal versatility, aim for slices about 1/4 to 1/2 inch thick.
-
Serving: Arrange the beautiful circular slices on a platter, add them to your water jug, or enjoy them as a simple, juicy snack. The vibrant color and appealing shape make them an attractive addition to any spread.
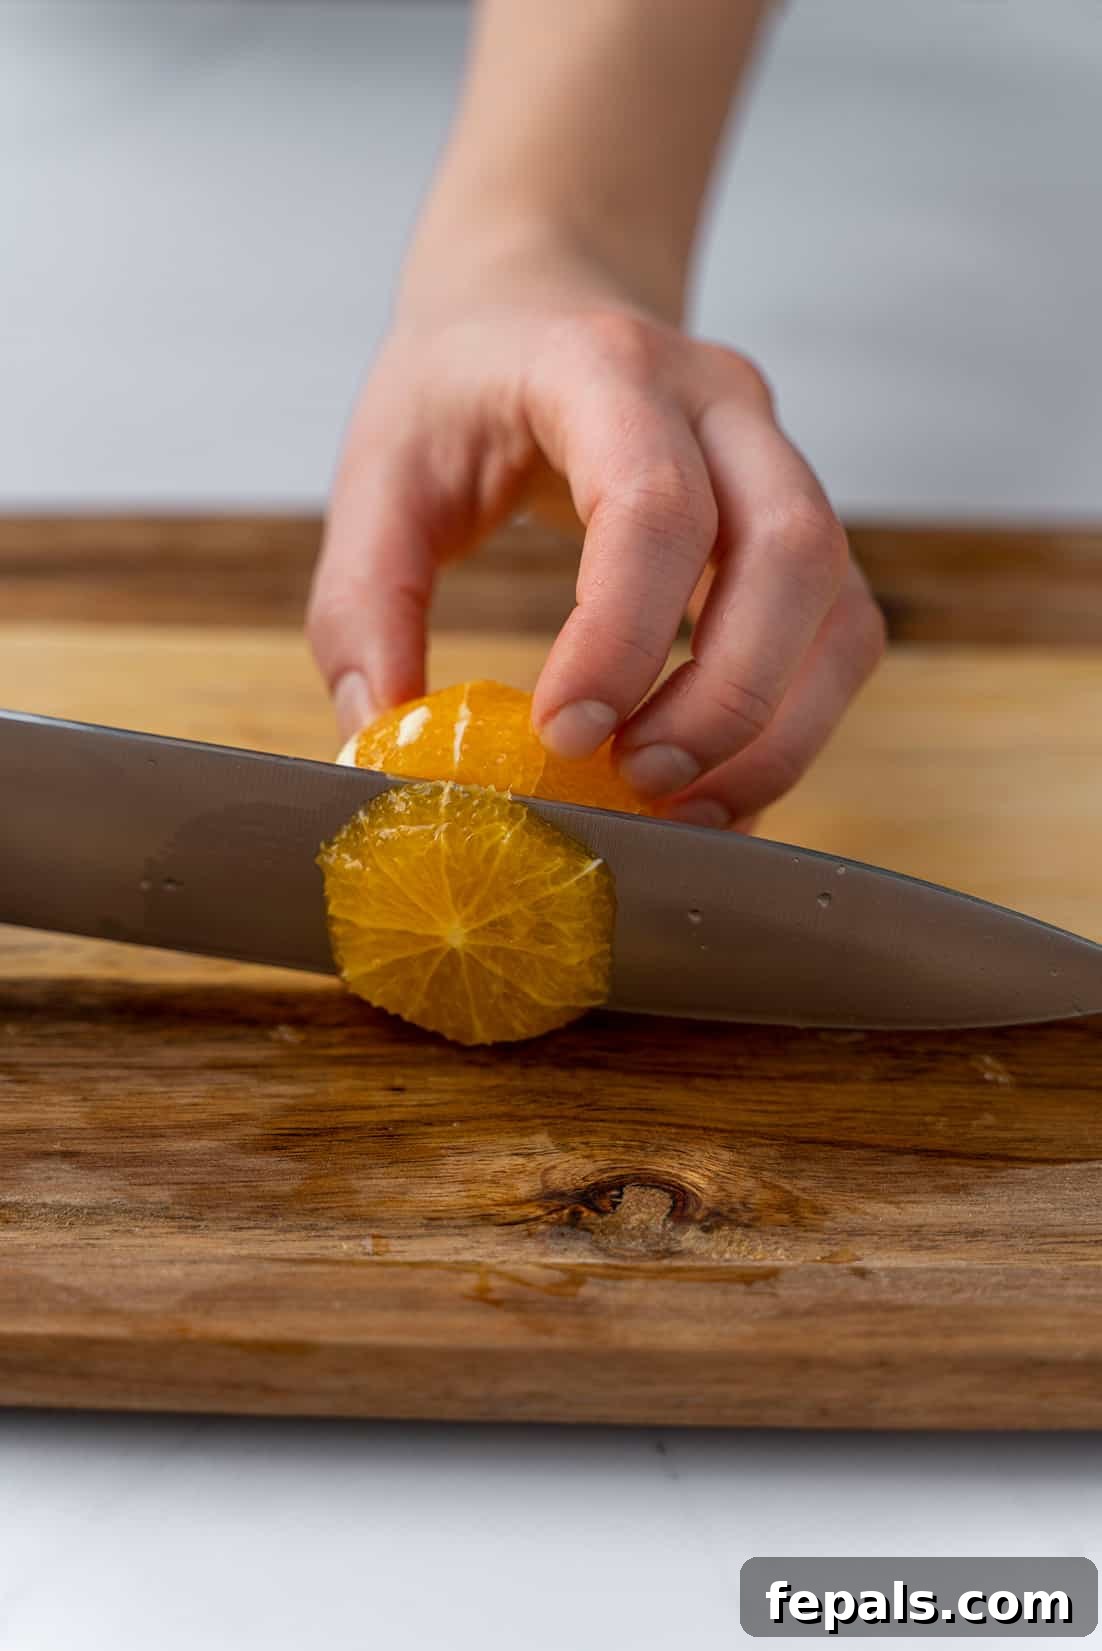
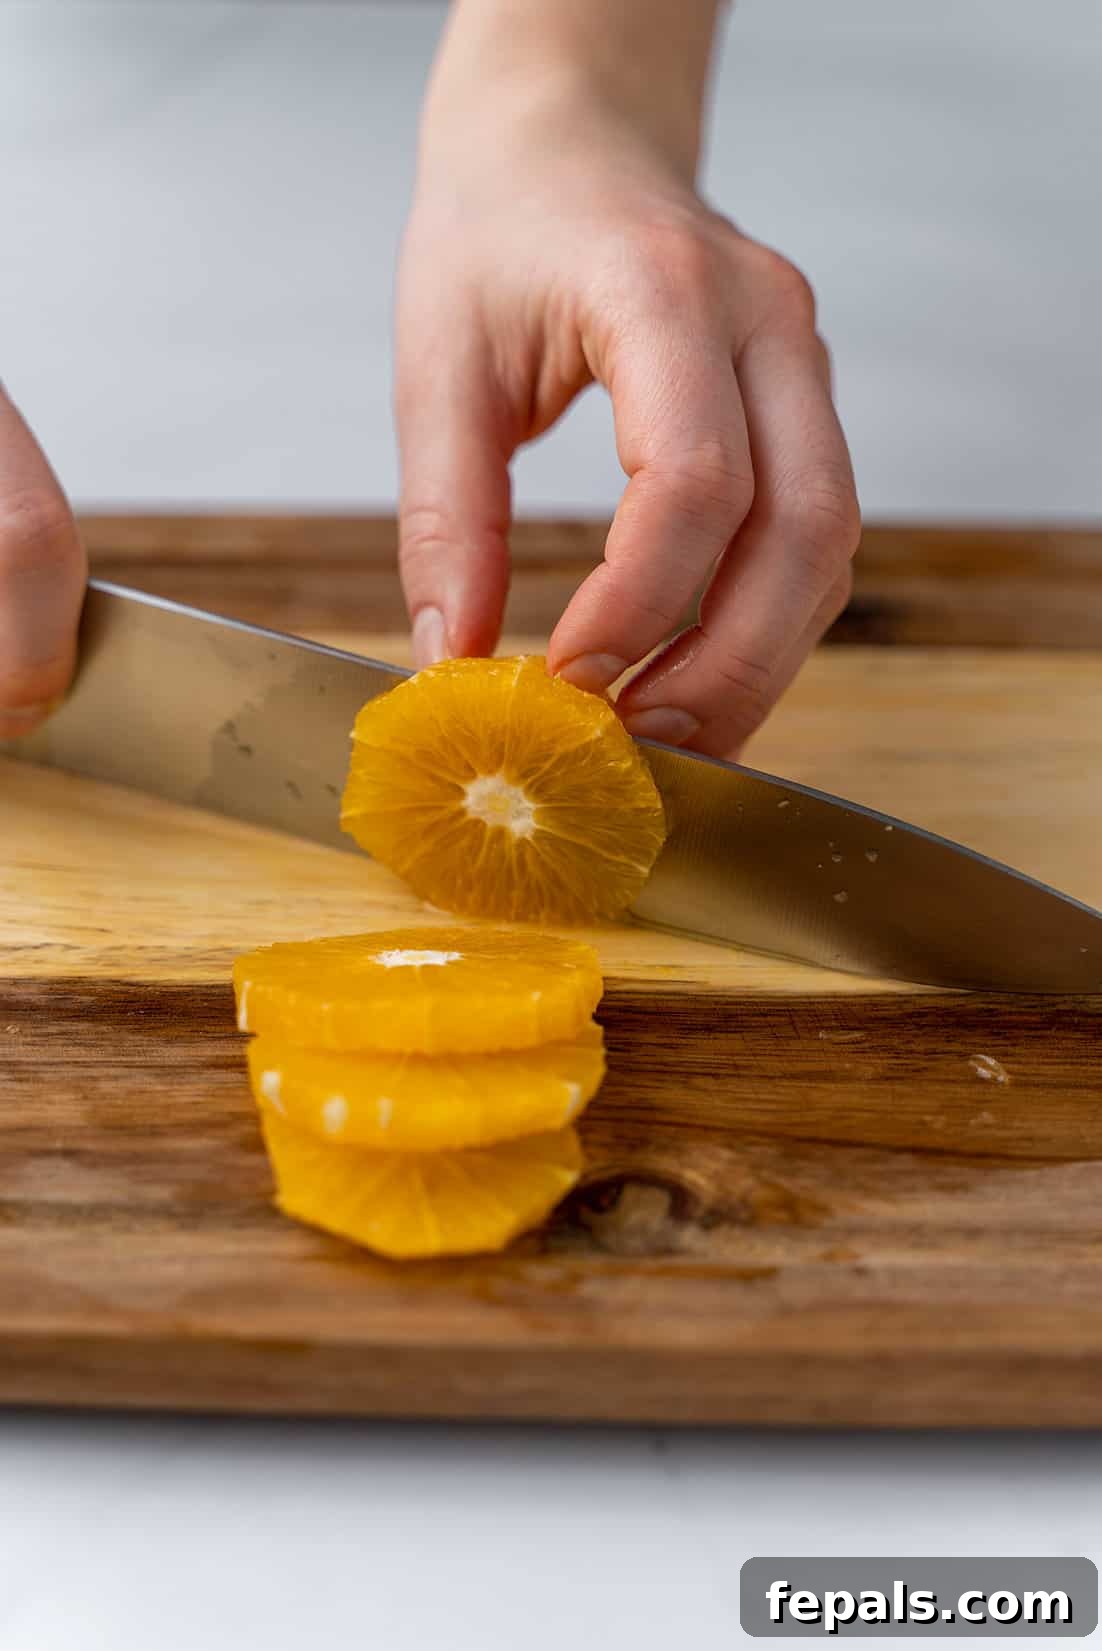
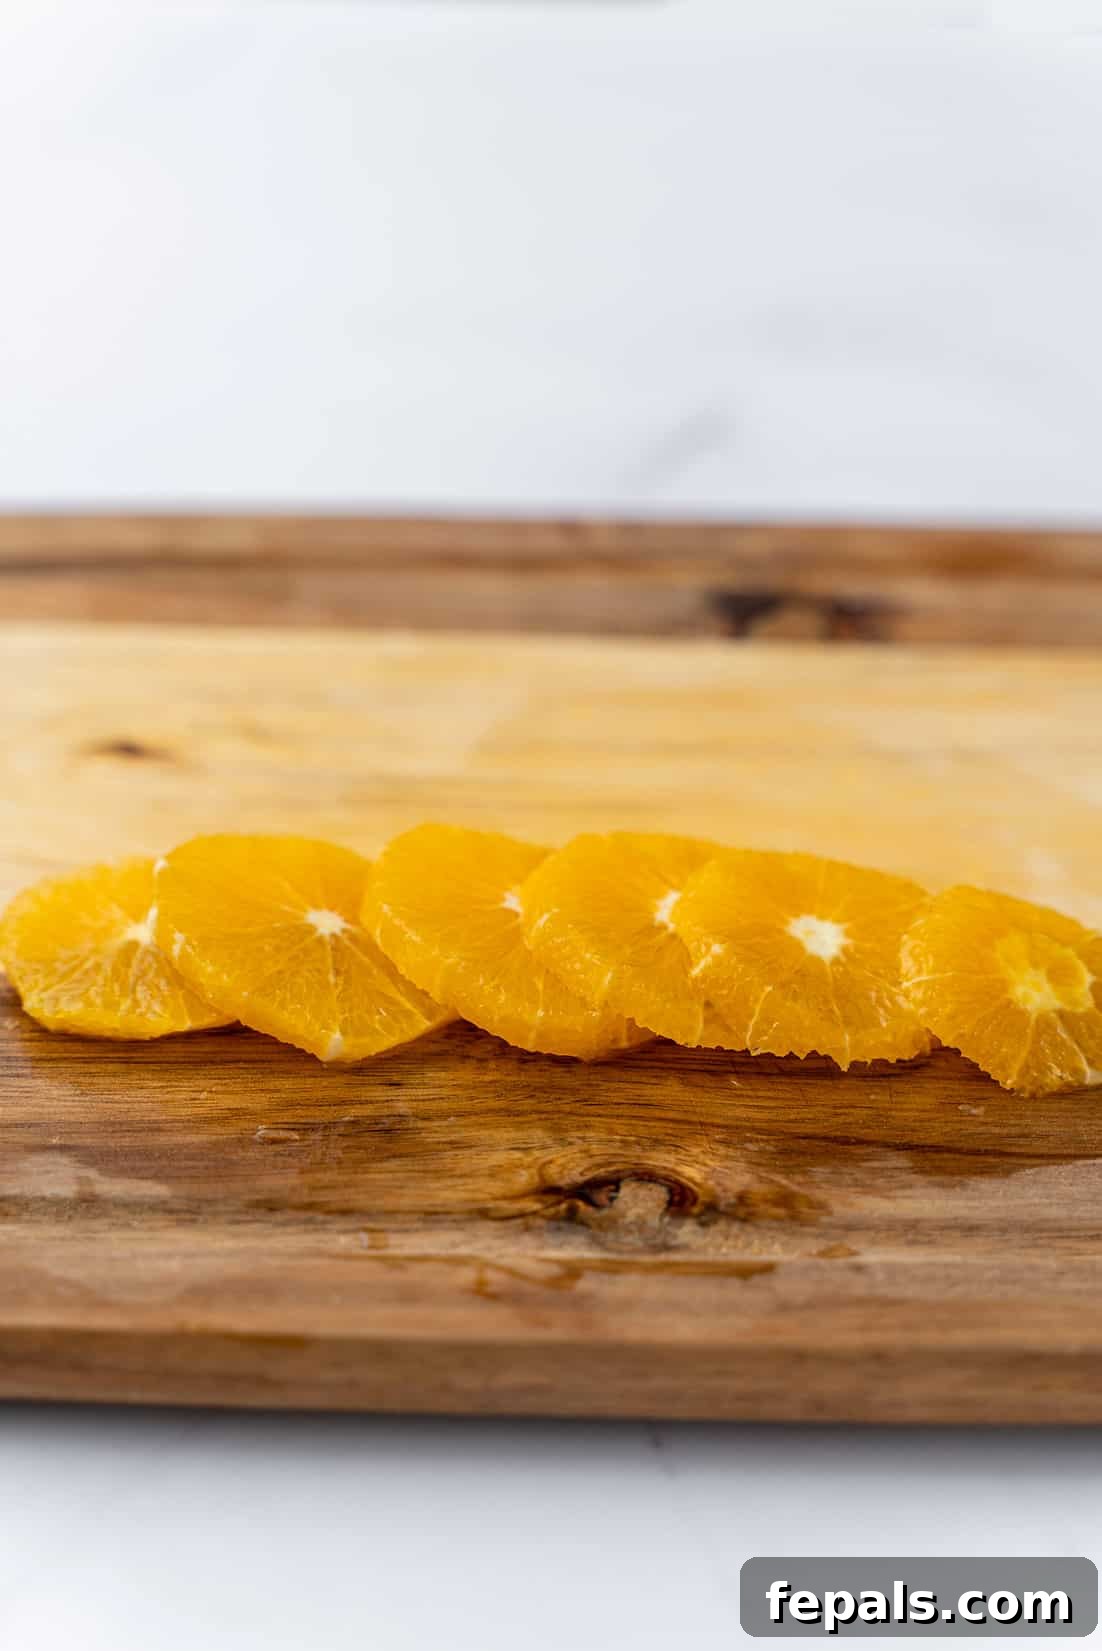
With either method, you’re now equipped to enjoy your oranges without the interruption of tough skin or bitter pith. The resulting slices are incredibly juicy and delicious, making it hard to resist eating them all in one sitting!
Proper Storage for Your Freshly Cut Oranges
Once you’ve taken the time to perfectly slice your oranges, proper storage is key to maintaining their freshness, flavor, and nutritional value. How you store them depends on whether they are cut or whole.
Storing Cut Oranges:
To keep your beautiful orange slices or segments fresh and succulent for as long as possible:
- Airtight Container: Transfer the cut orange pieces to an airtight container. This prevents them from drying out and absorbing odors from other foods in the refrigerator.
- Moisture Absorption: For an extra layer of protection against excess moisture (which can accelerate spoilage), place a paper towel at the bottom of the container or between layers of slices. The paper towel will absorb any condensation.
- Refrigeration: Store the sealed container in the refrigerator. Properly stored, cut oranges will remain fresh and delicious for about three to four days. Beyond this, they may start to lose their texture and flavor.
Storing Whole Oranges:
If your oranges are uncut, they are much more forgiving when it comes to storage:
- Room Temperature: Whole oranges can be stored at cool room temperature on your kitchen counter or in a fruit bowl for about a week. Ensure they are not exposed to direct sunlight or excessive heat, which can cause them to spoil faster.
- Refrigeration for Longevity: For extended freshness, whole oranges can be stored in the refrigerator’s crisper drawer. This can prolong their shelf life significantly, allowing them to stay fresh for up to two to three weeks, or even longer for some varieties. The cooler temperatures slow down the ripening process.
Always inspect your oranges before eating, whether whole or cut, for any signs of spoilage like mold, extreme softness, or an off-smell. Following these storage guidelines will help you minimize waste and enjoy your oranges at their peak.
Can You Freeze Sliced Oranges? Absolutely!
Freezing orange slices is an excellent way to preserve them for longer periods and have them readily available for various culinary applications. If you have an abundance of oranges or simply want to prepare them for future use, freezing is a fantastic option.
How to Freeze Orange Slices:
- Prepare and Dry: First, prepare your orange slices or segments using either of the methods described above. It’s crucial that the slices are relatively dry before freezing to prevent them from sticking together. Gently pat them with a paper towel if needed.
- Single Layer Freezing (Flash Freezing): Arrange the orange slices in a single layer on a baking sheet lined with parchment paper. Ensure the slices are not touching each other. Place the baking sheet in the freezer for about 1-2 hours, or until the slices are solid. This step, known as “flash freezing,” prevents the slices from clumping together when transferred to a bag or container.
- Transfer to Storage: Once flash-frozen, transfer the solid orange slices to an airtight freezer-safe container or a heavy-duty freezer bag. Squeeze out as much air as possible from the bag to prevent freezer burn.
- Label and Store: Label the container or bag with the date. Frozen orange slices can be stored in the freezer for up to four months, maintaining good quality.
Uses for Frozen Orange Slices:
Frozen orange slices are perfect for:
- Smoothies: Add a refreshing, icy citrus boost to your morning smoothies without needing to add extra ice.
- Juices: Blend frozen slices directly into freshly squeezed juices for an extra thick and cold beverage.
- Infused Water: Drop a few frozen slices into your water pitcher for a naturally flavored and chilled drink.
- Desserts: While their texture may soften slightly, they can still be used in baked goods or as a garnish for cold desserts after thawing.
Freezing your oranges ensures you always have a convenient and healthy ingredient on hand, especially when fresh oranges are not in season or readily available.
Creative Ways to Enjoy Your Orange Slices
Once you’ve expertly cut your oranges, the possibilities for enjoyment are endless! From simple snacks to sophisticated culinary creations, orange slices can add a burst of flavor and a touch of elegance to many dishes.
- A Standalone Snack: The most straightforward way to enjoy them! Their sweet and tangy flavor, combined with their juicy texture, makes them a perfect healthy snack at any time of day.
- Vibrant Fruit Salads: Orange slices or segments are a fantastic addition to any fruit salad. Their bright color and juicy texture pair wonderfully with berries, melons, grapes, and other seasonal fruits, adding a refreshing citrus note.
- Smoothies and Juices: As mentioned, fresh or frozen orange slices are ideal for blending into refreshing smoothies and fresh juices. They provide natural sweetness, essential vitamins, and a lovely citrus aroma.
- Baking and Desserts: Incorporate orange zest and small pieces of orange segments into cakes, muffins, tarts, and custards. Circular slices can also be candied or used as a beautiful garnish for pastries.
- Elegant Fruit Trays: Arrange your perfectly cut orange slices on a fruit and cheese platter for a pop of color and flavor. They complement various cheeses, nuts, and other fresh fruits.
- Flavorful Vinaigrettes and Dressings: Fresh orange juice and finely diced orange zest can form the base for light and tangy homemade vinaigrettes, perfect for green salads or grain bowls.
- Savory Dishes: Don’t limit oranges to sweet applications! They pair surprisingly well with poultry, fish, and pork. Think orange-glazed chicken, citrus-marinated salmon, or even in fresh salsas.
- Infused Water and Cocktails: Circular orange slices are a classic addition to pitchers of water, enhancing hydration with a natural, subtle flavor. They also make an attractive and flavorful garnish for cocktails and mocktails.
With these versatile applications, your perfectly cut oranges are sure to be a delightful addition to your kitchen repertoire.
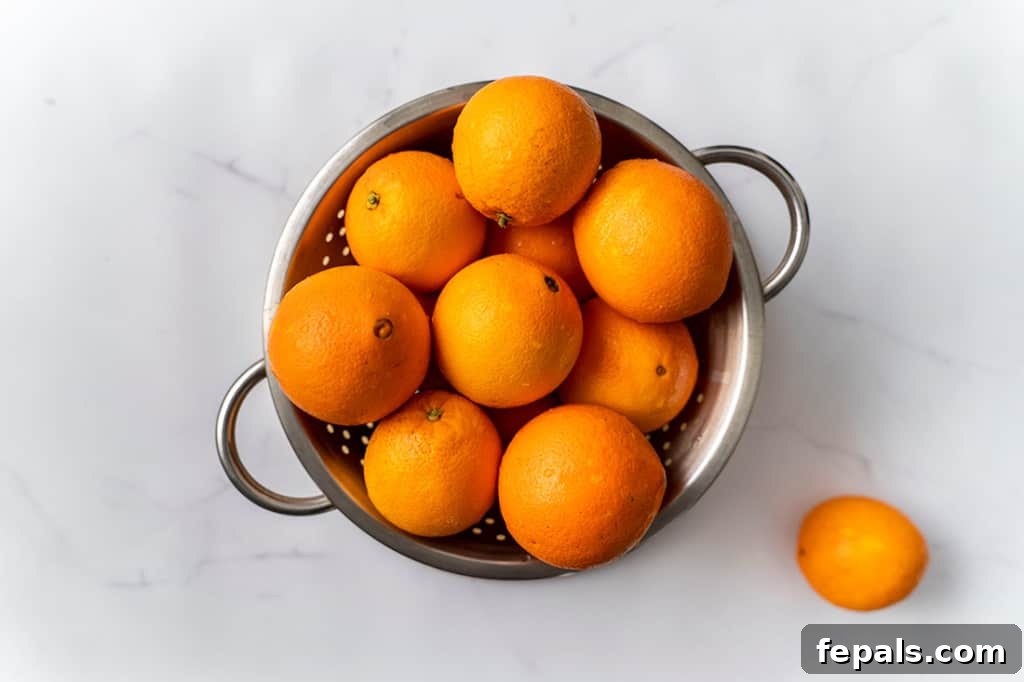
Top Tips for Effortless Orange Preparation
Achieving perfectly cut, skin-free orange slices consistently requires a little practice and attention to detail. Here are some invaluable tips to make the process as smooth and efficient as possible:
- Invest in a Quality, Sharp Knife: This is arguably the most crucial tip. A sharp chef’s knife or a paring knife will glide through the orange with minimal effort, resulting in clean cuts and reducing the risk of accidents. A dull knife will crush the fruit, making the process frustrating and messy.
- Always Use a Stable Cutting Board: Ensure your cutting board is stable and doesn’t slip on your countertop. You can place a damp paper towel or a non-slip mat underneath it for added security.
- Take Your Time with the Peel: When removing the peel and pith, don’t rush. Aim for long, continuous strips to minimize waste. The goal is to remove all the bitter white pith without sacrificing too much of the juicy fruit. If you see any white pith remaining, carefully trim it off.
- Squeeze for Extra Juice: After segmenting your orange (Method 1), you’ll be left with the core and membranes. Squeeze these over your collected segments or into a separate bowl to extract any remaining juice. This juice is perfect for dressings, drinks, or just drizzling over your fruit.
- Consider the Orange Variety: Some orange varieties, like navel oranges, are easier to peel and segment due to their thicker skin and fewer seeds. Others, like Valencia oranges, can be juicier but sometimes have thinner skin and more seeds, requiring a bit more care.
- Don’t Be Afraid to Practice: Like any skill, cutting oranges perfectly gets easier with practice. Don’t be discouraged if your first attempts aren’t flawless. Each orange you cut will improve your technique.
- Sprinkle with Salt (Optional): If your orange happens to be a bit on the tart side, a tiny sprinkle of fine salt can beautifully enhance its natural sweetness and balance the flavor. This is a common trick in many cultures and adds an unexpected depth.
By following these tips, you’ll soon be cutting oranges with confidence and precision, making them a more enjoyable part of your daily diet.
More Helpful Culinary Guides
- How to Make Raw Almond Butter
- How to Cut a Cantaloupe Melon
- Cutting a Pomegranate at Home
- How to Cut Butternut Squash
- How to Cut Green Onions
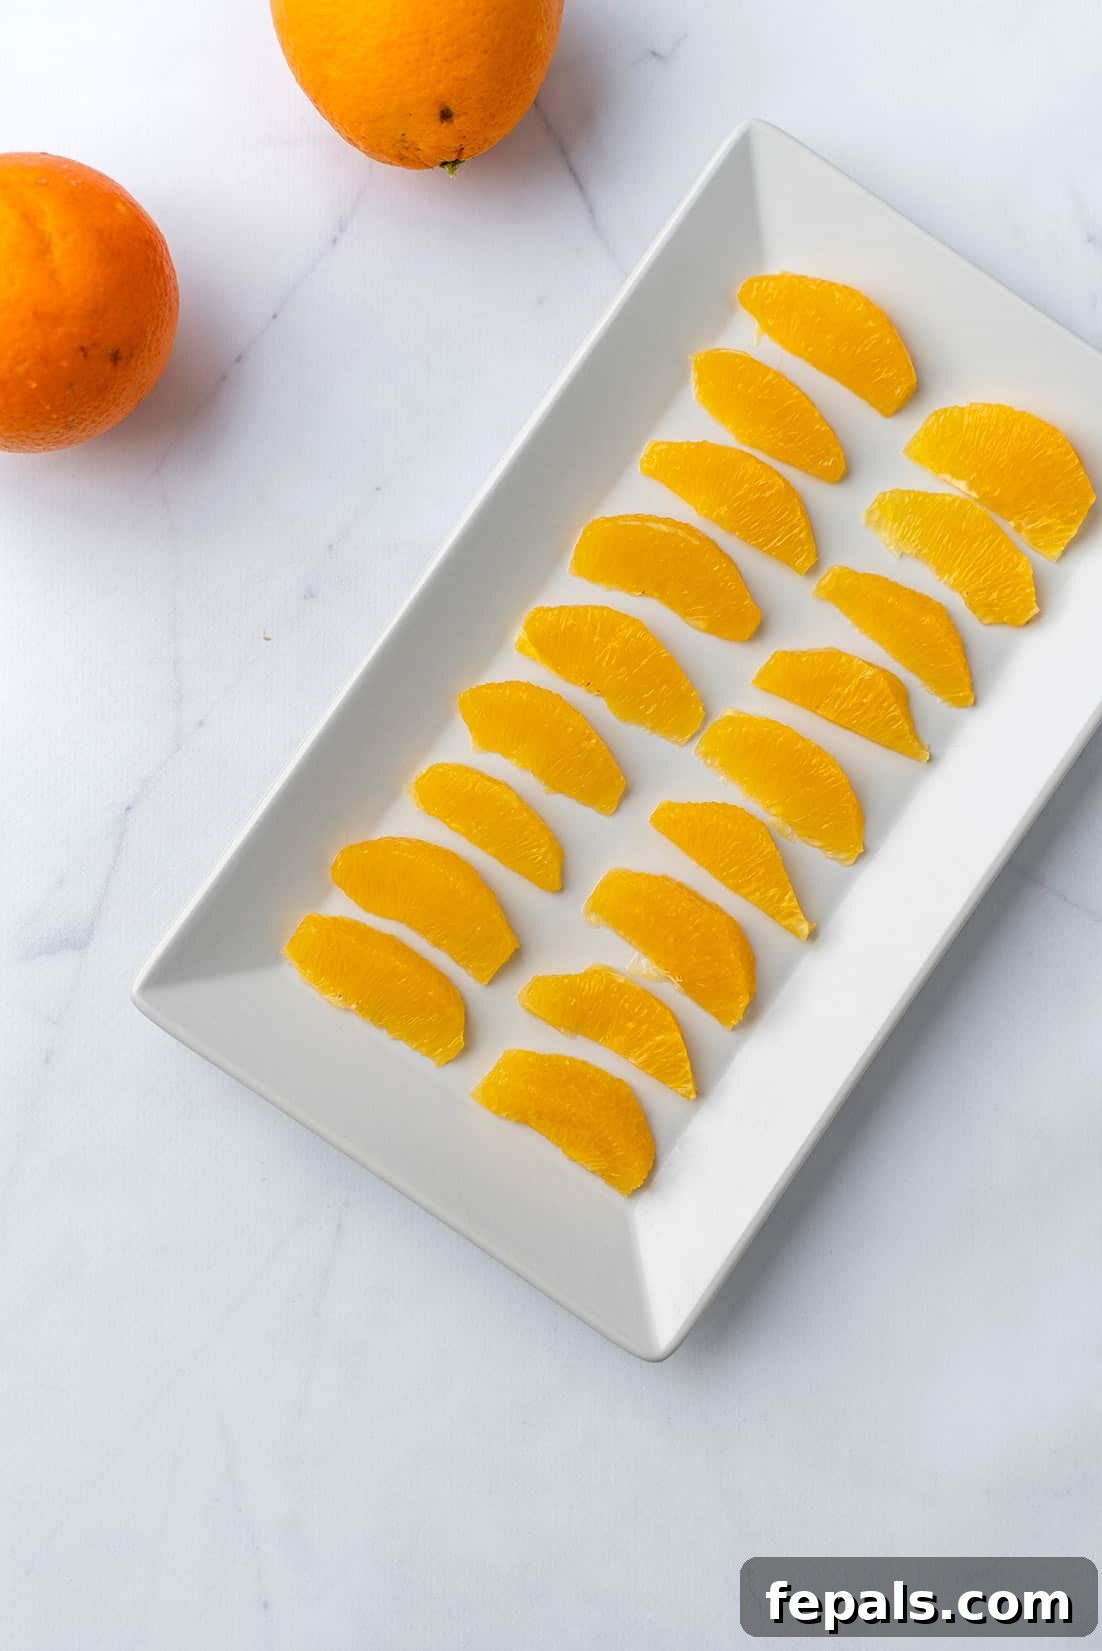
Mastering the art of cutting an orange without the skin opens up a world of culinary possibilities, allowing you to enjoy this incredible fruit in its most appealing and delicious form. With a sharp knife, a stable cutting board, and these straightforward techniques, you’re now ready to prepare perfect orange slices and segments for any occasion. From boosting your immune system to enhancing your favorite dishes, the versatile orange is a true kitchen hero. Embrace these methods, and savor every juicy, vibrant bite!
If you found this guide helpful, please consider leaving us feedback in the comment section below and don’t forget to rate it! We would love it if you shared it with friends and family.
FOLLOW Healthy Fitness Meals on FACEBOOK | INSTAGRAM | PINTEREST | TWITTER for all of our latest blog posts and recipes.
★★★★★
(5 from 2 votes)
How to Cut an Orange (Without the Skin)
Rena
1
5 mins
5 mins
10 mins
Save
Rate
Pin

How to cut an orange into thin slices without the skin is very easy! In this simple guide, you’ll learn everything you need to know about cutting an orange in two ways: regular and circular slices. Oranges are high in nutrients and perfect for your next snack.
Equipment
-
1 sharp knife
-
1 cutting board
Ingredients
-
1
medium
orange -
⅛
tsp
salt,
optional
Instructions
Method 1 – Vertical Segments (Supremes)
-
Start by cutting the top and bottom of the orange with the knife, then slice off the skin and white pith on all sides of the orange, following the curve of the fruit.
-
Next, slowly cut through the flesh of the orange along the membranes to scoop each orange segment out of the fruit. Cut around the membrane with the knife, from the outer edge to the center, to release clean, skin-free segments.
Method 2 – Circular Slices
-
Follow the first step from Method 1 to remove the top, bottom, and all the skin and pith from the orange with your knife.
-
Once all the skin has been removed, place the orange on its side on the cutting board. Slice through the orange from top to bottom, making circular rings of your desired thickness.
-
Now, you’re ready to serve your orange slices or rings without the skin! The slices are super juicy and delicious so it will be hard to not eat them in one sitting!
Notes
- Be sure to use a sharp knife to cut the skin off the orange for safety and efficiency.
- A sharp knife is also essential for easily cutting out each orange segment or creating even circular slices.
- Store any leftover cut oranges in an airtight container in the refrigerator for up to 3-4 days.
- Note: This is optional, if your orange is a bit on the sour side, you can sprinkle a tiny bit of salt over it to enhance sweetness. So good!
Nutrition
Calories:
62
kcal
Carbohydrates:
15
g
Protein:
1
g
Fat:
0.2
g
Saturated Fat:
0.02
g
Polyunsaturated Fat:
0.03
g
Monounsaturated Fat:
0.03
g
Sodium:
291
mg
Potassium:
237
mg
Fiber:
3
g
Sugar:
12
g
Vitamin A:
295
IU
Vitamin C:
70
mg
Calcium:
53
mg
Iron:
0.1
mg
Nutrition information is automatically calculated, so should only be used as an approximation.
Additional Info
Snack
American
Tried this recipe?
Mention @healthyfitnessmeals or tag #healthyfitnessmeals!