

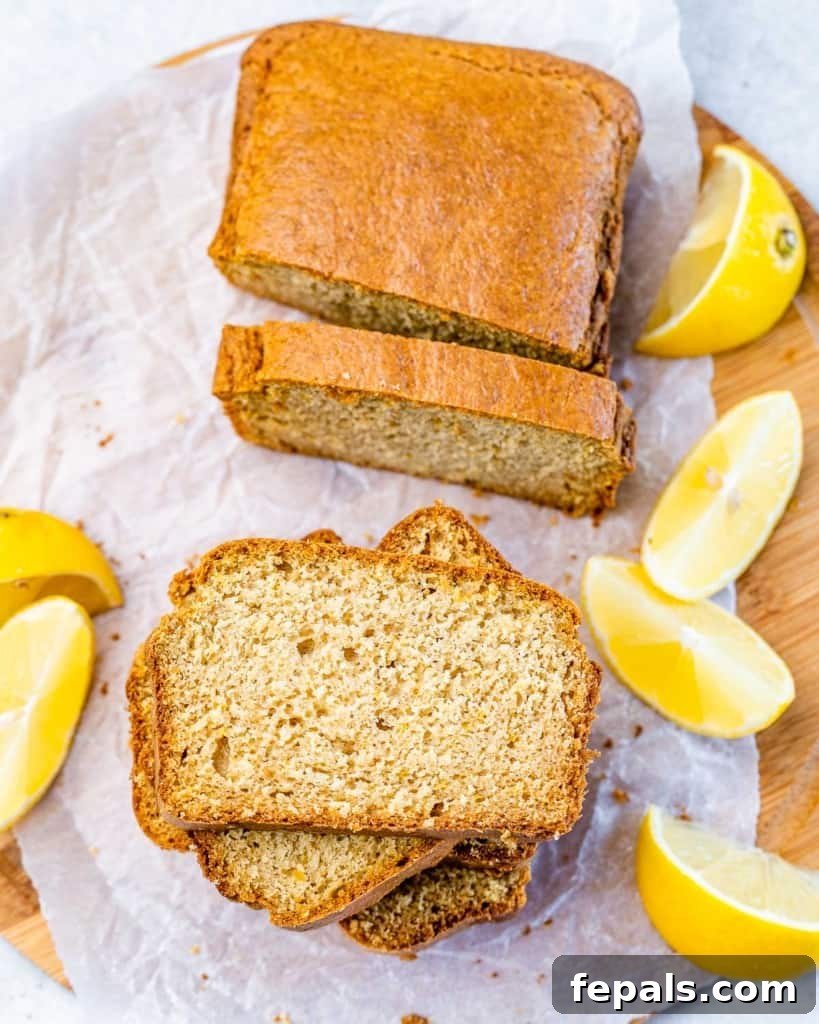
If you’re looking for a delightful and wholesome treat, this Healthy Lemon Loaf recipe is exactly what you need. Bursting with the vibrant, fresh flavor of lemon, this easy-to-make bread is perfect for any occasion. Imagine a slice of soft, moist, and tender lemon loaf, lightly sweetened, with a beautiful golden crust – ideal for a morning coffee break, an afternoon snack, or even a light dessert. What makes this recipe truly special is its commitment to healthier ingredients, making it a guilt-free indulgence.
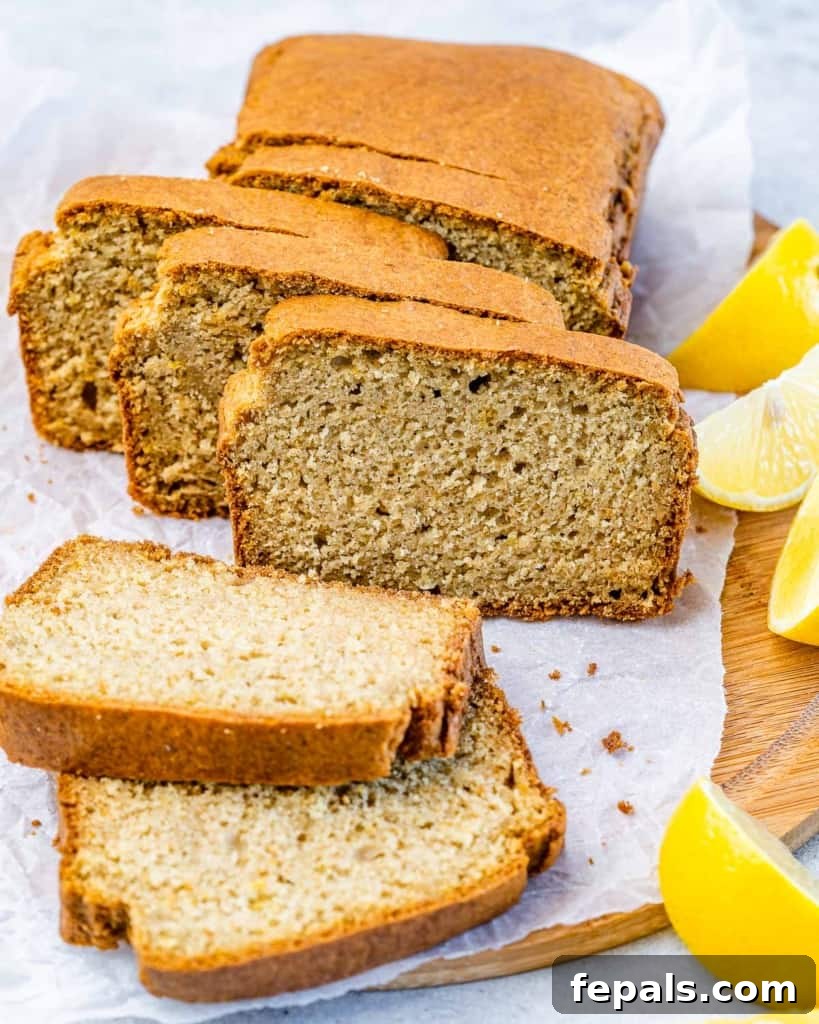
Unlike traditional lemon loaf recipes that often rely on excessive butter and refined sugars, our version utilizes a thoughtful blend of all-purpose flour and nutrient-rich oat flour. Sweetness comes naturally from maple syrup or honey, offering a more wholesome alternative without compromising on taste. The result is a healthy lemon bread that’s not just incredibly delicious but also lighter and more nourishing. Every bite delivers a refreshing citrus zing, making it a universally loved treat that you’ll want to bake again and again.
Why You Will Adore This Healthy Lemon Loaf
This healthy lemon loaf recipe isn’t just another quick bread; it’s a delightful experience waiting to happen. Here’s why it’s sure to become a staple in your kitchen:
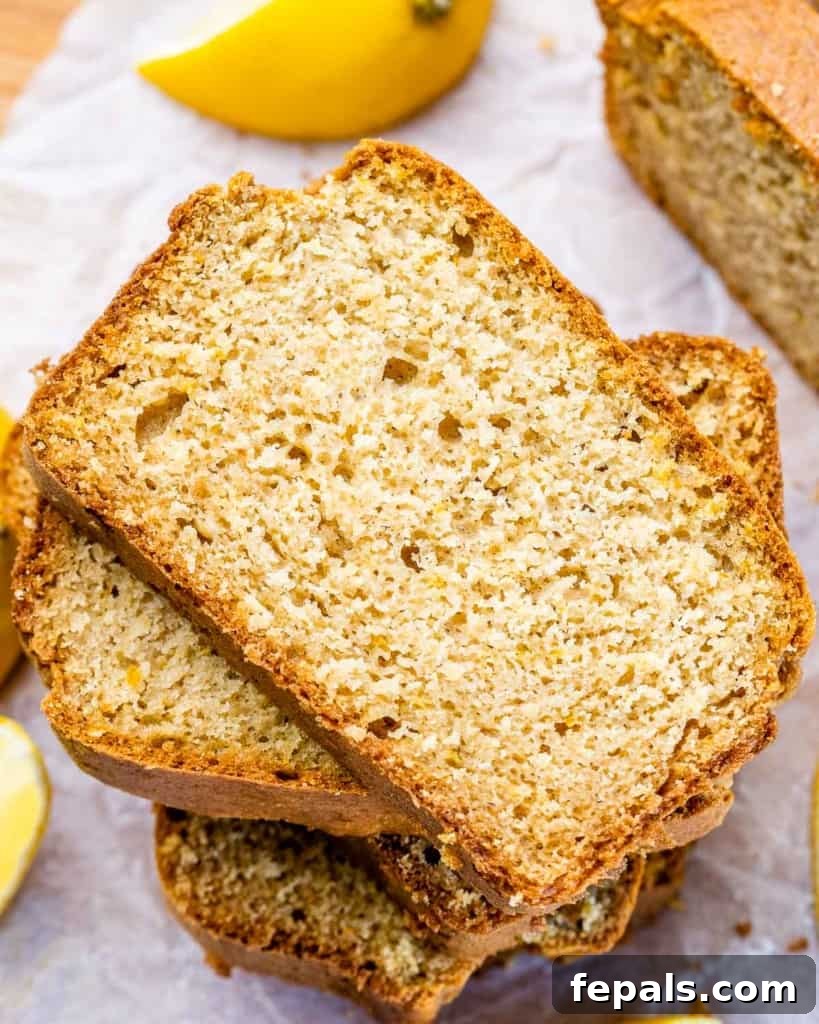
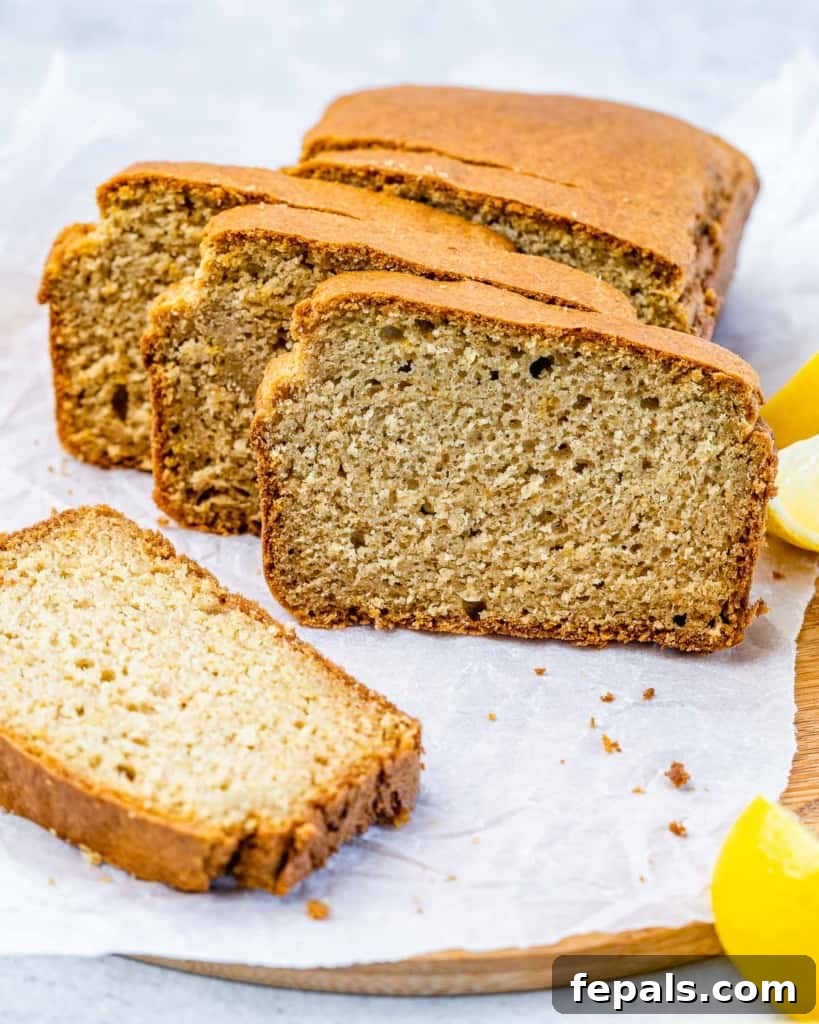
- Unbelievably Soft & Moist: One of the hallmarks of a truly great quick bread is its texture, and this lemon loaf absolutely nails it. Thanks to a careful balance of flours and the inclusion of yogurt, this bread bakes up incredibly soft, tender, and moist with a delicate, tight crumb that practically melts in your mouth. Say goodbye to dry, crumbly loaves!
- Exquisitely Delicious Lemon Flavor: For lemon enthusiasts, this loaf is a dream come true. The fresh lemon zest and juice infuse every bite with a bright, zesty, and perfectly balanced lemon flavor. It’s neither overwhelmingly tart nor subtly shy – just the right amount of citrus sunshine to brighten your day. It’s a taste that invigorates and satisfies.
- A Healthier Indulgence: We believe that delicious doesn’t have to mean unhealthy. This lemon loaf is crafted with “better-for-you” ingredients. We’ve consciously omitted butter and refined sugars, opting instead for natural sweeteners like maple syrup or honey, and just a minimal amount of coconut oil (only 1/4 cup for the entire loaf!). This makes it a delightful treat you can enjoy without any guilt.
- Quick & Effortless Preparation: Don’t let its gourmet taste fool you; this lemon bread is incredibly simple to prepare. It’s a quick bread, meaning no yeast or lengthy proofing times are involved. With just a few basic steps and about 15 minutes of active preparation, you can have this batter ready for the oven. You don’t even need a stand mixer – a couple of bowls and a whisk are all you require, making it perfect for busy weeknights or spontaneous baking cravings.
- Versatile for Any Occasion: Whether you’re planning a brunch with friends, need a comforting snack with your afternoon tea, or want a light and refreshing dessert, this lemon loaf fits the bill. Its bright flavor and satisfying texture make it a crowd-pleaser that suits any time of day.
Essential Ingredients for Your Healthy Lemon Loaf
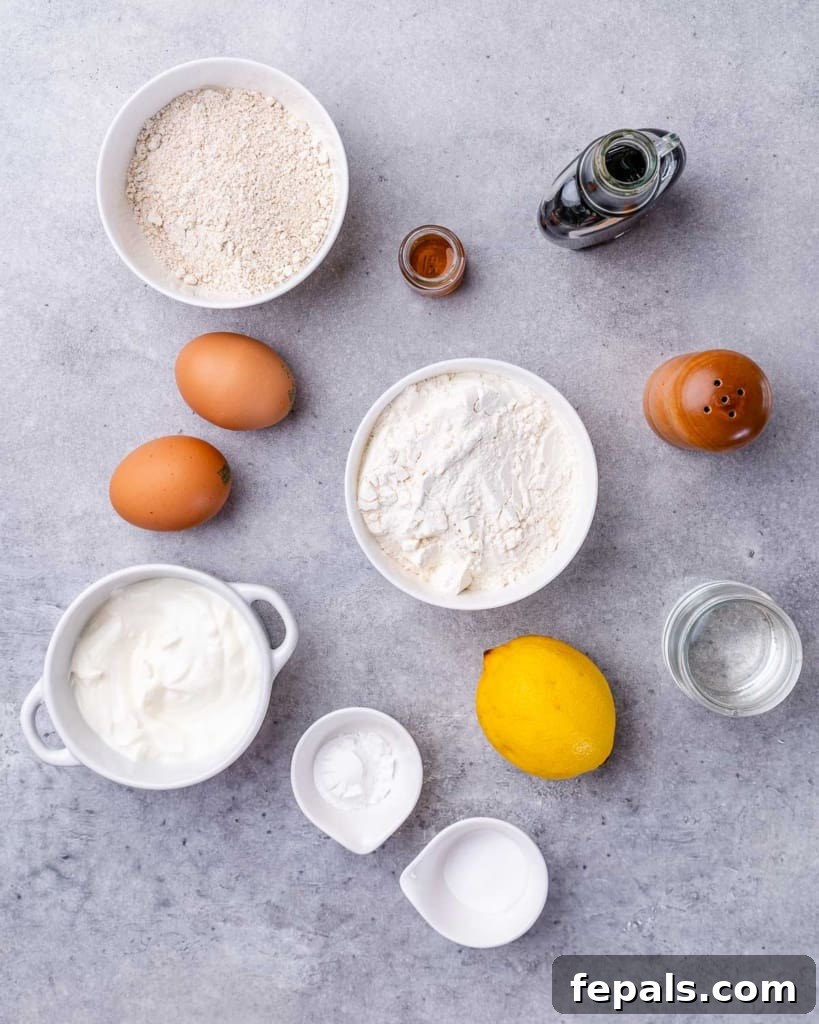
Crafting this perfectly soft, tender, and flavorful lemon loaf begins with a selection of simple, wholesome ingredients. Each component plays a crucial role in achieving that delightful sweet and tart balance, along with the ideal texture. Here’s a detailed look at what you’ll need:
- Flour Blend: We use a unique combination of all-purpose flour for structure and lightness, alongside oat flour for an added boost of fiber, nutrients, and a wonderfully soft crumb. Oat flour contributes to the loaf’s healthy profile and offers a subtle, nutty undertone. If you prefer, whole wheat pastry flour can be an excellent substitute for all-purpose flour, further increasing the fiber content without making the bread too dense.
- Baking Powder & Baking Soda: These two leavening agents work in harmony to give the loaf its signature light and airy texture. Baking powder creates an initial lift, while baking soda reacts with the acidic lemon and yogurt to ensure a tender rise and a perfectly textured crumb.
- Fine Kosher Salt: A pinch of salt is essential in baking, not just for seasoning, but to enhance and balance the sweetness of the maple syrup or honey. It also plays a vital role in elevating the bright, zesty notes of the lemon, making the overall flavor profile more complex and irresistible.
- Vanilla Extract: Vanilla is a classic flavor enhancer that adds a subtle warmth and aromatic sweetness to the loaf. It complements the lemon beautifully, adding depth without overpowering the primary citrus flavor. Use a good quality pure vanilla extract for the best results.
- Plain Yogurt: This is one of our secret ingredients for achieving incredible moisture and tenderness without relying on excessive amounts of oil or butter. Yogurt adds a lovely tang that complements the lemon, and its creamy texture contributes to the loaf’s moist crumb. For an extra protein boost, opt for plain Greek yogurt. And if you’re a true lemon aficionado, lemon-flavored yogurt can amplify that citrus punch even further! For those with dietary restrictions, dairy-free yogurt works wonderfully as a substitute.
- Eggs: Large eggs act as a binder, providing structure and richness to the loaf. They help emulsify the batter, ensuring a smooth consistency and contributing to the golden-brown exterior. You’ll only need two eggs for an entire loaf, keeping it light yet substantial.
- Fresh Lemon and Lemon Zest: This is where the magic happens! Fresh lemon juice provides the tartness, while the lemon zest is absolutely crucial for the intense, aromatic lemon flavor. The oils in the zest carry most of the lemon essence, so do not skip this step! Always zest your lemon before juicing it to get the most flavor.
- Natural Sweeteners: In keeping with our healthy approach, we use unrefined, antioxidant-rich sweeteners: pure maple syrup or honey. Both offer a nuanced sweetness that pairs wonderfully with lemon, creating a more wholesome and flavorful loaf compared to using refined white sugar. Choose your favorite, or even combine them for a unique flavor profile.
- Coconut Oil: While we aim for a healthier loaf, a small amount of fat is necessary for moisture and a tender crumb. Coconut oil is our choice for healthy fats, contributing to the loaf’s moistness and subtle richness. If coconut oil isn’t your preference, you can easily substitute it with other neutral oils like olive oil or avocado oil.
Gathering these simple ingredients is the first step towards baking a lemon loaf that’s not only delicious but also wonderfully good for you.
Step-by-Step Guide to Baking Your Healthy Lemon Loaf
Baking this delightful lemon loaf from scratch is surprisingly straightforward, much like most quick bread recipes. It requires minimal preparation time and doesn’t demand any specialized equipment. All you’ll need are a couple of mixing bowls, a whisk, and your trusty loaf pan. Let’s walk through the simple steps to create this moist and flavorful treat.
- Preparation is Key: Begin by preheating your oven to a consistent 350ºF (175ºC). This ensures the oven is at the correct temperature when your batter is ready, promoting an even rise. Next, prepare your standard loaf pan (approximately 9×5 inches). For easy removal and cleanup, line it with parchment paper, allowing an overhang on the longer sides to create “handles.” A quick spray of cooking oil on the parchment paper and any exposed pan surfaces will prevent sticking.
- Combine Dry Ingredients: In a medium-sized mixing bowl, combine all your dry ingredients. This includes the all-purpose flour, oat flour, baking powder, baking soda, and fine kosher salt. Sifting them together is recommended to ensure they are well combined and free of lumps, leading to a smoother batter and a more uniform texture in the final loaf. Give them a good whisk to thoroughly integrate.
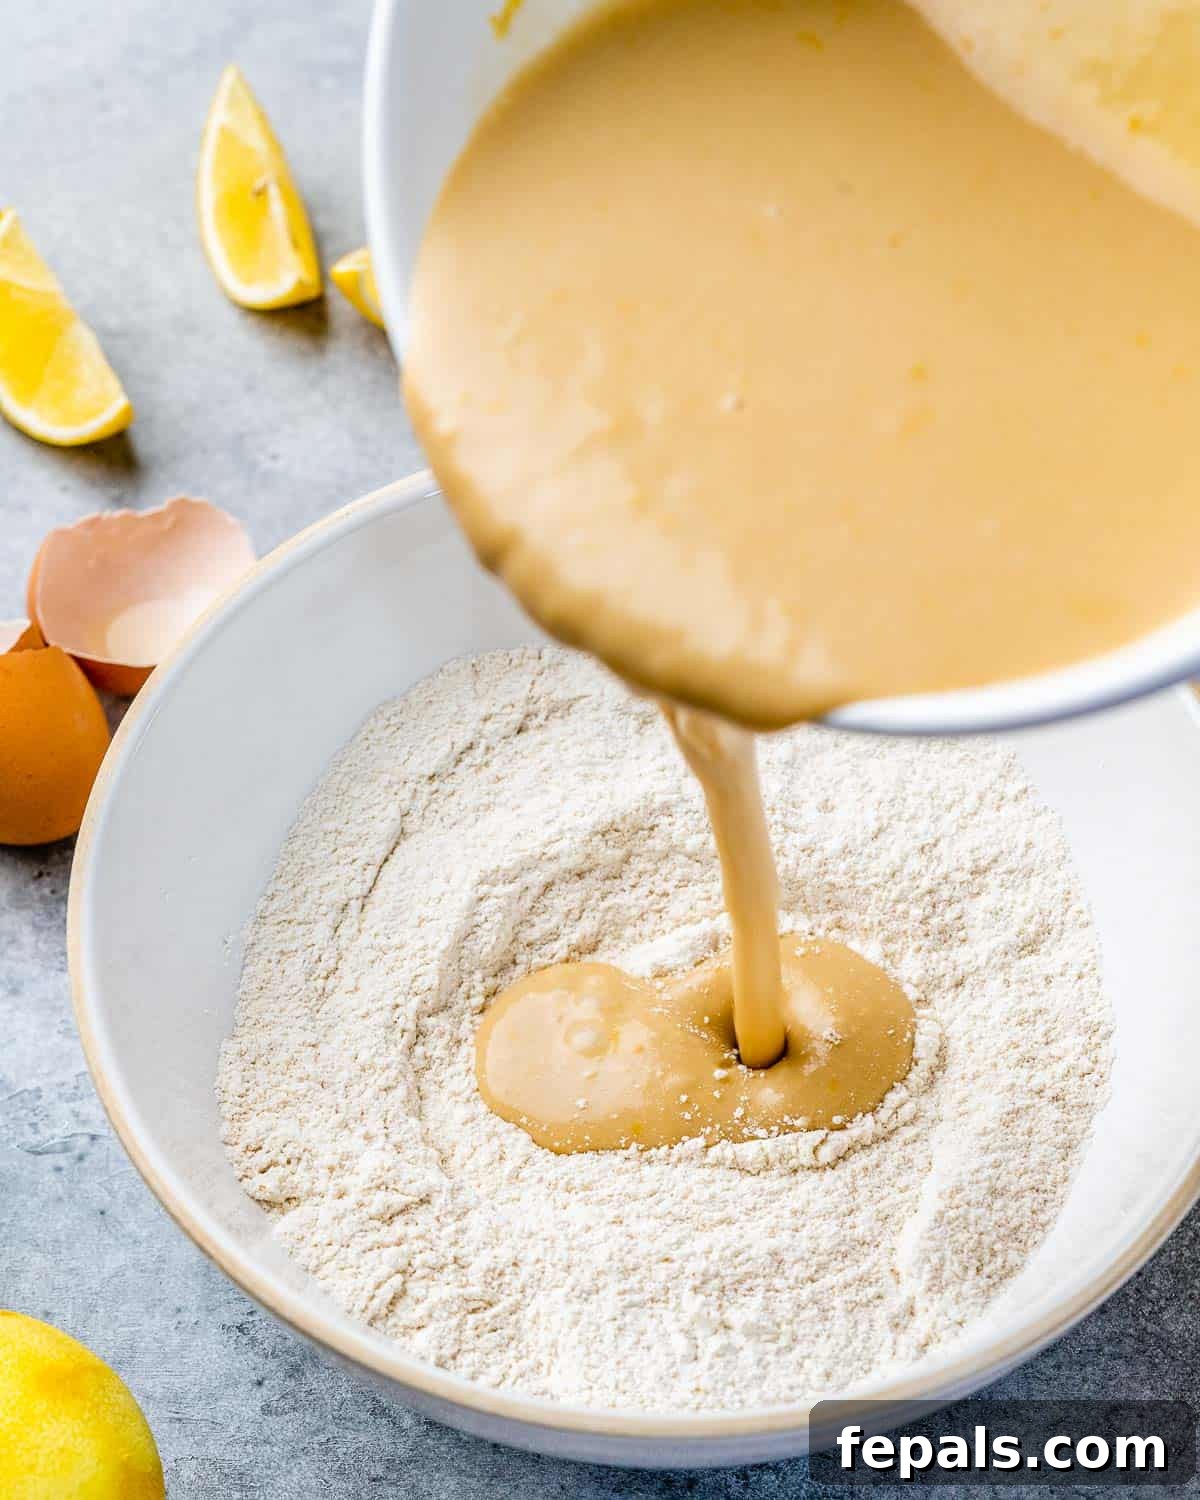
- Whisk Wet Ingredients: In a separate, larger bowl, whisk together all the wet ingredients. This includes the vanilla extract, plain yogurt, eggs, fresh lemon juice, lemon zest, your chosen sweetener (maple syrup or honey), and melted coconut oil. Whisk vigorously until the mixture is smooth, well blended, and thoroughly emulsified. Ensure there are no streaks of unmixed ingredients, as this contributes to the loaf’s even texture and consistent flavor.
- Gently Combine Wet and Dry: Now, it’s time to bring the two mixtures together. Pour the wet ingredients directly over the dry ingredients. Using a spatula or a large spoon, gently stir until just combined. The key here is to avoid overmixing. Overmixing can develop the gluten in the flour too much, resulting in a tough, dense loaf rather than a tender, moist one. A few lumps are perfectly normal; stop mixing as soon as no dry streaks of flour remain.
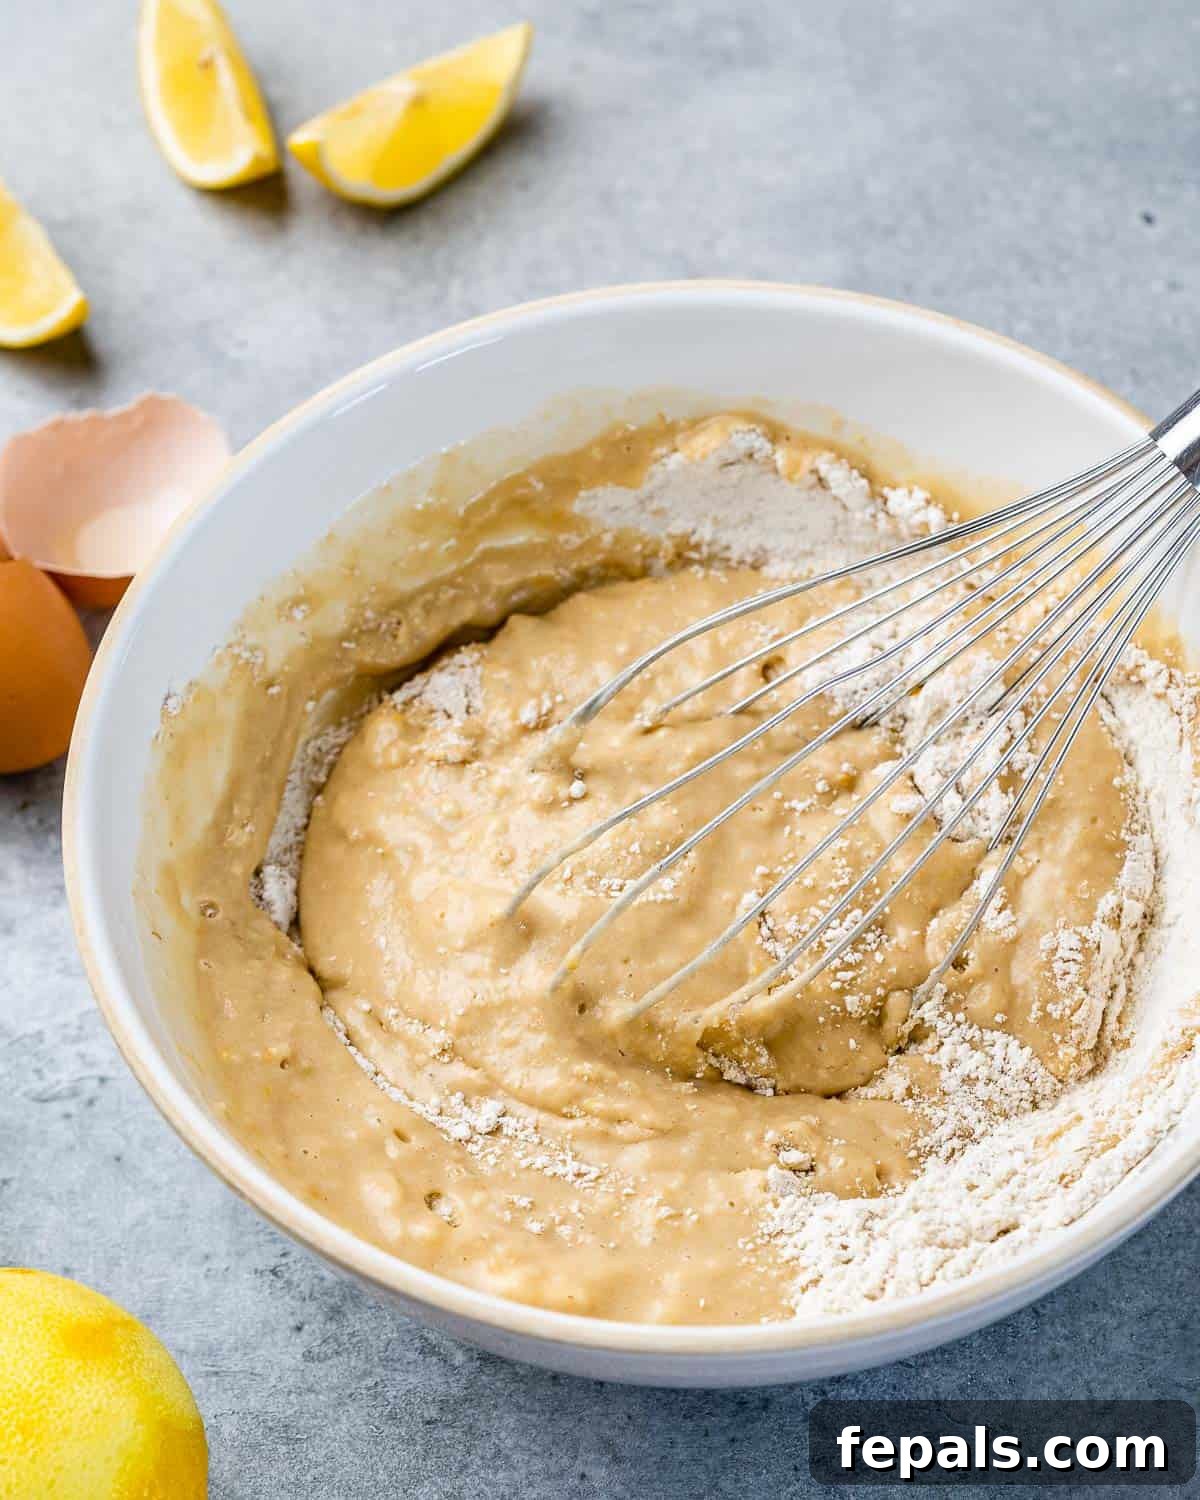
- Bake to Golden Perfection: Carefully transfer the prepared batter into your parchment-lined loaf pan, spreading it evenly with your spatula. Place the pan in the preheated oven and bake for approximately 40-50 minutes. Baking times can vary slightly depending on your oven, so it’s always best to check for doneness. The loaf is ready when a wooden skewer or toothpick inserted into the center comes out clean or with just a few moist crumbs attached. The exterior should be beautifully golden brown.
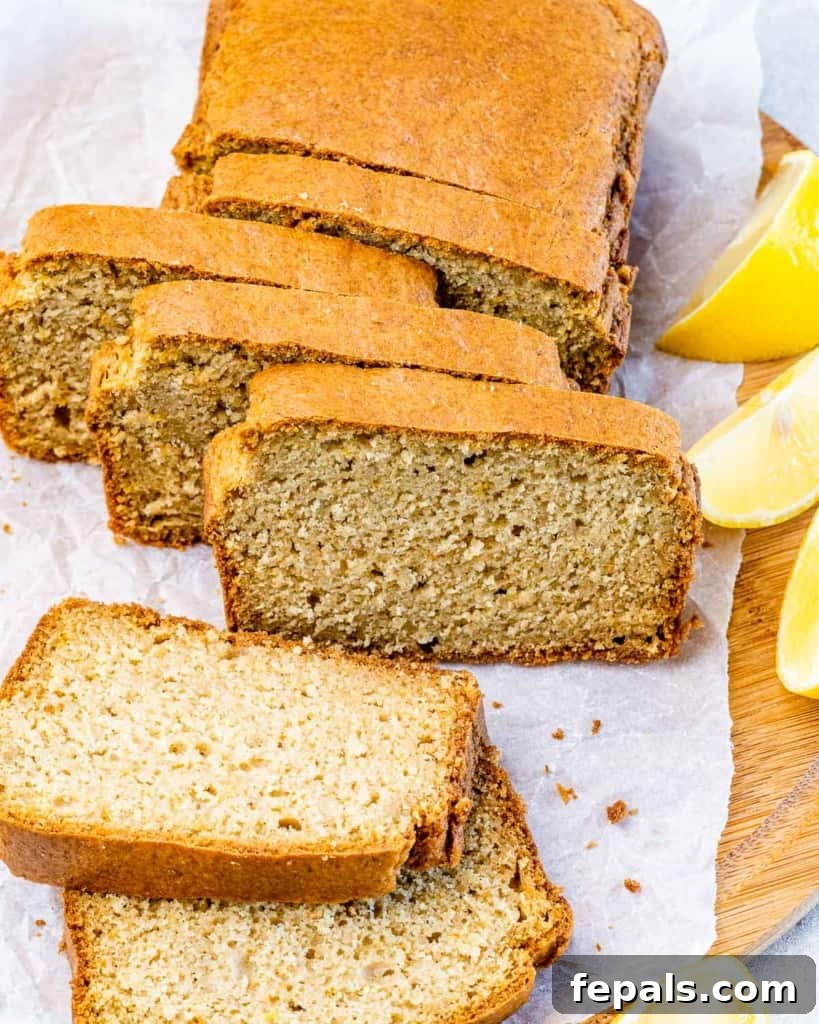
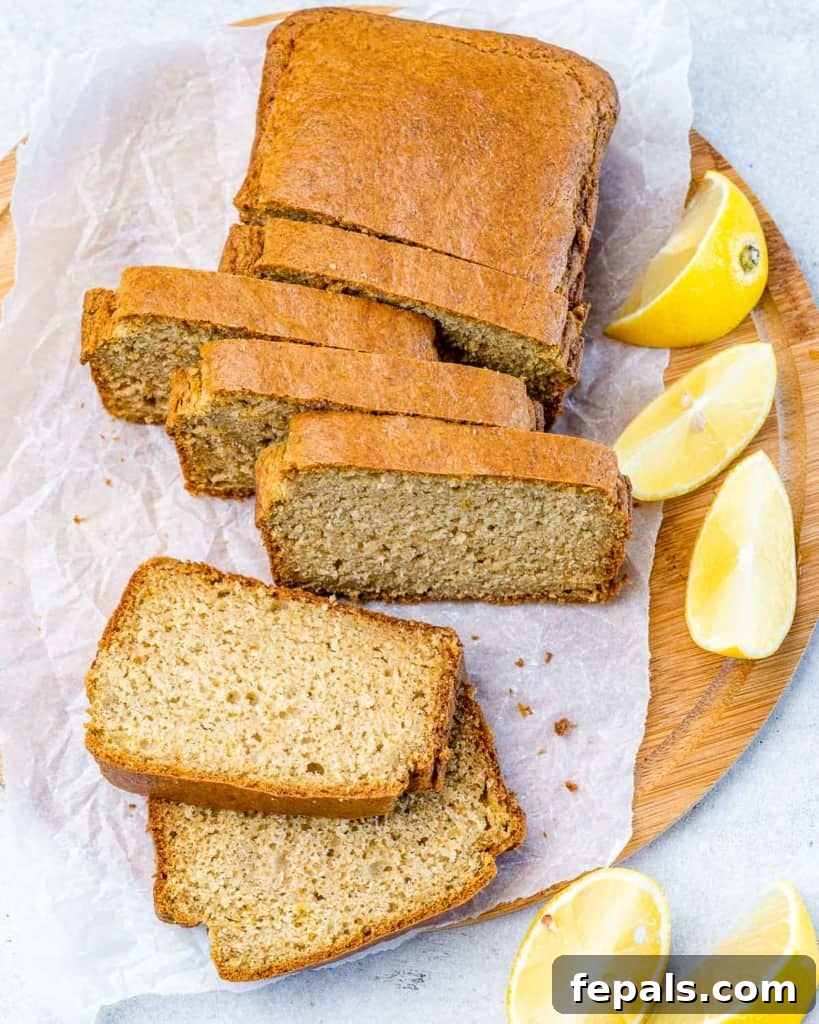
- Cool Before Slicing: Once baked, remove the loaf from the oven and let it cool in the pan on a wire rack for about 10-15 minutes. This allows the loaf to set and continue cooking slightly from residual heat. After this initial cooling, use the parchment paper overhang to carefully lift the loaf out of the pan and transfer it directly to the wire rack to cool completely. Slicing too early can cause the loaf to crumble.
Expert Tips for a Flawless Lemon Loaf Every Time
While making this healthy lemon quick bread is wonderfully simple, a few expert tips can elevate your baking experience and ensure a perfect, mouthwatering loaf every single time. Follow these guidelines to achieve bakery-quality results in your own kitchen:
- Embrace Room Temperature Ingredients: This is a golden rule in baking, especially for quick breads. Ingredients like eggs and yogurt incorporate much more smoothly and evenly into the batter when they are at room temperature. This creates a cohesive emulsion, resulting in a lighter, more uniform crumb. If your ingredients are cold, they can seize the melted coconut oil, leading to an uneven mixture. Plan ahead by taking them out of the fridge about 30 minutes to an hour before you start baking.
- Measure Flour with Precision: The amount of flour can dramatically impact the final texture of your baked goods. Too much flour can lead to a dry, dense, and crumbly loaf. The most accurate way to measure flour is by weight using a kitchen scale. However, if you’re using measuring cups, avoid scooping directly from the bag. Instead, whisk the flour in its container to aerate it, then spoon it lightly into your dry measuring cup. Level off the top with a straight edge (like a knife) without shaking or compacting the flour. This method prevents over-packing and ensures you use the correct amount.
- The Art of Gentle Mixing – Do NOT Overmix Batter: This is arguably the most critical tip for tender quick breads. Once you combine the wet and dry ingredients, stir them together very gently. Use a large spoon or spatula to fold the ingredients just until they are moistened and no dry streaks of flour remain. Overmixing develops the gluten in the flour, which will make your lemon loaf tough, chewy, and dense, instead of light and tender. A few small lumps in the batter are perfectly acceptable and even desirable.
- Prevent Over-Browning – Cover Your Loaf: Sometimes, the top or sides of your quick bread can brown more quickly than the inside bakes. If you notice your lemon loaf becoming too dark after about 30 minutes of baking, loosely tent it with aluminum foil. This acts as a shield, preventing further browning while allowing the inside of the loaf to continue baking through evenly. Remove the foil for the last 5-10 minutes if you want a slightly crispier crust.
- Test for Doneness Reliably: Beyond just timing, the most reliable way to check if your loaf is fully baked is by using a wooden skewer or toothpick. Insert it into the very center of the loaf. If it comes out clean or with only a few moist crumbs attached, your loaf is ready. If it comes out with wet batter, continue baking for a few more minutes and re-test.
- Cool Completely Before Slicing: While it’s tempting to slice into a warm loaf straight from the oven, resist the urge! Allow the loaf to cool in the pan for about 10-15 minutes, then transfer it to a wire rack to cool completely. This resting period allows the internal structure of the bread to set and prevents it from crumbling when sliced. A completely cooled loaf will also have a better texture and flavor.
Frequently Asked Questions About Healthy Lemon Loaf
Making your own oat flour is incredibly easy, cost-effective, and ensures you have the freshest ingredients for your loaf. Simply take old-fashioned rolled oats (not instant or steel-cut) and place them in a high-speed blender or food processor. Blend or pulse on high until the oats are ground into a very fine, flour-like consistency. It’s crucial for the flour to be as fine as possible to ensure a smooth loaf texture. Once ground, measure out the required 1/2 cup for the recipe. Any extra can be stored in an airtight container for future baking projects.
This lemon loaf stands out as a healthier alternative due to several key modifications. Firstly, it uses natural sweeteners like pure maple syrup or honey instead of refined white sugar, providing antioxidants and a lower glycemic impact. Secondly, it calls for only a minimal amount of coconut oil (1/4 cup for the entire loaf) for healthy fats and moisture, avoiding the large quantities of butter found in traditional recipes. Additionally, plain yogurt is incorporated to provide significant moisture, protein, and a delightful tang, further reducing the need for excess fats. The inclusion of oat flour also boosts the fiber content, contributing to a more satisfying and nutritious baked good. Finally, for those with specific dietary needs, it can easily be made dairy-free by using your favorite dairy-free yogurt.
Absolutely! A simple lemon glaze is a fantastic addition that elevates both the flavor and presentation of this loaf. To make it, combine 1/2 cup of powdered sugar (also known as confectioners’ sugar) with 1 to 2 tablespoons of fresh lemon juice in a medium bowl. Start with 1 tablespoon of lemon juice and gradually add more, whisking until you reach your desired consistency – thick enough to drizzle but thin enough to spread. Drizzle this glaze generously over the completely cooled loaf. For an extra touch of elegance and intensified lemon aroma, sprinkle a little extra fresh lemon zest on top of the glaze before it sets. The glaze adds an extra layer of sweetness and a beautiful sheen that makes the loaf even more irresistible.
Storage Tips for Optimal Freshness
Ensuring your delicious homemade lemon loaf stays fresh and moist for as long as possible is key. Here are the best ways to store it, whether you plan to enjoy it immediately or save it for later:
- Room Temperature Storage (Short-Term): For immediate enjoyment, you can keep the loaf on your countertop. Loosely cover it with a clean tea towel or place it in a cake stand with a dome. It will stay wonderfully fresh and moist at room temperature for up to 24 hours. This is ideal if you plan to finish the loaf within a day.
- Refrigeration (Mid-Term Freshness): To extend the shelf life of your lemon loaf, refrigeration is your best bet. Place the entire loaf in an airtight container, wrap it tightly in plastic wrap, or store individual slices in a zip-top bag. Stored this way, it will remain fresh in the refrigerator for up to 5 days. You can enjoy the bread straight from the fridge for a firmer texture, or gently warm slices in a toaster oven for a few minutes, or microwave for about 20-25 seconds for that freshly baked warmth.
- Freezing (Long-Term Preservation): This lemon loaf freezes beautifully, making it perfect for meal prepping or always having a healthy treat on hand. To freeze, wrap the cooled loaf first in aluminum foil, then securely in plastic wrap. This double layer protects against freezer burn. It can be stored in the freezer for up to approximately 3 months. When you’re ready to enjoy it, defrost the loaf at room temperature overnight. Once thawed, remove the plastic wrap and gently reheat the entire loaf in a 350ºF (175ºC) oven for 10-15 minutes, or simply reheat individual slices in a toaster or microwave.
Complementary Healthy Recipes You Might Also Enjoy
If you loved this healthy lemon loaf, you’re likely to appreciate other nutritious and delicious recipes designed to nourish your body and delight your taste buds. Explore these fantastic options for breakfast, snacks, and desserts:
- Blueberry Banana Smoothies: A vibrant and refreshing start to your day, packed with fruits and essential nutrients.
- Chunky Monkey Overnight Oats: A convenient and indulgent breakfast that feels like a dessert but is full of goodness.
- Sweet Potato Brownies: A surprisingly healthy twist on a classic decadent treat, moist and rich.
- Cranberry Almond Breakfast Cookies: Perfect for a grab-and-go breakfast or a wholesome snack any time.
Discover More Healthy Bread Recipes to Try
If you’ve enjoyed the process of baking and savoring this healthy lemon loaf, you’ll be thrilled to explore our other healthy bread creations. These recipes offer a variety of flavors and ingredients, all designed to be nutritious, easy to make, and utterly delicious:
- Healthy Apple and Walnut Bread: A cozy, comforting bread perfect for autumn mornings.
- Healthy Chocolate Chip Zucchini Bread: A clever way to sneak vegetables into a delightful chocolatey treat.
- Banana Date Nut Bread: A naturally sweet and hearty bread, ideal for a wholesome snack.
- Chocolate Chip Pumpkin Bread: Embrace seasonal flavors with this moist and spiced bread.
- Blueberry Zucchini Bread: A refreshing combination of juicy blueberries and hidden zucchini.
- Lemon Poppy Seed Zucchini Bread: Another vibrant lemon-infused bread, with the delightful crunch of poppy seeds.

We hope you thoroughly enjoy baking and tasting this healthy lemon loaf. Your feedback is incredibly valuable to us, so if you try this recipe, please take a moment to leave a comment and a rating in the section below. We’d love to hear about your experience! Don’t hesitate to share this delicious recipe with your friends and family so they can enjoy it too.
FOLLOW me on FACEBOOK | INSTAGRAM | PINTEREST | TWITTER for all of my latest blog posts and exciting new recipes. Happy baking!
Healthy Lemon Loaf
Rate
Pin

Video
Ingredients
- 1 cup all-purpose flour
- 1/2 cup oat flour
- 1 teaspoon baking powder
- 1 teaspoon baking soda
- 1/2 teaspoon fine kosher salt
- 1 teaspoon vanilla extract
- 1 cup plain yogurt
- 1 lemon, juiced, and zested (2 teaspoons of zest)
- 2 large eggs
- 1/2 cup maple syrup or honey
- 1/4 cup coconut oil
Instructions
-
Preheat the oven to 350ºF (175ºC) and line a standard loaf pan with parchment paper, leaving an overhang on the sides. Lightly spray with cooking oil.
-
In a medium bowl, whisk together the all-purpose flour, oat flour, baking powder, baking soda, and fine kosher salt until thoroughly combined.
-
In a second, larger bowl, whisk the vanilla extract, plain yogurt, eggs, lemon juice, lemon zest, maple syrup (or honey), and melted coconut oil until well blended and smooth.
-
Pour the wet ingredients over the dry ingredients. Gently stir with a spatula until just combined, being careful not to overmix. A few lumps are fine.
-
Transfer the batter to the prepared loaf pan and spread evenly. Bake at 350ºF (175ºC) for 40-50 minutes, or until a wooden skewer inserted into the center comes out clean.
-
Allow the loaf to cool in the pan for 10-15 minutes on a wire rack before carefully lifting it out by the parchment paper and transferring it to the rack to cool completely before slicing.
Notes
- Cover loosely with a tea towel and store at room temperature for 24 hours.
- For longer freshness, store this bread in the fridge. Place the loaf into an airtight container, wrap it in plastic wrap, or store slices in a zip-top bag. It should keep fresh in the fridge for up to 5 days. You can eat the bread straight from the fridge, lightly toast it in the toaster oven, or warm it up for about 25 seconds in the microwave.
- To freeze, wrap the cooled loaf in aluminum foil, then plastic wrap, and store in the freezer for up to about 3 months. Defrost at room temperature overnight, remove the plastic wrap, then gently reheat in a 350ºF (175ºC) oven for 10-15 minutes. Alternatively, reheat individual slices in the toaster or microwave.
Nutrition
Nutrition information is automatically calculated, so should only be used as an approximation.