
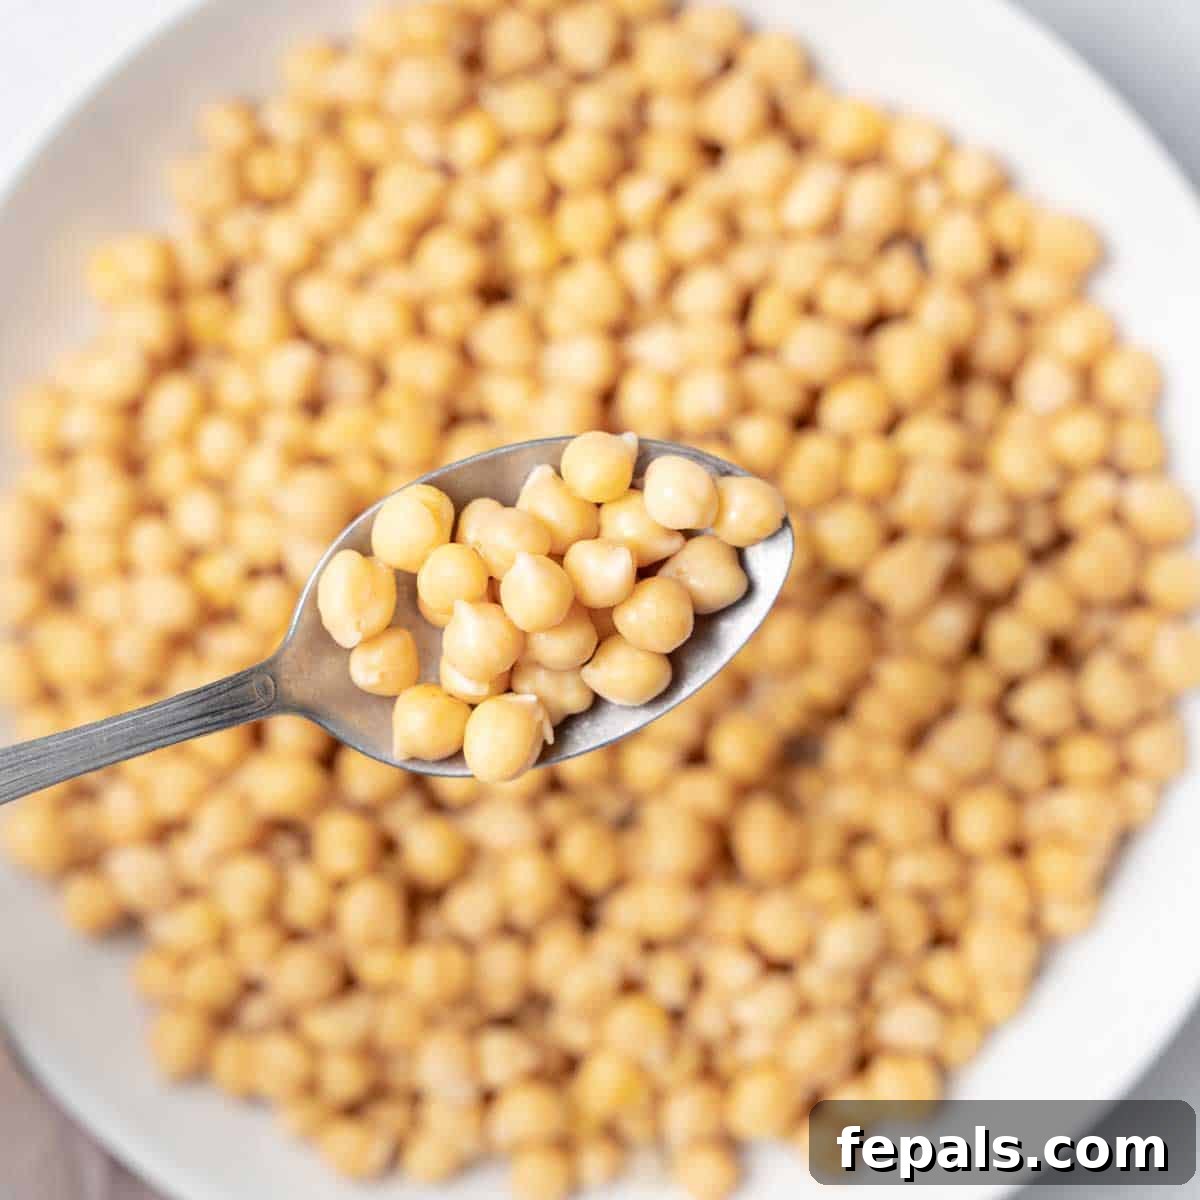
Unlock the secret to perfectly cooked chickpeas that consistently outperform their canned counterparts. This comprehensive guide will show you just how to cook chickpeas on the stovetop with minimal hands-on effort, resulting in incredibly creamy, tender legumes. By simply soaking and simmering dried garbanzo beans, you’ll achieve a superior texture and richer flavor that’s ideal for enhancing your favorite soups, pasta dishes, vibrant salads, and, of course, the silkiest homemade hummus you’ve ever tasted.
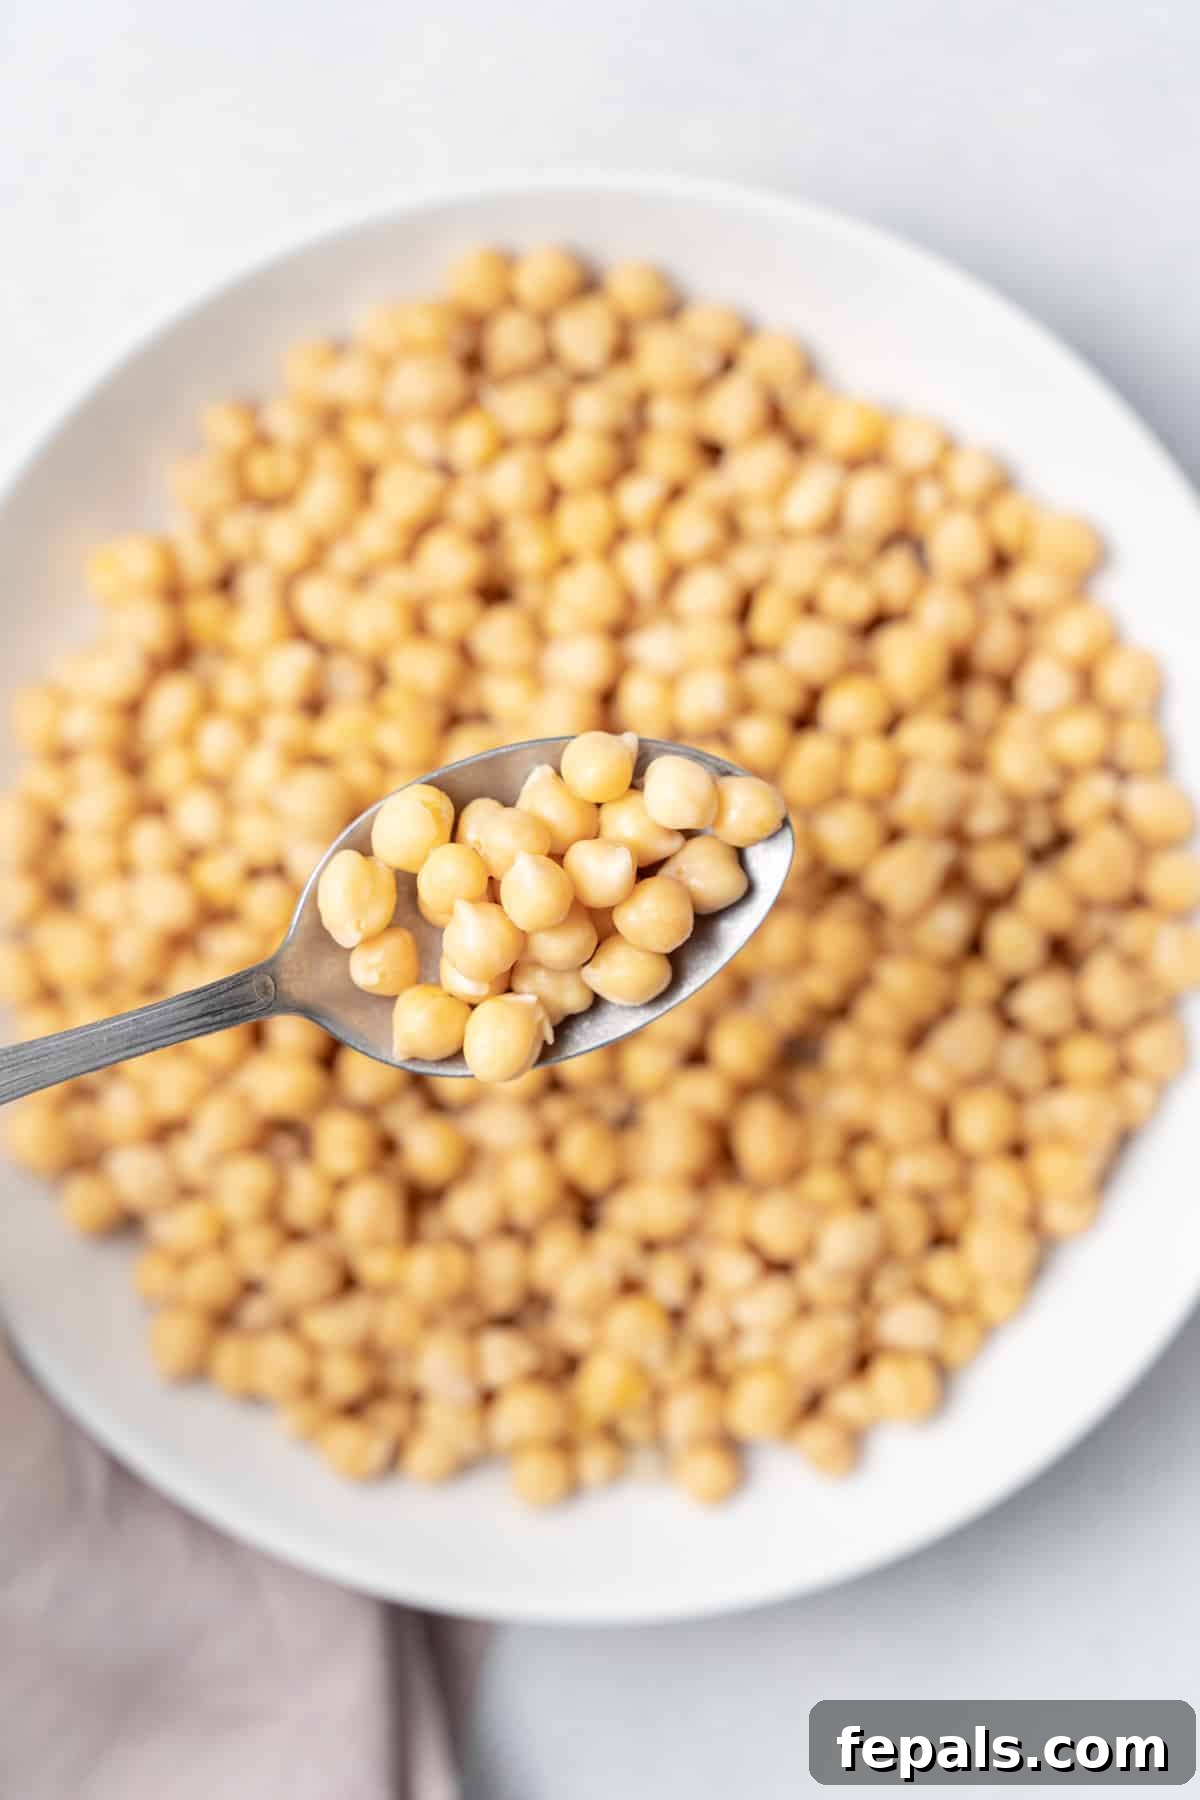
Once you master the art of cooking dried chickpeas, also widely known as garbanzo beans, you’ll likely find yourself leaving the canned variety behind for good. While this method does require a bit more planning due to the soaking time, the vastly superior taste and wonderfully creamy texture of homemade chickpeas are absolutely worth the extra effort. Beyond the delightful sensory experience, cooking them yourself allows for complete control over seasoning and salt content, empowering you to tailor them perfectly to your dietary needs and culinary preferences.
Chickpeas are the versatile seeds of a plant belonging to the legume family. Revered globally, they are the cornerstone ingredient in classic hummus but shine in a multitude of other recipes. From hearty stews like a vegetarian chickpea stew and comforting bowls of easy vegetable soup, to refreshing chickpea tuna salad and fulfilling sandwiches, their mild, nutty flavor and satisfying texture make them an indispensable ingredient in healthy cooking. Their ability to absorb flavors makes them incredibly adaptable to various cuisines and cooking styles.
Why Choose Homemade Chickpeas?
Ditching the can for dried chickpeas might seem like an extra step, but the benefits are undeniable. Here’s why this recipe will become a staple in your kitchen:
- Effortlessly Simple: While the process includes soaking overnight, the actual hands-on cooking time for chickpeas is surprisingly minimal. It’s a straightforward stovetop method that anyone can master, transforming dry beans into culinary gold with little fuss.
- Nutritionally Superior: Chickpeas are a nutritional powerhouse, packed with protein, fiber, and essential minerals like iron and folate. Incorporating them into your meals boosts satisfaction, provides sustained energy, and contributes to a balanced diet. Cooking them from scratch preserves more of their inherent goodness, without the added preservatives or high sodium often found in canned versions.
- Unmatched Flavor and Texture: Prepare to be amazed by the difference. Homemade chickpeas boast a wonderfully creamy, melt-in-your-mouth texture that is simply unattainable from a can. Their natural, slightly nutty flavor is more pronounced, offering a far richer and more authentic taste experience.
- Incredibly Versatile: Beyond being an excellent plant-based protein alternative for meat in stews, salads, and pasta, chickpeas are culinary chameleons. Their mild flavor allows them to readily absorb the spices and aromas of any dish they’re added to, making them perfect for global cuisines—from Mediterranean and Indian to Mexican and beyond.
Essential Ingredients
Cooking magnificent chickpeas requires only a few humble ingredients. Simplicity is key to letting their natural flavor shine:
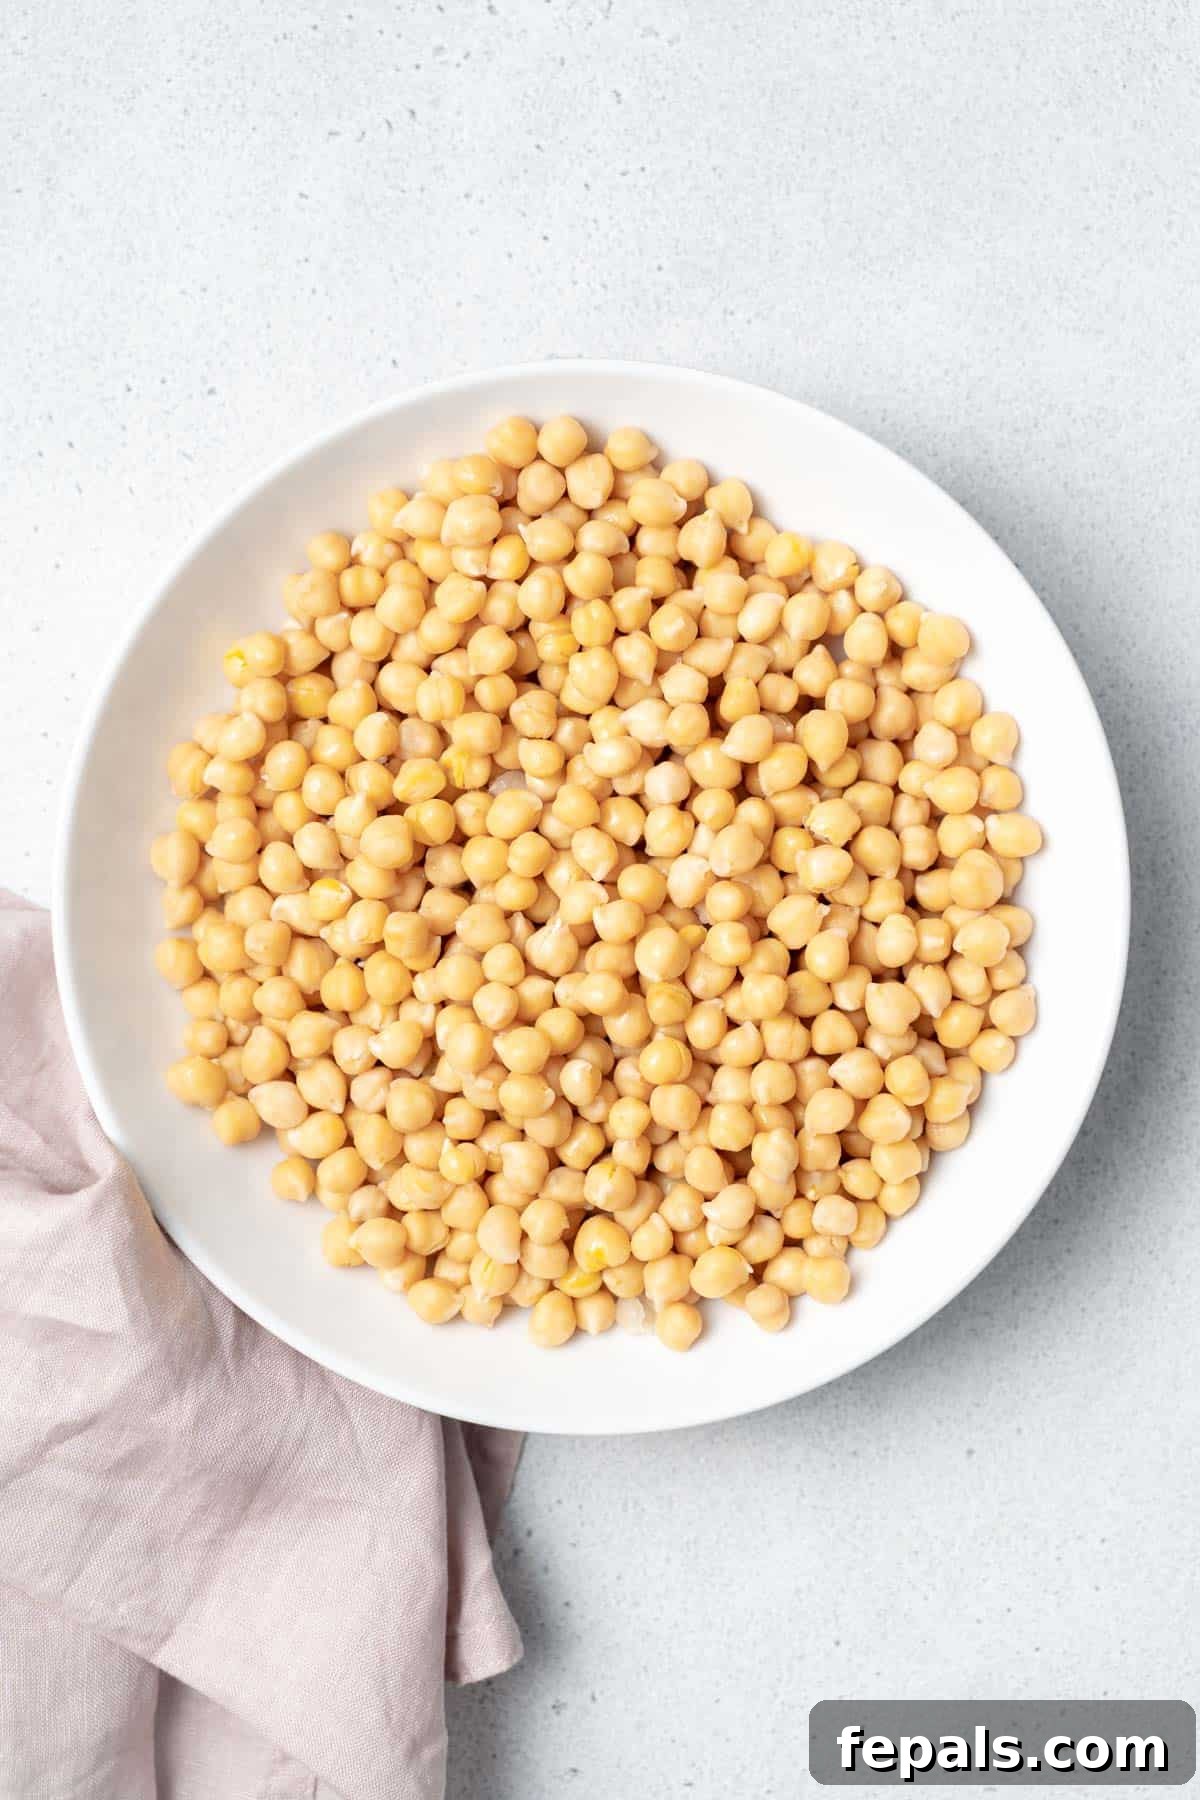
- Dried Chickpeas (Garbanzo Beans): For this recipe, we recommend starting with 1 cup of dried chickpeas. This quantity will typically yield approximately 3 cups of perfectly cooked beans, providing about 6 generous ½-cup servings. When selecting dried chickpeas, look for plump, uniform beans with no signs of discoloration or damage. Fresher beans will cook more consistently and have a better flavor.
- Kosher Salt: A teaspoon of kosher salt added to the cooking water isn’t just for flavor; it also helps tenderize the beans. Kosher salt is preferred for its pure taste and larger crystals, which are easier to measure without over-salting. Remember, you can always adjust seasonings further once the chickpeas are cooked to suit your dish.
- Water: Crucial for both the soaking and cooking stages. Use fresh, cold water for soaking and ensure enough water is available to keep the chickpeas fully submerged during simmering. The quality of your water can subtly affect the taste, so filtered water is always a good choice if your tap water has a strong flavor.
Step-by-Step: Cooking Dry Chickpeas on the Stovetop
Achieving perfectly tender and creamy chickpeas is a straightforward process when following these simple steps:
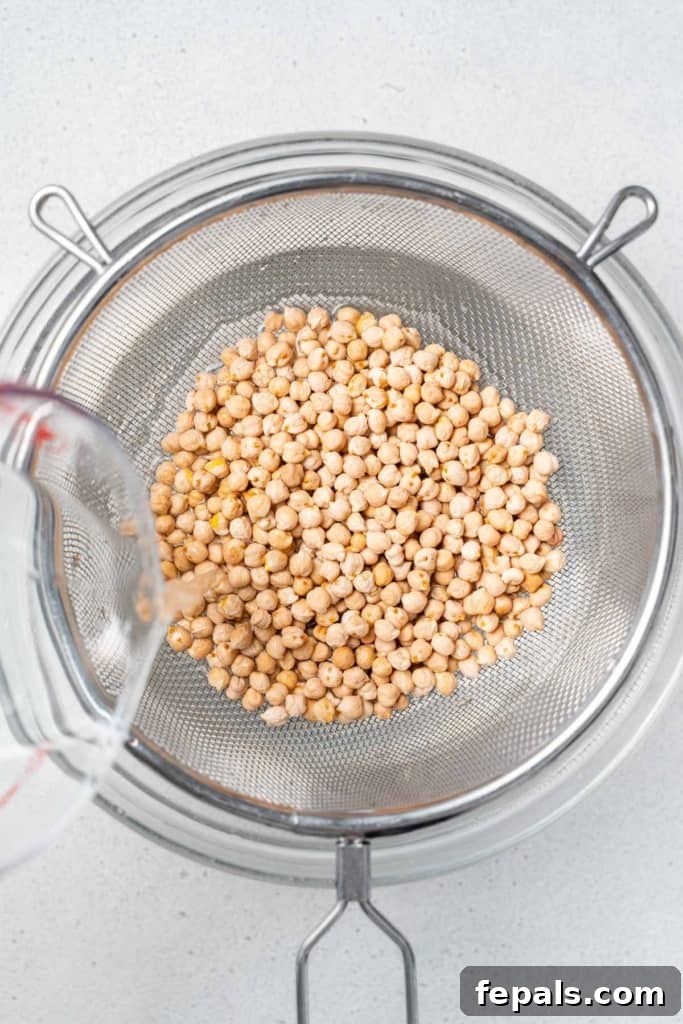
- Thorough Rinsing: Begin by placing your dried chickpeas in a fine-mesh strainer. Rinse them thoroughly under cold running water. This step helps to remove any dust, debris, or small stones that might be present. Inspect the beans as you rinse, discarding any discolored or shriveled ones.
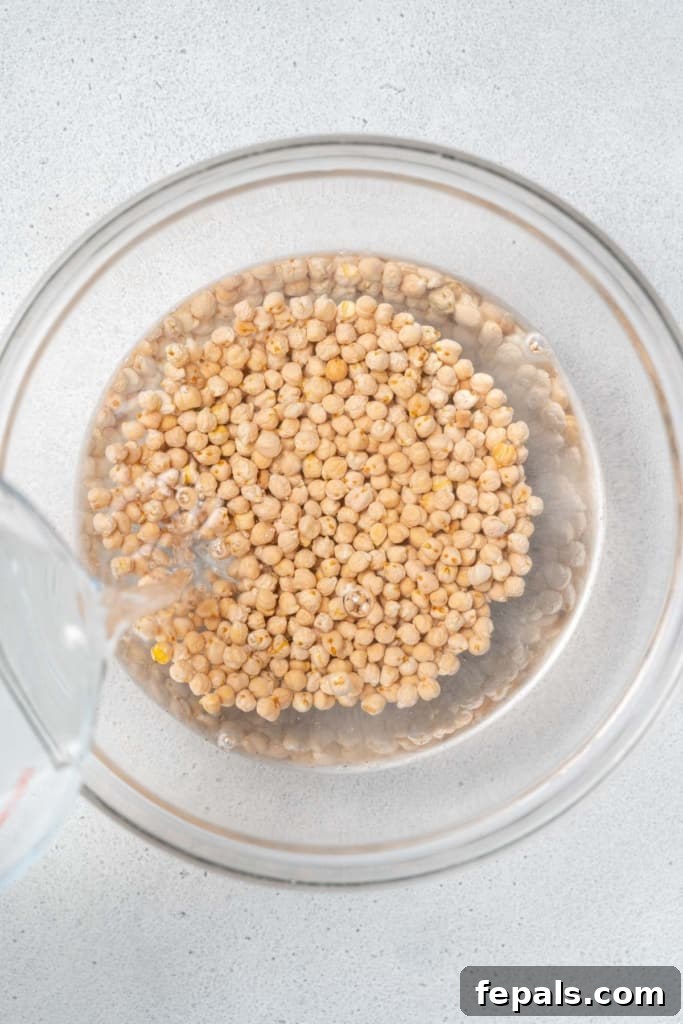
- Generous Soaking: Transfer the rinsed chickpeas into a large bowl. Add plenty of cold water, ensuring the beans are covered by at least 2 inches of water. Chickpeas will expand significantly during soaking, so ample water is essential to prevent them from drying out.
- Overnight Soak (8-12 Hours): Cover the bowl and let the chickpeas soak at room temperature overnight, or for a minimum of 8 to 12 hours. Soaking rehydrates the beans, significantly reducing cooking time and making them more digestible. If you plan to soak for longer than 12 hours, transfer the bowl to the refrigerator to prevent fermentation or sprouting.
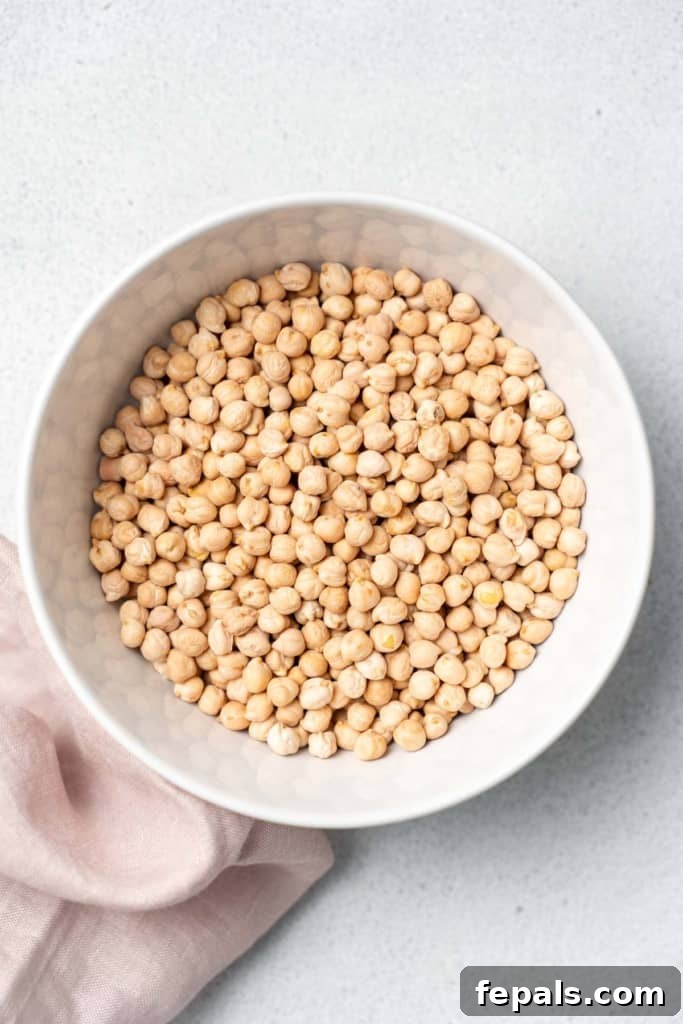
- Drain and Rinse Again: After soaking, drain the chickpeas thoroughly in a strainer and rinse them exceptionally well under cold running water. This removes the soaking liquid, which can sometimes contain starches that cause digestive discomfort.
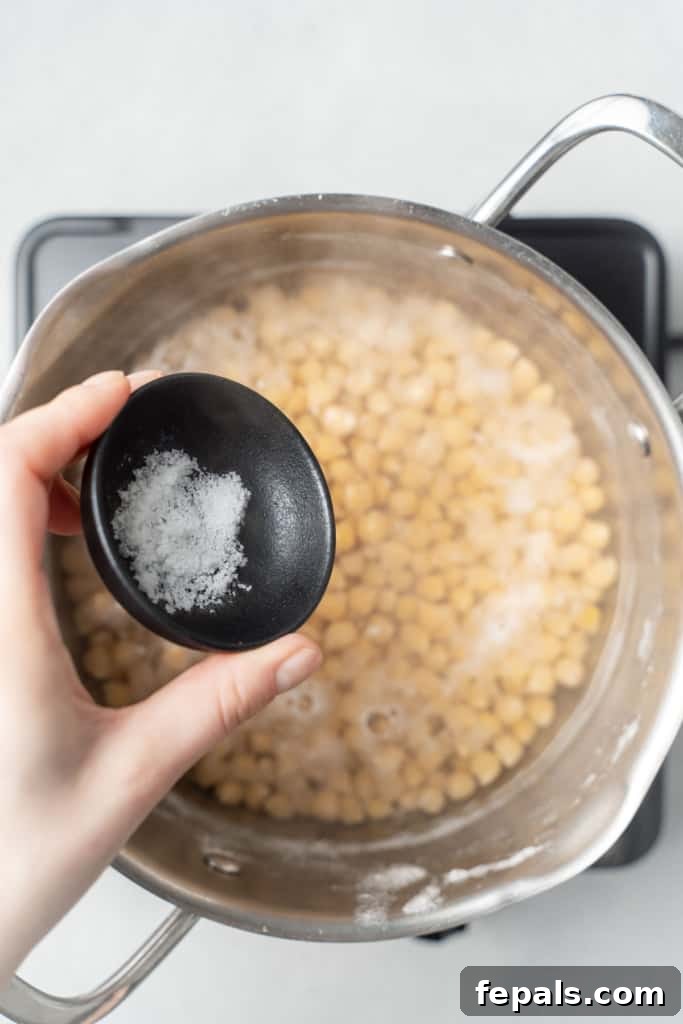
- Boil to Begin: Transfer the rinsed, soaked chickpeas to a large, heavy-bottomed pot. Pour fresh water over them, ensuring they are covered by at least 2 inches. Add the kosher salt to the pot. Bring the water to a rolling boil over medium-high heat.
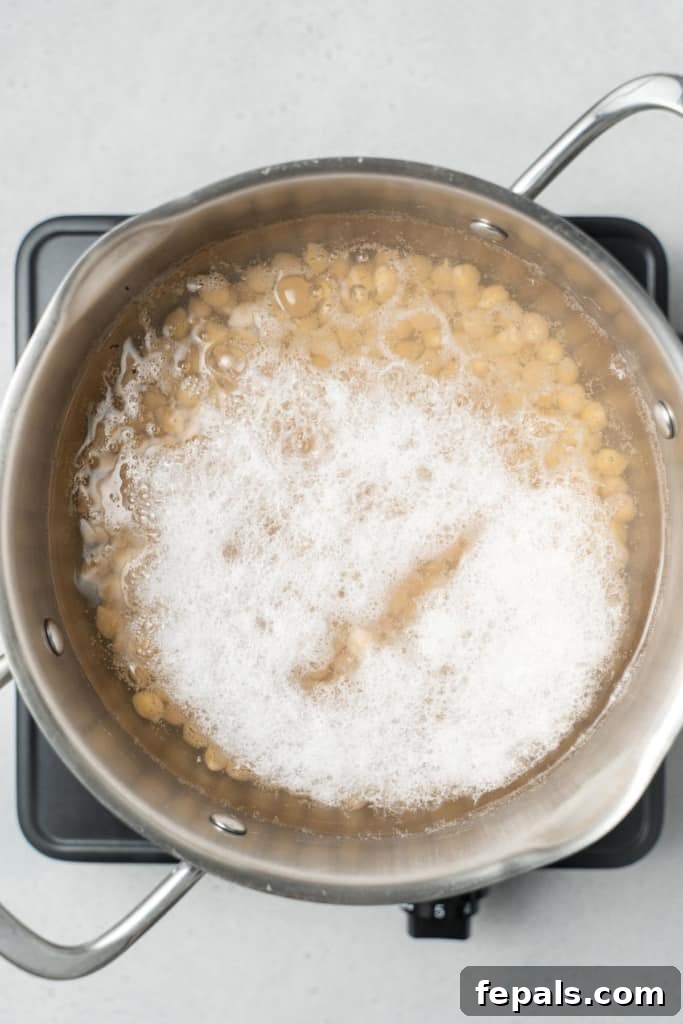
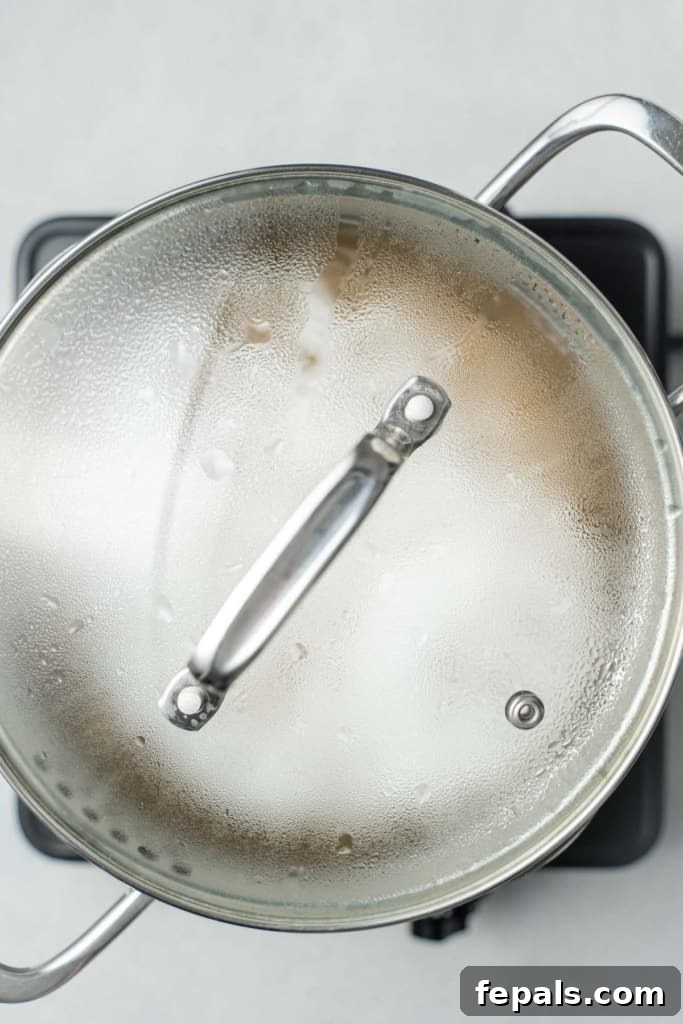
- Simmer to Perfection: Once boiling, reduce the heat to low, cover the pot with a lid, and let the chickpeas gently simmer for 1.5 to 2 hours. The exact cooking time will vary depending on the age of your chickpeas and your desired tenderness. Check the water level occasionally and add more hot water if needed to keep the chickpeas submerged.
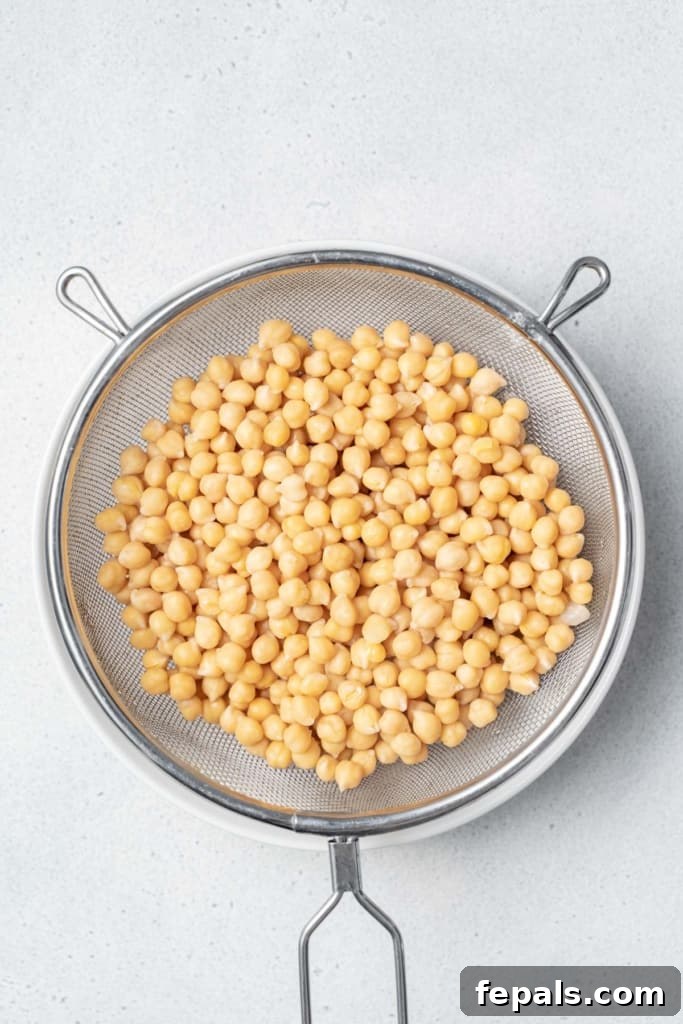
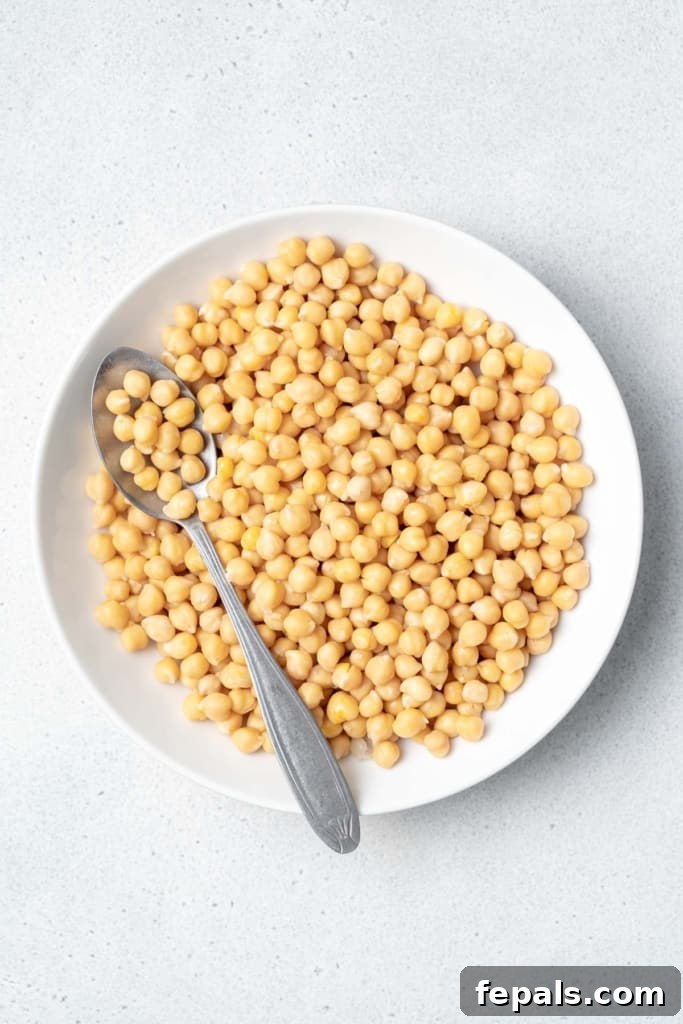
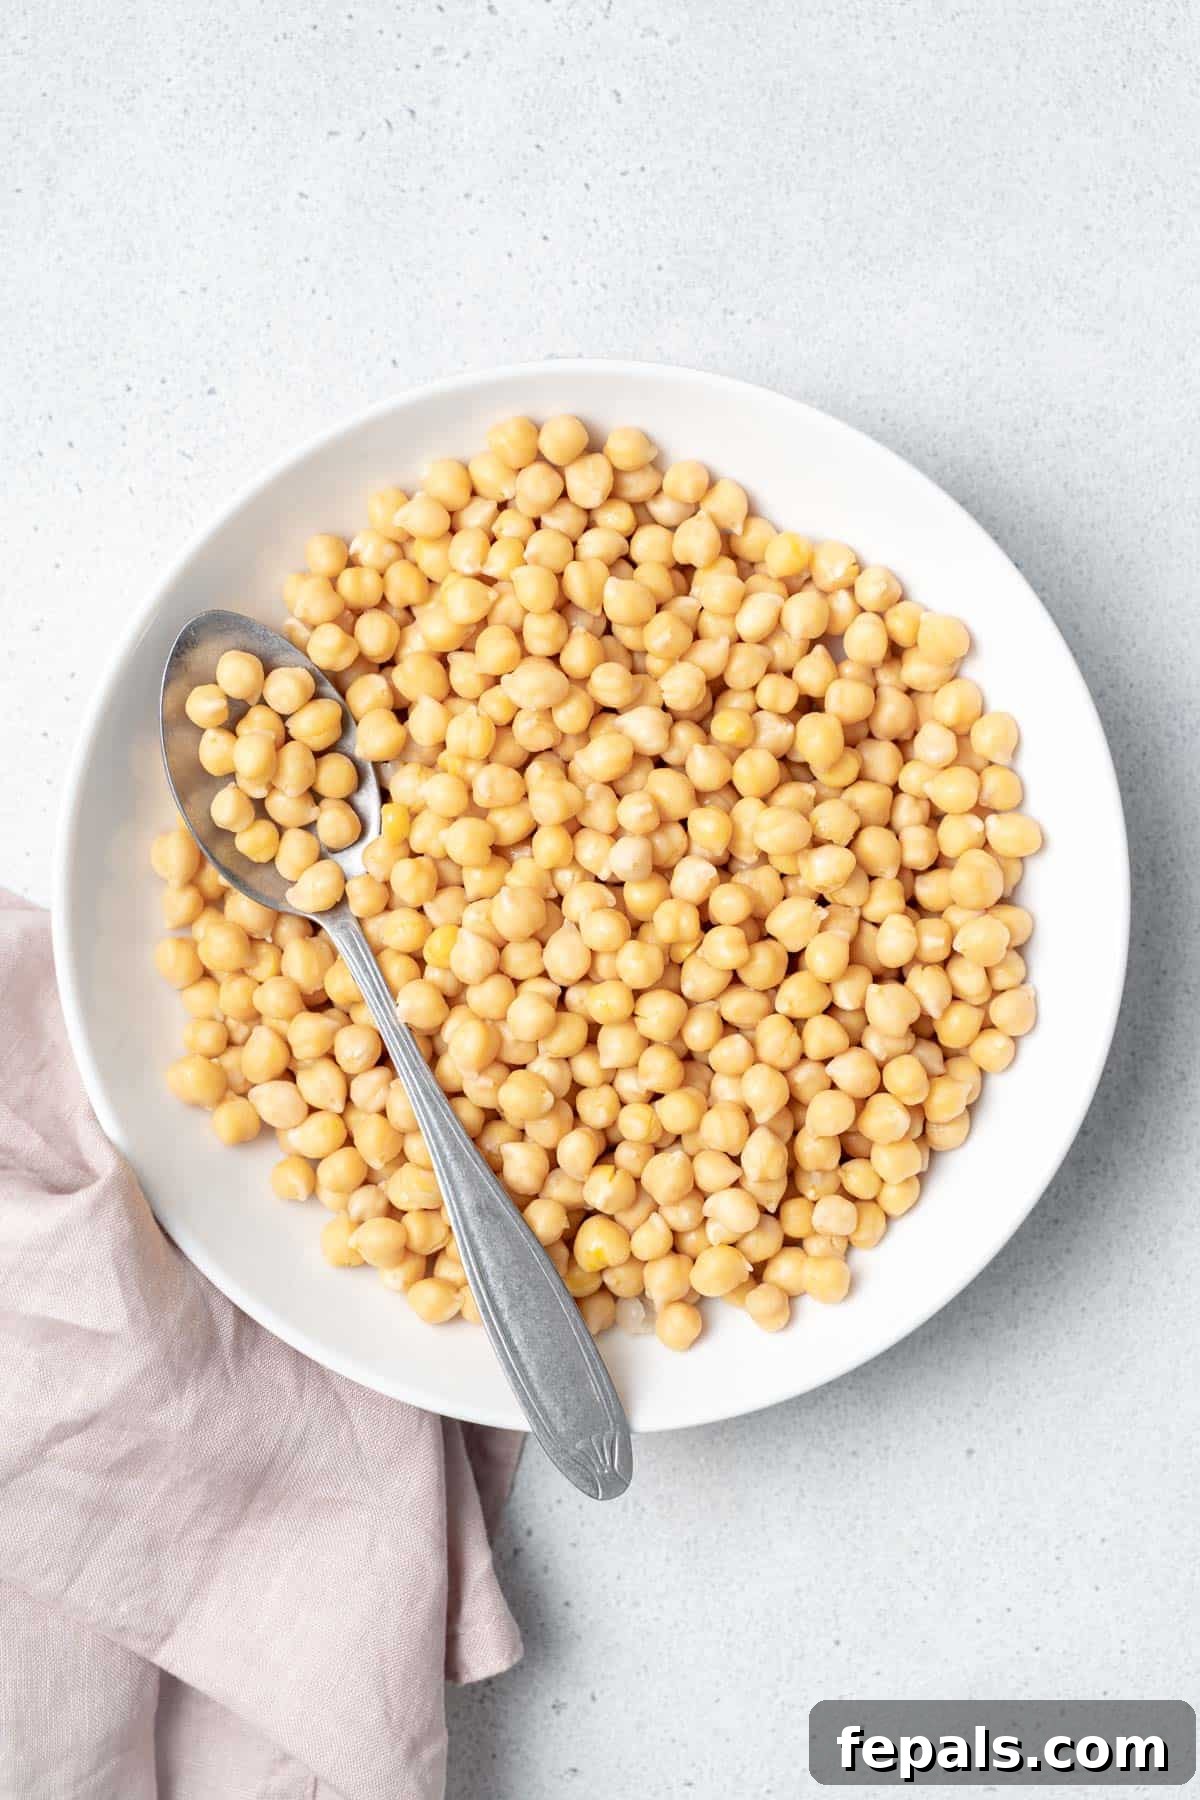
- Cool and Enjoy: Once the chickpeas are cooked to your desired tenderness (they should be soft and creamy, easily mashed between your fingers), drain them in a colander. Allow them to cool slightly before using. You can use them warm or at room temperature in your recipes.
Expert Tips for Perfect Chickpeas
Ensure your chickpeas turn out perfectly every time with these helpful tips:
- Avoid Over-Soaking: While soaking is essential, there’s a limit. Chickpeas can indeed be over-soaked. If left too long at room temperature (much beyond 9-12 hours), they may begin to sprout or ferment, which can alter their texture and flavor, and sometimes lead to spoilage. If you need to soak them for an extended period, always place the bowl in the refrigerator to slow down these processes.
- Never Eat Soaked Raw Chickpeas: Even though chickpeas soften significantly after soaking, they are not meant to be eaten raw. Raw or undercooked chickpeas contain oligosaccharides and other compounds that are extremely difficult for humans to digest, leading to severe gastrointestinal discomfort. Always cook them thoroughly until tender.
- Customize Cook Time for Desired Texture: The cooking duration directly impacts the final texture. For chickpeas with a slight bite, suitable for salads or roasting, aim for about 1.5 hours of simmering. If you prefer them very soft and creamy, perfect for hummus or purees, extend the simmering time to 2 hours or even slightly longer. Always check for tenderness by tasting a chickpea towards the end of the cooking process. Remember to maintain adequate water levels throughout simmering.
- Quick Soak Method: If you forget to soak chickpeas overnight, don’t despair! A quick soak method can save the day. Place rinsed chickpeas in a pot, cover with water, bring to a boil, then remove from heat, cover, and let them sit for 1 hour. Drain, rinse, and proceed with the cooking instructions.
- Don’t Add Acid Early: Adding acidic ingredients like lemon juice, vinegar, or tomatoes to the cooking water can prevent chickpeas from softening. If your recipe calls for acid, add it after the chickpeas are fully cooked.
Frequently Asked Questions About Cooking Chickpeas
There are several ways to cook dried chickpeas, including using an Instant Pot, a slow cooker, or the traditional stovetop method. While all methods work, we find the stovetop to be the easiest for consistent results, yielding the creamiest, most flavorful chickpeas with excellent texture control.
Absolutely! Like many other dried beans, chickpeas greatly benefit from soaking in water. Pre-soaking is crucial for several reasons: it significantly reduces cooking time, helps to soften the beans, and, most importantly, makes them much more digestible by breaking down complex sugars that can cause gas and bloating. Skipping this step often results in tougher chickpeas and longer cooking times.
For optimal results, we highly recommend soaking dried chickpeas overnight, or for a period of 8 to 12 hours. This duration allows the beans to fully absorb water and swell, ensuring even cooking and a tender final product. For longer soaking times, always refrigerate the beans to prevent spoilage.
Yes, absolutely! An Instant Pot is a fantastic tool for cooking chickpeas, cutting down the cooking time significantly after soaking. Typically, soaked chickpeas will cook in an Instant Pot for about 12-15 minutes at high pressure, followed by a natural pressure release. This method also yields very creamy results.
If your chickpeas remain hard, it could be due to a few factors. Insufficient soaking time, old beans (dried beans lose moisture over time and become harder to rehydrate), or the presence of acidic ingredients in the cooking water can all contribute. Try simmering them for longer, ensuring they are fully submerged, or consider adding a pinch of baking soda to the cooking water (though use sparingly as it can alter flavor).
Exciting Flavor Variations
While delicious on their own, cooked chickpeas are a blank canvas for flavors. Here are a few simple ideas to elevate your homemade batch:
- Bright and Zesty: A squeeze of fresh lemon or lime juice adds a vibrant, refreshing tang. You can also sprinkle a pinch of ground cumin for an earthy, aromatic note, particularly good for Mediterranean or Middle Eastern dishes.
- Aromatic Savory: For a deeper, more savory profile, cook the chickpeas with a couple of bay leaves, a few cloves of garlic (smashed), or a sprig of fresh rosemary or thyme. These aromatics infuse the beans with subtle, complex flavors.
- Spicy Kick: If you love a bit of heat, sprinkle red pepper flakes over your cooked chickpeas, or add a whole dried chili pepper to the cooking water for a gentle warmth that permeates the beans.
- Smoky Undertones: A dash of smoked paprika or a whole chipotle pepper (dried or canned) added during simmering can impart a wonderful smoky depth, perfect for stews or chili.
- Herbaceous Freshness: Once cooked, toss warm chickpeas with finely chopped fresh parsley, cilantro, or mint for a burst of fresh flavor and color.
Delicious Serving Suggestions
Beyond being a fantastic side dish, homemade chickpeas are incredibly versatile. Here are some inspiring ways to incorporate them into your meals:
- Cucumber Chickpea Salad Jar: Perfect for meal prep and a refreshing lunch.
- Avocado Chickpea Tuna Salad: A creamy, protein-packed twist on a classic.
- Roasted Chickpea Avocado Salad: Adds a delightful crunch and healthy fats.
- Chickpea Butternut Squash Curry: A warming, flavorful vegetarian main course.
- Creamy Chickpea Cauliflower Curry: Rich and satisfying, ideal for a comforting dinner.
- Classic Hummus: Blend your freshly cooked, warm chickpeas with tahini, lemon juice, garlic, and a touch of water for the smoothest, most flavorful hummus.
- Hearty Soups and Stews: Add them to minestrone, vegetable stews, or even a spicy chili for extra body and protein.
- Vibrant Salads: Toss them into green salads, grain bowls, or pasta salads for added texture and nutrition.
- Crunchy Roasted Snack: Toss cooked chickpeas with olive oil and your favorite spices, then roast until crispy for a healthy, addictive snack or salad topping.
- Flavorful Wraps and Sandwiches: Mash them for a “chickpea salad” sandwich filling or add whole to veggie wraps.
Storage Recommendations
Proper storage ensures you can enjoy your perfectly cooked chickpeas for days or even months:
- Refrigeration: Once cooled, drain any excess liquid from the chickpeas. Store them in an airtight container or a sealed storage bag in the refrigerator for up to 3-4 days. This makes them ideal for meal prepping throughout the week.
- Freezing for Long-Term: For longer storage, cooked and drained chickpeas freeze beautifully. Transfer them to a freezer-safe bag or container, ensuring as much air is removed as possible to prevent freezer burn. They can be frozen for up to 3-6 months. Thaw them in the refrigerator overnight or by running under cold water before reheating and using.
- Reheating Instructions: To reheat, you have a few options. Microwave them in a microwave-safe dish until warm, or gently simmer them on the stovetop with a small amount of water or broth to prevent drying out. For a slightly crispier texture, spread them on a lined baking sheet and bake at 350°F (175°C) for about 10 minutes. Baking will result in a firmer, drier texture, which can be great for certain dishes.
More Essential How-To Guides
If you found this guide on cooking chickpeas helpful, you might also enjoy these other practical tutorials for mastering kitchen basics:
- How to Cut Romaine Lettuce
- How to Cut Cabbage
- (3 Ways) How to Cut Bell Peppers
- How to Cut an Orange
- Homemade BBQ Sauce
- How to Make Cajun Seasoning
- Cutting Potatoes Into Fries
- How to Cut Green Onions
- How to Make Nutella
- Homemade Croutons
If you try this recipe and love it, please leave us feedback in the comment section below and don’t forget to rate it! We’d be thrilled if you shared it with friends and family.
FOLLOW us on FACEBOOK | INSTAGRAM | PINTEREST | TWITTER for all of our latest blog posts and recipes.
How to Cook Chickpeas
Rena
6 servings
5 minutes
2 hours
8 hours
2 hours 5 minutes
Ingredients
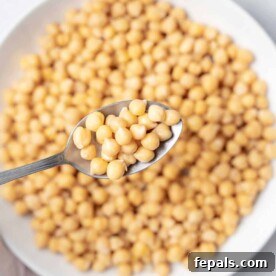
- 1 cup dried chickpeas
- 1 tsp salt
- 4 cups water
Instructions
-
First, rinse the chickpeas with water using a strainer.
-
Add the rinsed chickpeas into a bowl, and add water over the top until they are fully covered with water about 2 inches above the chickpeas.
-
Cover the bowl and allow the chickpeas to soak overnight.
-
Next, drain the chickpeas and rinse really well.
-
Add the rinsed chickpeas into a pot, pour water over the them (enough to cover them by 2 inches), add salt, and bring to a boil over medium heat.
-
Cover, and then reduce the heat and let them simmer for 1.5-2 hours. *See notes until they are soft to your liking.
-
Once the chickpeas are cooked through, drain and allow them to cool. Use as desired.
Notes
- Storing: Cooked chickpeas can be drained of excess liquid and stored in an airtight container or storage bag in the fridge for up to 3-4 days.
- Freeze: Once drained, leftovers can be frozen in a freezer-safe bag or container for up to 3-6 months. Thaw before reheating and enjoying.
- To reheat: Reheat by microwaving or simmering them in a small amount of water on the stovetop just until warm. They can also be baked on a lined sheet pan for 10 minutes at 350°F. Baking will result in a bit of a drier texture.
Nutrition
Nutrition information is automatically calculated, so should only be used as an approximation.