
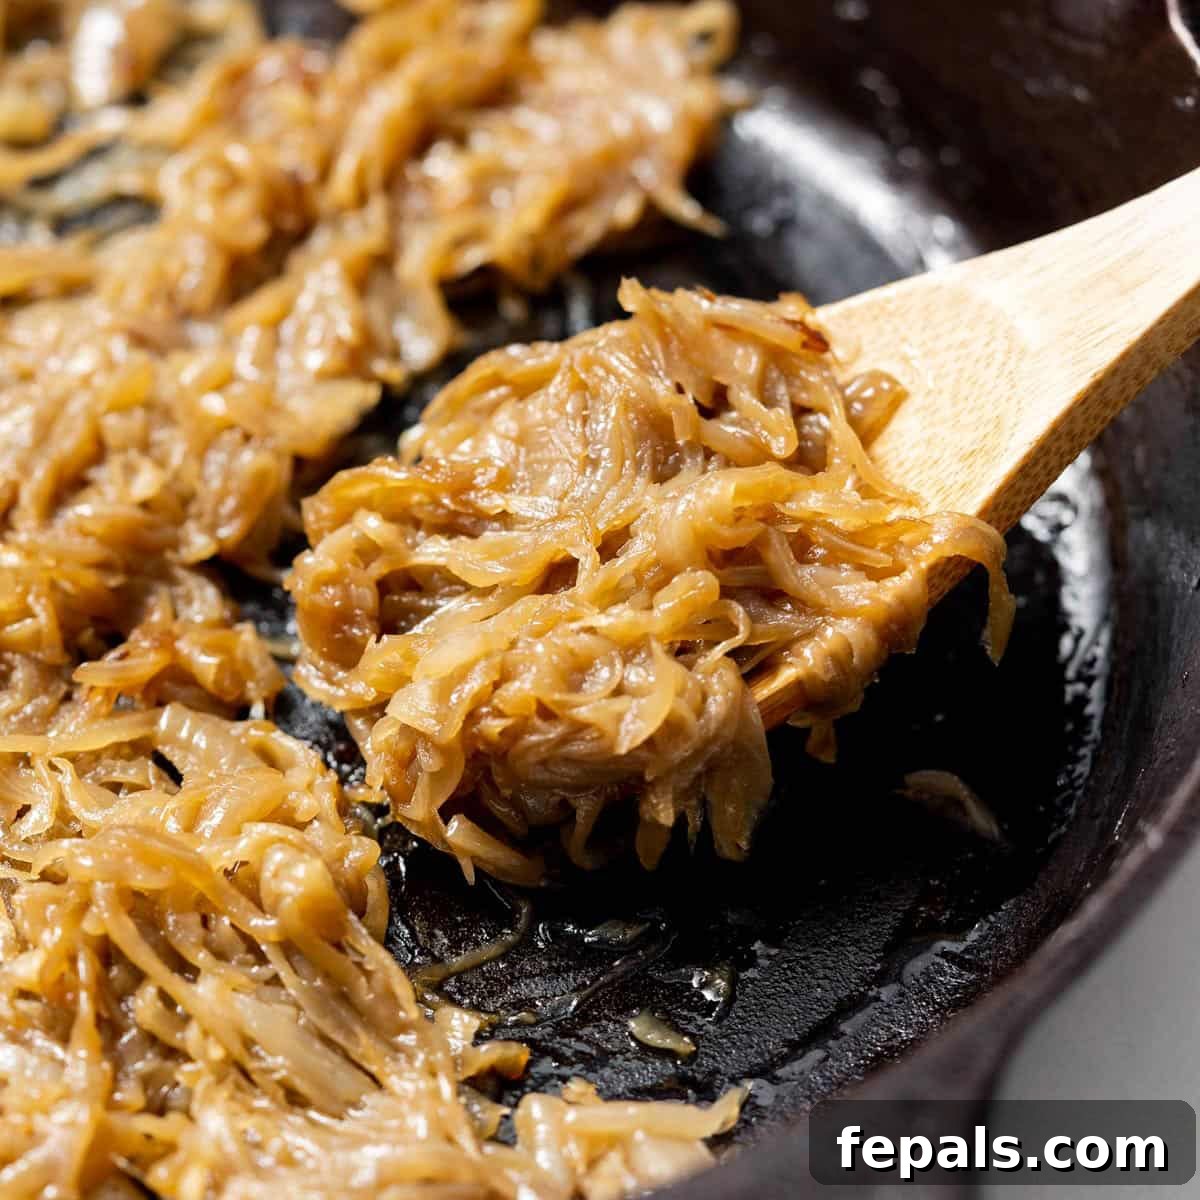
Unlock a world of rich, savory sweetness with perfectly caramelized onions – a culinary masterpiece that transforms simple onions into a deeply flavored, jam-like topping. This essential technique, while requiring patience, rewards you with an ingredient that can elevate almost any dish, from humble burgers and gourmet sandwiches to sophisticated soups, sauces, and even pizzas. Imagine the glossy, amber strands melting into your favorite meal, offering an unparalleled depth of flavor that is both sweet and profoundly savory. Learning how to make caramelized onions isn’t just about cooking; it’s about mastering a foundational skill that will open countless doors in your kitchen, adding a touch of gourmet elegance to everyday meals.
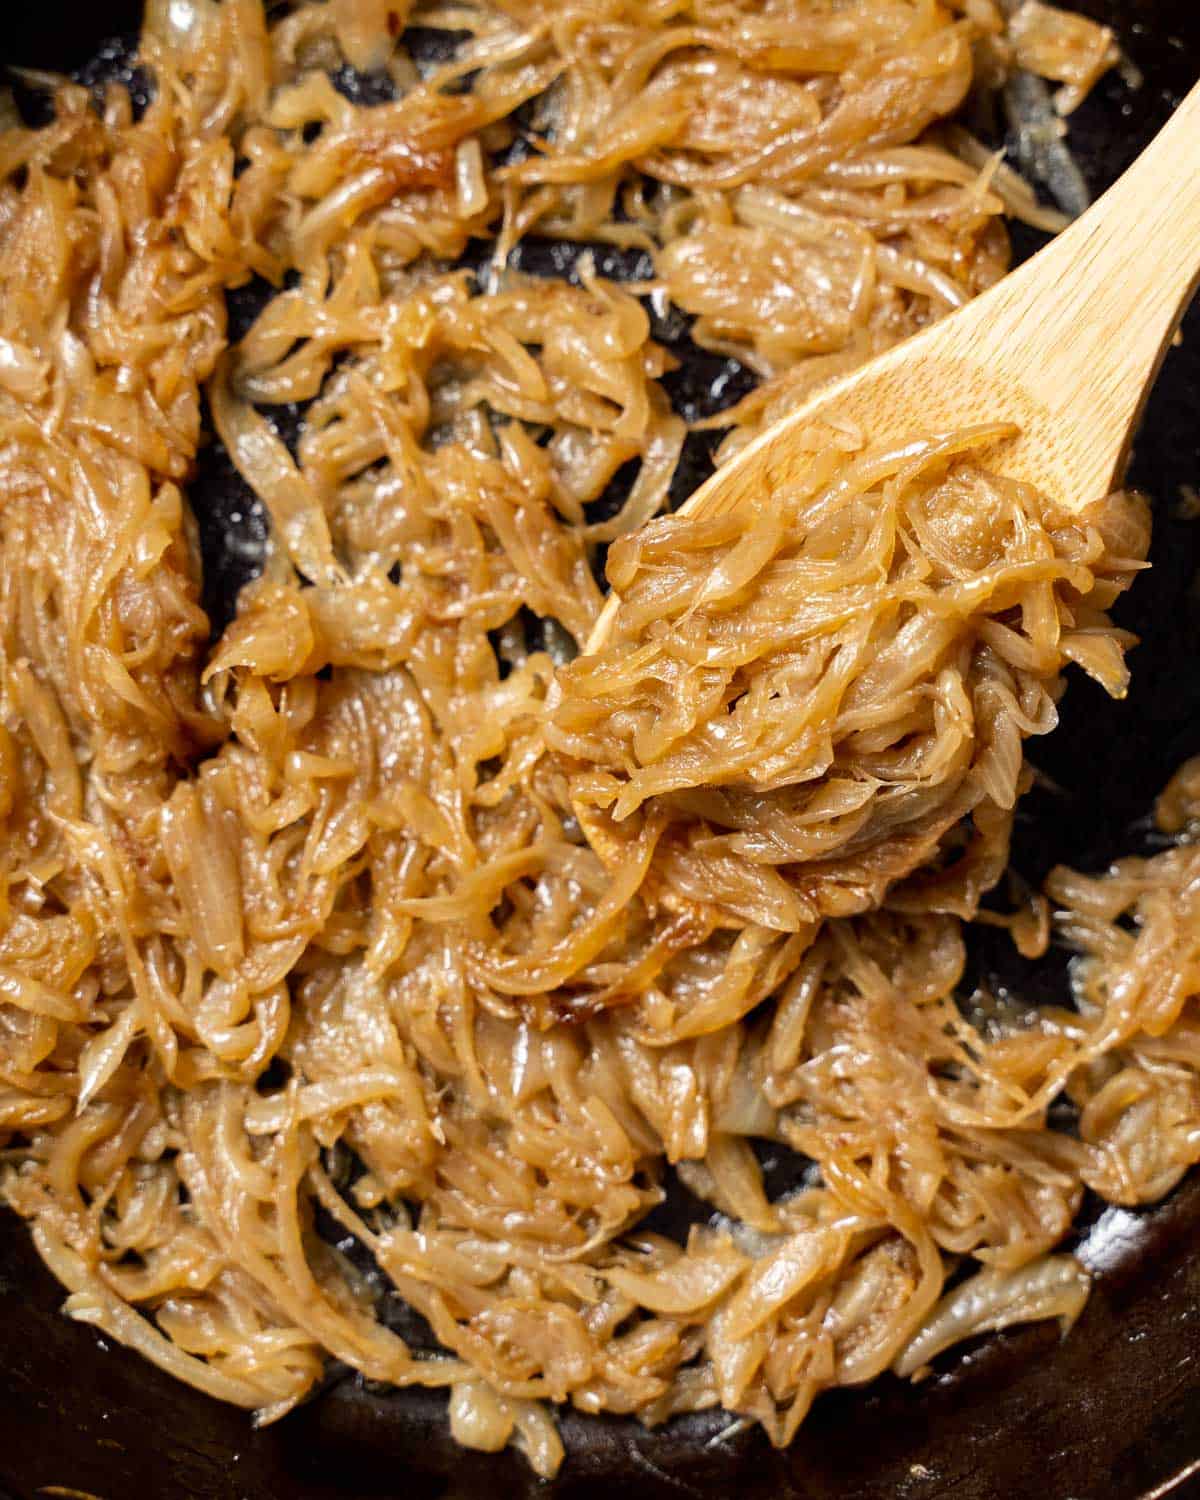
The journey to creating these golden gems is surprisingly simple, yet it demands a slow, deliberate approach. Rushing the process will only result in browned, undercooked onions lacking that signature, intensely concentrated flavor and silky texture. But fear not! With this comprehensive, step-by-step guide, you’ll learn the secrets to achieving flawlessly caramelized onions every single time, turning an ordinary vegetable into an extraordinary ingredient. Get ready to impress your taste buds and enhance your cooking repertoire with this irresistible classic.
Why You’ll Love Making Caramelized Onions
- Unbeatable Flavor Transformation: What begins as a sharp, pungent raw onion undergoes a magical alchemy through slow cooking. The natural sugars within the onion break down and caramelize, developing an incredibly rich, complex, sweet, and profoundly savory flavor profile. This deep, umami-packed taste simply cannot be replicated by any other cooking method and adds an extraordinary depth to a vast array of dishes, making them truly unforgettable.
- Surprisingly Easy to Master: Despite the impressive flavor, caramelizing onions is a technique accessible to home cooks of all skill levels. It requires only a few basic ingredients and a straightforward process. The most crucial element is patience, allowing the onions to slowly transform over time. Once you understand the fundamentals, you’ll be able to create restaurant-quality caramelized onions right in your own kitchen with minimal effort.
- Enhanced Nutritional Benefits: Beyond their incredible taste, caramelized onions offer concentrated nutritional value. The long cooking process not only intensifies their flavor but also their beneficial compounds. Onions are known for their antioxidants and anti-inflammatory properties, including quercetin. Caramelizing helps concentrate these nutrients, providing an even healthier and more flavorful addition to your meals compared to their raw counterparts.
- Remarkably Versatile Ingredient: Caramelized onions are a true culinary chameleon. Their unique sweet and savory profile makes them an incredibly flexible ingredient that can enhance almost anything. From being a gourmet topping for burgers, hot dogs, and sandwiches to a flavor-packed base for creamy dips, robust soups, elegant pasta dishes, and even savory tarts or pizzas, they add a touch of sophistication and deliciousness wherever they go.
- Excellent for Meal Prep: Once made, caramelized onions store beautifully, making them an ideal component for meal prepping. Prepare a large batch on the weekend, and you’ll have a versatile, ready-to-use ingredient to quickly elevate your weekday breakfasts, lunches, and dinners. They are a convenient way to add gourmet flavor to everyday cooking without daily effort.
Essential Ingredients for Perfectly Caramelized Onions
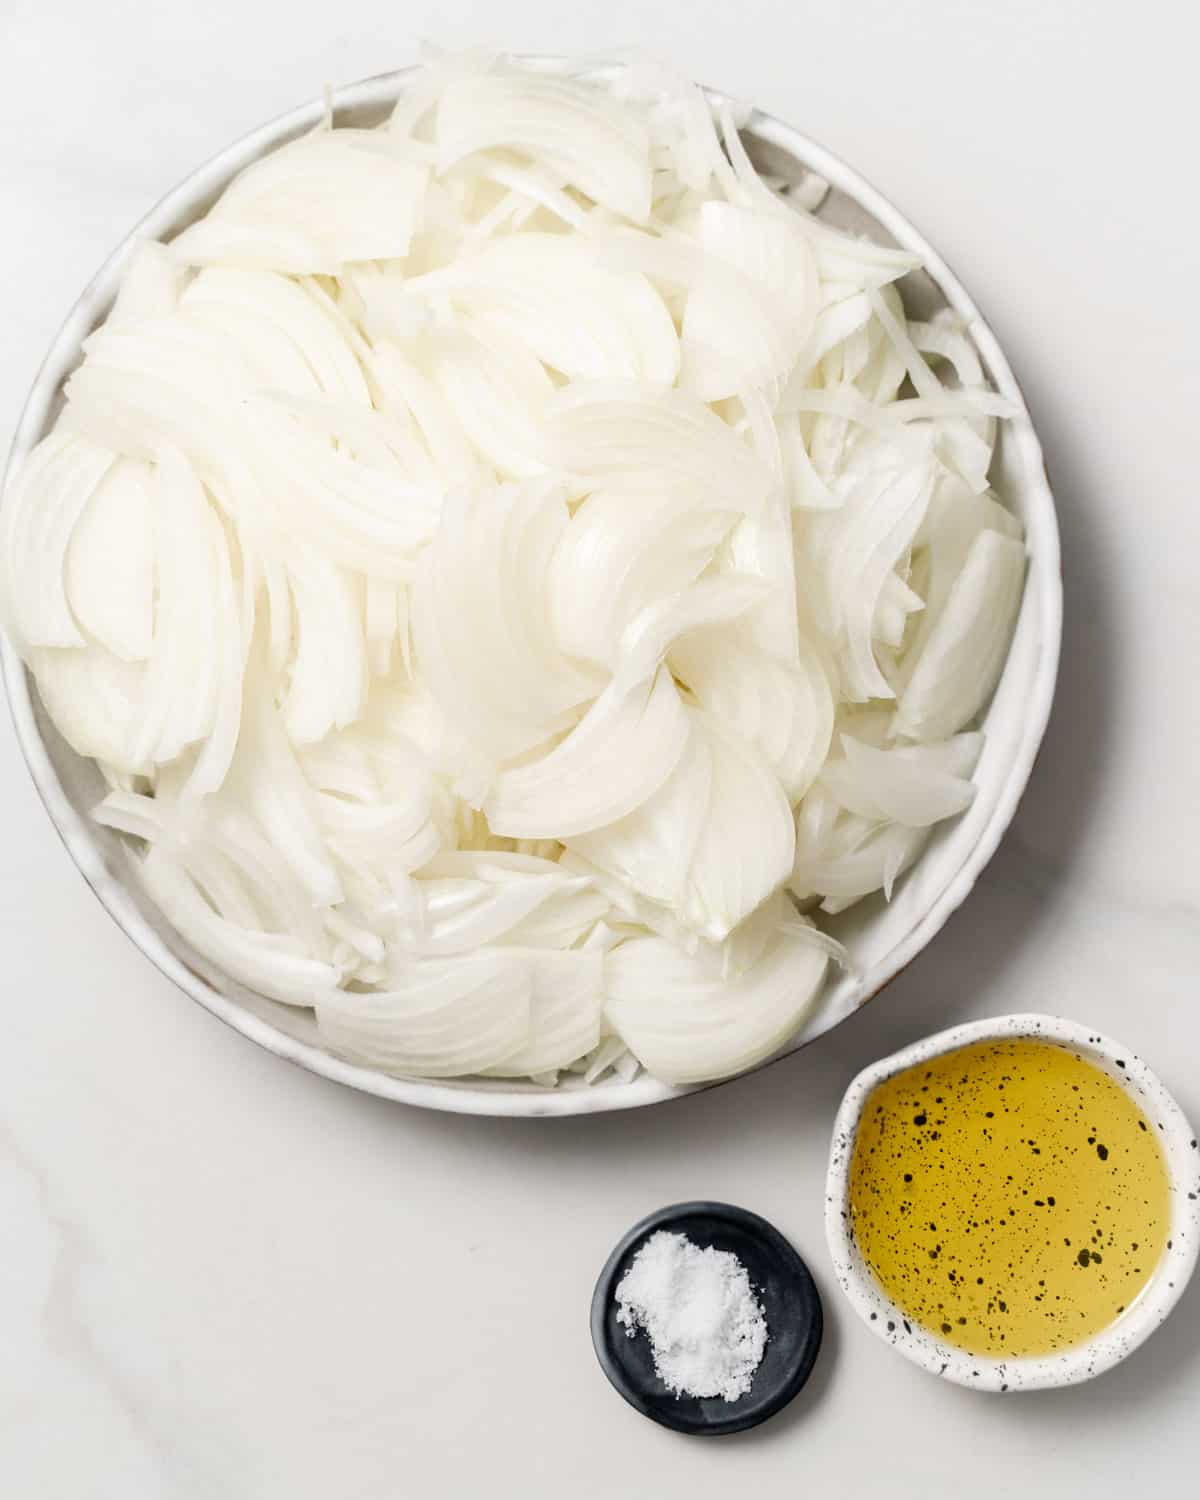
Creating magnificent caramelized onions requires only a handful of simple ingredients, proving that sometimes, less is truly more when it comes to flavor.
- Onions: The star of the show! While you can technically caramelize any onion, certain varieties yield the best results.
- Yellow Onions: These are the workhorse of the kitchen and an excellent choice for caramelizing due to their balanced sugar content and robust flavor. They brown beautifully and develop a deep sweetness.
- Sweet Onions: Varieties like Vidalia, Walla Walla, or Maui onions are naturally higher in sugar, which means they will caramelize a bit faster and become exceptionally sweet and mellow. They are perfect if you desire a very sweet caramelized onion.
- White Onions: While not as common for caramelizing as yellow or sweet onions, they can also be used. They tend to have a sharper flavor initially but will mellow out with long cooking.
- Red Onions: These can be caramelized, offering a slightly different, often fruitier, flavor and a beautiful reddish-purple hue. However, their color may fade to a more muted brown during the long cooking process.
For this recipe, we recommend using yellow or sweet onions for their optimal balance of flavor and caramelization properties.
- Olive Oil: A good quality extra-virgin olive oil is ideal for sautéing the onions. Its moderate smoke point allows for slow cooking without burning, and it adds a subtle, complementary fruity note to the overall flavor. You’ll need a few generous tablespoons to coat the onions evenly and prevent sticking, helping them cook down without drying out.
- Sea Salt: More than just a seasoning, sea salt plays a crucial role in the caramelization process. When added early, it helps draw out the moisture from the onions, which is essential for them to soften and eventually brown. It also balances and enhances the natural sweetness that develops, preventing the final product from being overly cloying. A half-teaspoon is usually sufficient for a batch of 4-6 medium onions.
- (Optional) Butter: For an even richer, deeper flavor, you can use a combination of olive oil and butter, or solely butter. Butter adds a creamy, nutty undertone that pairs wonderfully with the sweetness of the caramelized onions. If using butter, add it a bit later in the cooking process to prevent it from browning too quickly.
- (Optional) A Splash of Liquid: Towards the end of the cooking, if the pan becomes too dry or the onions start to stick, a splash of water, vegetable broth, or even a touch of balsamic vinegar or wine can be added. This helps to deglaze the pan, incorporating any browned bits of flavor back into the onions and preventing them from burning.
How to Make the Best Caramelized Onions: A Step-by-Step Guide
Transforming ordinary onions into extraordinary caramelized delights is a rewarding process. Follow these detailed steps to achieve perfect results every time.
- Preparation is Key: Slice Your Onions Evenly
Start by peeling your onions. Then, using a sharp chef’s knife, cut them in half lengthwise through the root end. Place each half cut-side down on your cutting board and slice them thinly and evenly, about 1/8 to 1/4 inch thick. Consistency in slicing is crucial, as it ensures all onions cook at roughly the same rate. Thicker slices will take considerably longer to soften and caramelize, leading to uneven results. - Initiate the Sauté: Soften and Release Moisture
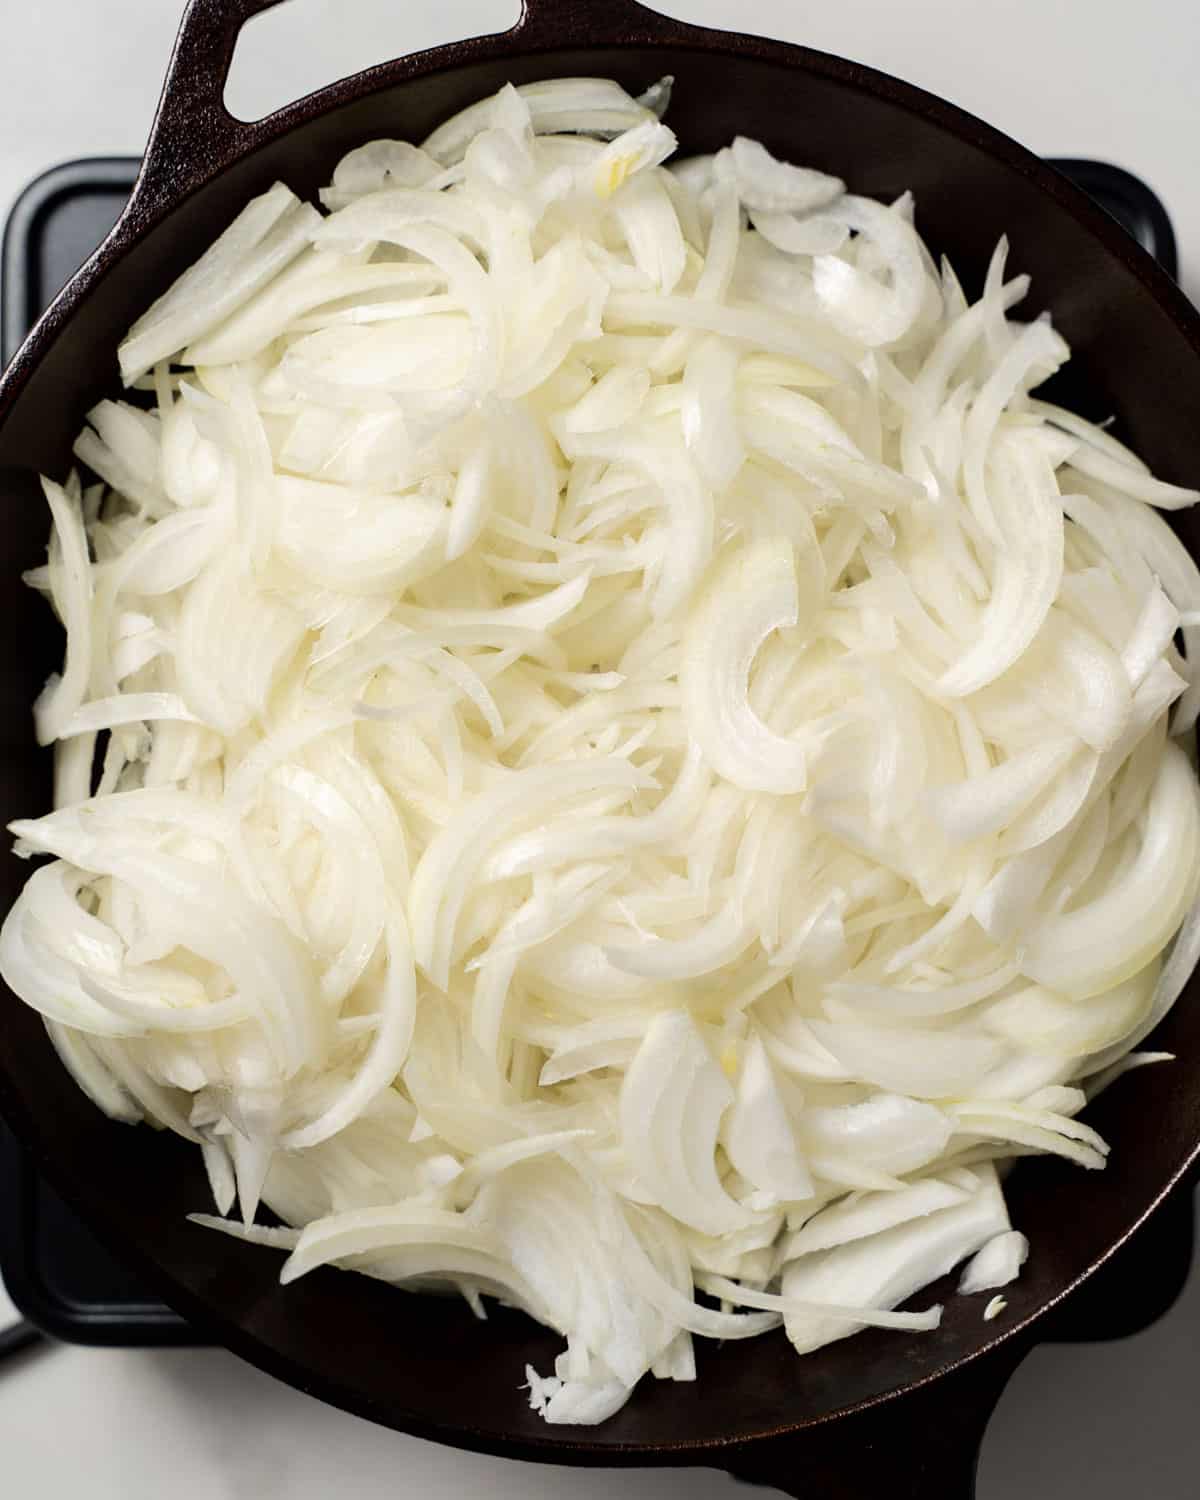
Heat a large, heavy-bottomed skillet or Dutch oven over medium heat. A cast-iron skillet is highly recommended for its excellent heat retention and even distribution. Add 3 tablespoons of olive oil to the hot pan. Once the oil shimmers, add all your thinly sliced onions. Don’t worry if the pan seems overcrowded; the onions will significantly reduce in volume as they cook down. Sauté the onions, stirring frequently, for 5 to 7 minutes, or until they begin to soften and become translucent. This initial phase helps to break down their structure and release moisture. - Season and Begin the Slow Caramelization Process
Once the onions have softened, sprinkle ½ teaspoon of sea salt evenly over them and stir to combine. The salt helps draw out more moisture, which is essential for caramelization. Now, reduce the heat to medium-low. This is where patience truly begins. Let the onions cook slowly for the next 20 minutes, stirring occasionally (every 5-7 minutes) to prevent sticking and ensure even cooking. During this phase, you’ll notice the onions wilting further and starting to turn a pale golden color. - Deepen the Flavor: The Art of Low and Slow Cooking
After the initial 20 minutes on medium-low, reduce the heat even further to low. Continue to sauté the onions for an additional 30 to 40 minutes. This extended period over very low heat is critical for allowing the natural sugars in the onions to gently brown and caramelize, developing that desired deep, complex flavor. Stir more frequently during this stage – every 2-3 minutes – to prevent any spots from burning and to encourage consistent caramelization across the entire batch. You should observe the onions gradually transforming from pale golden to a richer, deeper golden-brown hue.

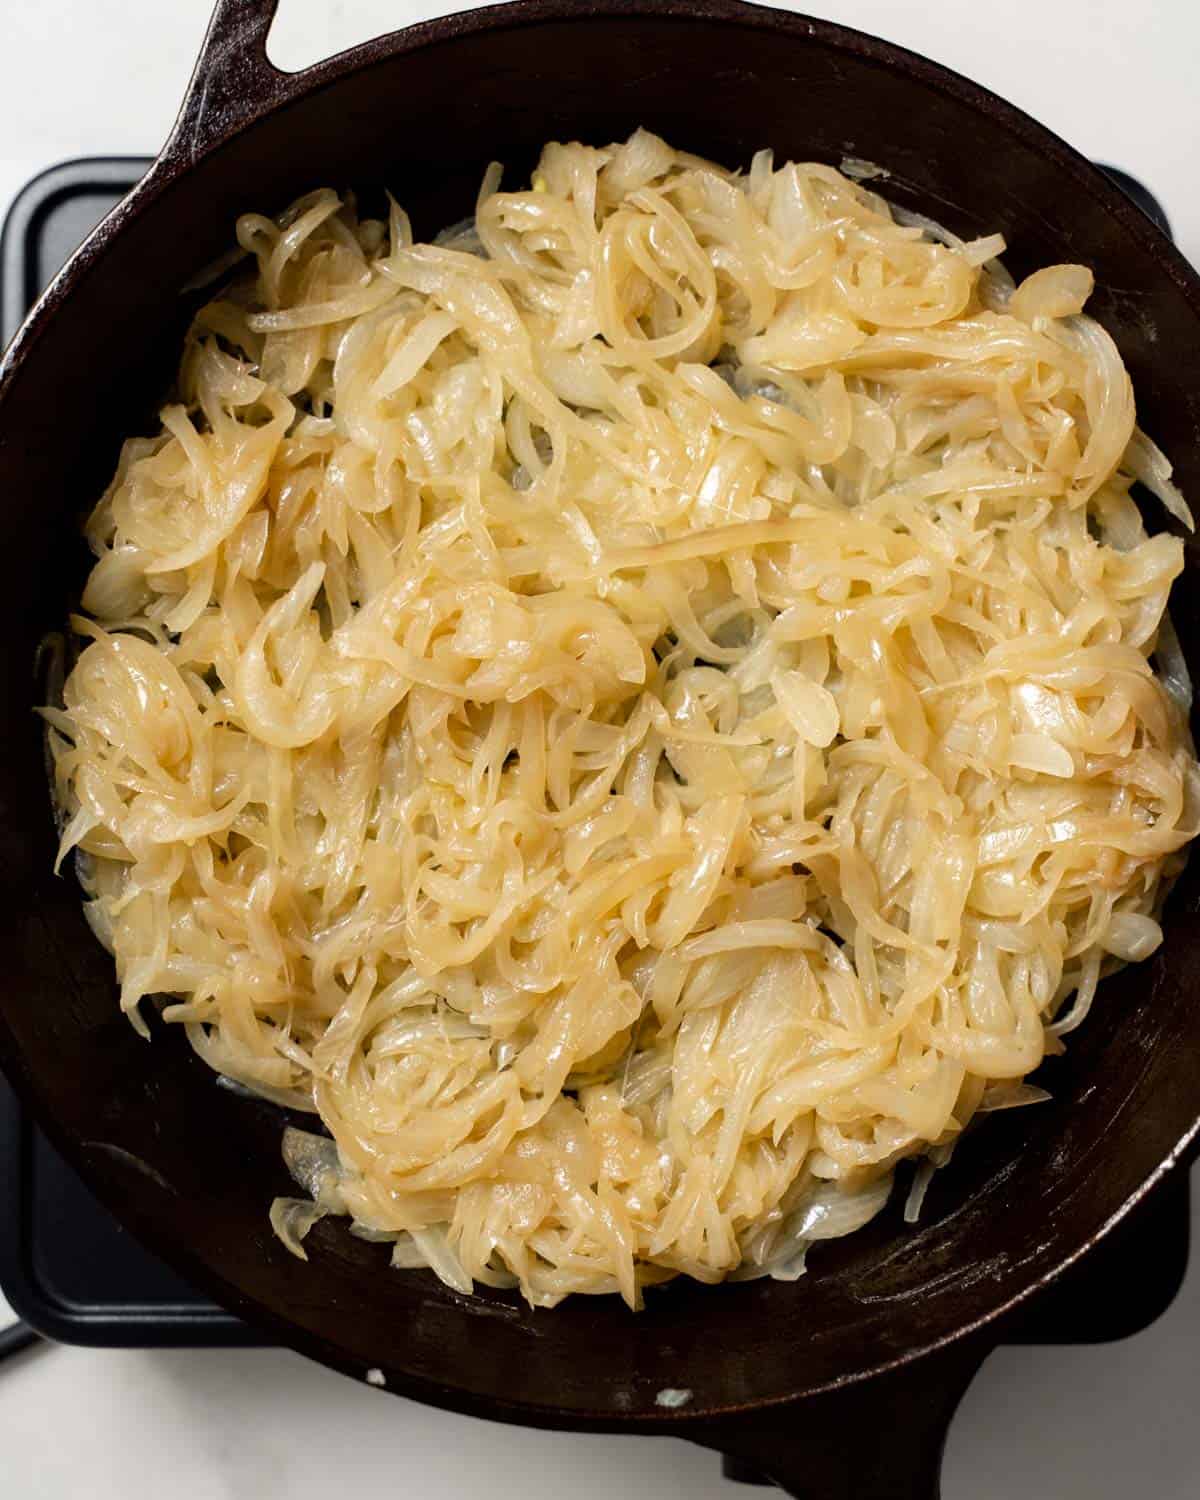
- Achieve the Perfect Jam-Like Consistency and Color
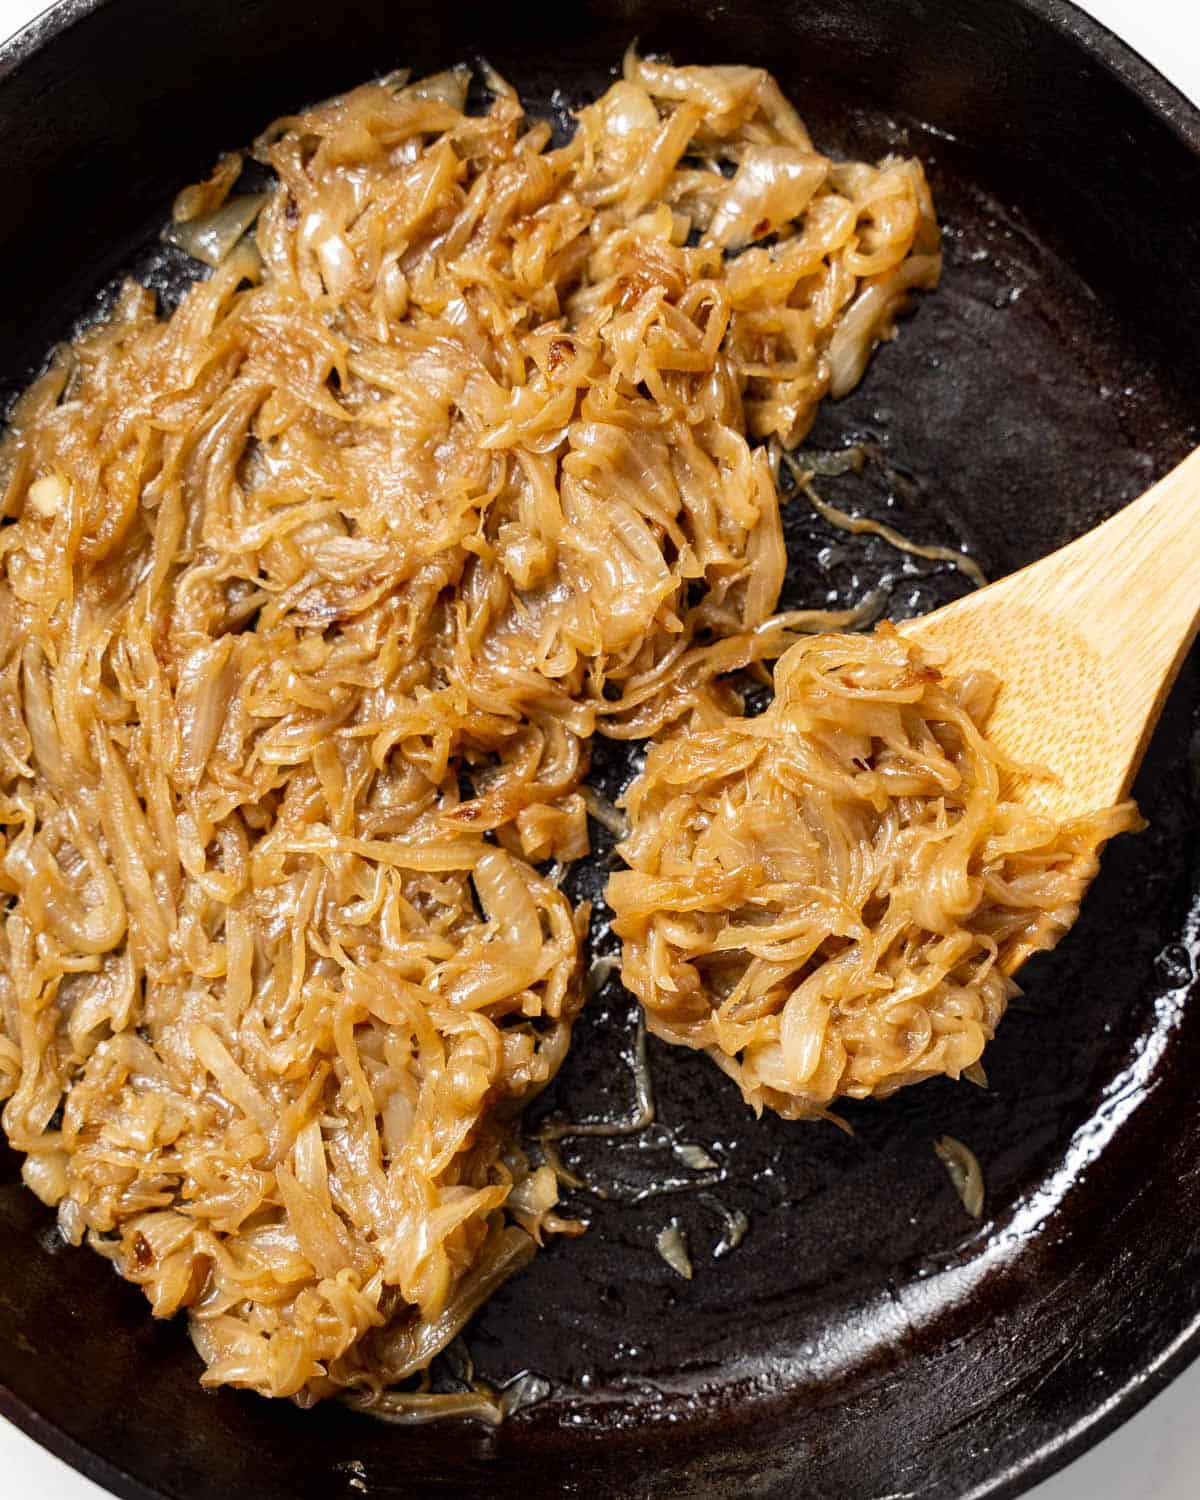
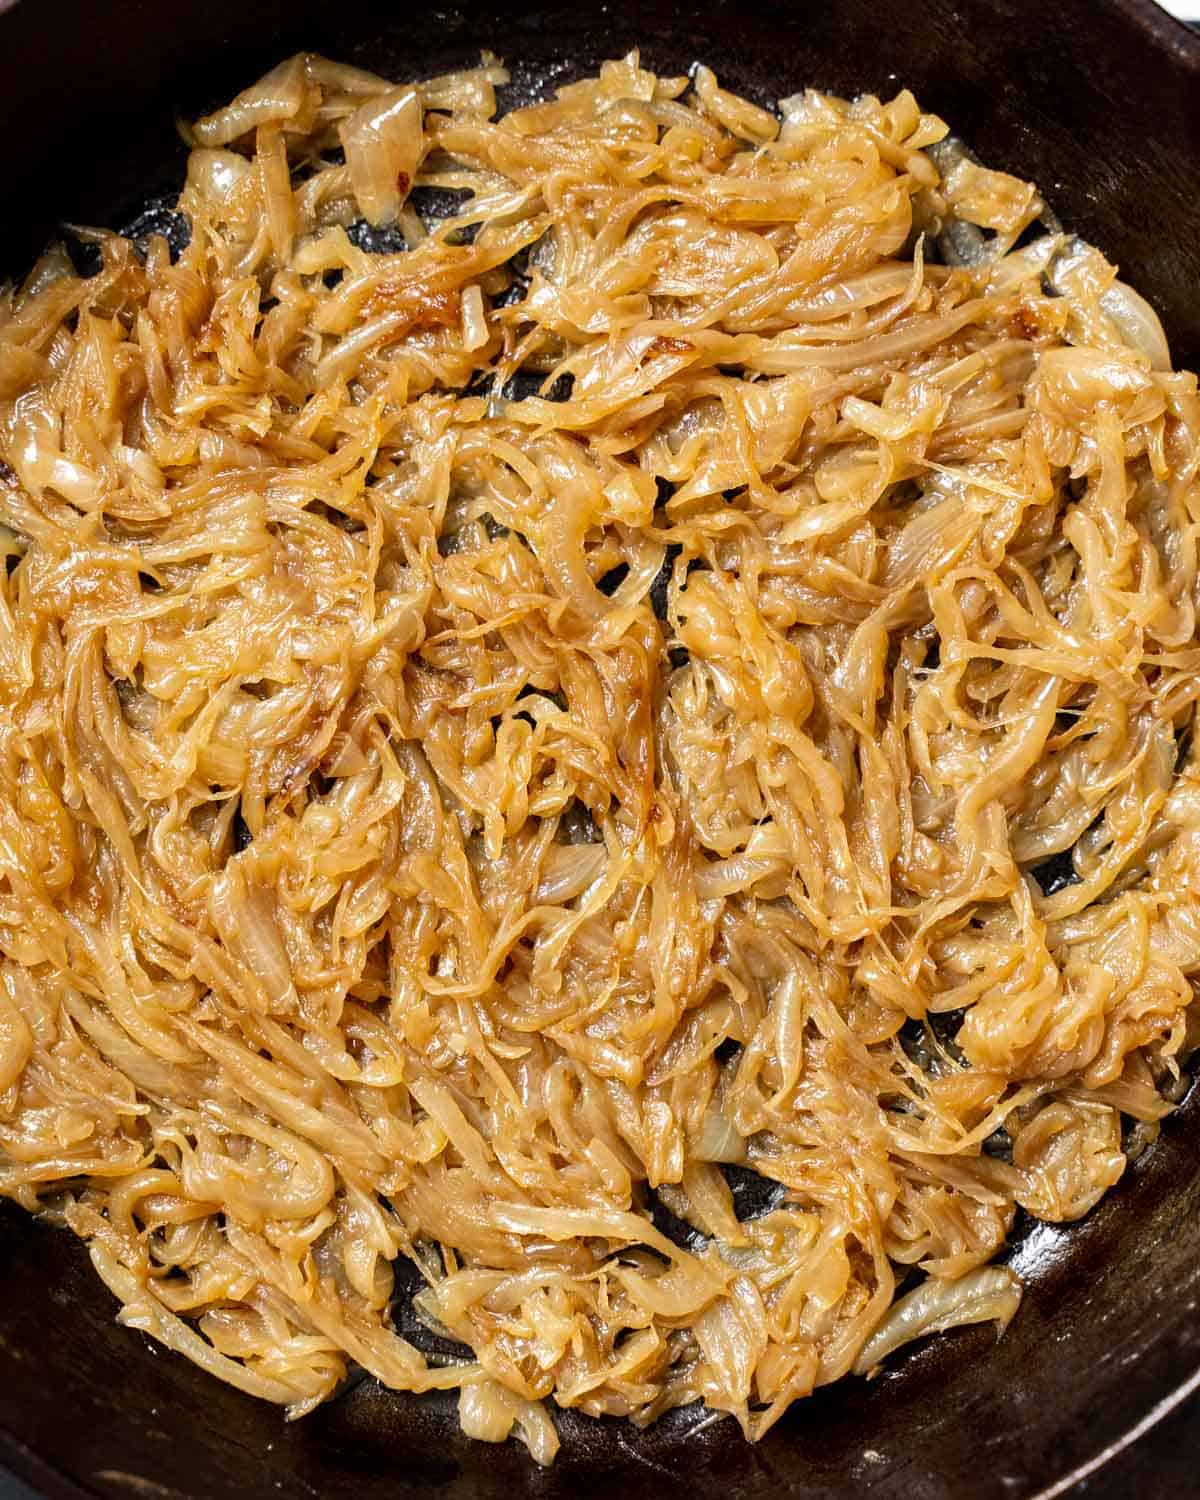
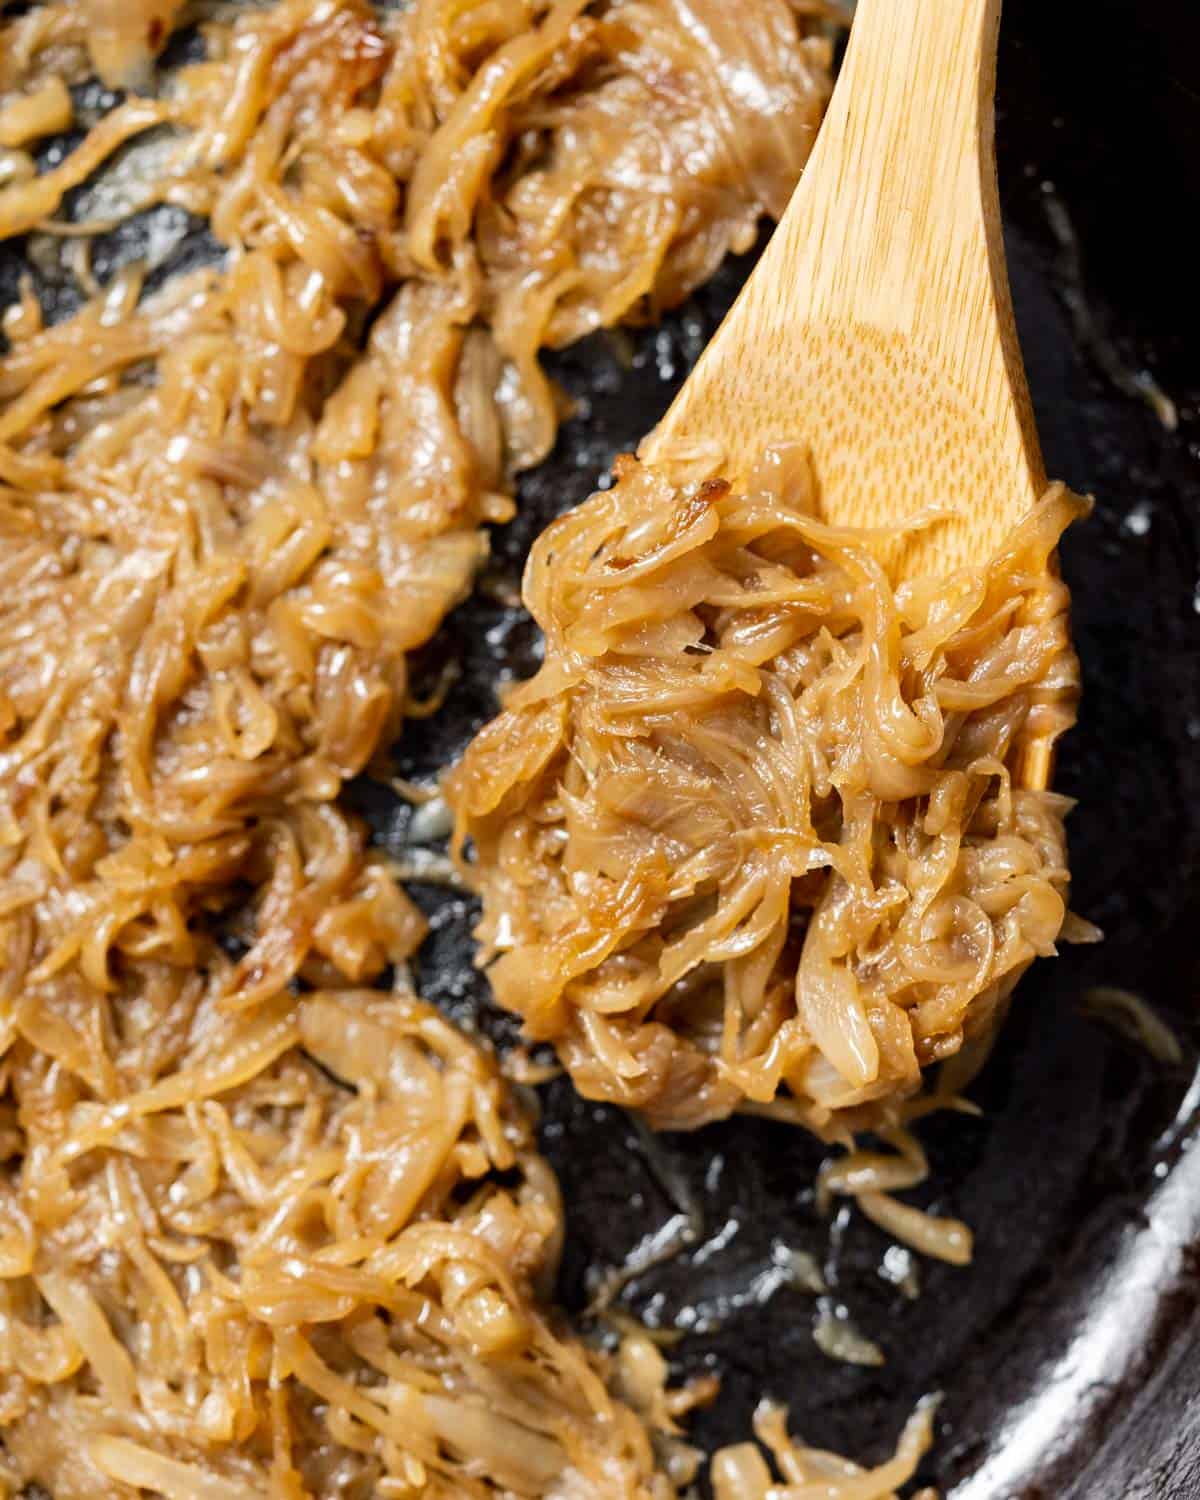
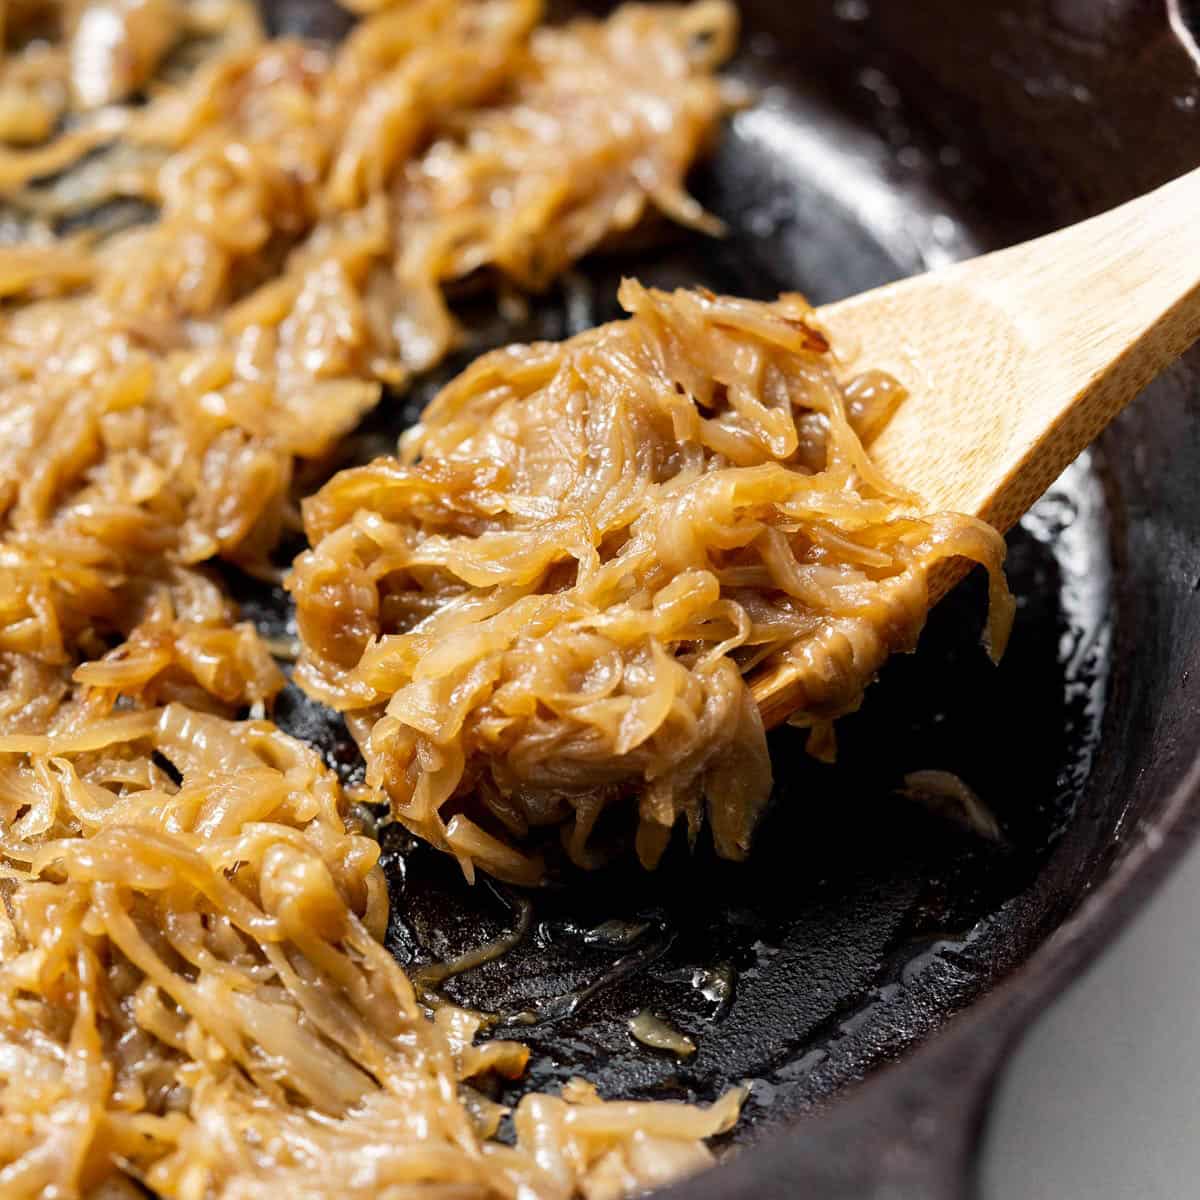
Continue stirring the onions frequently, every 1-2 minutes, for another 15-20 minutes or until they reach your desired level of caramelization. They should become deeply golden brown, almost mahogany in color, and have a soft, jam-like consistency. The total cooking time can range from 45 minutes to over an hour, depending on the heat, the amount of onions, and their thickness. If the pan starts to look too dry and the onions are sticking or browning too quickly, add a small splash (1-2 tablespoons) of water, vegetable broth, or even balsamic vinegar. This helps to deglaze the pan, releasing any flavorful browned bits stuck to the bottom and keeping the onions moist as they finish caramelizing.
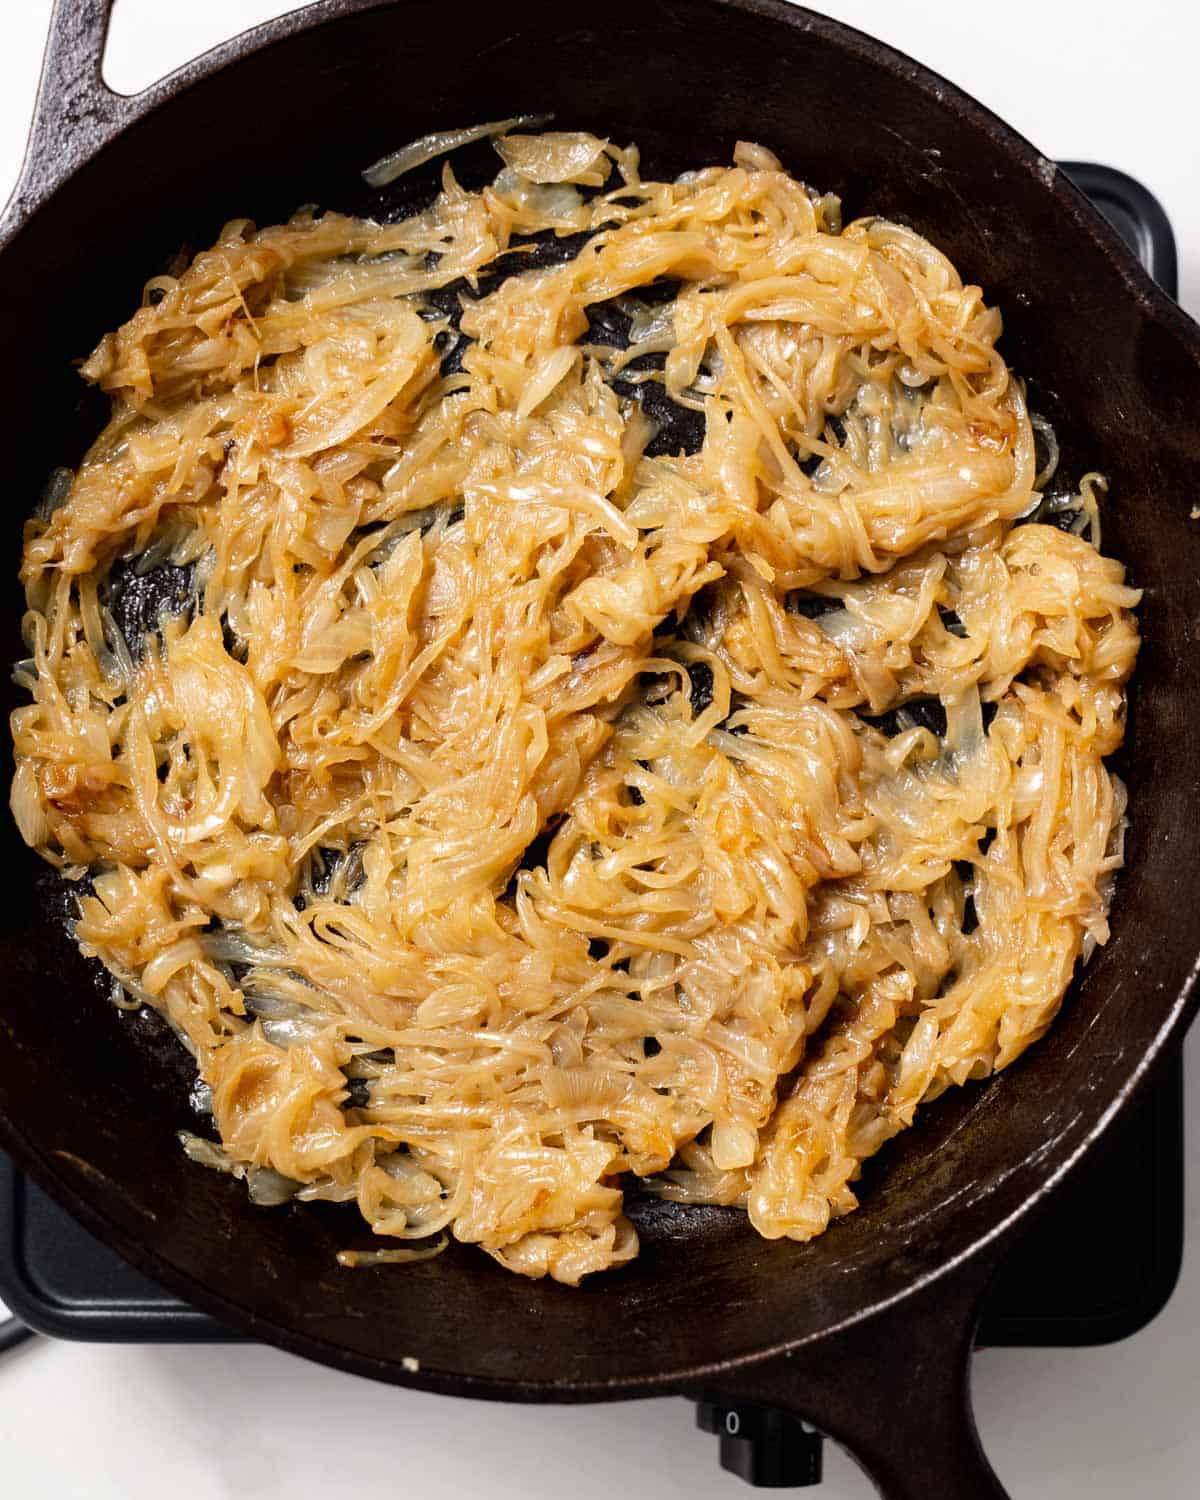
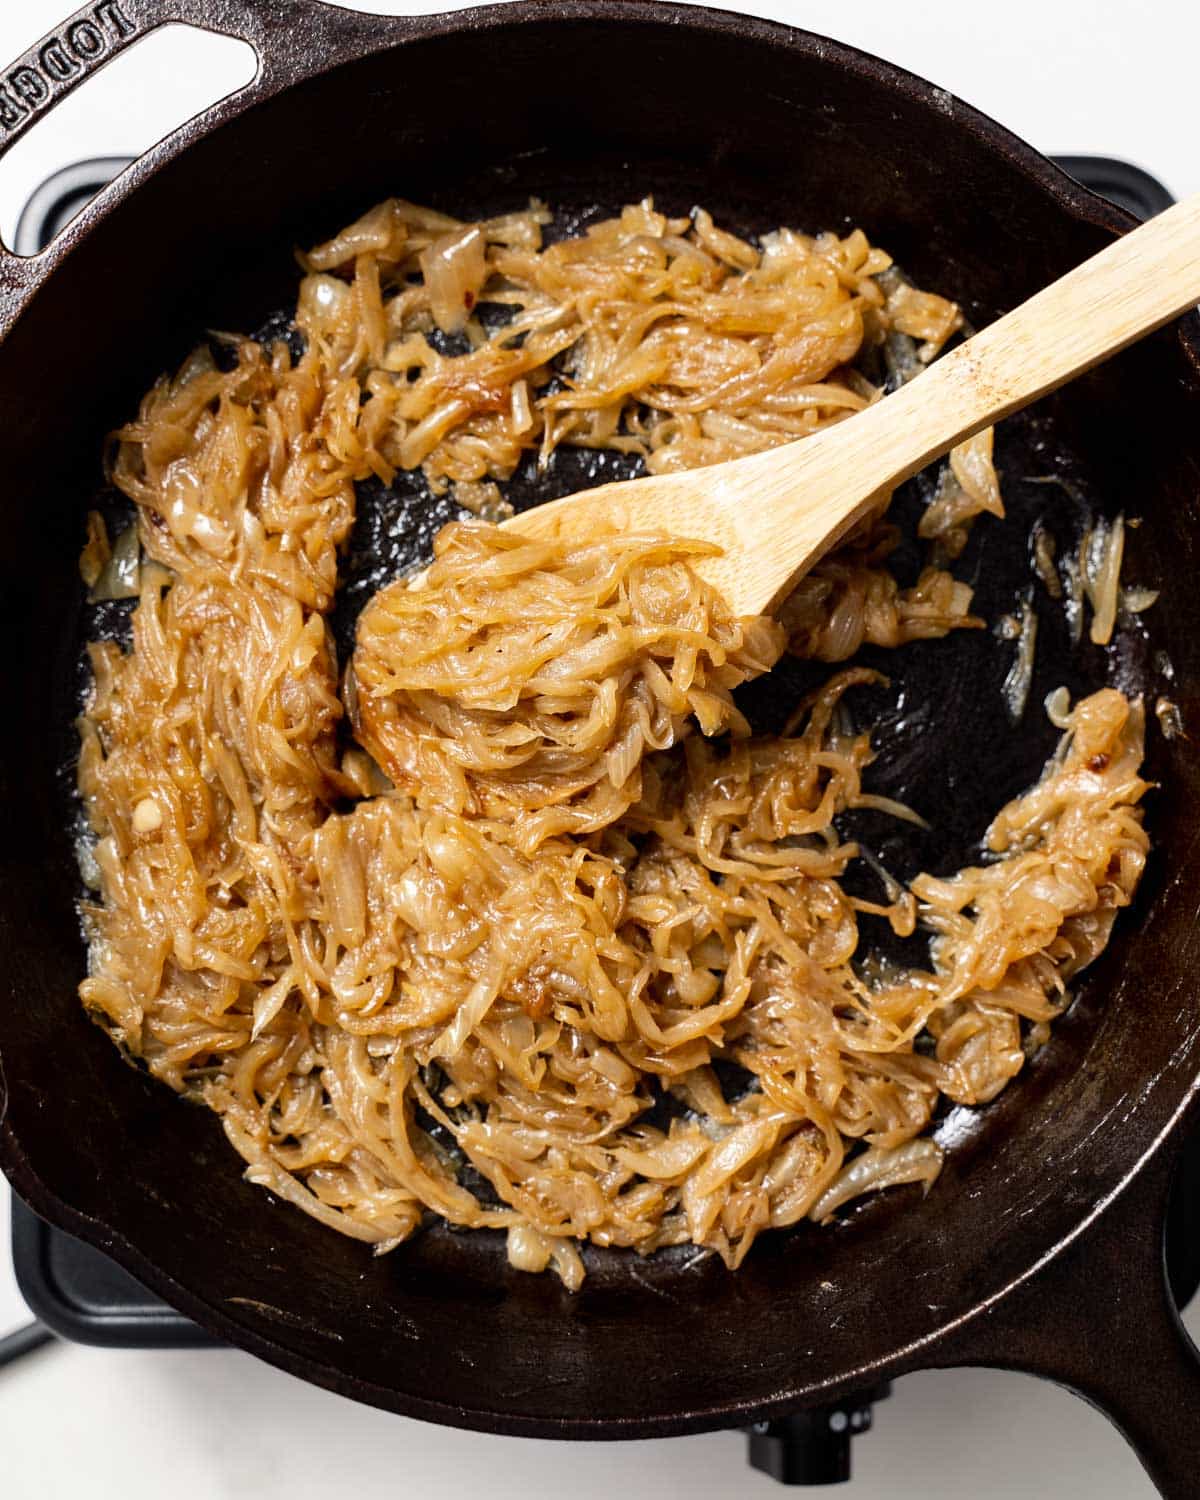
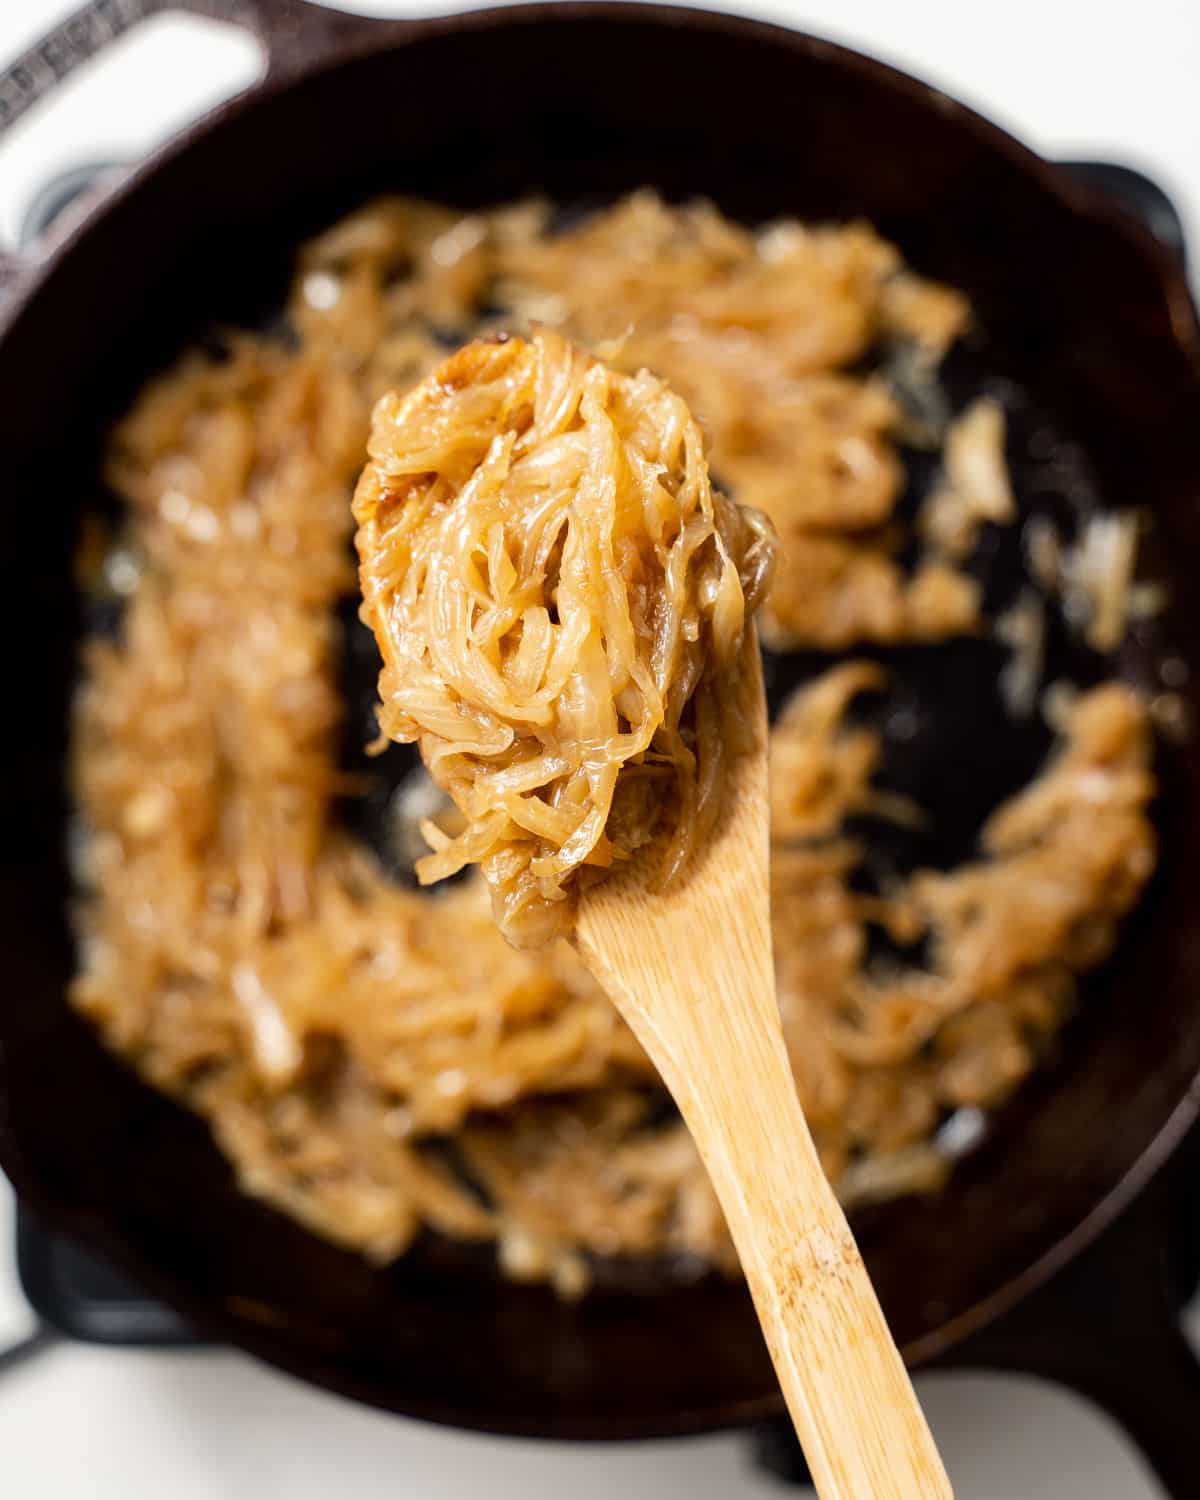
Pro Tips for Flawless Caramelized Onions
Mastering caramelized onions is all about understanding a few key principles. These tips will help you achieve perfection every time.
- Choose the Right Pan: A wide sauté pan or a Dutch oven with a heavy bottom is your best friend here. Heavy-bottomed pans (like cast iron or stainless steel) distribute heat much more evenly and retain it better, preventing hot spots that can burn your onions. The wide surface area allows the onions to spread out in a single layer (or as close to it as possible), promoting consistent moisture evaporation and browning. Avoid thin, lightweight pans, which tend to heat unevenly and scorch the onions.
- Slice Uniformly for Even Cooking: This cannot be stressed enough. Aim for thinly and uniformly sliced onions, ideally around 1/8 to 1/4 inch thick. Inconsistent slices mean some pieces will burn before others have even softened. A sharp knife and a steady hand are essential. If you struggle with slicing, a mandoline can be incredibly helpful, but always use its safety guard.
- Patience is Your Most Important Ingredient: This is arguably the golden rule of caramelizing onions. The process of breaking down the cell walls, releasing moisture, and allowing the natural sugars to brown (Maillard reaction) takes time – typically 45 minutes to over an hour. Resist the urge to crank up the heat to speed things along; high heat will simply burn the exterior of the onions before the interior has had a chance to properly soften and sweeten. Low and slow is the mantra for achieving that rich, deep, and complex flavor.
- Don’t Be Afraid to Deglaze: As the onions cook, moisture evaporates, and flavorful brown bits (fond) can accumulate at the bottom of the pan. While this is good, if the pan becomes too dry, these bits can burn. If you notice your onions sticking or the pan becoming very dry, add a small splash (1-2 tablespoons) of water, vegetable broth, balsamic vinegar, or even a dry wine. Stir well, scraping up all those delicious brown bits. This technique, called deglazing, not only prevents burning but also incorporates concentrated flavor back into your onions, making them even richer.
- Stir Regularly, But Not Constantly: Frequent stirring is necessary to ensure even browning and prevent sticking. However, you don’t need to stir them every second. In the initial stages, every 5-7 minutes is fine. As they get closer to caramelization, increase the frequency to every 2-3 minutes. This allows the onions to sit on the hot surface long enough to develop color, but not so long that they burn.
- Taste and Adjust Seasoning: While salt is added early to aid the process, always taste your caramelized onions at the end. Their flavor will be much more concentrated and sweet, so you might find they need a final tiny pinch of salt to perfectly balance that sweetness and enhance their overall savoriness.
How to Store Caramelized Onions for Future Enjoyment
Caramelized onions are excellent for meal prep, as they store beautifully, allowing you to enjoy their rich flavor for days or even months to come. Here’s how to properly store your homemade batch:
- Refrigeration: Once your caramelized onions have cooled completely to room temperature, transfer them to an airtight container. A glass container works best to prevent any odor absorption. They will keep well in the refrigerator for 4-5 days. This makes them perfect for preparing a batch at the beginning of the week to use in various dishes.
- Freezing for Longer Storage: For extended preservation, freezing is a fantastic option. Ensure the onions are thoroughly cooled before freezing to prevent ice crystal formation.
- Method 1 (Freezer Bags): Transfer the cooled caramelized onions into freezer-safe zip-top bags. Press out as much air as possible before sealing to prevent freezer burn. Flatten the bags for easy stacking and quicker thawing.
- Method 2 (Ice Cube Trays): For portion control, spoon cooled caramelized onions into ice cube trays. Freeze until solid, then pop out the frozen cubes and transfer them to a larger freezer-safe bag. This allows you to easily grab just the amount you need for a single serving.
Caramelized onions can be safely frozen for up to 3 months without significant loss of quality or flavor. When you’re ready to use them, simply thaw overnight in the refrigerator or gently reheat them from frozen in a skillet over low heat.
Creative Ways to Enjoy Your Homemade Caramelized Onions
The beauty of caramelized onions lies in their incredible versatility. Their sweet and savory depth makes them a perfect complement to a wide range of dishes. Here are just some ideas to inspire your culinary creations:
- Gourmet Topping for Burgers & Sandwiches: Elevate your weeknight burgers from ordinary to extraordinary by piling a generous spoonful of warm caramelized onions on top. They’re also phenomenal in classic sandwiches like our Spinach and Feta Cheese Turkey Burgers, grilled chicken sandwiches, hearty Philly cheesesteaks, or transform a simple grilled cheese into a sophisticated meal with this Caramelized Onion Grilled Cheese recipe.
- Flavorful Base for Flatbreads & Pizza: Forget traditional tomato sauce for a moment! Spread caramelized onions as a luscious, savory-sweet base for homemade flatbreads or pizzas. Top with goat cheese, fresh herbs, or other complementary ingredients for an irresistible appetizer or main course.
- Brunch Booster for Eggs & Toast: Stir caramelized onions into scrambled eggs, fold them into an omelet, or use them as a delicious topping for quiches and frittatas. They also make a surprisingly delightful addition to avocado toast, adding an unexpected layer of flavor.
- Rich Enhancement for Pasta Dishes: Toss warm caramelized onions with your favorite pasta, gnocchi, or ravioli for an easy yet elegant meal. They pair wonderfully with creamy sauces, a simple olive oil and parmesan dressing, or serve as the star in our comforting French Onion Pasta.
- Deepening Soups & Dips: No French onion soup is complete without deeply caramelized onions; they are the heart and soul of the dish. Blend them into creamy dips for a unique appetizer that will be the talk of any gathering. Our French onion soup recipe is a must-try!
- Savory Accompaniment for Grilled Proteins: Spoon caramelized onions over grilled steak, roasted chicken, pork chops, or even baked fish to add a burst of concentrated flavor. They beautifully complement the richness of meats and the delicate notes of fish, turning a simple protein into a memorable meal. Try them with our grilled steak with pineapple salsa recipe or Balsamic and Pesto Grilled Chicken for an instant upgrade.
- Add to Sauces and Gravies: Whisk a spoonful or two into pan gravies or creamy sauces to infuse them with a complex, sweet, and umami-rich essence.
- Stuffings and Fillings: Incorporate them into savory bread stuffings for poultry, meatloaves, or vegetable tarts for an extra layer of moisture and flavor.
Frequently Asked Questions About Caramelized Onions
True caramelization is a process that cannot be rushed. Plan for at least 45 minutes to an hour of active cooking time, and sometimes even up to 1.5 hours, to fully develop the deep, sweet, and savory flavor. The exact duration depends on several factors: the amount of onions, their thickness, the type of pan used, and the heat level. Thinly sliced onions in a single layer may caramelize a bit quicker, perhaps in the 30-45 minute range, while a larger batch or thicker slices could easily take over an hour. The key is maintaining a consistently low to medium-low heat and exercising patience.
Several factors can lead to burned or overly crispy onions rather than beautifully caramelized ones:
- Heat is too High: This is the most common culprit. Caramelization requires gentle, sustained heat. If the heat is too high, the exterior of the onions will blacken and burn before the internal sugars have a chance to properly break down and sweeten. Always keep the heat at low or medium-low.
- Insufficient Stirring: Neglecting to stir frequently allows the onions to stick to the pan and burn in spots. Regular stirring ensures even cooking and prevents scorching.
- Pan is Too Dry: As moisture evaporates, the pan can become dry, leading to sticking and burning. Adding a small splash of water, broth, or balsamic vinegar (deglazing) helps to release any browned bits and keeps the onions from drying out.
- Onions Sliced Too Thick: Thicker slices mean longer cooking times. If the heat isn’t adjusted accordingly, the outside can burn while the inside remains raw or undercooked. Aim for thin, uniform slices (1/8 to 1/4 inch).
- Overcooking After Caramelization: Once the onions reach your desired color and consistency, remove them from the heat. Continuing to cook them beyond this point can lead to them becoming dry, crispy, or burnt.
Yes, caramelizing onions in the oven is a hands-off alternative, though it generally takes longer than the stovetop method. To do so, toss your thinly sliced onions with olive oil and a pinch of salt. Spread them out evenly in a single layer on a large baking sheet (or two, if necessary, to avoid overcrowding). Roast at a lower temperature, around 350-375°F (175-190°C), stirring every 15-20 minutes, until they are deeply browned and caramelized. This process can take anywhere from 1.5 to 2 hours, sometimes longer, depending on the oven and the amount of onions. It requires less active stirring but still demands patience.
No, it is generally not necessary to add sugar. Onions naturally contain enough sugar to caramelize on their own through the slow cooking process. The low heat allows these natural sugars to break down and transform into that desirable sweet and complex flavor. However, adding just a tiny pinch of granulated sugar (about 1/4 teaspoon per batch) or a splash of balsamic vinegar towards the end of the cooking can slightly accelerate the browning process and intensify the sweetness, if desired. But for authentic, deep caramelization, patience is far more effective than added sugar.
A heavy-bottomed pan is crucial for successful caramelization. Cast iron skillets, Dutch ovens, or thick stainless steel sauté pans are ideal. Their superior heat retention and even heat distribution prevent hot spots and help the onions cook uniformly without scorching. A wide pan is also beneficial as it allows the onions to spread out more, promoting better moisture evaporation and browning.
More Homemade and How-To Recipes to Master
- Homemade Tartar Sauce Recipe
- Homemade Pesto Recipe
- How to Make Homemade BBQ Sauce
- How to Make Homemade Nutella
- Homemade Healthy Alfredo Sauce
- How to Make Homemade Buffalo Sauce
- How to Make Homemade Ranch Dressing
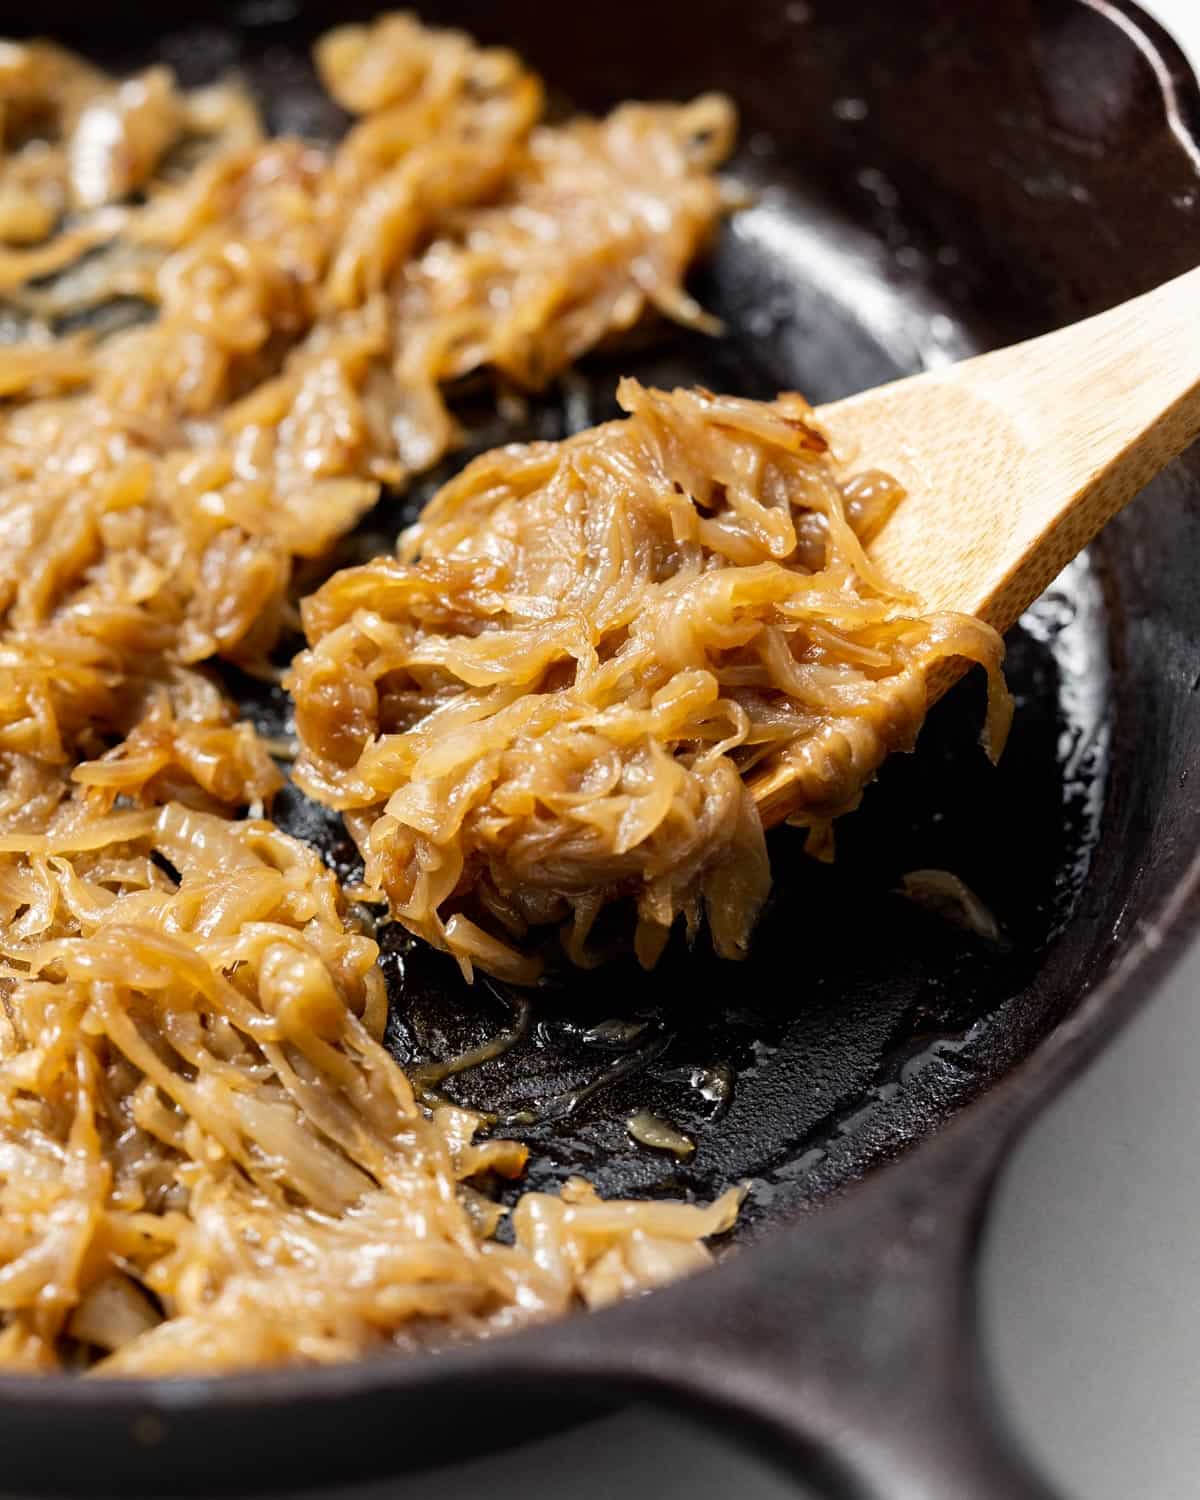
We hope this detailed guide empowers you to create the most delicious caramelized onions right in your own kitchen. If you try this recipe and love it, please leave us some feedback in the comment section below and don’t forget to rate it! Your insights are invaluable.
Share your culinary creations with friends and family on social media, and don’t forget to use our hashtag #healthyfitnessmeals on INSTAGRAM for a chance to be featured! FOLLOW Healthy Fitness Meals on FACEBOOK | INSTAGRAM | PINTEREST | TWITTER for all of our latest blog posts and recipes.
How to Caramelize Onions
A simple, step-by-step process for perfectly caramelized onions using just 3 essential ingredients and a patient technique, resulting in a rich, sweet, and savory addition to any dish.
By: Rena
Servings: 8
Prep Time: 5 mins
Cook Time: 55 mins
Total Time: 1 hr
Equipment
- Chef’s knife
- Cutting board
- Large, heavy-bottomed skillet (cast iron or non-stick recommended)
Ingredients
- 6 medium yellow onions, halved and julienned thin
- 3 tablespoons extra-virgin olive oil
- ½ teaspoon sea salt
Instructions
- In a large cast iron skillet, add the olive oil and the julienned onions. Sauté the onions over medium heat for 5 – 6 minutes or until they start to soften.
- Next, sprinkle the salt over the onions and stir. Reduce the heat to medium-low and let them cook slowly for 20 minutes. Then lower the heat to low and continue to sauté for another 30 minutes. The key is to not rush the process.
- Stir the onions every 2-3 minutes until they become soft, deeply golden brown, and caramelized to a jam-like consistency.
- The total time required for caramelization will vary depending on the thickness of the onion slices and the exact heat used, typically ranging from 45 minutes to over an hour.
Notes
- Time: Thinner onion slices will caramelize faster. Adjust cooking time based on the thickness of your sliced onions.
- If you prefer a deeper brown color for your caramelized onions, increase the heat slightly during the last few minutes of cooking and stir continuously until the desired rich hue is achieved. Be careful not to burn them.
Nutrition
Nutrition information is automatically calculated, so should only be used as an approximation.
- Calories: 79kcal
- Carbohydrates: 8g
- Protein: 1g
- Fat: 5g
- Saturated Fat: 1g
- Polyunsaturated Fat: 1g
- Monounsaturated Fat: 4g
- Sodium: 149mg
- Potassium: 121mg
- Fiber: 1g
- Sugar: 3g
- Vitamin A: 2IU
- Vitamin C: 6mg
- Calcium: 19mg
- Iron: 0.2mg
Additional Info
Course: Condiment
Cuisine: American