
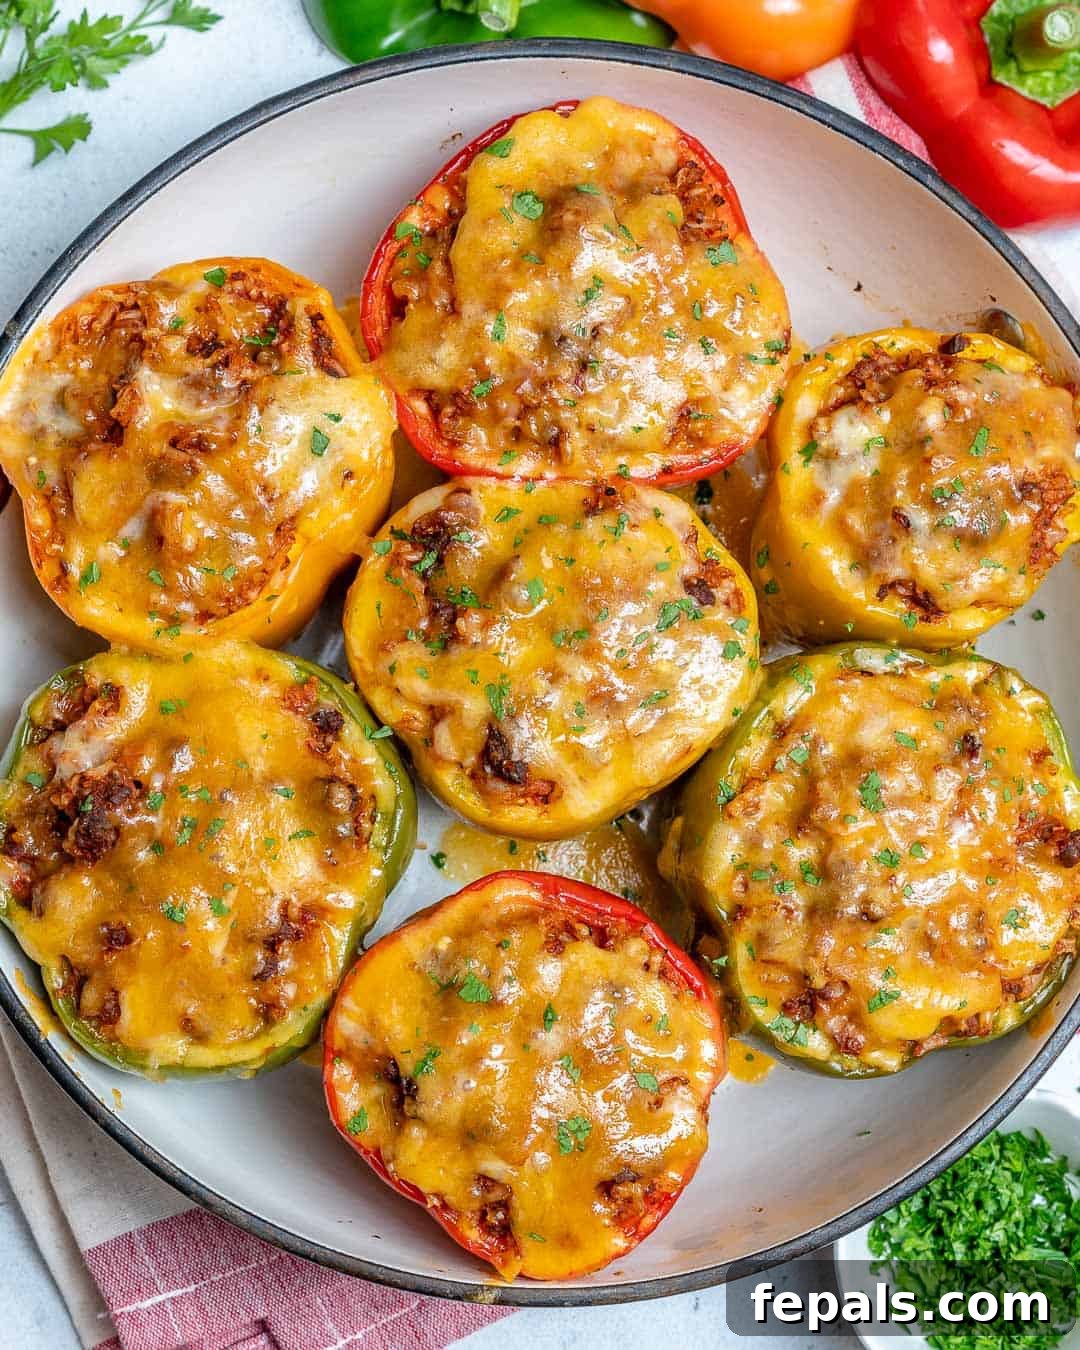
Irresistible Cheesy Stuffed Bell Peppers: Your New Favorite Weeknight Meal
Discover the ultimate family-friendly dinner with these incredibly cheesy and savory stuffed bell peppers. Crafted for convenience and packed with flavor, this recipe features tender, well-seasoned ground beef, fluffy brown rice, and a generous topping of melted cheddar cheese. These peppers aren’t just delicious; they’re hearty, perfect for meal prepping, and endlessly customizable to suit any taste or dietary need. Whether you choose vibrant red, yellow, or green bell peppers, swap in your favorite protein, or opt for a delightful vegetarian alternative, this dish promises a satisfying and wholesome experience for everyone at the table.
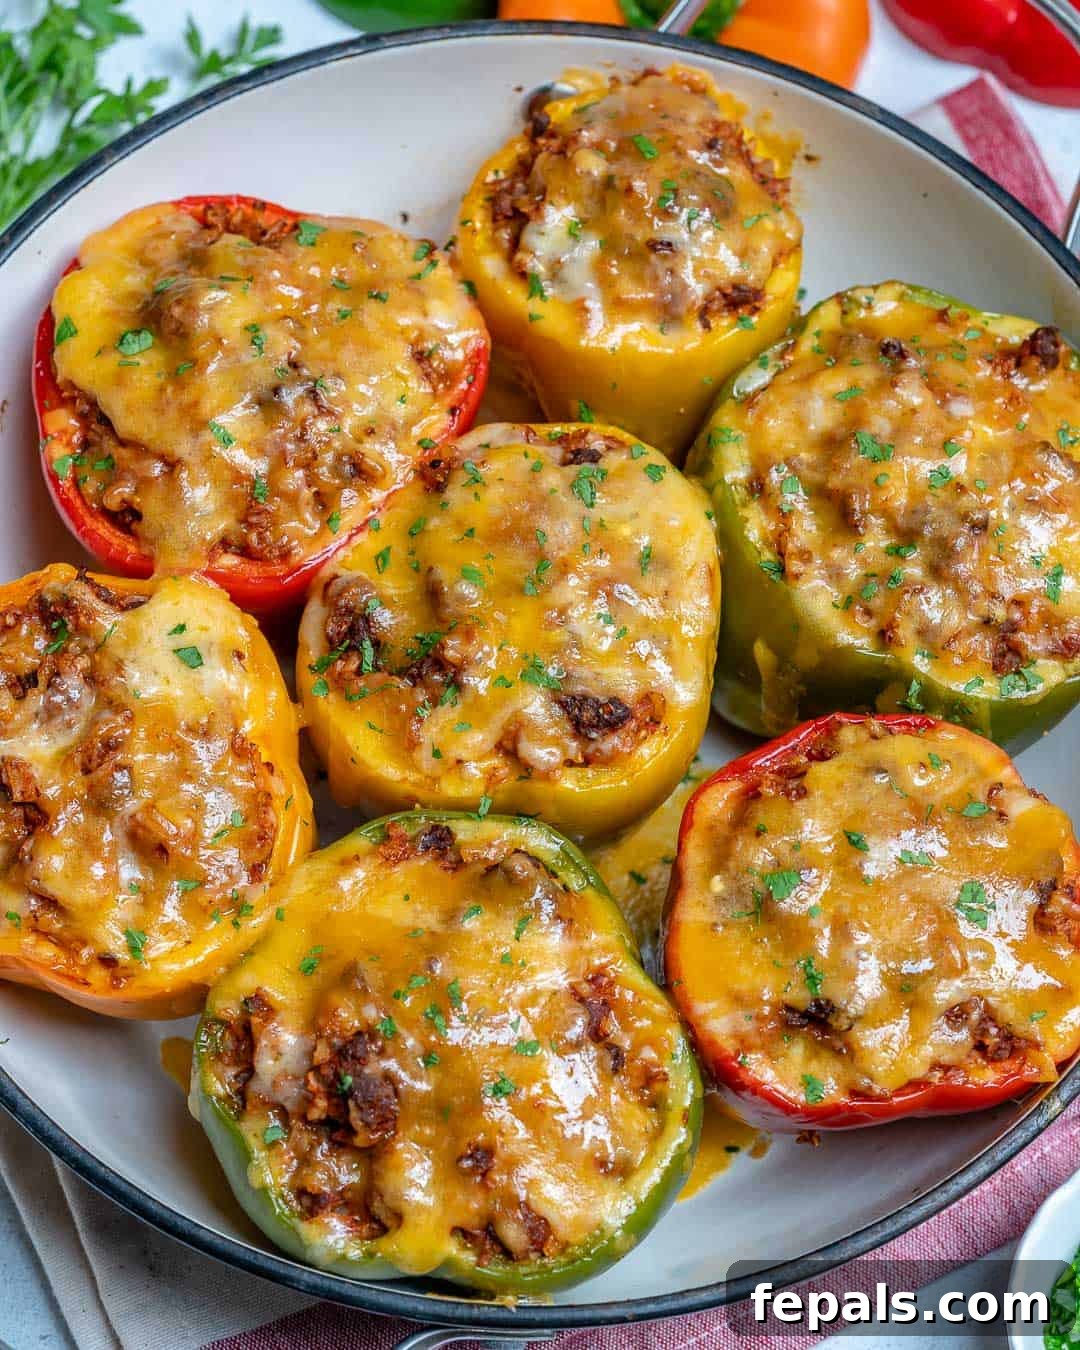
Why You’ll Love This Healthy Stuffed Pepper Recipe
This healthy stuffed pepper recipe transforms simple ingredients into a truly memorable meal. The secret lies in the deeply flavorful, tender ground beef, expertly seasoned and mixed with light, fluffy rice. The result is a protein-packed, incredibly satisfying filling that perfectly complements the sweet crunch of the bell peppers. Each bite is a symphony of flavors, enhanced by a rich homemade tomato sauce (or your favorite canned variety), sharp cheddar cheese, aromatic garlic and onions, earthy paprika, and juicy diced tomatoes. The depth of flavor is truly remarkable, making it a staple for your dinner rotation.
If you find yourself gravitating towards hearty, filling, and protein-rich dinners that leave you feeling nourished and content, you’ll surely appreciate the comfort and robustness of this dish. You might also enjoy exploring other comforting classics like our Easy Chicken Chili or this ultra-cozy Homemade Beef Stew for more inspiration.
Recipe Overview
Essential Tips Before You Get Started
To ensure your stuffed bell peppers turn out perfectly every time, keep these helpful tips in mind before you begin the cooking process:
- Achieving Your Desired Pepper Texture: The texture of your bell peppers is a matter of personal preference. If you enjoy your peppers softer and more tender, I highly recommend pre-baking them for 10–15 minutes before you stuff them. This step allows them to soften slightly, ensuring they are perfectly cooked through by the time the filling is ready. If you prefer a firmer, slightly crispier bell pepper, you can skip the pre-baking step entirely.
- Always Use Cooked Rice (or a Substitute): It’s crucial that your rice is fully cooked before you mix it into the filling. Raw or undercooked rice will not cook properly inside the peppers, leading to an unpleasant texture. Brown rice adds a wonderful nutty flavor and wholesome texture, but feel free to experiment with alternatives like fluffy quinoa for added protein and fiber, or cauliflower rice for an excellent low-carb option.
- Prepare Your Peppers Evenly: For consistent cooking and easy stuffing, carefully trim just enough off the top of each bell pepper to create a wide, open cavity. Take your time to thoroughly remove all the seeds and white membranes from the inside. This ensures there’s ample space for your delicious filling and allows the peppers to cook uniformly.
- Customize Your Protein Choice: While lean ground beef is a classic and incredibly flavorful choice for stuffed peppers, don’t hesitate to personalize this recipe. Ground turkey offers a leaner alternative, ground sausage brings a more robust and spicy kick, or shredded cooked chicken can provide a lighter option. For a satisfying vegetarian meal, consider using plant-based ground crumbles, hearty mushrooms, or zucchini. The beauty of this recipe is its adaptability, so use what you love or what you already have on hand.
Frequently Asked Questions About Stuffed Bell Peppers
Pre-cooking bell peppers before stuffing is entirely a matter of personal preference, specifically whether you prefer a softer or crisper pepper texture. If you choose not to pre-cook them, your peppers will retain more of their natural crispness and a delightful crunch after baking, which some people absolutely love. For those who prefer a more tender, melt-in-your-mouth texture, pre-baking the hollowed-out peppers for about 10-15 minutes will achieve this. Allow them to cool slightly before handling and stuffing with your savory beef and rice mixture.
While it’s technically possible to cook raw meat inside the peppers, I highly recommend pre-cooking the meat before stuffing. Browning the ground meat with onions, garlic, and spices beforehand infuses it with a much deeper, more complex flavor profile that simply won’t develop as effectively if cooked raw inside the pepper. This pre-cooking step also ensures that the meat is fully cooked through by the time the peppers reach their desired tenderness, guaranteeing both safety and superior taste. It’s a small extra step that makes a significant difference in the final dish.
Typically, bell peppers will soften considerably in the oven within 20-25 minutes when stuffed and baked at the recommended temperature. However, the exact time can vary depending on the size and thickness of your peppers, as well as your desired level of tenderness. If you prefer them even softer, simply allow them to cook for a few additional minutes, checking periodically until they reach your perfect consistency. Remember that pre-baking can help achieve ultimate tenderness more quickly.
To prevent your stuffed bell peppers from becoming soggy, there are a couple of key steps. Firstly, be careful not to overcook the bell peppers. Overcooking can lead to them becoming too soft and releasing excess moisture. Secondly, hold off on adding the shredded cheese until towards the very end of the cooking time. This allows the cheese to melt and bubble beautifully without simmering in moisture for too long, which can contribute to a soggy texture beneath the topping. A quick broil at the end can also help crisp up the cheese without overcooking the pepper.
Boiling bell peppers before stuffing is not strictly necessary, and many recipes (including this one) achieve excellent results without it. However, if you have a strong preference for exceptionally soft peppers, or if you’re using particularly thick-walled green bell peppers which tend to be firmer, boiling them for a few minutes (about 3-5 minutes) can give them a head start. This ensures they reach that desired tender-soft texture once they are fully baked. If you opt to boil, make sure to pat them dry thoroughly before stuffing to avoid excess moisture.
Leftover stuffed bell peppers are fantastic for quick meals throughout the week! Once cooled, place them in an airtight container and store them in the refrigerator for up to 4-5 days. For longer storage, stuffed peppers freeze beautifully. Wrap individual peppers tightly in plastic wrap and then foil, or place them in a freezer-safe container. They can be frozen for up to 3 months. Thaw overnight in the fridge before reheating.
Step-by-Step Guide: How to Make Perfect Stuffed Bell Peppers
Follow these simple steps to create perfectly cooked, flavorful stuffed bell peppers every single time:
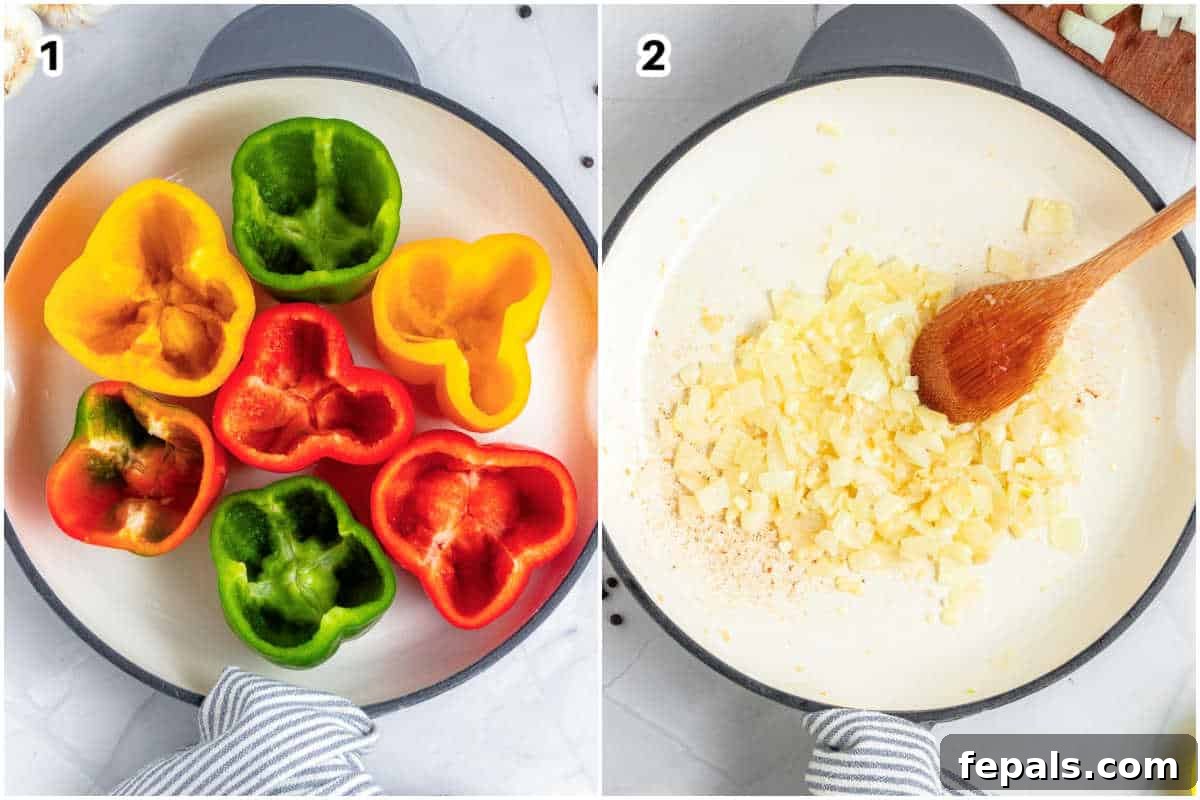
1️⃣ Prepare the Bell Peppers
Begin by preheating your oven to 375 degrees Fahrenheit (190°C). While the oven heats, wash your bell peppers thoroughly. Carefully slice off the tops of each pepper and use a spoon or your hands to remove all the seeds and white membranes from the inside. This creates a clean cavity for your filling. Arrange the bell peppers upright in a baking dish or a rimmed tray, ensuring they are snug enough to prevent them from toppling over.
Chef’s Note: The decision to pre-cook the peppers is completely up to your texture preference! Pre-baking them for 10-15 minutes will result in a softer, more tender pepper, while skipping this step will yield a firmer, slightly crisp texture. Both methods are delicious; choose what you like best!
2️⃣ Sauté Onion & Garlic
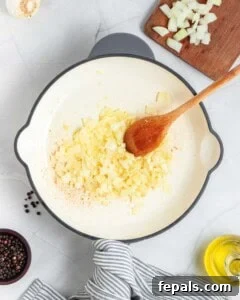
In a large, sturdy skillet, heat 2 tablespoons of extra-virgin olive oil (or avocado oil for a neutral flavor) over medium heat. Add the diced onion and sauté, stirring occasionally, until it becomes soft and translucent, usually about 3-5 minutes. Once softened, stir in the minced garlic cloves and cook for just another minute until fragrant. Be careful not to burn the garlic, as this can make it bitter.
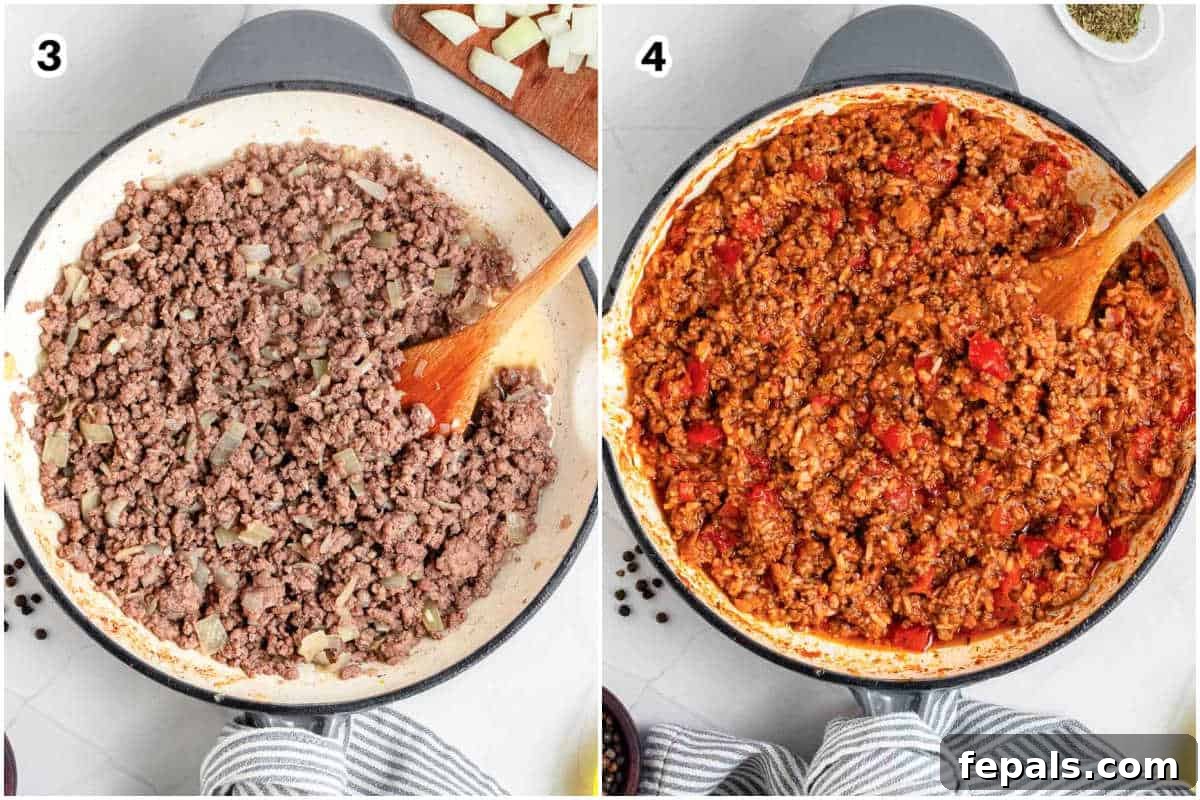
3️⃣ Cook the Ground Beef
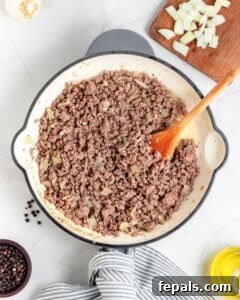
Add 1 pound of lean ground beef (90% lean is a great choice for less grease) to the skillet with the sautéed onions and garlic. Cook the beef over medium-high heat, breaking it up with a wooden spoon as it browns, until no pink remains. This usually takes about 5–6 minutes. Drain any excess fat if necessary, although with lean beef, this is often minimal.
Expert Tip: Cooking the meat beforehand is crucial! Not only does it add significant flavor to the filling, but it also ensures the beef is fully cooked and safe to eat by the time the peppers are tender, preventing any undercooked spots.
4️⃣ Combine Rice, Tomatoes, & Seasoning
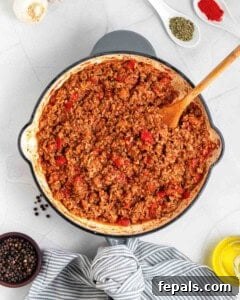
Once the ground beef is thoroughly browned, reduce the heat to medium-low. Stir in the cooked brown rice, diced tomatoes (undrained for extra moisture and flavor), tomato paste, and your chosen seasonings: dried oregano, paprika, kosher salt, and freshly ground black pepper. Mix all the ingredients thoroughly until well combined. Allow the mixture to simmer gently for about 4–5 minutes. This simmering time is vital as it allows the flavors to meld beautifully and the mixture to thicken slightly, creating a rich, cohesive filling.
Before proceeding, taste the filling and adjust the seasoning as needed. This is your chance to add a pinch more salt, pepper, or paprika to suit your preference. You can use either fresh or canned diced tomatoes; fresh tomatoes add a lovely burst of juiciness, while canned tomatoes offer convenience and consistency. Alternatively, a jar of your favorite tomato sauce can replace the diced tomatoes and tomato paste if you’re looking for a shortcut.
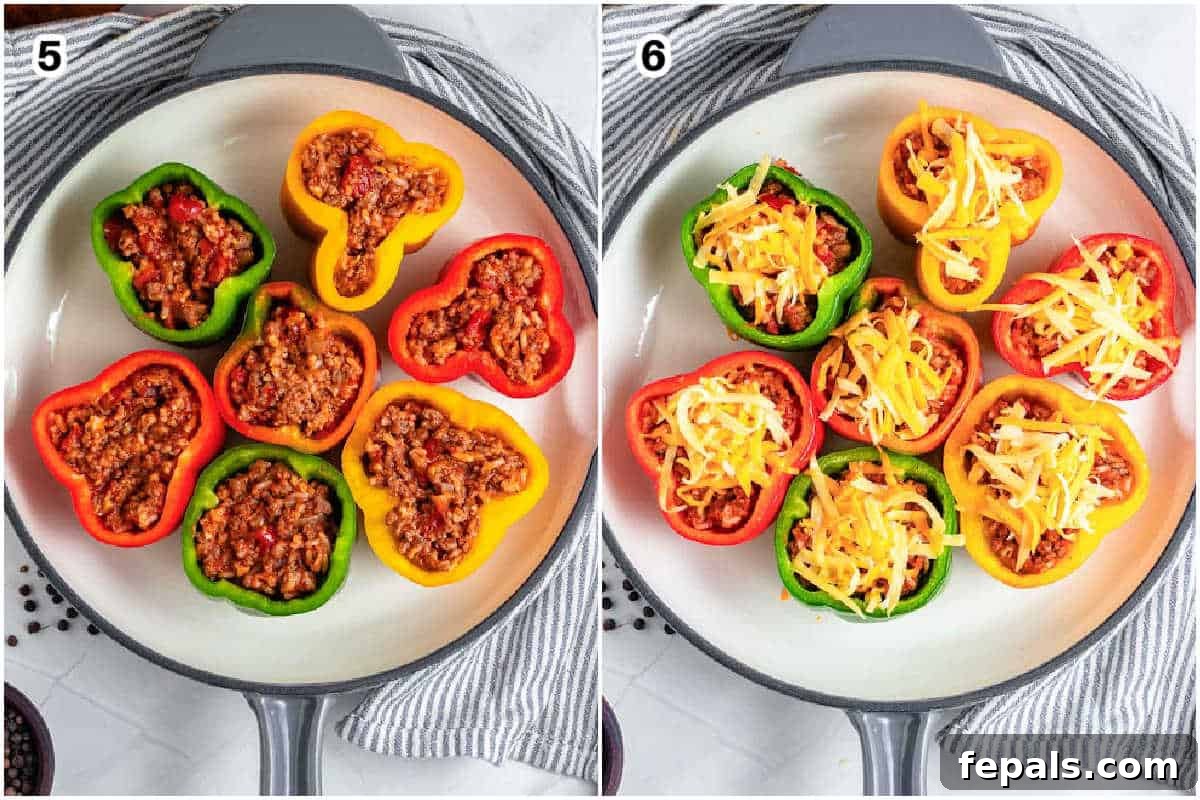
5️⃣ Stuff and Bake the Peppers
Generously fill each prepared bell pepper with the savory beef and rice mixture, mounding it slightly if desired. Arrange the stuffed peppers back into your baking dish. Bake in the preheated oven at 375°F (190°C) for 10–12 minutes. During this initial baking period, the peppers will begin to soften, and the flavors will continue to deepen.
6️⃣ Add the Cheese & Finish Baking
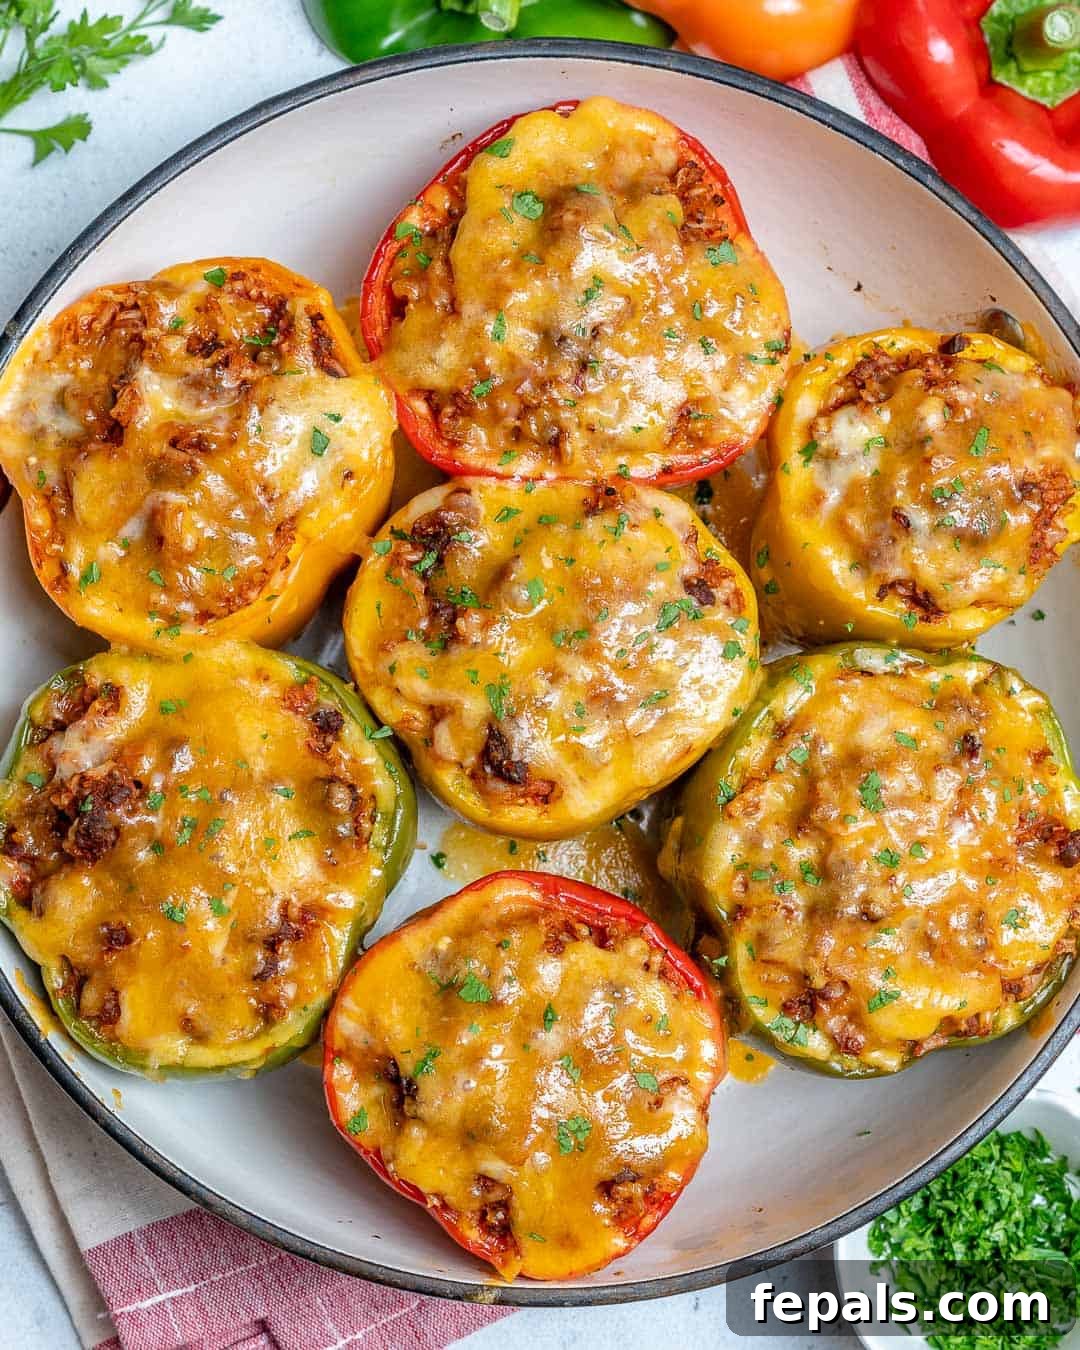
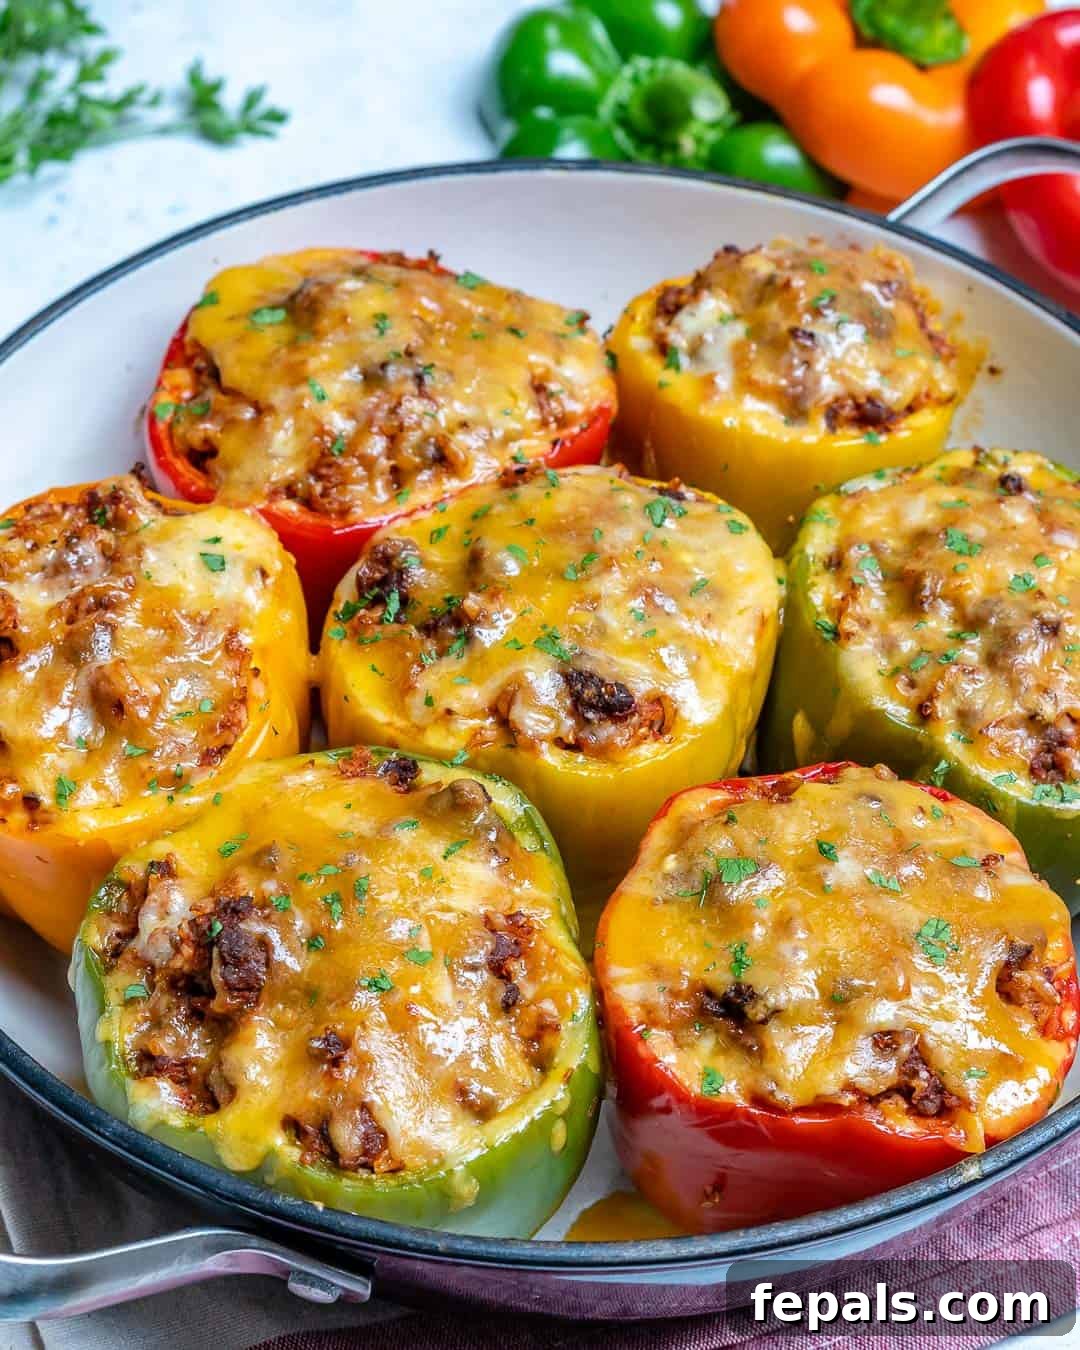
After the initial baking time, carefully remove the dish from the oven. Evenly sprinkle 1 cup of shredded cheddar jack cheese (or your favorite blend) over the top of each bell pepper. Return the dish to the oven and continue baking for another 5–7 minutes, or until the cheese is beautifully melted, bubbly, and slightly golden. The aroma alone will tell you they’re ready!
Creative Variations & Expert Tips for Stuffed Bell Peppers
This recipe is incredibly flexible, allowing you to easily adapt it to your preferences or dietary needs. Here are some fantastic variations and tips to make these stuffed bell peppers your own:
- Low-Carb Friendly: For a delicious low-carb alternative, simply swap the brown rice for an equal amount of cooked cauliflower rice. The texture is surprisingly similar, and it greatly reduces the carb count without sacrificing flavor.
- Vegetarian Delight: Easily transform this into a vegetarian meal by omitting the ground beef. Instead, use your favorite plant-based ground crumbles, or load up on extra vegetables like finely diced mushrooms, zucchini, corn, or black beans. Sauté them with the onions and garlic, then add your tomato mixture and seasonings for a hearty plant-based filling.
- Switch Up the Cheese: While cheddar jack offers a classic, creamy melt, feel free to experiment with other cheeses. Mozzarella provides a stringy, gooey texture; Monterey Jack is wonderfully mild and melty; Colby Jack offers a combination of both; and Pepper Jack adds a delightful spicy kick. A sprinkle of Parmesan or a dollop of cream cheese can also enhance the richness.
- Serving Picky Eaters: If you have kids or adults who are hesitant about bell peppers, try a “deconstructed” approach. Serve the flavorful beef and rice filling alongside roasted bell pepper strips or wedges on the side. This allows everyone to enjoy the delicious components in a way they prefer, making dinner stress-free.
- Add a Spicy Kick: For those who love a bit of heat, mix in a pinch of red pepper flakes with your seasonings, or finely dice a jalapeño and sauté it with the onions. A dash of hot sauce over the finished peppers can also elevate the spice level.
- Herbacious Twist: Fresh herbs can brighten the flavors significantly. Garnish with fresh basil, cilantro, or oregano just before serving. Mixing a tablespoon of fresh parsley or chives into the filling can also add a fresh dimension.
Storage & Make-Ahead Instructions
Stuffed bell peppers are fantastic for meal prep, making your weeknight dinners a breeze. Here’s how to store them effectively:
- Refrigerator Storage: Any leftover stuffed peppers can be stored in an airtight container in the fridge for up to 4 days. They reheat beautifully, often tasting even better the next day as the flavors continue to meld.
- Freezer Storage: For longer storage, stuffed peppers are an excellent freezer-friendly meal. Once they have completely cooled, wrap individual peppers tightly in plastic wrap, then a layer of aluminum foil, or place them in a freezer-safe container. They can be frozen for up to 3 months. To reheat, thaw overnight in the refrigerator, then warm as directed.
- Reheating Instructions: To reheat, you can use either the oven or microwave. For the oven, place thawed peppers in a baking dish, cover loosely with foil, and bake at 350°F (175°C) for 20-30 minutes, or until heated through. For microwave reheating, place a single pepper on a microwave-safe plate, cover loosely, and heat for 2-4 minutes, or until warm.
- Make-Ahead Tips: You can prepare the beef and rice filling up to 2 days in advance and store it in an airtight container in the refrigerator. When ready to cook, stuff your fresh peppers and proceed with the baking instructions. This cuts down significantly on prep time on busy evenings.
Easy Stuffed Bell Peppers Recipe
Rena
7
10 mins
30 mins
40 mins

Video
Ingredients
- 2 Tablespoons Extra-virgin Olive Oil, or avocado oil
- 1 Medium Onion, diced
- 2-3 Garlic Cloves, minced
- 1 pound Lean Ground Beef (I recommend 90% lean)
- 1½ Cup Cooked Brown Rice
- 14.5 ounces Diced Tomatoes, one can (undrained)
- 1 Tablespoon Tomato Paste
- 1 Teaspoon Dried Oregano
- 2 teaspoons Paprika (adjust to taste)
- Kosher salt and pepper, to taste
- 7 Large Bell Peppers, tops cut off and cores removed
- 1 Cup Shredded Cheddar Jack Cheese
- Freshly chopped parsley, for garnish
Instructions
-
Preheat your oven to 375°F (190°C). Prepare the 7 large bell peppers by cutting off their tops and removing all seeds and membranes. Place the bell peppers cut-side up into a baking dish or a rimmed tray, ensuring they stand upright.
-
In a large skillet, heat 2 tablespoons of extra-virgin olive oil over medium heat. Add 1 diced medium onion and sauté until softened, about 3-5 minutes. Stir in 2-3 minced garlic cloves and cook for another minute until fragrant.

-
Add 1 pound of lean ground beef to the skillet. Cook until no longer pink, breaking up the meat with a wooden spoon, for about 5-6 minutes. Drain any excess fat. Stir in 1½ cups cooked brown rice, 14.5 ounces diced tomatoes (undrained), 1 tablespoon tomato paste, 1 teaspoon dried oregano, and 2 teaspoons paprika.
-
Simmer the mixture for about 4-5 minutes, allowing the sauce to thicken slightly and the flavors to meld. Taste and season with kosher salt and pepper as needed to achieve your desired flavor.
-
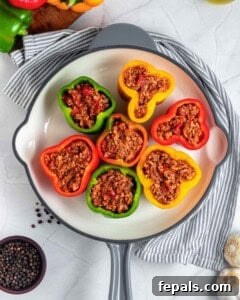
Evenly stuff each bell pepper with the prepared beef and rice mixture. Place them back in the baking dish and bake in the preheated oven for 10-12 minutes, or until the peppers are mostly tender.
-
Remove the baking dish from the oven. Sprinkle 1 cup of shredded cheddar jack cheese evenly over the top of each stuffed pepper. Return them to the oven and bake for another 5-7 minutes, until the cheese is melted and bubbly. Garnish with freshly chopped parsley before serving. Enjoy your delicious stuffed bell peppers!

Notes
- Use quinoa instead of brown rice for a similar texture and added protein. For a low-carb alternative, finely chopped cauliflower rice works wonderfully.
- The amount of paprika can be adjusted to your preference; 2 teaspoons provides a robust flavor, but feel free to reduce if you prefer a milder taste.
- Ground turkey or chicken can be used in place of ground beef for a leaner protein option.
- Any neutral-flavored cooking oil, such as grapeseed or canola oil, can be substituted for olive oil.
- Experiment with other shredded cheeses like mozzarella, Monterey Jack, or a blend of your favorites to customize the flavor.
Storage:
Store leftover stuffed bell peppers in an airtight container in the fridge for up to 5 days. Reheat gently in the microwave or oven until warmed through. These peppers also freeze well for up to 3 months; simply thaw overnight in the fridge before reheating.
Nutrition Information (Approximate Per Serving)
Carbohydrates: 23g
Protein: 21g
Fat: 9g
Saturated Fat: 3g
Cholesterol: 44mg
Sodium: 168mg
Potassium: 683mg
Fiber: 5g
Sugar: 8g
Vitamin A: 5696IU
Vitamin C: 211mg
Calcium: 98mg
Iron: 3mg
Nutrition information is automatically calculated and should only be used as an approximation.
Additional Info
Main Course
American
Tried this recipe?
Mention @healthyfitnessmeals or tag #healthyfitnessmeals!
What to Serve with Stuffed Bell Peppers
While stuffed bell peppers are a complete and satisfying meal on their own, pairing them with a fresh side dish can elevate your dining experience. Here are some delightful accompaniments that complement their rich flavors:
- Garlic Oven Roasted Mushrooms: Earthy mushrooms roasted with garlic make a savory and simple side.
- Roasted Broccolini: Tender-crisp broccolini adds a vibrant green and a slight bitterness that balances the richness of the peppers.
- Cucumber Avocado Feta Salad: A refreshing, light salad with creamy avocado and tangy feta provides a cool contrast.
- Spinach Apple Pecan Salad: The sweetness of apples and crunch of pecans in a spinach salad offer a delightful textural and flavor counterpoint.
- Mixed Oven Roasted Veggies: A medley of seasonal roasted vegetables adds extra nutrients and diverse flavors.
- A Simple Green Salad: A basic salad with a light vinaigrette is always a good choice to add freshness.
- Crusty Bread: Perfect for soaking up any delicious leftover sauce from the baking dish.
More Delicious Recipes to Explore
If you enjoyed these easy and healthy stuffed bell peppers, you’ll love these other popular recipes that are perfect for weeknight meals and special occasions alike. Each offers a unique blend of flavor and satisfaction, keeping your meal rotation exciting and delicious:
- Honey Sesame Chicken: A sweet and savory chicken dish that’s quick to prepare.
- Vegetarian Stuffed Peppers: A meatless version of this classic, packed with flavorful veggies.
- Garlic Shrimp Spaghetti: A light yet satisfying pasta dish bursting with garlic and shrimp.
- Maple Glazed Baked Whole Chicken: A wonderfully tender and flavorful chicken, perfect for a family dinner.
- Low Carb Zucchini Lasagna Boats: A creative and healthy way to enjoy lasagna flavors without the carbs.
- Asparagus Stuffed Chicken Breast: Elegant and healthy, perfect for a lighter meal.
- Taco Stuffed Zucchini Cups: A fun and flavorful twist on taco night.
- Chicken Shawarma Bowls: A vibrant and healthy bowl packed with Middle Eastern flavors.
- Shrimp Fajita Bowls: Fresh, zesty, and easy to customize for a quick meal.
- Ground Turkey Cauliflower Rice Recipe: A simple, healthy, and low-carb meal idea.
Loved this recipe? Pin it now to find it later!
Pin It
Get my free eBook!
Don’t miss out on more delicious and healthy meal ideas! Grab my free eBook featuring 20 of my top 30-minute family-friendly healthy dinner recipes. Perfect for busy weeknights!
To receive your copy, simply subscribe to my newsletter:
Subscribe & Download
Thank you for visiting! I hope you enjoyed this recipe for easy stuffed bell peppers. Remember to subscribe to my newsletter to receive more delicious, healthy, and free recipes directly in your inbox. Stay connected and never miss a new dish!
FOLLOW me on FACEBOOK | INSTAGRAM | PINTEREST | TWITTER for all of my latest blog posts and recipes. Happy cooking!