

Get ready for a ghoulishly good time in the kitchen with these delightful and healthier Halloween sugar cookies! These vibrant, soft, and utterly charming cookies are the perfect canvas for your family’s spooky creativity. Whether you’re planning a Halloween party or just looking for a fun, festive activity to do with the kids, this recipe promises delicious results and unforgettable memories. They are designed to be simple, enjoyable, and a treat that will disappear faster than a ghost on Halloween night!

There’s something truly magical about baking during the holiday season, and Halloween is no exception. These spooky sugar cookies are a staple in my home, not just for their irresistible taste but for the sheer joy they bring to the entire family. Watching the kids excitedly choose their favorite cookie cutters – be it a playful pumpkin, a classic ghost, or a wicked witch’s hat – and then meticulously decorate each cookie with vibrant icing and sprinkles is a cherished tradition. These cookies consistently turn out wonderfully soft, perfectly sweet, and are a guaranteed hit with both adults and little monsters alike.
What makes this recipe even better is its simplicity. You only need a handful of common pantry ingredients, approximately 30 minutes of chilling time for the dough (which is crucial for perfect shapes!), and a quick 10-minute bake. The result? A batch of super simple, incredibly tasty, and visually stunning Halloween treats that showcase your homemade touch without demanding hours of your time. This makes them ideal for busy parents or anyone looking for a stress-free yet rewarding baking experience.
If you’re a fan of festive baking and enjoy classic sugar cookies, you might also adore these peppermint sugar cookies, another holiday favorite that brings a burst of minty freshness to your dessert table!
Recipe Overview
Essential Tips for Perfect Halloween Sugar Cookies
Achieving bakery-quality sugar cookies at home is easier than you think, especially when you know a few fundamental tricks. These tips are crucial for ensuring your Halloween sugar cookies hold their festive shapes, bake up beautifully, and have that irresistible soft, chewy texture every time.
- Chill the Dough Thoroughly: This step is non-negotiable for perfectly shaped cookies! Refrigerating your cookie dough for at least 30 minutes (or even longer) before baking helps to firm up the fats in the dough. This prevents the cookies from spreading too much in the oven, ensuring your intricate Halloween shapes like ghosts, bats, and pumpkins retain their sharp edges. You can chill the entire dough ball before rolling, or chill the cut-out shapes on the baking sheet. Both methods work wonders. Don’t skip it if you want picture-perfect results!
- Always Use Parchment Paper: Say goodbye to sticky situations and uneven baking! Lining your baking sheets with parchment paper is a game-changer. Not only does it create a non-stick surface, making it incredibly easy to transfer your delicate cut-out cookies to the pan without distortion, but it also helps the cookies bake more evenly. Rolling and cutting the dough directly on parchment paper also minimizes handling, further preventing your cookies from losing their festive forms.
- Avoid Over-Baking at All Costs: The secret to soft, chewy sugar cookies lies in knowing when to pull them from the oven. Look for edges that are just barely set and very lightly golden. The centers might still appear a little soft or underbaked, but don’t worry! They will continue to firm up as they cool on the hot baking sheet. Over-baking will result in hard, dry, and crumbly cookies, which is not what we want for these tender treats.
- Decorate Only When Fully Cooled: Patience is a virtue, especially when it comes to decorating your Halloween masterpieces. If you plan to add icing, melted chocolate, or any other decorations, it is absolutely essential that the cookies are completely cooled to room temperature. Attempting to decorate warm cookies will cause your icing to melt, bleed, or slide right off, creating a messy rather than a magnificent treat.
- Measure Flour Correctly: For consistent results, always spoon your flour into the measuring cup and then level it off with a straight edge. Scooping directly from the bag can compact the flour, leading to too much flour in your dough, which results in dry, stiff cookies.
- Use Room Temperature Ingredients (Except When Chilling): For optimal mixing and a smooth dough, ensure your eggs are at room temperature. This helps them emulsify better with the oil and sugar, creating a more uniform and tender cookie.
How to Create Enchanting Halloween Cookies: A Step-by-Step Guide
Follow these simple instructions to bake a batch of spooky, sweet, and perfectly shaped Halloween sugar cookies that everyone will adore. This recipe is designed to be straightforward, ensuring success even for beginner bakers.
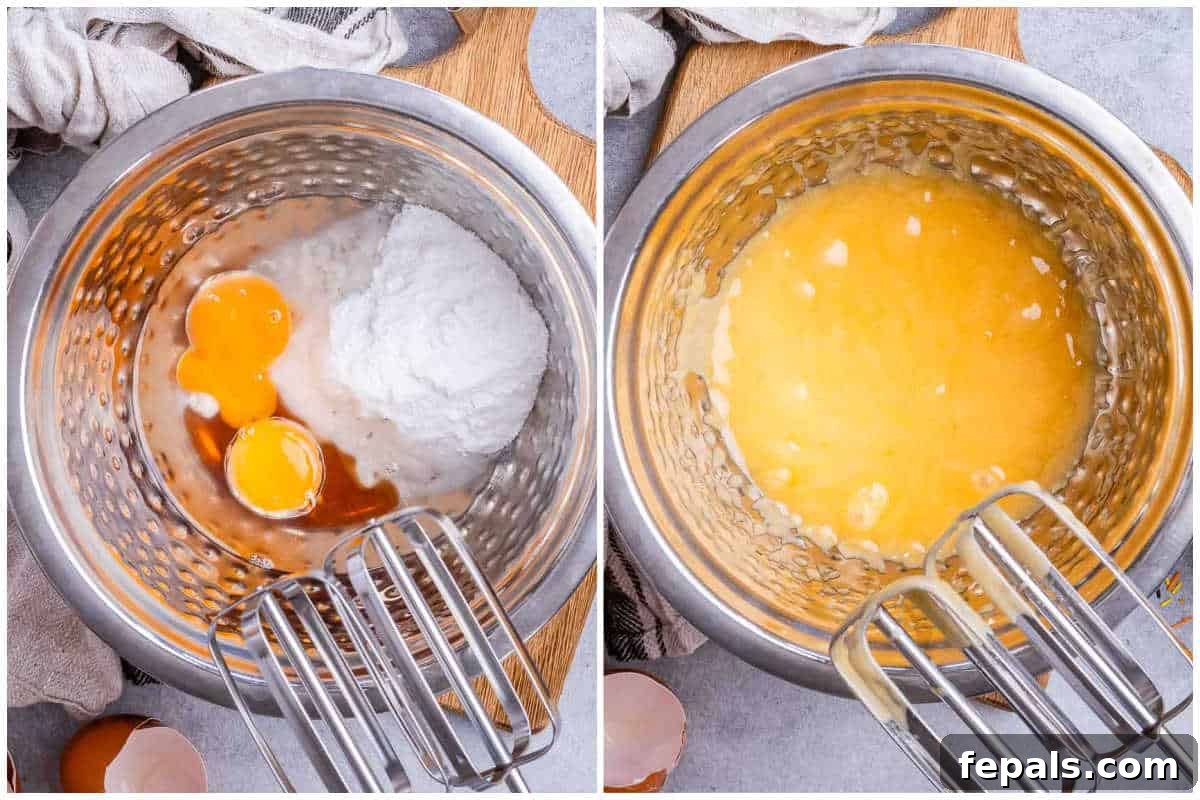
1️⃣ Start with a Creamy Base: Whisk Eggs, Sugar, and Oil
Begin by preparing your workspace. Line two small sheet pans with parchment paper; this will ensure your cookies don’t stick and are easy to transfer later. In a spacious mixing bowl, combine your wet ingredients: the coconut oil (or melted butter for a richer flavor), large eggs, powdered sugar, and a generous tablespoon of vanilla extract. Using an electric mixer, whisk these ingredients together until the mixture becomes wonderfully creamy and well combined. This initial step is vital for a smooth cookie dough texture.
✏️ If you don’t have an electric mixer, a hand whisk will work just fine! Just be sure to whisk vigorously until the mixture is light and fluffy, ensuring all ingredients are fully incorporated and the sugar has largely dissolved.
2️⃣ Incorporate the Dry Ingredients: Mix in the Flour
Once your wet ingredients are creamy, it’s time to add the dry components. Scrape down the sides of the mixing bowl to ensure everything is evenly mixed. Then, gradually add the all-purpose flour and fine kosher salt. Mix on a low speed, just until the mixture comes together and starts to resemble wet sand crumbles. Be careful not to overmix; overworking the dough can lead to tough cookies.
✏️ Don’t be concerned if the dough doesn’t appear perfectly smooth at this stage; a slightly crumbly texture is completely normal before it’s brought together by hand.
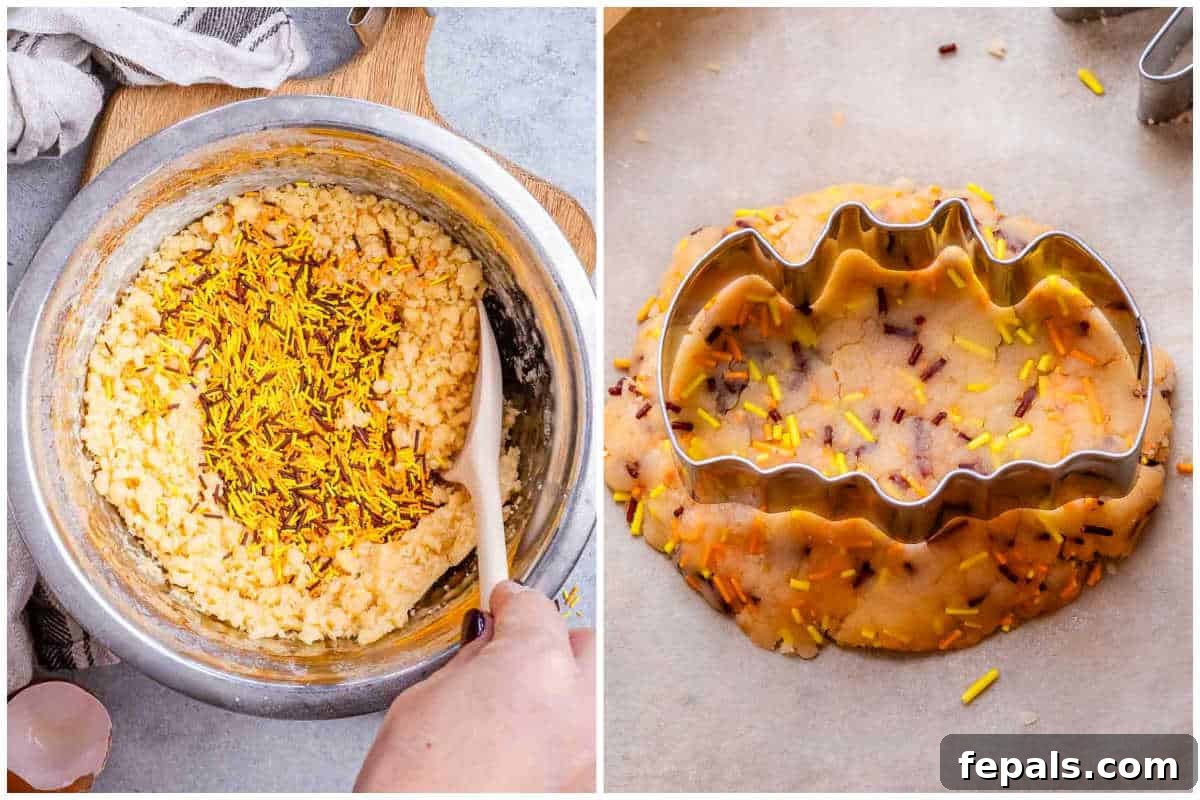
3️⃣ Add Festive Sprinkles, Gently Mix, and Chill the Dough
Now for the fun part! Gently fold in your chosen Halloween sprinkles into the dough. Once the sprinkles are evenly distributed, bring the dough together by hand, pressing and kneading it lightly until it forms a cohesive ball. This gentle handling ensures the dough remains tender. Place the dough ball on one of your prepared sheet pans and refrigerate for 30-45 minutes. This chilling period is essential for the dough to firm up, making it easier to roll and cut, and preventing your cookies from spreading too much during baking, thus preserving their distinct Halloween shapes.
4️⃣ Roll and Shape Your Spooky Creations
After the dough has sufficiently chilled, remove it from the fridge. It should be firm but still pliable. While the dough rests for a moment, preheat your oven to 350°F (175°C). On a lightly floured surface or directly on parchment paper, flatten the dough into an even 1/2-inch thick disc. Using your favorite Halloween-themed cookie cutters – think ghosts, bats, pumpkins, or skulls – cut out your festive cookie shapes. Carefully transfer these cut-outs to the prepared sheet pans, leaving a little space between each cookie. Gather any leftover dough scraps, gently re-roll them to a 1/2-inch disc, and cut out more cookies until all the dough is used. This maximizes your yield and ensures no delicious dough goes to waste!

5️⃣ Bake to Golden Perfection
Carefully place your sheet pans into the preheated oven and bake for approximately 9-10 minutes. Keep a close eye on them; you’re looking for the edges to be just set and very lightly golden brown. The centers may still appear soft, but this is exactly what you want for tender, chewy cookies. Over-baking will lead to a dry, crispy texture.
✏️ Once baked, resist the urge to move them immediately. Allow the cookies to cool completely on the sheet pan before decorating. They will continue to firm up as they cool, achieving that perfect, sturdy yet soft texture ideal for handling and embellishing.
6️⃣ Cool Completely and Unleash Your Creativity with Decorations
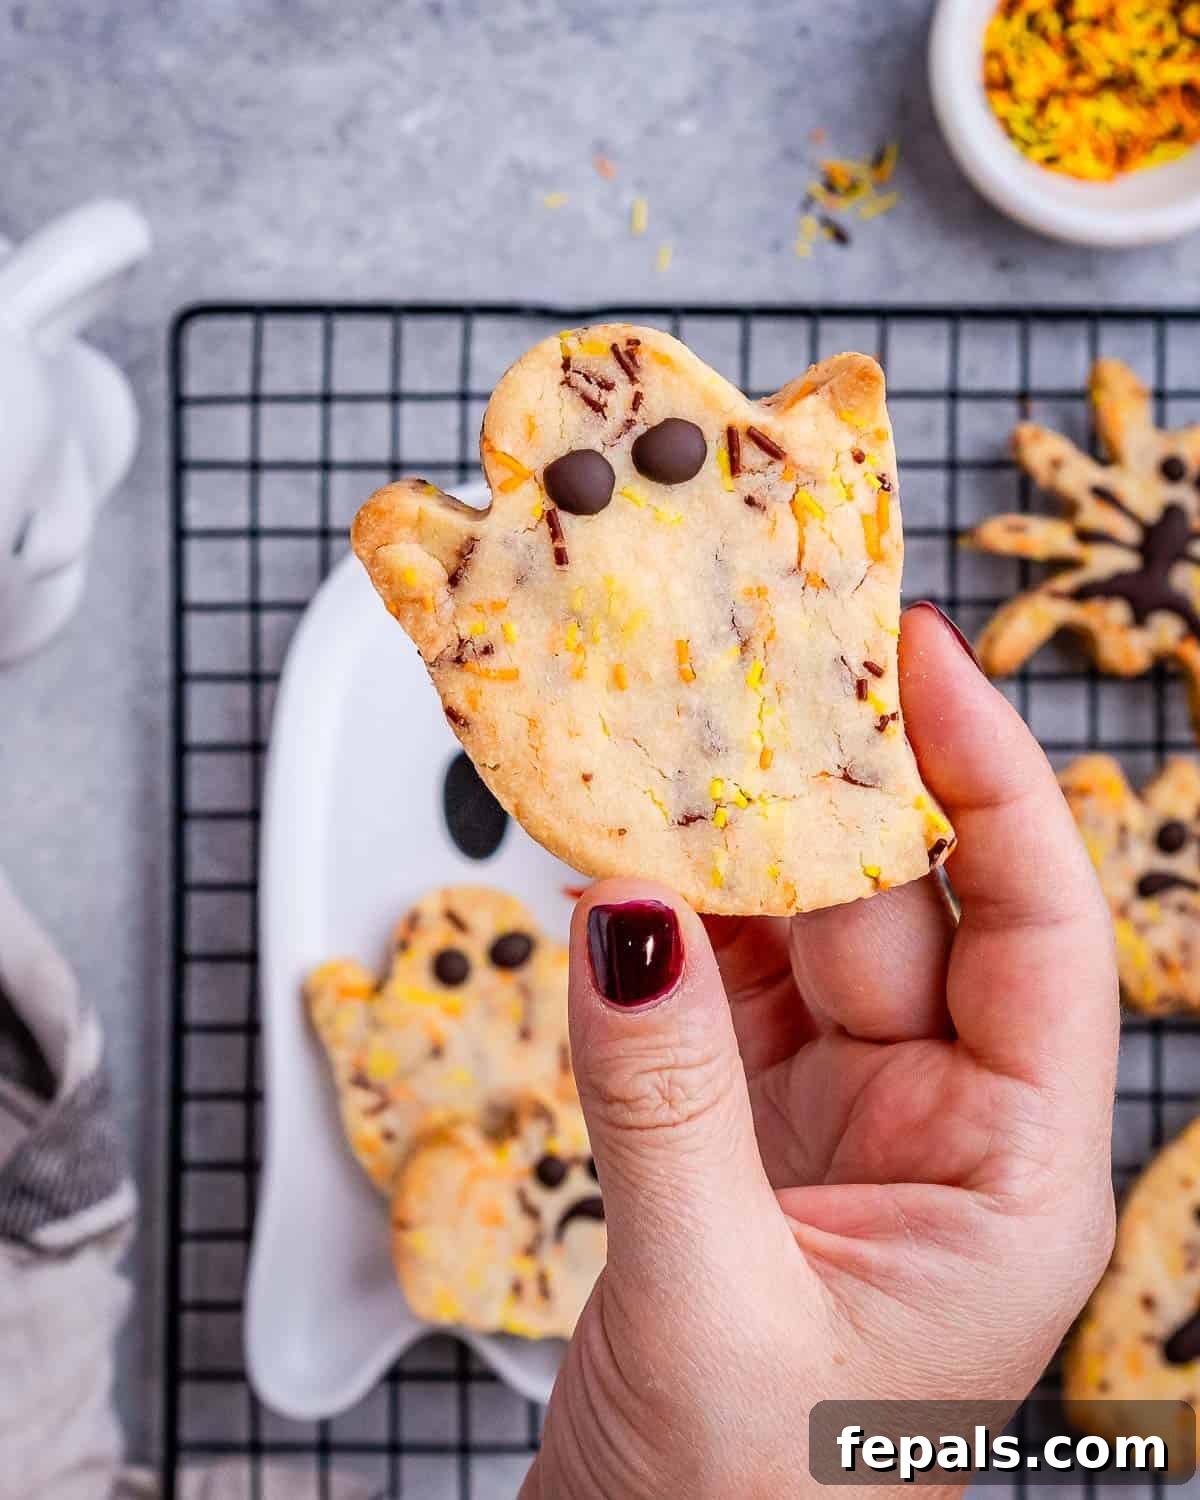
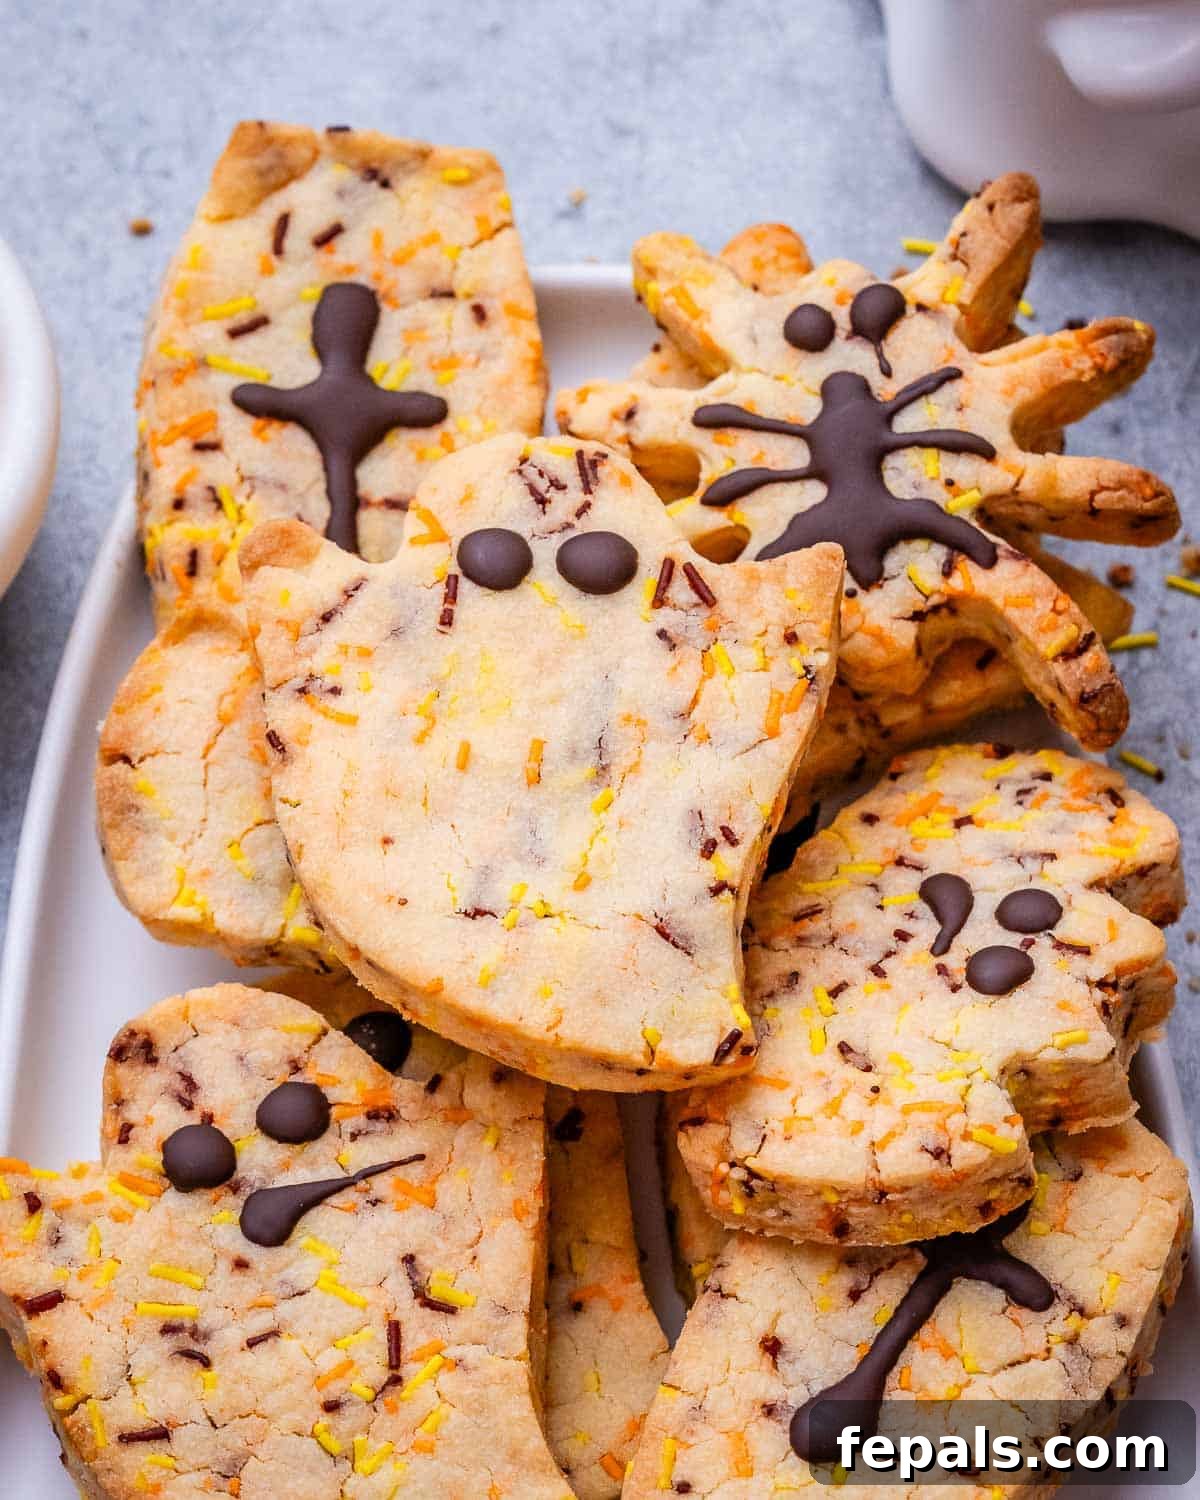
After baking, let your beautiful Halloween sugar cookies cool undisturbed on the baking sheet until they reach room temperature. This is a crucial step to prevent any cracks or breakage, and to ensure your decorations adhere properly. Once cooled, the real fun begins! If desired, you can decorate the cookies with a variety of festive elements. Melted dark chocolate works wonderfully for drawing spooky spiderwebs or cute ghost faces. Alternatively, use store-bought or homemade icing in Halloween colors, add candy eyes for a playful touch, or sprinkle on extra festive sprinkles before the icing sets. Let your imagination run wild to create truly unique and memorable Halloween treats!
✏️ Remember, decorating is entirely optional, but it certainly adds to the Halloween spirit and makes these cookies even more special and personalized.
Frequently Asked Questions About Halloween Sugar Cookies
Here are answers to some common questions about making and enjoying your homemade Halloween sugar cookies, ensuring your baking experience is as smooth as possible.
To maintain their delicious freshness, you can store your baked Halloween cookies in an airtight container on your kitchen counter for up to 2 days. For longer enjoyment, transfer them to a sealed container and refrigerate for up to 1 week. If you’ve decorated them with icing, it’s best to store them in a single layer or with parchment paper between layers to prevent sticking and smudging. I generally do not recommend freezing these particular cookies, as it can sometimes alter their delicate texture, making them a bit more crumbly upon thawing.
While coconut oil provides a lovely subtle flavor and a good texture in these cookies, you can certainly substitute it. For the best possible texture – a rich, tender, and incredibly soft crumb – I highly recommend using melted unsalted butter in its place. Butter will give you a classic sugar cookie taste and a superior mouthfeel compared to other oils. While vegetable oils like avocado or light olive oil can work in a pinch, they may result in a slightly different texture and flavor profile, often leading to cookies that are less soft and don’t quite have the same depth of flavor as those made with butter or coconut oil.
Yes, you have several options for flour, though some adjustments might be needed and the final texture could vary slightly. Oat flour, a gluten-free all-purpose flour blend, or whole wheat flour can be used as a direct 1:1 substitute for the all-purpose flour in this recipe. When using oat flour or gluten-free blends, the dough might feel a bit more delicate, so handle it gently. If you’re considering almond flour, it’s also a possibility, but it requires a bit more modification. Almond flour absorbs moisture differently, so you may need to add one extra large egg and slightly adjust the amount of almond flour until you achieve a workable dough consistency. Keep in mind that cookies made with almond flour will naturally be much softer and more fragile than those made with wheat-based flours, and their taste will have a distinct nutty note.
Absolutely! Store-bought icing is a fantastic, convenient option for decorating your Halloween cookies, especially when time is of the essence. There are many varieties available, from simple glaze icings to thicker royal icing styles. Just ensure that your cookies are completely and thoroughly cooled to room temperature before you begin decorating. Applying icing to warm cookies will cause it to melt, run, and potentially ruin your carefully baked treats. Once the cookies are cool, you can pipe, spread, or dip them with ease, creating beautiful and festive designs.
If your cookies are spreading more than desired, there are a few common culprits. The most frequent reason is insufficient chilling time for the dough. Ensure you refrigerate the dough for at least 30-45 minutes before rolling and cutting. Another factor could be using butter or oil that is too warm, or an oven temperature that isn’t accurate (it might be too low). Also, make sure you’re not adding too much liquid or too little flour. If the dough feels overly sticky or soft, try adding an extra tablespoon or two of flour and chilling again.
Yes, this dough is excellent for make-ahead convenience! You can prepare the dough as instructed, wrap it tightly in plastic wrap (either as a ball or flattened disc), and refrigerate it for up to 2-3 days. When you’re ready to bake, simply remove the dough from the fridge, let it sit at room temperature for about 10-15 minutes to soften slightly (if too hard), then roll, cut, and bake as usual. This is a perfect way to break up your baking tasks and have fresh cookies ready when you need them.
Pin this now to find it later
Pin It
Explore More Delicious Cookie Recipes
If you loved making these Halloween sugar cookies, you’re in for a treat! Discover more delightful cookie recipes perfect for any occasion, from classic favorites to unique flavor combinations. Expand your baking repertoire with these irresistible options:
- Samoa Cookies
- Sweet Potato Cookies
- Banana Bread Cookies
- Pistachio Chocolate Chip Cookies
- Oatmeal Raisin Cookies
- Brownie Cookies

We hope you have a fantastic time baking and decorating these healthier Halloween sugar cookies! They are truly a delightful treat that brings joy and a touch of spooky fun to any celebration. If you try this recipe and love it as much as we do, please consider leaving us some feedback in the comment section below. Your ratings and comments are incredibly helpful and appreciated!
Don’t forget to share your amazing cookie creations with friends and family. Happy baking and happy Halloween!
Follow me on FACEBOOK | INSTAGRAM | PINTEREST | TWITTER for all of my latest blog posts and recipes.
Halloween Cookies (Easy & Kid-Friendly)
Rena
12
10 mins
10 mins
30 mins
50 mins

Ingredients
- 1/2 cup coconut oil, or melted butter
- 2 large eggs, see note
- 1/2 cup powdered sugar , or confectioners’ sugar
- 1 tablespoon vanilla extract
- 1 ¾ cups all-purpose flour
- 1/2 teaspoon fine kosher salt
- 1/2 cup Halloween sprinkles
Optional:
- melted dark chocolate, to decorate
Instructions
-
Line 2 small sheet pans with parchment paper.
-
Place the 1/2 cup coconut oil, 2 large eggs, 1/2 cup powdered sugar , and 1 tablespoon vanilla extract in a mixing bowl. Using an electric mixer, whisk until creamy.

-
Scrape the sides of the bowl and add in the 1 ¾ cups all-purpose flour and 1/2 teaspoon fine kosher salt. Mix on low until it resembles wet sand crumbles.
-
Fold in the 1/2 cup Halloween sprinkles. Bring the dough together, pushing with your hands to stick it into a ball. Refrigerate the pan with the cookies for 30-45 minutes.
-
Preheat the oven to 350°F. Remove the cookie dough from the fridge, then flatten it into a 1/2 inch disc. Using Halloween-themed cookie cutters, cut cookies and place them on the prepared sheet pans.
-
With the remaining dough that’s left after cutting all the cookies, repeat the process (roll to a 1/2-inch disc and cut cookies again).
-
Bake for 9-10 minutes, then allow to cool in the sheet pan. If desired, you can decorate the cookies with some melted dark chocolate.






Notes
- If the eggs are quite large, leaning towards extra-large, you might need to add an additional 2 tablespoons of flour if the batter appears too loose or sticky.
- You may use gluten-free all-purpose flour or whole wheat flour as a 1:1 substitute.
- If coconut oil is unavailable, using melted unsalted butter is highly recommended for the best texture.
- Feel free to use any sprinkles or cookie cutters you have on hand to customize your Halloween theme.
- Do not skip the crucial step of chilling the dough before baking; this prevents spreading and helps maintain cookie shape.
- Allow the baked cookies to cool for 5-10 minutes on the baking sheet before transferring or serving, allowing them to firm up properly.
Nutrition
Carbohydrates: 23g
Protein: 3g
Fat: 10g
Saturated Fat: 8g
Polyunsaturated Fat: 0.4g
Monounsaturated Fat: 1g
Trans Fat: 0.003g
Cholesterol: 31mg
Sodium: 109mg
Potassium: 29mg
Fiber: 0.4g
Sugar: 11g
Vitamin A: 45IU
Calcium: 7mg
Iron: 1mg
Nutrition information is automatically calculated, so should only be used as an approximation.
Additional Info
Dessert
American
Tried this recipe?Mention @healthyfitnessmeals or tag #healthyfitnessmeals!