
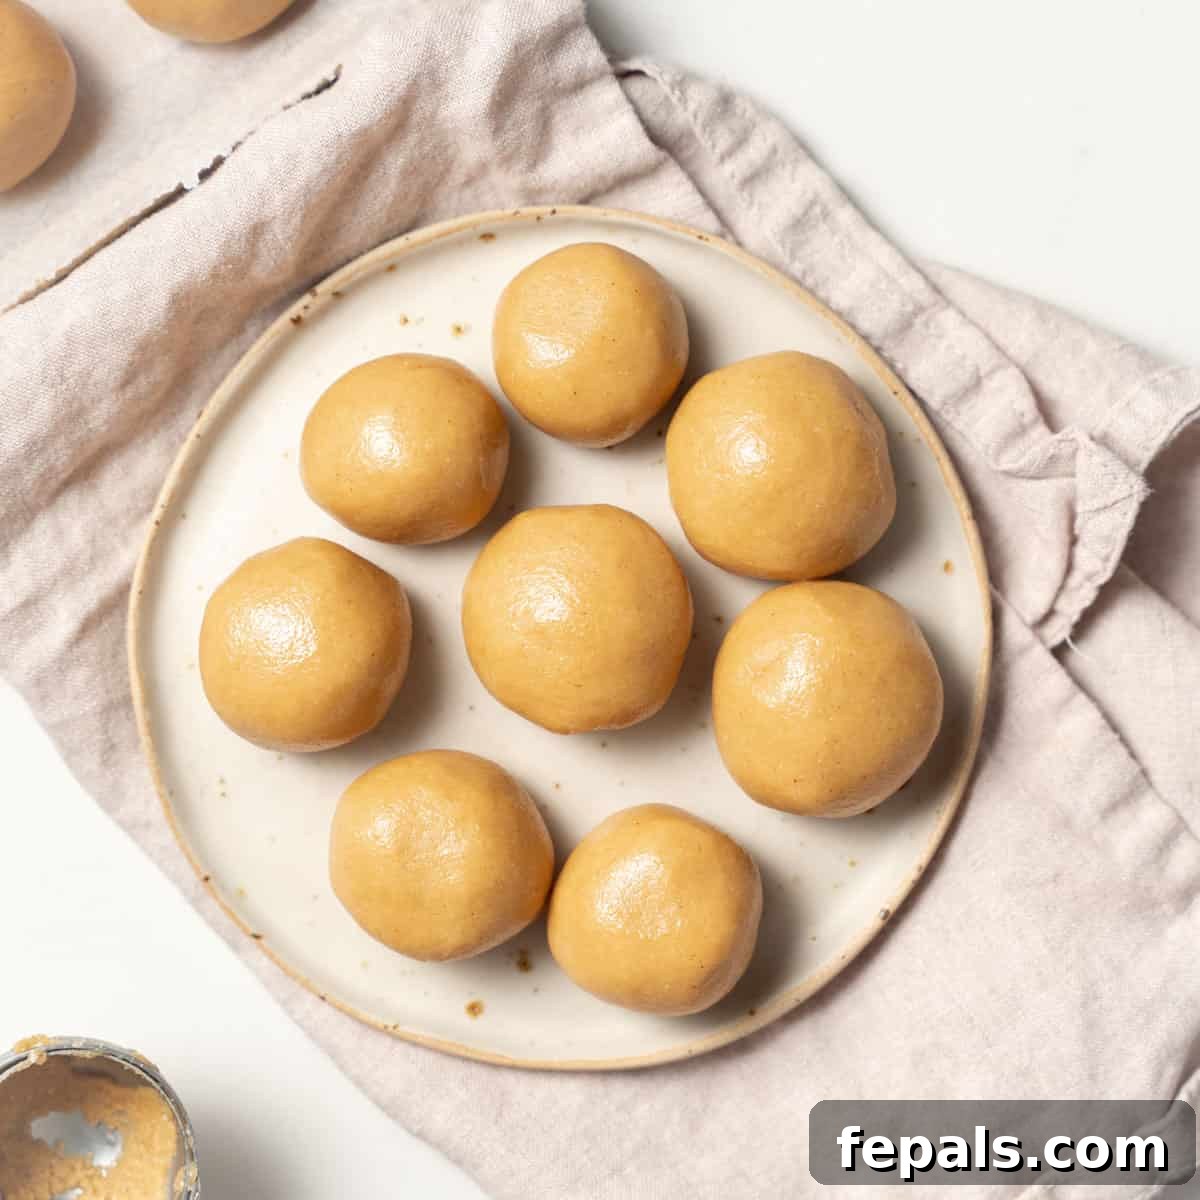
Experience the Irresistible Delight of 3-Ingredient No-Bake Peanut Butter Balls
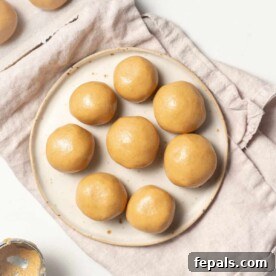
Are you searching for a quick, wholesome, and incredibly satisfying snack or dessert that tastes just like homemade cookie dough? Look no further! Our No-Bake Peanut Butter Balls are an absolute game-changer. Requiring only three simple ingredients and minimal effort, these delightful energy bites are set to become your new go-to treat. Imagine the rich, creamy texture of peanut butter, perfectly sweetened with honey or maple syrup, and bound together with the subtle goodness of almond flour. The result? A melt-in-your-mouth experience that’s packed with flavor and sustained energy, all without ever turning on your oven!
These effortless bites are not just delicious; they are a beacon of convenience in a busy world. In just about 10 minutes of active prep time, you can whip up a batch of these protein-packed, good-fat-rich spheres, ready to fuel your day or curb those afternoon cravings. Whether you’re a seasoned chef or a kitchen novice, this recipe is designed for foolproof success. Get ready to discover the magic of combining simple ingredients to create something truly extraordinary.
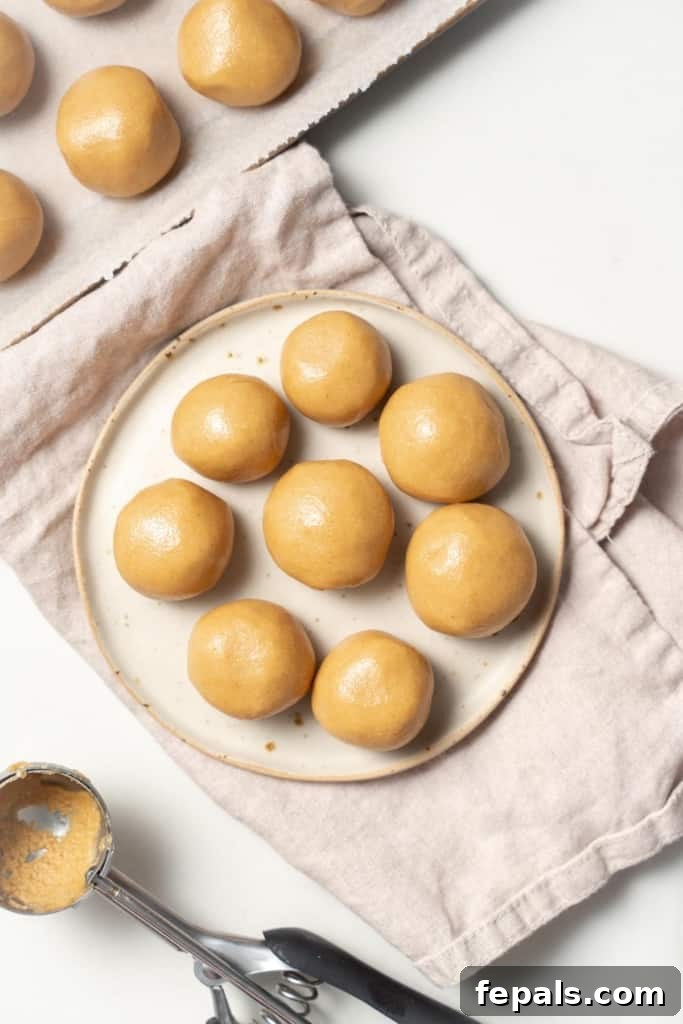
Why You’ll Fall in Love with These No-Bake Peanut Butter Balls
Our 3-ingredient No-Bake Peanut Butter Balls are more than just a recipe; they are a lifestyle enhancer. Designed for ease and maximum enjoyment, these energy bites offer a multitude of benefits that cater to everyone, from health enthusiasts to busy parents looking for quick, nutritious options. Here’s why these peanut butter balls deserve a permanent spot in your snack rotation:
Unlocking the Benefits: More Than Just a Snack
- Nutritious & Energizing: Crafted with wholesome ingredients like healthy nut butter, natural sweeteners, and nutrient-dense almond flour, these balls are a powerhouse of energy. They deliver a satisfying blend of healthy fats and protein, keeping you feeling full and energized for hours. This makes them an ideal pre-workout boost, post-gym recovery snack, or a thoughtful addition to a packed lunch.
- Effortlessly Hassle-Free: Forget about preheating ovens, complicated measurements, or extensive cleanup. This no-bake recipe is incredibly simple, requiring just one bowl and a few minutes of your time. It’s the perfect solution for meal prepping healthy snacks in advance, ensuring you always have a nourishing option ready when hunger strikes, without any fuss.
- Incredibly Delicious & Satisfying: The harmonious blend of creamy peanut butter with the natural sweetness of honey or maple syrup creates an utterly addicting flavor profile. Each bite offers a delightful balance that mimics your favorite cookie dough but in a healthier, more convenient format. Fair warning: it’s truly hard to stop at just one! They are a fantastic way to satisfy your sweet tooth guilt-free.
- Versatile & Adaptable: These peanut butter balls are not just for snacking. They can be a quick breakfast on the go, a delightful dessert, or a healthy treat for kids. Their simple base allows for endless customization, making them suitable for various dietary preferences and flavor cravings.
- Kid-Friendly Fun: Involving children in the kitchen can be a joyful experience, and this recipe is perfect for little hands. The no-bake aspect and the fun of rolling the dough into balls make it an engaging activity for kids, encouraging them to enjoy healthy homemade treats.
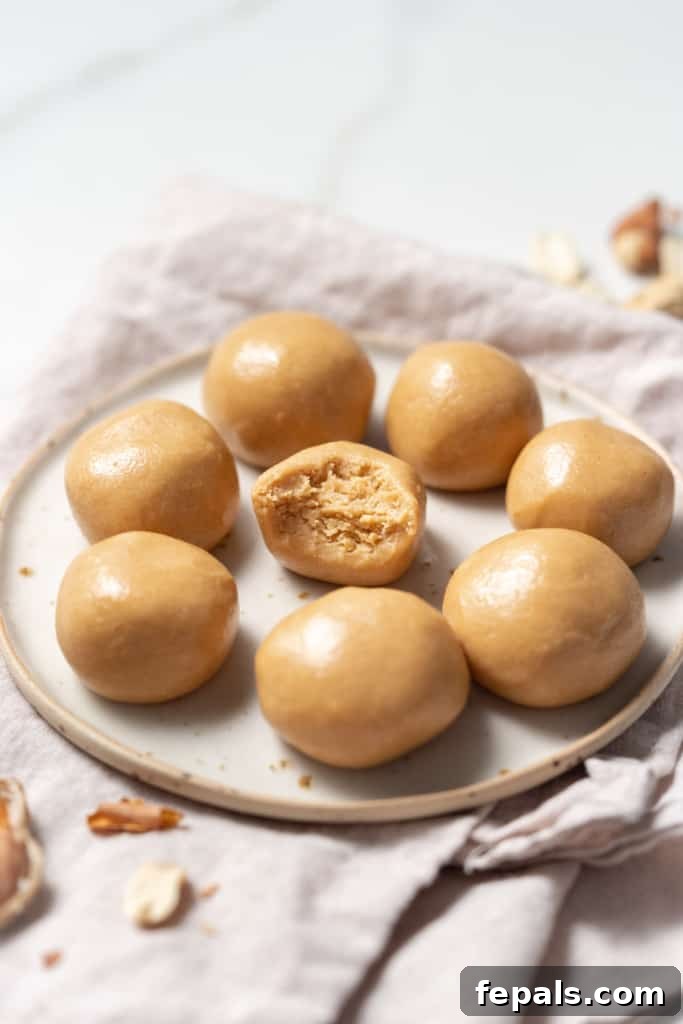
The Power of Three: Simple Ingredients, Incredible Taste
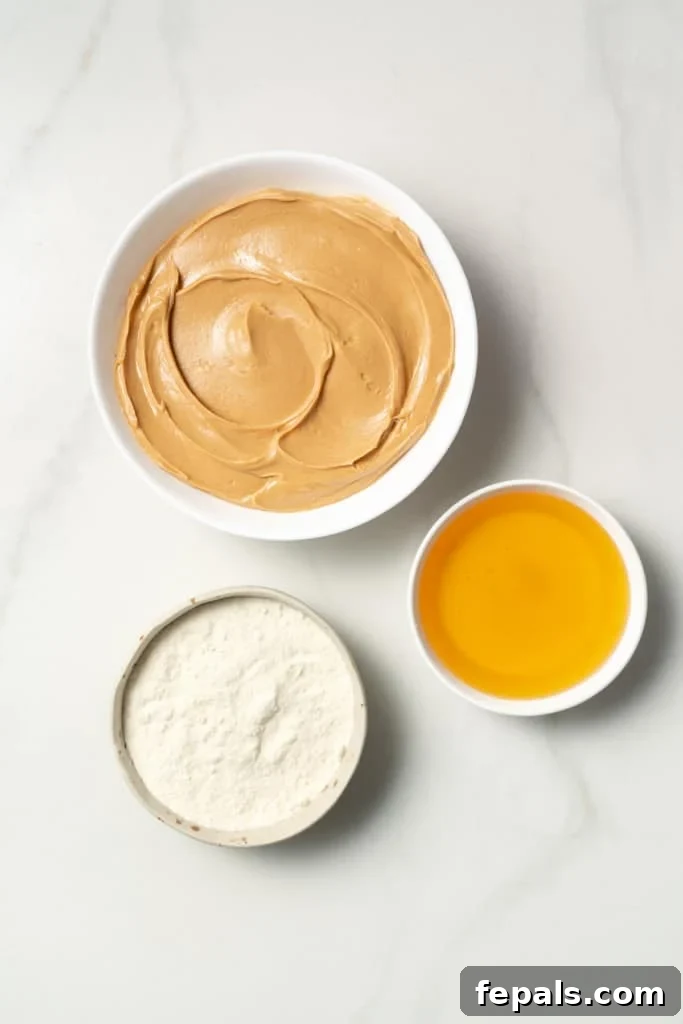
The beauty of these healthy peanut butter balls lies in their simplicity. With just three core ingredients, you can create a treat that’s both wholesome and incredibly flavorful. You likely already have these staples in your pantry, making this recipe accessible and convenient. Here’s a closer look at what you’ll need and why each component is essential:
- Your Choice of Nut Butter: This forms the creamy, rich base of our energy bites.
- Peanut Butter: A classic choice, offering a robust, nutty flavor that pairs perfectly with sweet elements. Opt for natural, creamy peanut butter with minimal added sugars and oils for the healthiest result.
- Almond Butter or Cashew Butter: For a slightly milder flavor profile, almond or cashew butter works wonderfully, adding healthy fats and a smooth texture.
- Sunflower Seed Butter (Nut-Free Option): If you have nut allergies or are preparing these for someone who does, sunflower seed butter (often labeled “sunbutter”) is an excellent, delicious, and safe alternative. Ensure it’s creamy for the best consistency.
- Natural Sweetener: To achieve that perfect balance of sweetness and a chewy texture.
- Honey: Provides a distinct floral sweetness and a binding quality that helps hold the balls together. It’s a natural source of energy.
- Maple Syrup: A fantastic vegan alternative to honey, offering a slightly different, rich sweetness. Be sure to use pure maple syrup, not pancake syrup, for the best flavor and nutritional benefits.
- Low-Carb Alternatives: For a sugar-free or low-carb version, monk fruit-sweetened maple syrup or a sugar-free liquid stevia can be used, though you might need to adjust the amount of flour slightly to achieve the desired consistency.
- Almond or Coconut Flour: Essential for absorbing moisture, adding structure, and achieving that delightful cookie-dough-like texture.
- Almond Flour: A finely ground flour made from blanched almonds, it provides a tender, cake-like texture without being overly dense. Its mild flavor doesn’t overpower the nut butter. Note that almond flour is unique in its absorbency; other flours (like all-purpose or wheat flour) will not yield the same result.
- Coconut Flour: Highly absorbent, coconut flour can also be used but in a smaller quantity (typically 1 cup for every 1 ¼ cup of almond flour), as it soaks up more liquid. It adds a subtle coconut flavor and a slightly denser texture. Always measure carefully when substituting with coconut flour.
Using high-quality ingredients will significantly enhance the flavor and nutritional value of your peanut butter balls. Choose organic and natural options whenever possible to ensure you’re getting the best for your body.
Step-by-Step Guide: Crafting Your Perfect Peanut Butter Balls
Creating these delectable no-bake peanut butter balls is incredibly straightforward. Follow these simple steps to ensure a perfect batch every time:
- Combine the Core Ingredients: In a large mixing bowl, combine your chosen creamy nut butter (peanut butter, almond butter, or cashew butter), honey or maple syrup, and almond or coconut flour. Ensure your nut butter is at room temperature for easier mixing. If it’s too cold and stiff, gently warm it slightly in the microwave for a few seconds (about 10-15 seconds) until it’s more pliable but not melted.
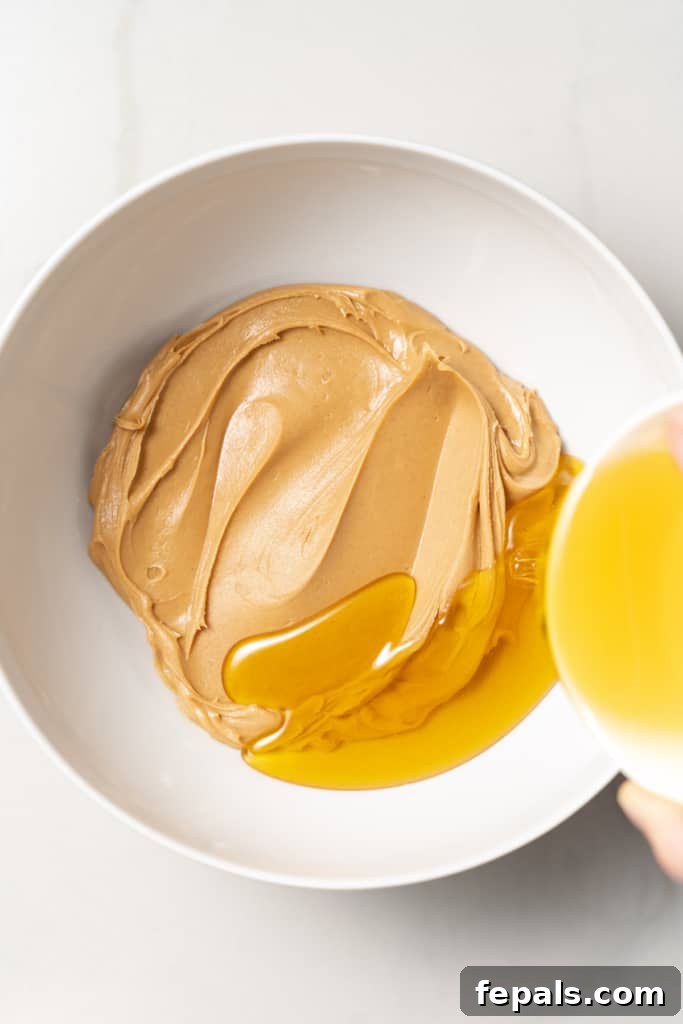
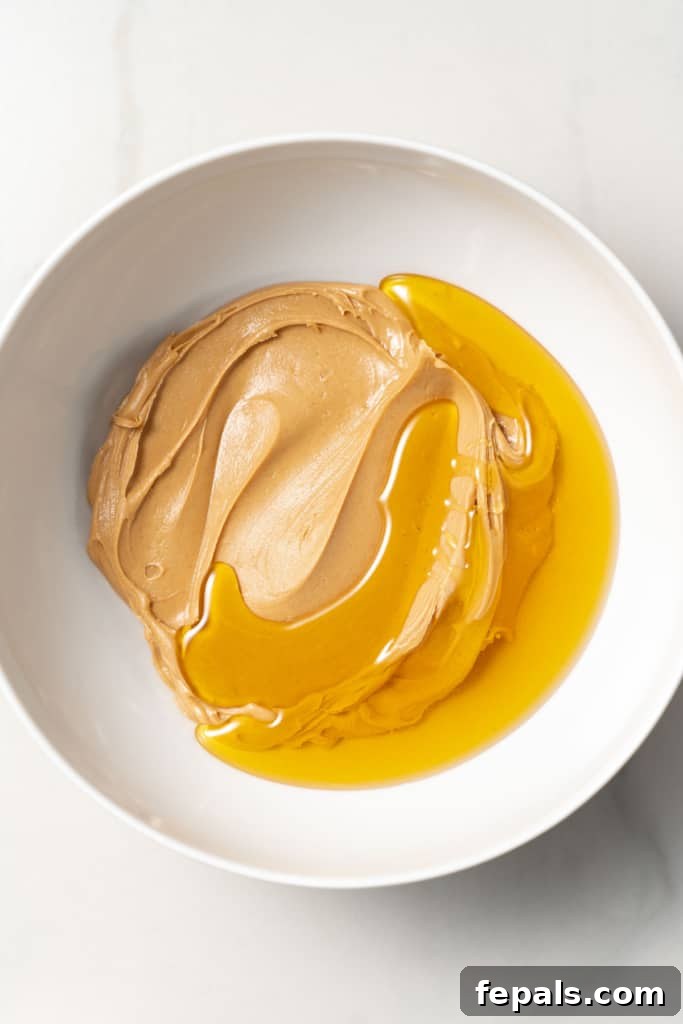
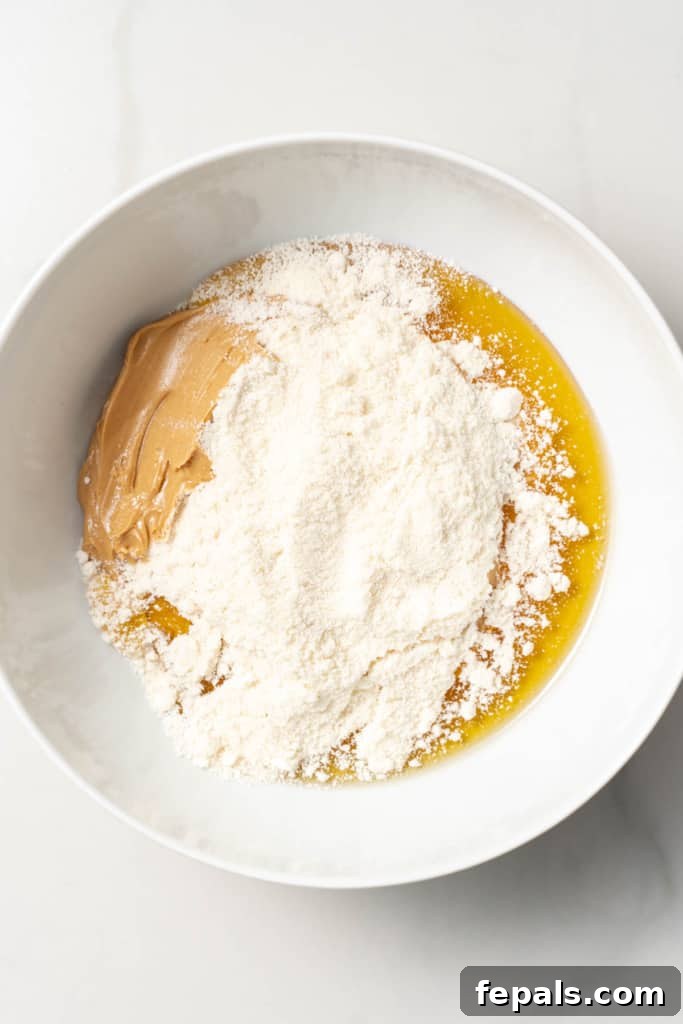
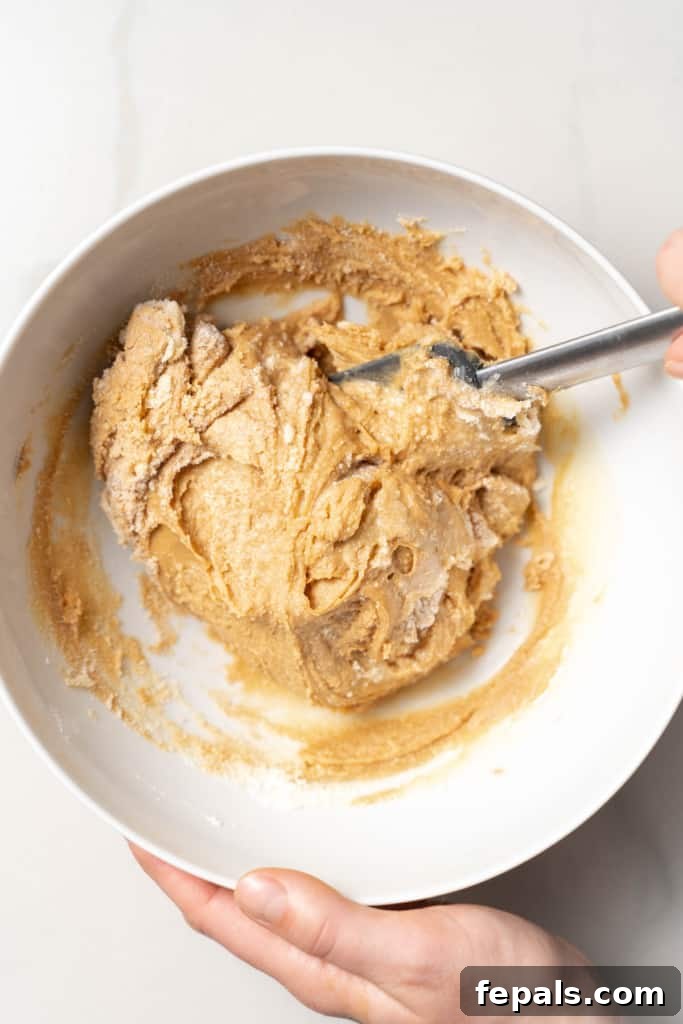
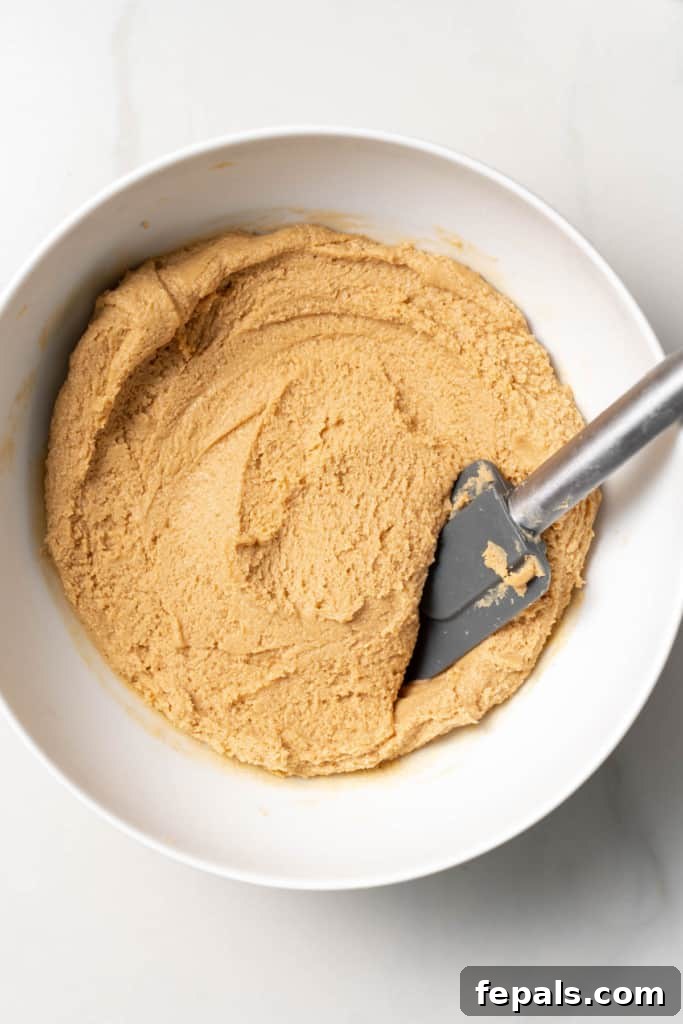
- Mix Until Well Combined: Using a sturdy spatula or a wooden spoon, vigorously mix the ingredients until a uniform, thick dough forms. It’s important to scrape down the sides of the bowl to ensure everything is fully incorporated. If the dough appears too thick, dry, or crumbly, add water one tablespoon at a time, mixing thoroughly after each addition, until you achieve a nice, pliable, thick doughy consistency that’s easy to roll. Conversely, if your dough seems too sticky, add a tiny bit more almond or coconut flour (half a tablespoon at a time) until it’s manageable. Once mixed, cover the bowl and chill the dough in the refrigerator for about 20 minutes. This step is crucial as it allows the flour to fully absorb the liquids, firming up the dough and making it much easier to handle and roll.
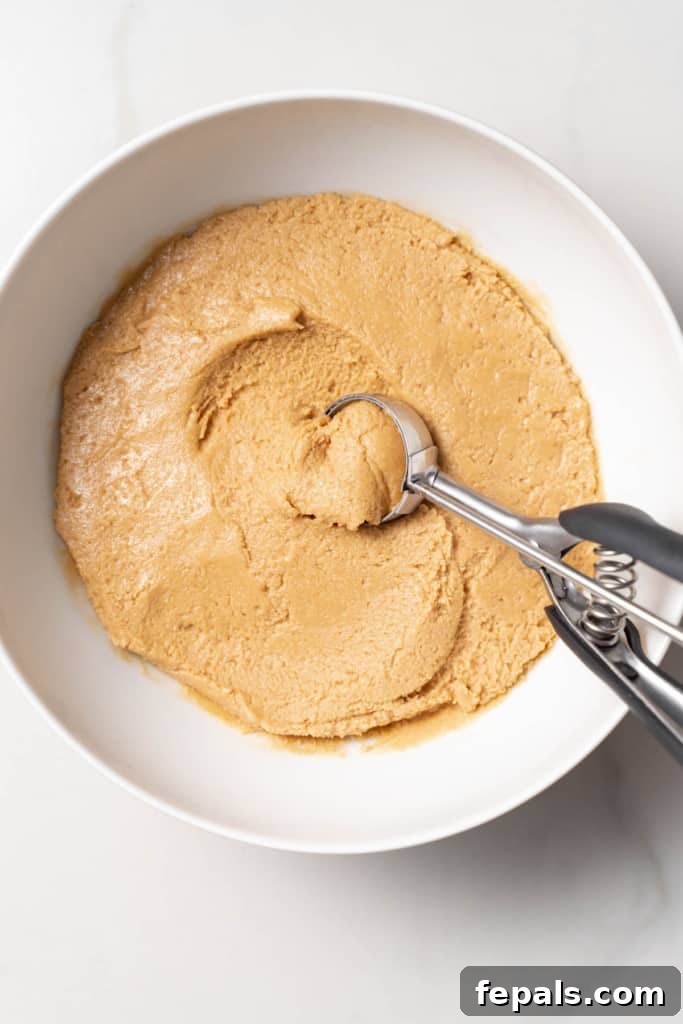
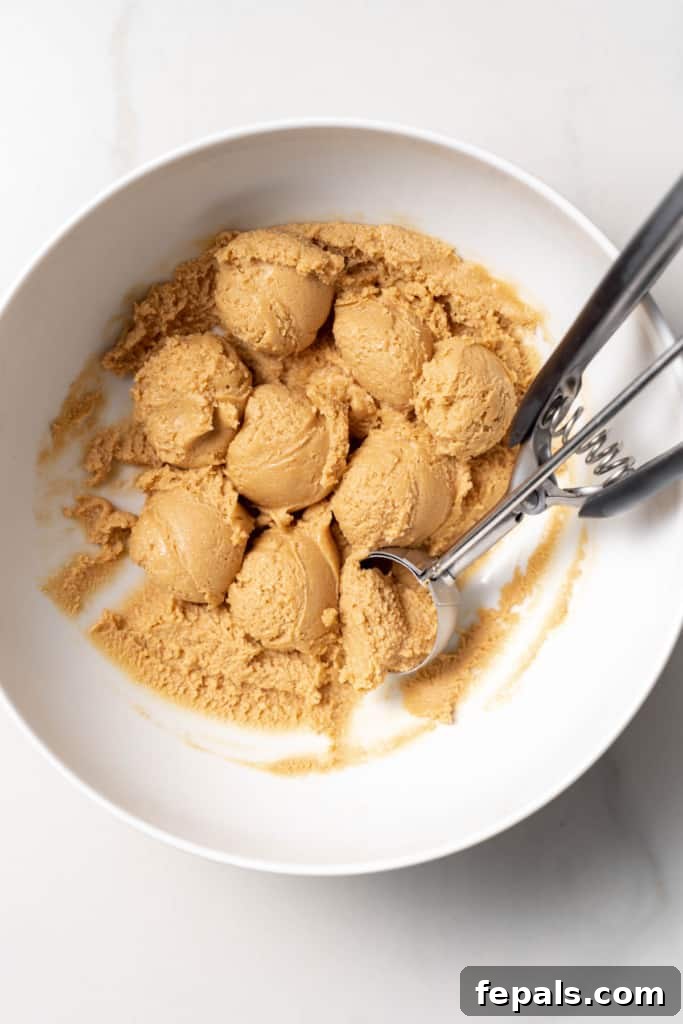
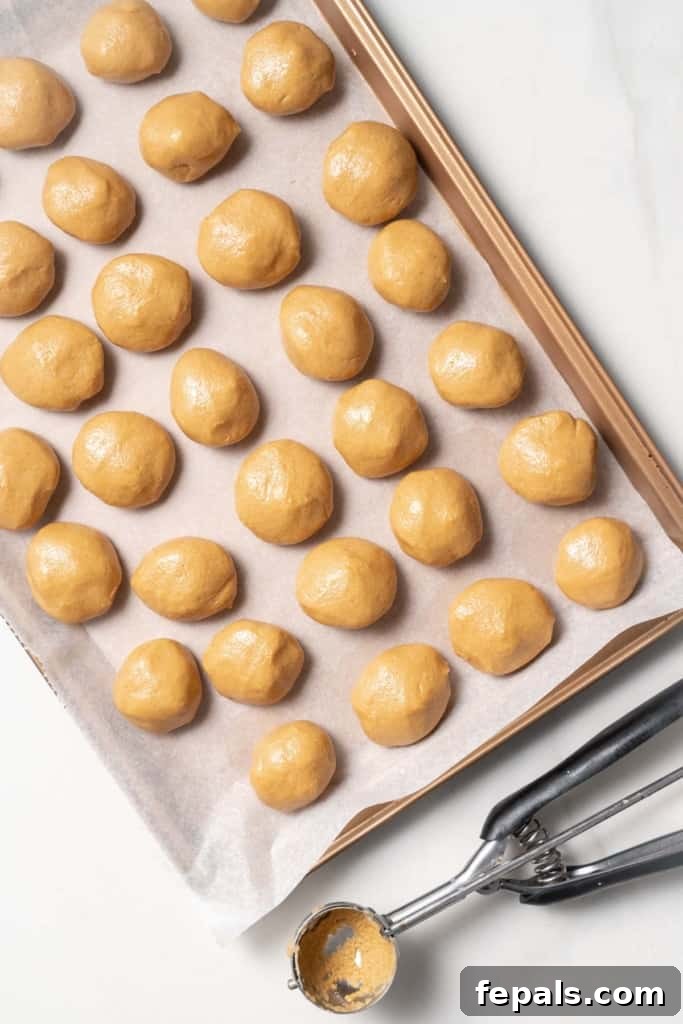
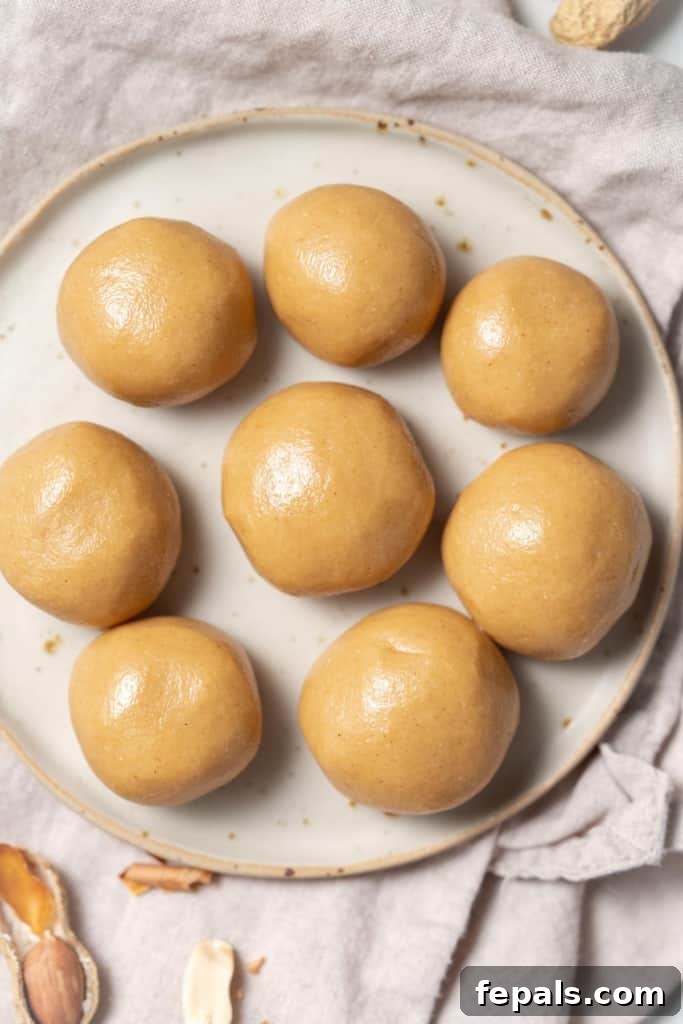
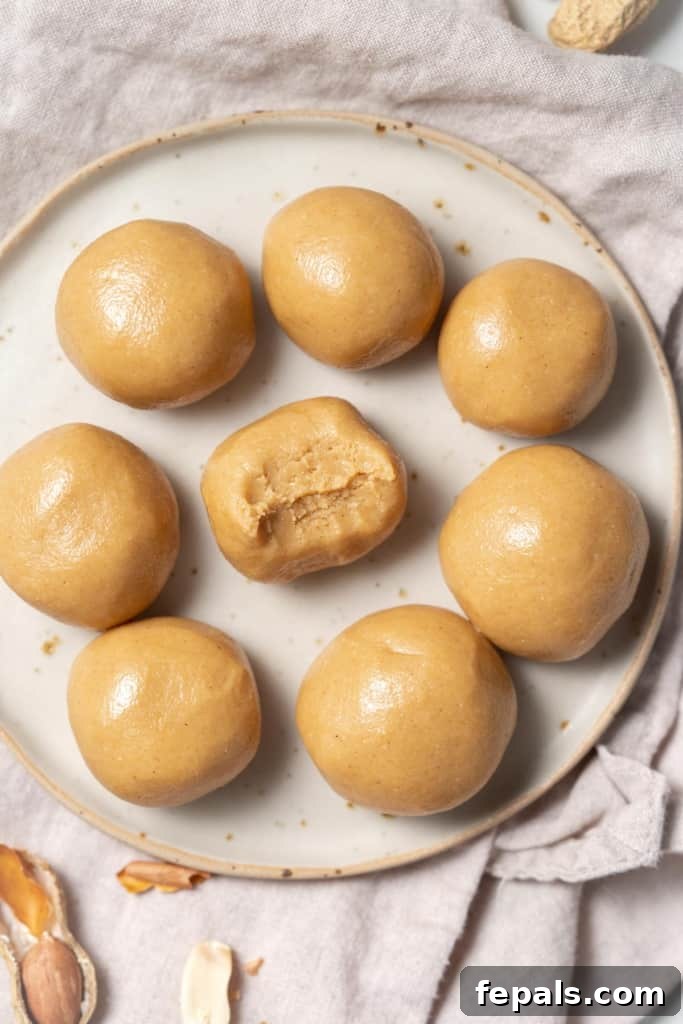
- Shape Your Energy Bites: Once chilled, remove the dough from the refrigerator. Using your hands or a small cookie scoop (about 1-tablespoon size for uniform portions), form the dough into small, bite-sized balls. Aim for a consistent size so they firm up evenly. Depending on how large you make them, you should yield approximately 14-16 delicious peanut butter balls from this recipe.
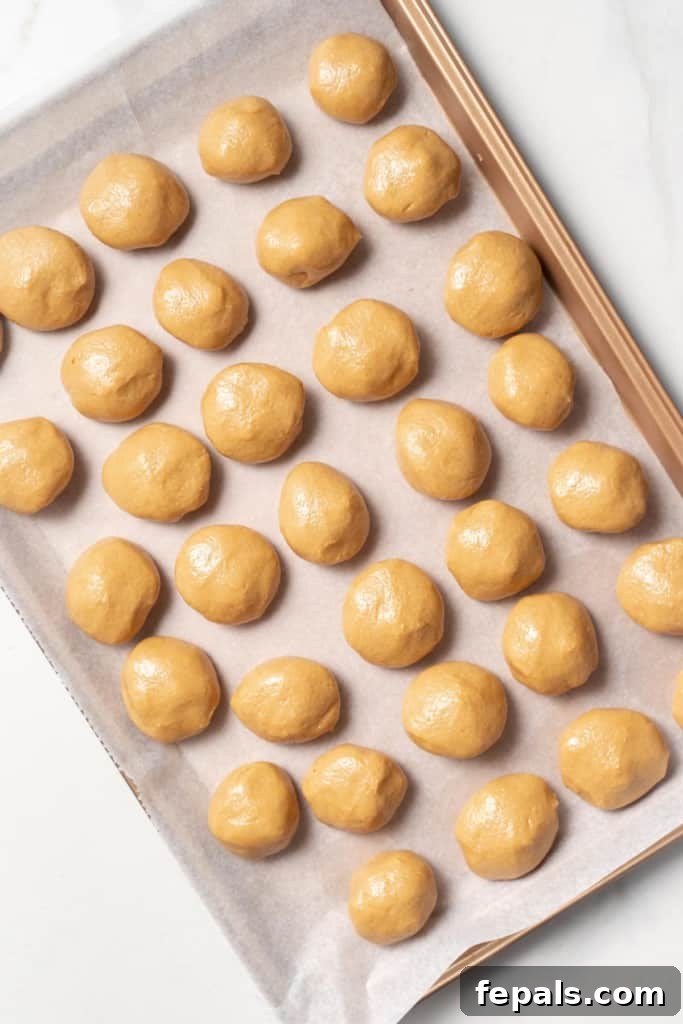
- Final Chill and Serve: Arrange the freshly rolled balls onto a baking sheet lined with parchment paper. This prevents sticking and makes transfer easier. Place the sheet pan back into the fridge for at least 30 minutes. This final chilling period is essential for the balls to firm up completely, enhancing their texture and making them easier to handle and enjoy. Once firm, they are ready to serve! Enjoy these delightful treats as a snack, dessert, or a quick energy boost.
Elevate Your Bites: Tips, Tricks, and Customization Ideas
While delicious in their basic form, these no-bake peanut butter balls are incredibly versatile and can be customized to suit your taste, dietary needs, or simply to add a fun twist. Here are some expert tips and exciting substitution ideas to make your next batch even better:
- For a Low-Carb or Low-Sugar Version: If you’re mindful of your sugar intake, swap honey or maple syrup for low-carb, sticky sweeteners. Monk fruit-sweetened maple syrup or a sugar-free liquid stevia can be excellent alternatives. Remember that liquid sweeteners can affect the dough consistency, so you might need to slightly adjust the amount of flour to get the perfect texture.
- Unleash Your Inner Flavor Creator: These bites are a blank canvas for flavor.
- Chocolate Lover’s Dream: Stir in about 1/3 cup of mini chocolate chips (dark, milk, or white chocolate work well) directly into the dough for a classic combination.
- Nutty Crunch: Add chopped nuts like peanuts, pecans, or walnuts for extra texture and flavor.
- Fruity Twist: Incorporate dried fruits such as raisins, dried cranberries, or finely chopped apricots for a chewy, sweet addition.
- Spiced Sensation: A pinch of cinnamon or a tiny dash of vanilla extract can deepen the flavor profile beautifully.
- Rolling in Extra Goodness: After shaping, you can roll the balls in various coatings for an extra layer of flavor and visual appeal. Unsweetened shredded coconut, cocoa powder, finely chopped nuts, or even sprinkles make for a fun finish.
- Mastering Dough Consistency: The perfect dough is key.
- If your mixture is too thick, dry, or crumbly, it likely needs more liquid. Add water (or a tiny bit more sweetener or nut butter) one tablespoon at a time, mixing well until it reaches a smooth, pliable, and easy-to-roll consistency.
- If the dough is too sticky or soft, it might need more dry ingredients. Gradually add an extra half tablespoon of almond or coconut flour until it firms up. Chilling the dough adequately is also vital for managing stickiness.
- Indulge in a Decadent Chocolate Dip: For a truly irresistible treat, melt some milk chocolate, dark chocolate, or even white chocolate. Once your peanut butter balls are firm from chilling, dip each one into the melted chocolate, allowing any excess to drip off. Place them back on the parchment-lined sheet and chill again until the chocolate coating is completely set. This creates a delightful outer shell and a luxurious experience.
- Boost the Protein: For an extra protein punch, you can swap out about half of the almond flour with your favorite vanilla or unflavored whey protein powder. This is an excellent way to make them even more satisfying for post-workout recovery.
Your Questions Answered: All About No-Bake Peanut Butter Balls
Energy balls are incredibly versatile and can be enjoyed anytime! Many people find them perfect for a sustained energy boost before a workout. They’re also excellent for replenishing fuel and aiding recovery after hitting the gym. For those busy mornings, a couple of these can even serve as a quick, portable, and nutritious breakfast. They also make a fantastic afternoon snack to combat the notorious 3 PM slump or a guilt-free dessert after dinner.
For this specific recipe, each ball is approximately 159 calories. It provides a balanced nutritional profile with about 9 grams of carbohydrates, 5 grams of protein, and 13 grams of healthy fats. These figures are approximate and can vary slightly based on the exact brands and quantities of ingredients you use. For a detailed breakdown, please refer to the nutrition information provided in the recipe card below.
Proper storage is key to maintaining the freshness and texture of your peanut butter balls. They should always be stored in an airtight container to prevent them from drying out or absorbing other odors from the fridge. Stored this way, they will remain fresh in the refrigerator for up to 2 weeks. If you leave them on the counter at room temperature, they will soften considerably and won’t last as long.
This recipe specifically calls for almond flour or coconut flour because of their unique absorbent qualities and gluten-free nature, which contribute to the desired cookie-dough-like texture. Regular all-purpose flour or whole wheat flour will not work as a direct substitute without significant alterations to the liquid ratios, as they absorb moisture differently and would likely result in a much drier or tougher consistency. Stick to almond or coconut flour for the best results, adjusting the quantity as noted in the ingredients section if using coconut flour.
Yes, this recipe is naturally gluten-free when using almond or coconut flour, as both are gluten-free ingredients. To make them vegan, ensure you use maple syrup instead of honey as your sweetener, and verify that your chosen nut butter doesn’t contain any animal products (most natural nut butters are vegan). This makes them a fantastic option for those with dietary restrictions.
Optimal Storage: Keeping Your Energy Bites Fresh
Proper storage ensures your delicious no-bake peanut butter balls remain fresh, firm, and ready to enjoy whenever you need a quick snack. Here’s how to best store them:
- Storing in the Refrigerator: For daily enjoyment, place your peanut butter balls in an airtight container. This will protect them from drying out and absorbing unwanted flavors from other foods in your fridge. Stored correctly, they will maintain their optimal texture and freshness for up to 2 weeks. Avoid leaving them out at room temperature for extended periods, as they will soften and lose their desired consistency.
- Freezing for Long-Term Freshness: These energy bites freeze beautifully, making them an excellent candidate for bulk meal prepping.
- To freeze, arrange the firm peanut butter balls in a single layer on a parchment-lined baking sheet. Place them in the freezer for about 1-2 hours, or until they are completely solid. This flash-freezing step prevents them from sticking together when stored.
- Once solid, transfer the frozen balls to a freezer-safe airtight container or a heavy-duty freezer bag. They can be stored in the freezer for up to 3 months.
- When you’re ready to enjoy a frozen ball, simply take it out of the freezer and let it sit at room temperature for 5-10 minutes. This allows them to soften slightly to a perfect chewy consistency. They are also quite delicious enjoyed directly from the freezer for a harder, cooler treat!
Discover More Delicious & Healthy Snack Recipes
If you loved these 3-Ingredient No-Bake Peanut Butter Balls, you’re in for a treat! Our kitchen is brimming with an array of wholesome and easy-to-make snack recipes that are perfect for any time of day. Explore these other fantastic options to keep your energy levels high and your taste buds happy:
- No-Bake Birthday Cake Protein Bites
- Best No-Bake Energy Bites
- Cookies and Cream Energy Bites
- Monster Cookie Energy Bites
- Walnut and Dates Energy Balls
- Peanut Butter Cookie Dough Balls
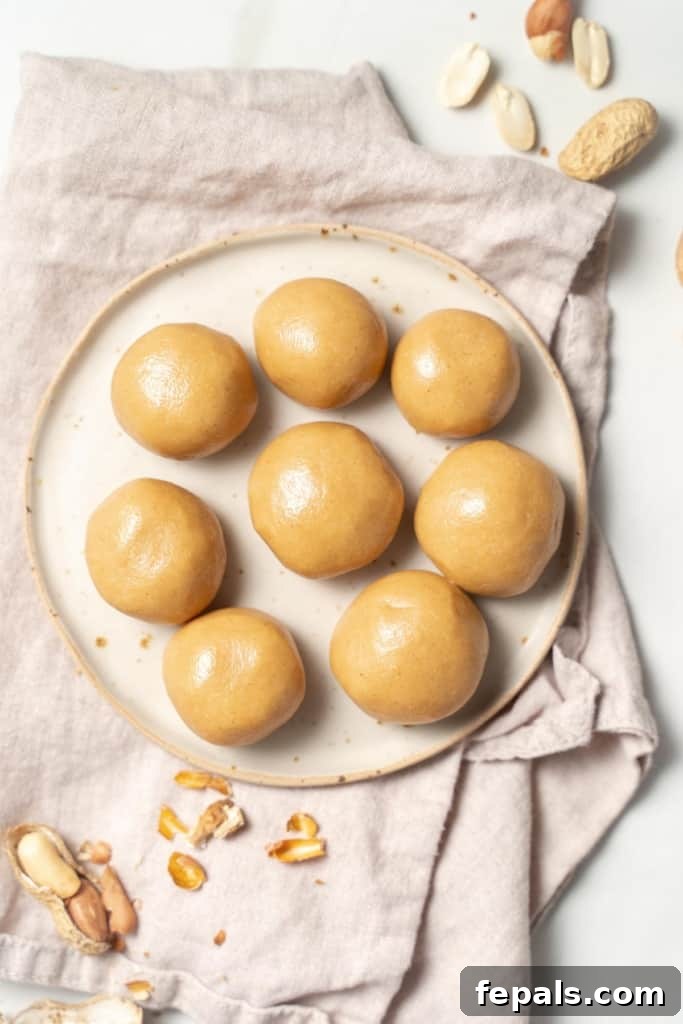
We hope you enjoy making and savoring these wonderful No-Bake Peanut Butter Balls as much as we do. If you try this recipe and find it to your liking, please consider leaving us some feedback in the comment section below. Your thoughts and ratings are incredibly valuable and help others discover great recipes! And don’t forget to share this easy and delicious recipe with your friends and family – spread the joy of healthy, homemade snacking.
FOLLOW Healthy Fitness Meals on FACEBOOK | INSTAGRAM | PINTEREST | TWITTER for all of our latest blog posts, recipes, and healthy living tips!
No-Bake Peanut Butter Balls
Rena
16 balls
10
30
40
Equipment
- medium bowl
- spatula
- Sheet Pan
Ingredients
- 1 cup creamy peanut butter, almond butter, or cashew butter
- 1/4 cup honey or maple syrup
- 1 ¼ cup almond flour, or 1 cup coconut flour
Instructions
- Into a large bowl, add the peanut butter, honey, and almond flour.
- Using a spatula, mix until combined. If the dough is too thick or crumbly add 1 tablespoon of water at a time until it comes to a nice, thick doughy consistency.
- Place the dough in the fridge to chill for 20 minutes.
- Using your hands, or scooper, form the dough into small-sized balls. Depending on the size of the balls you make, you will have 14-16 balls.
- If the balls are not firm enough to your liking, place them onto a sheet pan lined with parchment paper and store in the fridge again for 20 minutes to firm more if needed. Serve and enjoy.
Notes
- Any nut butter can be used.
- You can swap half of the flour with vanilla whey protein powder.
- Store the peanut butter balls in a sealed container in the fridge for up to 2 weeks.
- If you store the balls on your kitchen counter they will get soft.
- You can freeze the balls for up to 3 months. If they get too hard, let them sit at room temperature for 5-10 minutes before eating.
Nutrition
Serving: 1 ball
Calories: 159 kcal
Carbohydrates: 9g
Protein: 5g
Fat: 13g
Saturated Fat: 2g
Polyunsaturated Fat: 2g
Monounsaturated Fat: 4g
Sodium: 70mg
Potassium: 102mg
Fiber: 2g
Sugar: 5g
Calcium: 32mg
Iron: 1mg
Nutrition information is automatically calculated, so should only be used as an approximation.
Additional Info
Tried this recipe?
Mention @healthyfitnessmeals or tag #healthyfitnessmeals!