
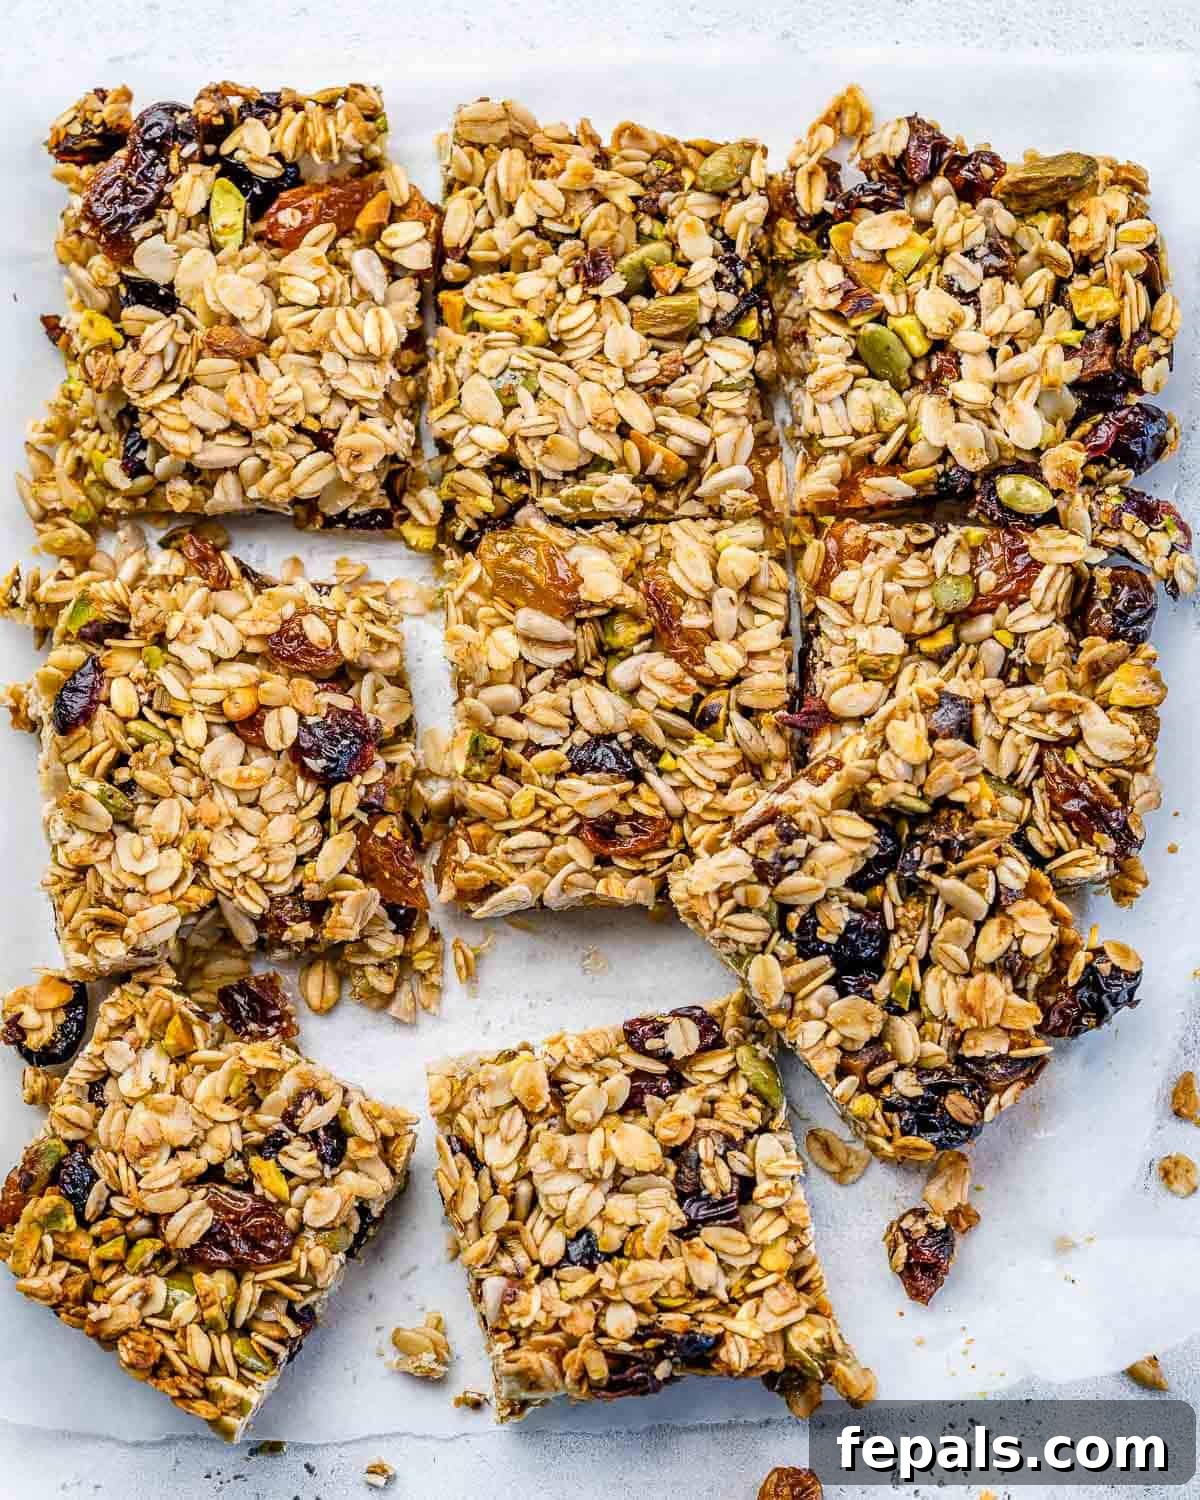
These homemade oatmeal granola bars are exquisitely chewy, utterly delicious, and remarkably simple to prepare. Brimming with a wholesome blend of nuts and dried fruits, they come together in a mere 30 minutes, making them a perfect solution for a healthy, grab-and-go breakfast, a satisfying snack between meals, or a guilt-free dessert. Forget the bland, overly processed options from the store – these homemade treasures are designed to fuel your body with natural goodness.
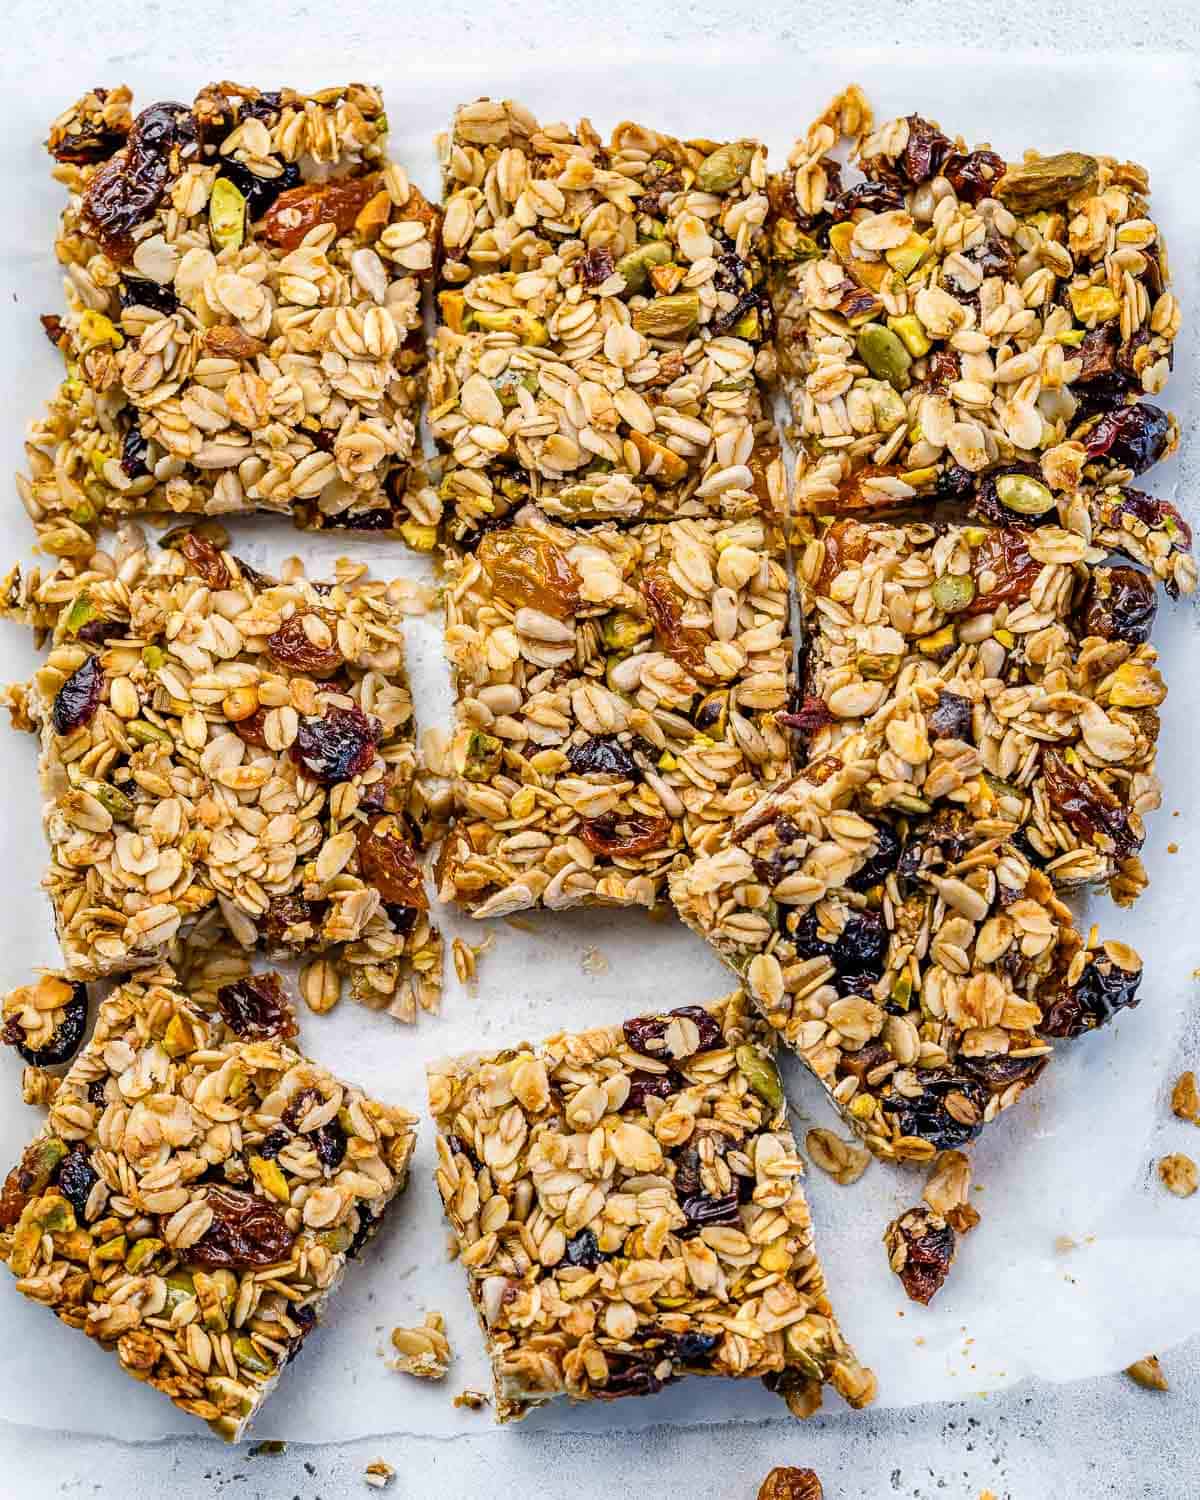
Are you looking for a super easy and incredibly rewarding oatmeal recipe? These healthy and hearty homemade granola bars are exactly what you need. Crafted with wholesome rolled oats, a touch of natural honey, and a delightful mix of dried fruits and crunchy nuts, they offer a perfect balance of flavor and nutrition. The best part? They are incredibly easy to make, requiring minimal fuss and just half an hour of your time from start to finish. This makes them an ideal choice for a convenient, healthy breakfast or a wholesome snack that you can enjoy any time of year.
Embrace the joy of home baking and say goodbye to expensive, often less nutritious, store-bought granola bars. Our oatmeal bars recipe is packed with essential fiber, beneficial protein, and a spectrum of vital nutrients, ensuring your body receives the optimal fuel it needs. Each bite delivers a chewy texture and a burst of natural sweetness, making healthy eating both enjoyable and effortless. Moreover, preparing them yourself gives you complete control over the ingredients, allowing you to tailor them precisely to your taste and dietary preferences, avoiding any unwanted additives or artificial flavors.
Why Choose Homemade Granola Bars Over Store-Bought?
The market is flooded with various granola bar options, but making them at home offers unparalleled advantages. The primary benefit is the absolute control you gain over the ingredients. Commercial granola bars often contain high fructose corn syrup, artificial flavors, excessive added sugars, and unhealthy preservatives that detract from their purported health benefits. With this easy granola bars recipe, you’re in charge, ensuring every ingredient contributes positively to your health.
Homemade versions are also significantly more nutritious. Rolled oats provide complex carbohydrates and a wealth of soluble and insoluble fiber, crucial for digestive health and sustained energy. Nuts and seeds contribute healthy monounsaturated and polyunsaturated fats, as well as essential proteins, vitamins, and minerals like magnesium, zinc, and Vitamin E. Dried fruits offer natural sweetness along with antioxidants and more fiber. This powerful combination makes each bar a complete and balanced snack that supports energy levels, satiety, and overall well-being far better than most factory-produced alternatives.
Beyond health, there’s the freedom of customization. This recipe is a fantastic starting point, but it’s incredibly versatile. You can adapt it to seasonal preferences, dietary restrictions, or simply your personal cravings. Want a different nut? Go for it! Craving chocolate? Add some dark chocolate chips. Need a vegan option? Maple syrup is a perfect substitute for honey. This adaptability not only keeps things exciting but also allows you to cater to specific allergies or preferences within your family. Plus, the fresh taste and chewy texture of homemade bars are simply unmatched.
Essential Ingredients for Your Chewy Granola Bars
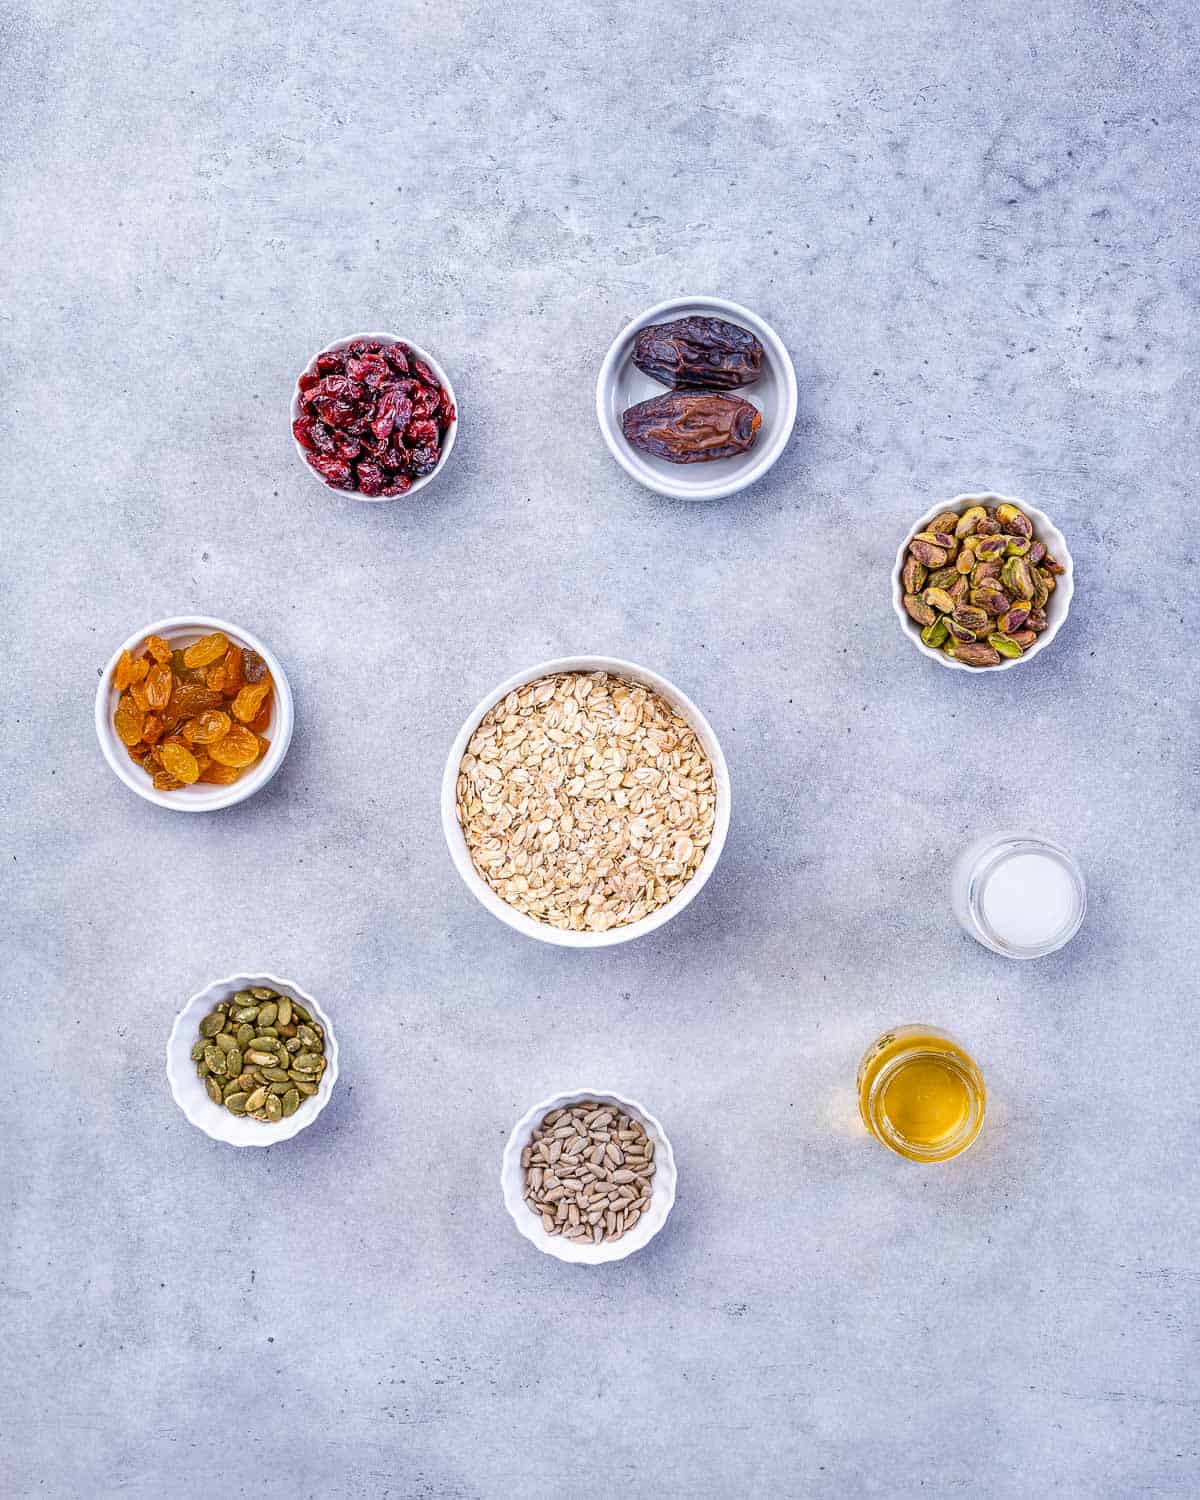
Crafting the perfect batch of delightful chewy homemade oatmeal granola bars begins with a careful selection of wholesome ingredients. This recipe highlights a wonderful combination, but remember, customization is encouraged! Below is a list of the components you’ll need, along with insights into their role and potential substitutions. The precise measurements for this recipe are detailed in the full recipe card further down the page.
- Rolled Oats: The cornerstone of our granola bars, providing structure, texture, and a significant fiber boost. It’s crucial to use old-fashioned rolled oats for this recipe. Quick oats are too finely processed and can lead to a crumbly, mushy texture, while steel-cut oats are too tough and won’t soften appropriately during baking.
- Honey: This natural liquid sweetener is vital not just for its delightful flavor but also as a powerful binding agent that gives these bars their signature chewiness. For those seeking a vegan option, pure maple syrup can be used in equal measure, offering a similar sweetness and binding quality.
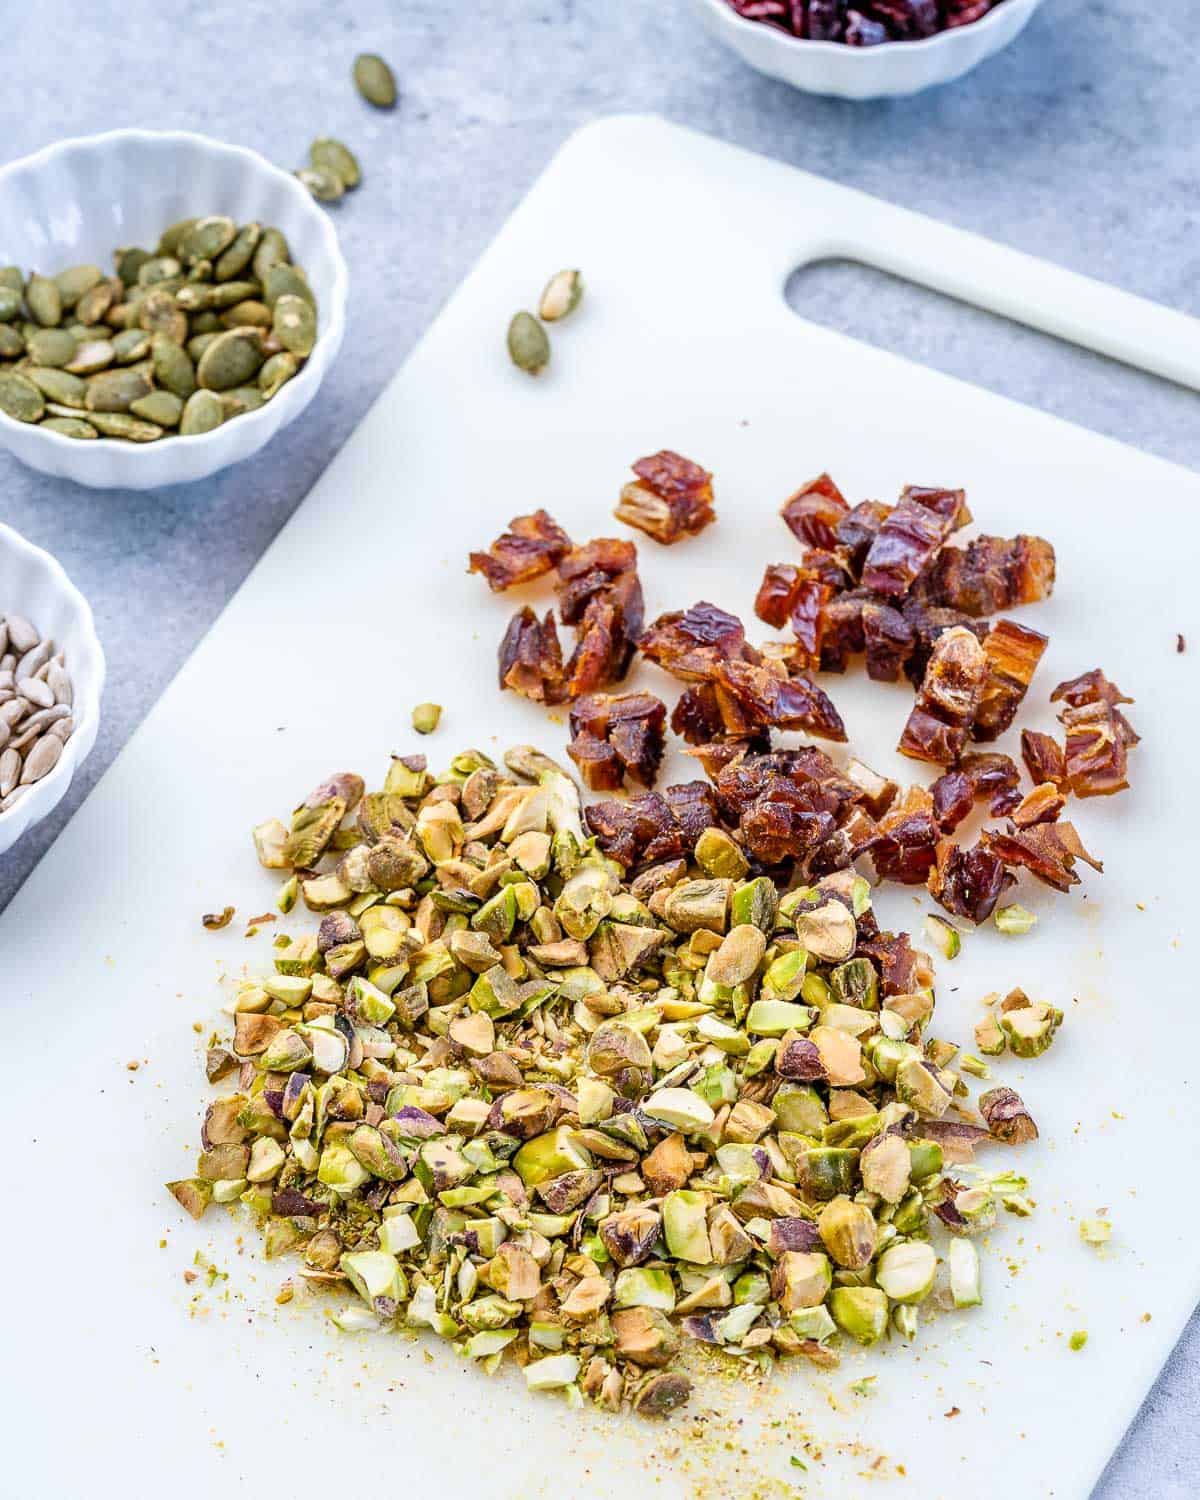
- Pistachios: These vibrant green nuts add a fantastic crunch and a slightly savory note that beautifully balances the sweetness. They’re also packed with healthy fats and protein. Feel free to substitute with other favorite nuts like chopped almonds, walnuts, pecans, or even cashews.
- Coconut Oil: When melted, coconut oil acts as another binder and contributes to the bars’ firm yet tender texture. It also imparts a subtle, pleasant aroma. If coconut oil isn’t available, unsalted melted butter or a neutral-flavored oil like avocado oil can serve as alternatives.
- Sunflower Seeds: These small but mighty seeds are a wonderful source of Vitamin E and healthy fats, adding an additional layer of texture and nutritional value. They complement the other nuts and fruits perfectly.
- Pumpkin Seeds (Pepitas): Known for their distinct nutty flavor and satisfying chew, pumpkin seeds further enhance the nutritional profile of these bars, providing more protein, fiber, and essential minerals.
- Golden Raisins: Offering a concentrated burst of natural sweetness and a lovely chewy contrast, golden raisins are a classic granola bar addition. You can easily swap these for regular dark raisins, or other chopped dried fruits like cranberries, apricots, or even dried blueberries.
- Dried Cranberries: These contribute a pleasant tartness that cuts through the sweetness, adding a dynamic flavor profile to each bar. Like golden raisins, they also provide beneficial antioxidants. Any other dried berry or finely chopped dried fruit will work wonderfully as a substitute.
- Pitted Medjool Dates: Dates are a secret weapon in homemade granola bars, acting as an exceptional natural binder and adding a rich, caramel-like sweetness and an extra soft, chewy dimension. Ensure they are pitted and roughly chopped before incorporating them into the mixture. Other soft varieties of pitted dates can also be used.
How to Make the Best Homemade Oatmeal Granola Bars
Creating a batch of these wholesome and delicious homemade oatmeal granola bars is a simple process that yields fantastic results. Follow these detailed steps to ensure your bars are perfectly chewy, hold their shape, and are packed with flavor.
Step 1: Preheat and Prepare Your Pan
Start by preheating your oven to 325°F (160°C). This ensures the oven is at the optimal temperature for even baking. Next, take an 8×8 inch square baking pan and line it thoroughly with parchment paper. It’s a clever trick to leave an overhang of parchment paper on two opposite sides. These overhangs will serve as convenient “handles” later, making it incredibly easy to lift the entire slab of baked granola bars out of the pan once they’ve cooled.
Step 2: Combine All Ingredients
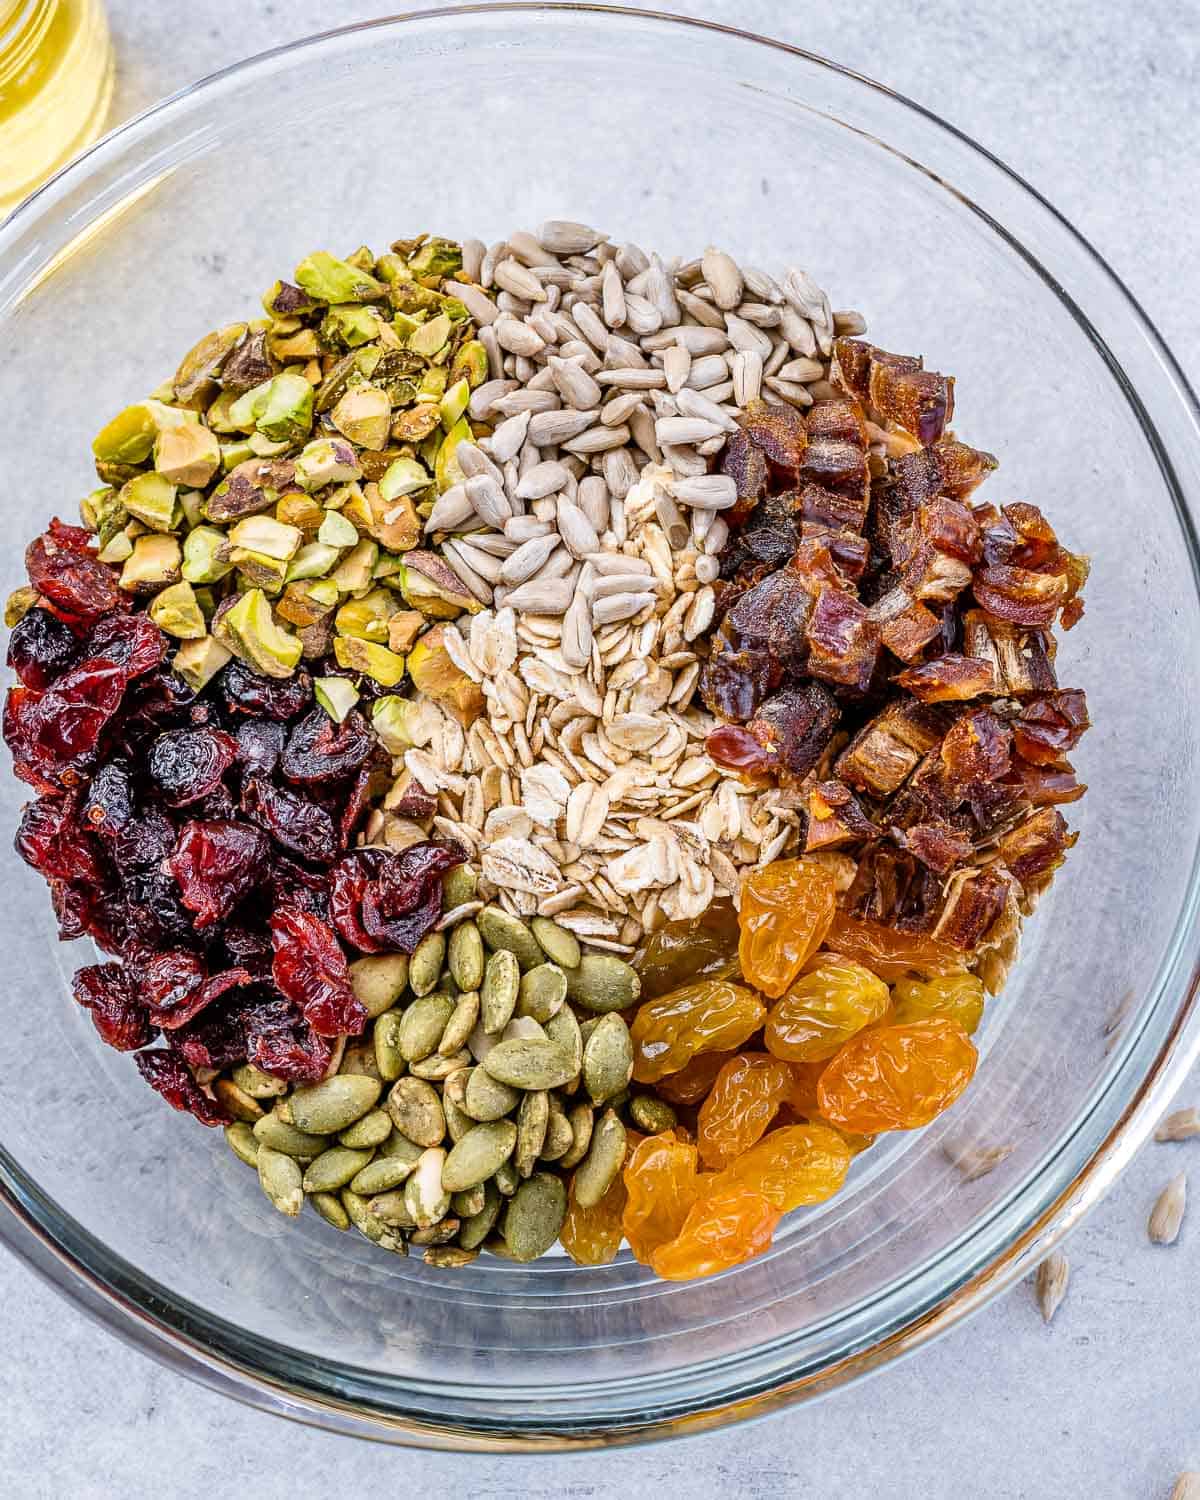
In a large, sturdy mixing bowl, add all the ingredients as listed in the recipe card: the rolled oats, honey (or maple syrup), roughly chopped pistachios, melted coconut oil, sunflower seeds, pumpkin seeds, golden raisins, dried cranberries, and roughly chopped pitted Medjool dates. Using a strong spoon, or even your clean hands, mix everything together thoroughly. Continue mixing until all the dry components are uniformly coated and moistened by the honey and coconut oil. The mixture should feel quite sticky and dense, and if you pinch a small amount between your fingers, it should hold together without crumbling. This stickiness is key for the bars to bind and set properly.
Step 3: Press and Bake
Once your mixture is perfectly combined, transfer it into the parchment-lined baking pan. Now, this is a crucial step for achieving firm, non-crumbling bars: using the back of a spoon, a spatula, or even your hands protected by a piece of parchment paper, press the mixture down into the pan as firmly and evenly as possible. You want to compact it significantly to ensure that the bars hold their shape beautifully after baking. Ensure the surface is as flat and uniform as you can make it.
Place the pan in your preheated oven and bake for approximately 20 minutes. The bars are ready when their edges turn a lovely golden brown. The center might still feel a bit soft, but don’t worry, it will firm up considerably as it cools.
Step 4: Cool Completely and Cut
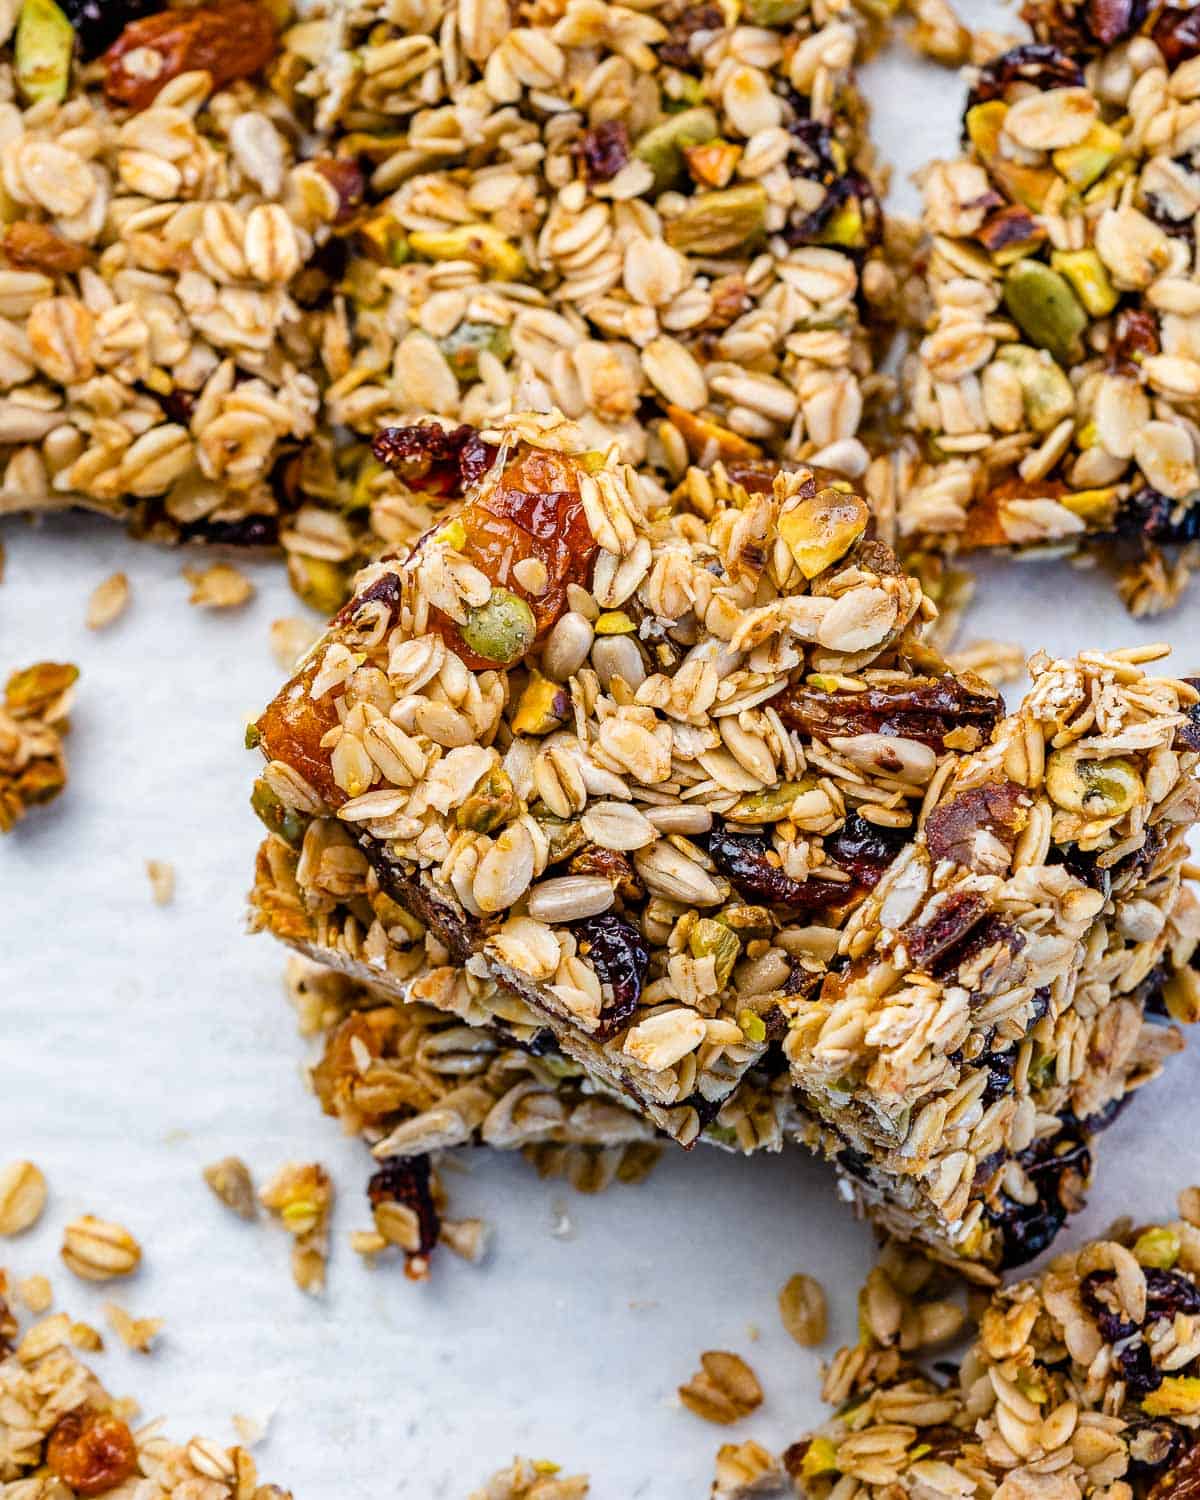
This is perhaps the most critical step for success. Once baked, remove the pan from the oven and place it on a wire rack to cool completely. Resist the urge to cut them while they are warm, as this will almost certainly cause them to crumble. Allowing them to cool fully, which can take a couple of hours, gives the binding agents time to set and solidify, ensuring perfectly structured, chewy bars.
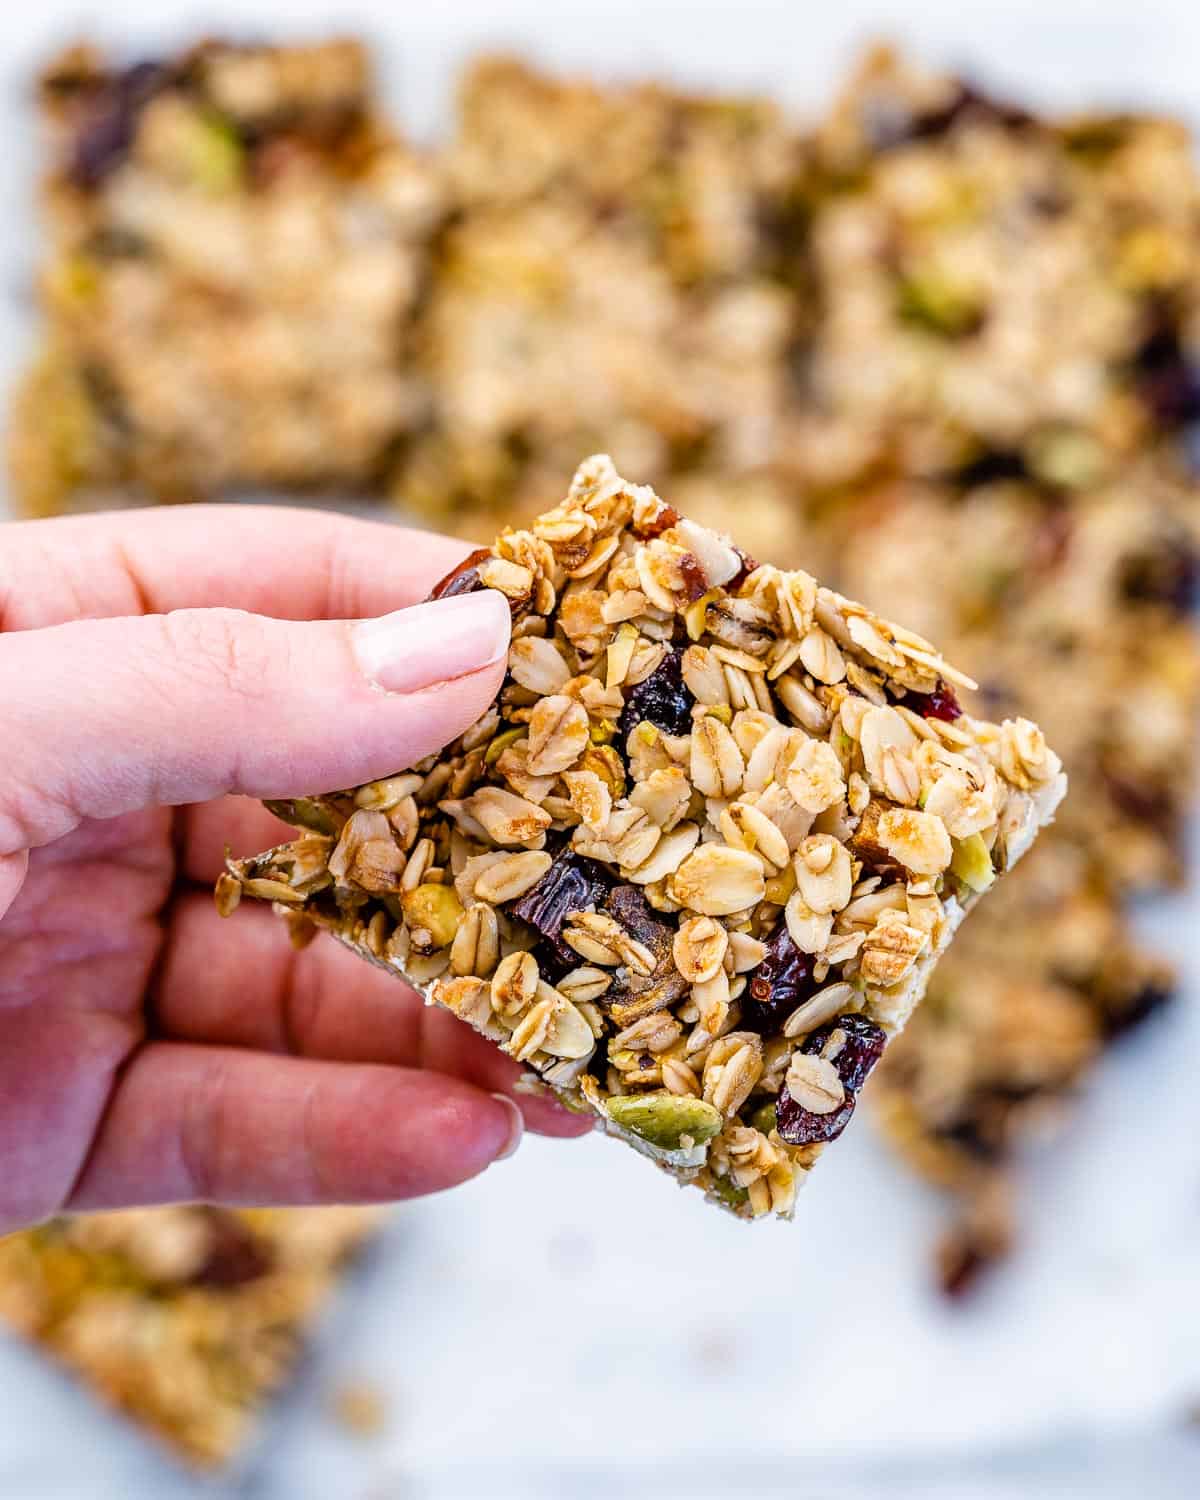
Once entirely cooled, use the parchment paper overhangs to gently lift the whole slab of granola out of the pan and transfer it to a cutting board. Slice the slab into 9 even squares or rectangles, or any size you prefer.
Step 5: Storage
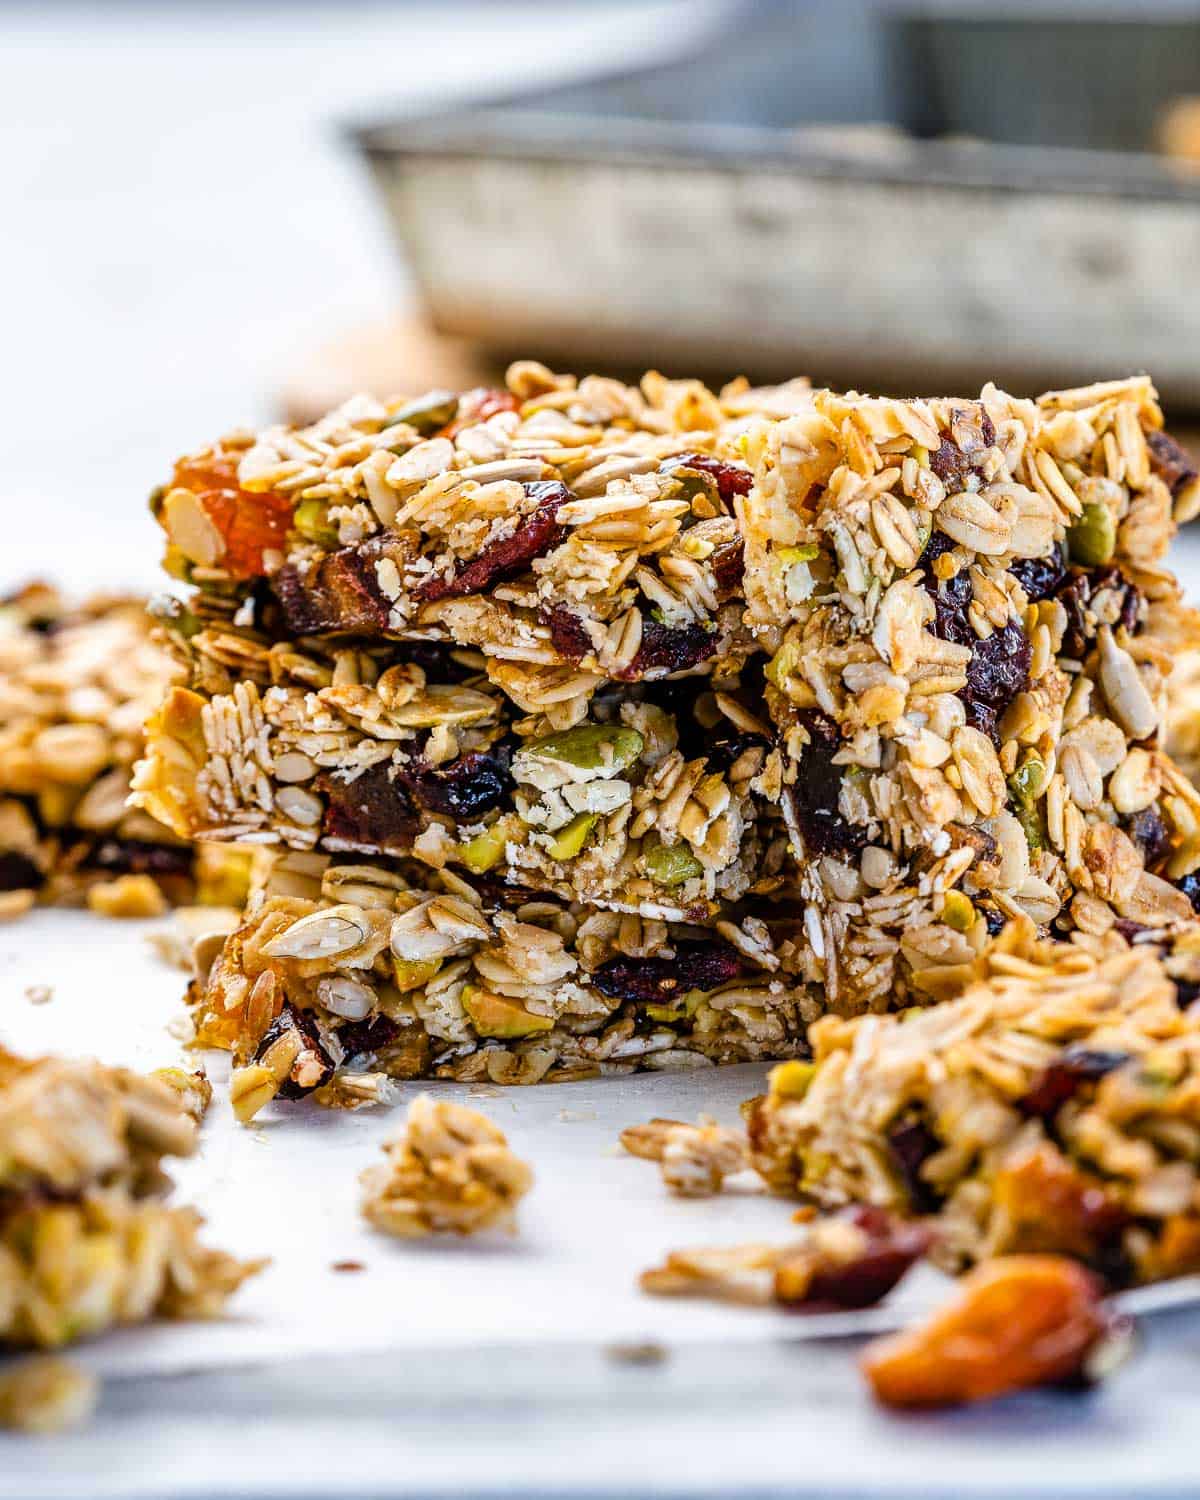
Store your freshly cut oatmeal granola bars in an airtight container. They will remain wonderfully fresh and chewy at room temperature for up to 3-4 days. For extended freshness, you can store them in the refrigerator for up to a week. For even longer storage, wrap individual bars tightly in parchment paper or plastic wrap and freeze them in a freezer-safe bag or container for up to 2-3 months. They thaw beautifully at room temperature, making them excellent for meal prepping.
Recipe Notes, Tips, and Substitutions for Customized Granola Bars
This simple granola bars recipe is incredibly versatile and forgiving, allowing you to easily adjust it to your taste, dietary preferences, or simply what you have available in your pantry. Here are some detailed notes and suggestions to help you perfect your next batch of healthy, homemade treats.
- Honey Substitutes: While honey provides a unique flavor and ideal stickiness, pure maple syrup is an excellent vegan-friendly alternative. You can use it in a 1:1 ratio. For a slightly different flavor profile and very chewy texture, brown rice syrup is another great option, also used in equal amounts.
- Choosing the Right Oats: This is fundamental for the perfect texture. Always opt for old-fashioned rolled oats. Their larger flakes hold their shape well and contribute to the satisfying chewiness. Quick oats (instant oats) are too finely processed and will absorb too much moisture, potentially leading to a softer, crumbly, or mushy bar. Steel-cut oats, on the other hand, are too dense and require a much longer cooking time, making them unsuitable for this recipe as they will remain hard and unpleasant.
- Endless Customization with Fruits and Nuts: This is where your creativity can shine!
- Nuts: Beyond pistachios, consider incorporating chopped almonds, walnuts, pecans, or even a blend of your favorite nuts. Lightly toasting them before adding can enhance their flavor and crunch.
- Seeds: Boost the nutritional content and texture with chia seeds, ground flax seeds, sesame seeds, hemp hearts, or even a sprinkle of poppy seeds. Each adds a unique touch.
- Dried Fruits: Experiment with chopped dried apricots, cherries, blueberries, figs, or even thinly sliced dried mango. For the healthiest option, choose unsweetened and sulfur-dioxide-free varieties.
- Extra Flavor Boosters: A pinch of ground cinnamon, nutmeg, or even pumpkin pie spice can add warmth. A teaspoon of vanilla extract deepens the overall flavor. For a touch of indulgence, miniature chocolate chips (dark, milk, or white) can be folded in. If you prefer them to stay firm, add them right after the bars come out of the oven.
- The Critical Cooling Phase: We cannot emphasize this enough: allowing the baked granola bars to cool off completely in the pan is non-negotiable. This prolonged cooling period is essential for the honey/syrup to solidify and bind all the ingredients firmly. Attempting to slice them while still warm or even slightly warm will result in crumbly, broken bars. Patience truly is a virtue here.
- Optimal Storing Techniques: Once fully cooled and cut, store your chewy granola bars in an airtight container to maintain their freshness. They can be kept at room temperature for 3-4 days. For extended shelf life, especially in warmer climates, store them in the refrigerator, where they will last up to a week. For longer-term storage and convenient meal prep, individually wrap the bars in parchment paper or plastic wrap and freeze them in a freezer-safe bag or container for up to 2-3 months. Thaw them at room temperature for a delicious snack anytime.
- Achieving the Perfect Density: Don’t be shy when pressing the mixture into the pan. Use significant force to compact the oats, nuts, and fruits tightly. This firm compression is crucial for creating bars that are dense, hold together well, and have that satisfying chewy texture rather than being loose and crumbly.
Frequently Asked Questions About Homemade Granola Bars
Curious about making your own healthy homemade granola bars? Here are answers to some of the most common questions to help you on your way to delicious success.
Absolutely! Homemade granola bars, particularly those made with clean, natural ingredients like this recipe, are a far healthier choice than many store-bought options. By making them yourself, you control the amount of sugar, fat, and types of ingredients, avoiding artificial additives, hydrogenated oils, and excessive high-fructose corn syrup often found in commercial products. These bars are rich in dietary fiber from oats, provide healthy fats and protein from nuts and seeds, and natural sweetness from dried fruits, making them a nutrient-dense and energy-boosting snack.
Indeed, a well-made homemade granola bar can be an excellent and convenient breakfast, especially on busy mornings. Its combination of complex carbohydrates from oats for sustained energy, healthy fats from nuts and seeds, and natural sugars helps to keep you full and energized without the quick sugar spike and crash associated with less healthy options. For a more complete breakfast, pair it with a source of protein like Greek yogurt, a hard-boiled egg, or a glass of milk.
Proper storage is key to maintaining the freshness and optimal texture of your granola bars. First, ensure they are completely cooled before storing. Once cool, place them in an airtight container at room temperature, where they will remain delicious for 3-4 days. For extended freshness, store them in the refrigerator for up to a week. If you’ve made a large batch and want them to last even longer, wrap individual bars tightly in plastic wrap or parchment paper and freeze them in a freezer-safe bag or container for up to 2-3 months. Thaw them at room temperature for a quick and easy snack.
For the best possible results in terms of texture and structure, rolled oats (also known as old-fashioned oats) are highly recommended for granola bars. Their larger, flatter flakes provide a satisfying chew and bind effectively. While quick oats can be used as a last resort, they are more finely cut and will result in a softer, potentially crumbly bar with a less pronounced texture. It is strongly advised not to use steel-cut oats, as they are too coarse and will not soften sufficiently during the baking process, leading to a hard and unpalatable product.
Yes, this easy granola bars recipe can be easily adapted to be vegan-friendly. The main ingredient to substitute is honey. Simply replace the honey with an equal amount of pure maple syrup. Ensure all other ingredients, such as your chosen nuts and dried fruits, are naturally vegan. This simple swap allows you to enjoy these delicious bars regardless of your dietary preferences.
Preventing crumbly granola bars hinges on a few crucial steps. Firstly, always use rolled oats for better binding. Secondly, ensure all dry ingredients are thoroughly coated with the sticky binder (honey or maple syrup) and melted coconut oil – don’t skimp on mixing! Most importantly, when transferring the mixture to the pan, press it down *very, very firmly*. Compaction is key. Use a spatula or the bottom of a glass to really pack it in. Finally, and perhaps most critically, allow the bars to cool completely in the pan on a wire rack before attempting to cut them. The binders need adequate time to solidify and set the bars’ structure. If cut while warm, they are almost guaranteed to fall apart.
Other Healthy Snack or Dessert Recipes to Try
If you enjoyed making these wholesome and healthy granola bars, you might also love exploring these other delightful and nutritious recipes:
- Peanut Butter Oatmeal Cookies
- Keto Cinnamon Rolls
- Flourless Chocolate Muffins
- Chocolate Overnight Oats
- Chocolate Chip Baked Oats
- Lemon Blueberry Baked Oatmeal
We genuinely hope you enjoy creating and savoring these wonderful chewy homemade oatmeal granola bars! Your feedback is incredibly valuable to us. If you try this recipe, please consider leaving us your thoughts and a rating in the comment section below. We would also be thrilled if you shared this delicious recipe with your friends and family, spreading the joy of healthy homemade treats.
Don’t forget to use our hashtag #healthyfitnessmeals on INSTAGRAM for a chance to be featured on our page! You can also FOLLOW Healthy Fitness Meals on FACEBOOK | INSTAGRAM | PINTEREST | TWITTER for all of our latest blog posts, healthy recipes, and fitness inspiration.
Oatmeal Bars Recipe
By: Rena |
Servings: 9 bars |
Prep Time: 10 mins |
Cook Time: 20 mins |
Total Time: 30 mins
Rating: 5 out of 5 stars based on 5 user votes.
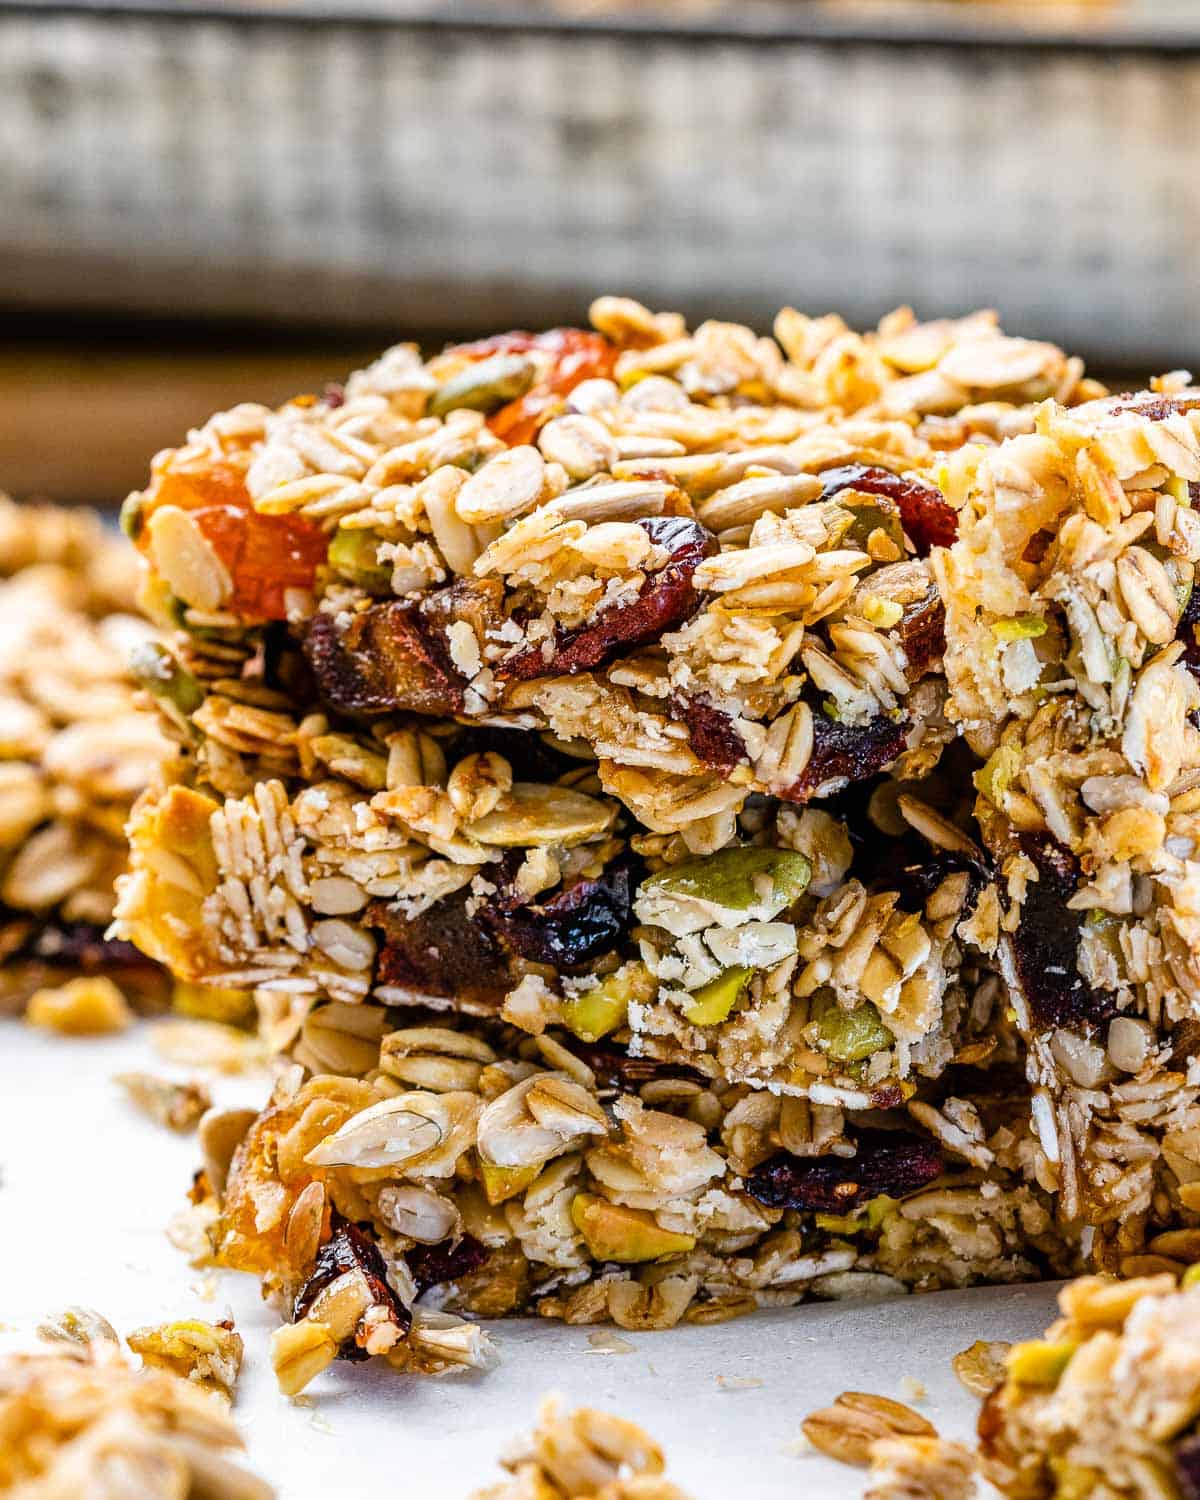
These homemade oatmeal granola bars are a perfectly chewy, nutrient-dense, and highly customizable snack. Made with a delightful blend of rolled oats, nuts, and dried fruits, they take just 30 minutes to prepare and are ideal for a healthy grab-and-go breakfast or a satisfying energy boost anytime.
Ingredients
- 1 cup rolled oats
- 1/3 cup raw honey (or pure maple syrup for a vegan option)
- 1/4 cup pistachios, roughly chopped
- 2 tbsp coconut oil, melted
- 1 tbsp sunflower seeds
- 1 tbsp pumpkin seeds
- 1/4 cup golden raisins
- 1/4 cup dried cranberries
- 1/4 cup pitted Medjool dates, roughly chopped
Instructions
- Preheat your oven to 325°F (160°C). Line an 8×8 inch square baking pan with parchment paper, allowing some overhang on two sides for easy removal.
- In a large mixing bowl, combine all the ingredients: rolled oats, honey, chopped pistachios, melted coconut oil, sunflower seeds, pumpkin seeds, golden raisins, dried cranberries, and chopped dates. Mix thoroughly with a sturdy spoon or your hands until all dry ingredients are well coated and the mixture is sticky and holds together when pinched.
- Transfer the oat mixture to the prepared baking pan. Press it down very firmly and evenly into a compact layer using the back of a spoon or a spatula. This compaction is essential for the bars to hold their shape.
- Bake for 20 minutes, or until the edges are lightly golden brown. The center might still feel soft, but it will firm up as it cools.
- Remove the pan from the oven and place it on a wire rack. Allow the granola bars to cool completely in the pan. This step is critical; do not attempt to cut them while warm, as they will crumble.
- Once thoroughly cooled, use the parchment paper overhangs to lift the entire slab of granola from the pan. Transfer it to a cutting board and slice into 9 equal squares or rectangles.
- Store the homemade oatmeal granola bars in an airtight container at room temperature for 3-4 days, or in the refrigerator for up to 7 days. For longer storage, freeze individual bars.
Recipe Notes
- Sweetener: Maple syrup can be used as a vegan substitute for honey.
- Oats: For the best texture, use old-fashioned rolled oats. Avoid quick oats and steel-cut oats.
- Customization: Feel free to experiment with different nuts (almonds, walnuts), seeds (chia, flax), and dried fruits (apricots, cherries). Chocolate chips are a popular addition.
- Cooling is Key: Ensure the bars are completely cool before cutting to prevent them from falling apart.
- Storage: An airtight container is best. Refrigeration extends freshness, and freezing allows for long-term storage.
- Compaction: Press the mixture firmly into the pan to ensure solid, chewy bars that hold their shape.
Nutrition Information (Approximate per serving)
Serving: 1 bar
Calories: 165 kcal
Carbohydrates: 27g
Protein: 3g
Fat: 6g
Saturated Fat: 3g
Trans Fat: 1g
Sodium: 2mg
Potassium: 150mg
Fiber: 2g
Sugar: 18g
Vitamin A: 21 IU
Vitamin C: 1mg
Calcium: 15mg
Iron: 1mg
Nutrition information is an estimate calculated automatically and should be used as an approximation.
Additional Info
Course: Breakfast, Dessert, Snack
Cuisine: American
Tried this recipe?Mention @healthyfitnessmeals or tag #healthyfitnessmeals!