
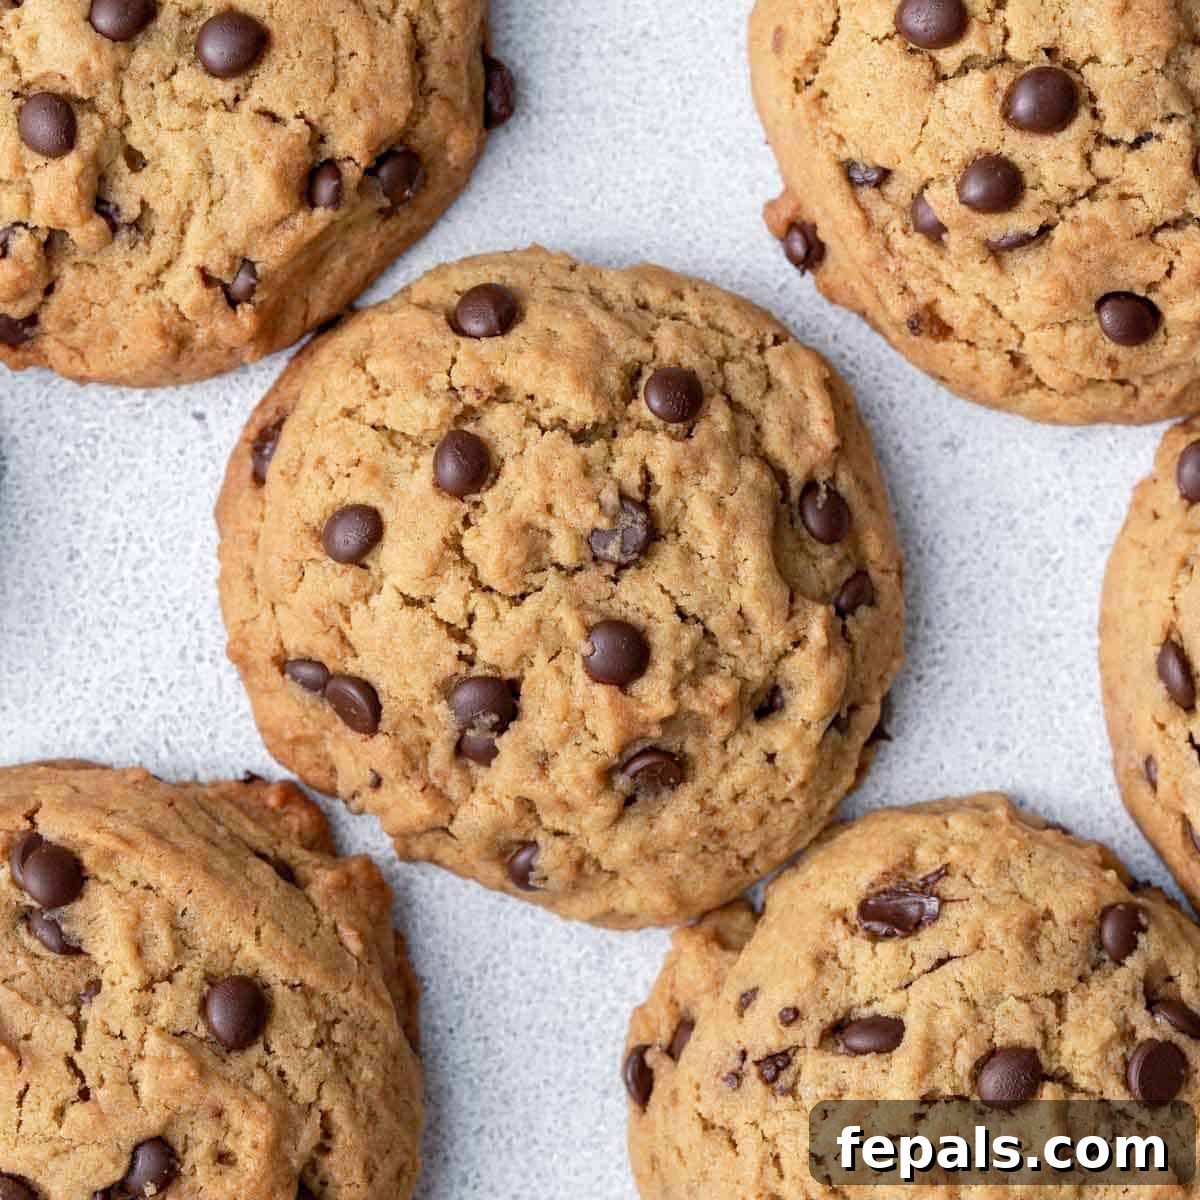
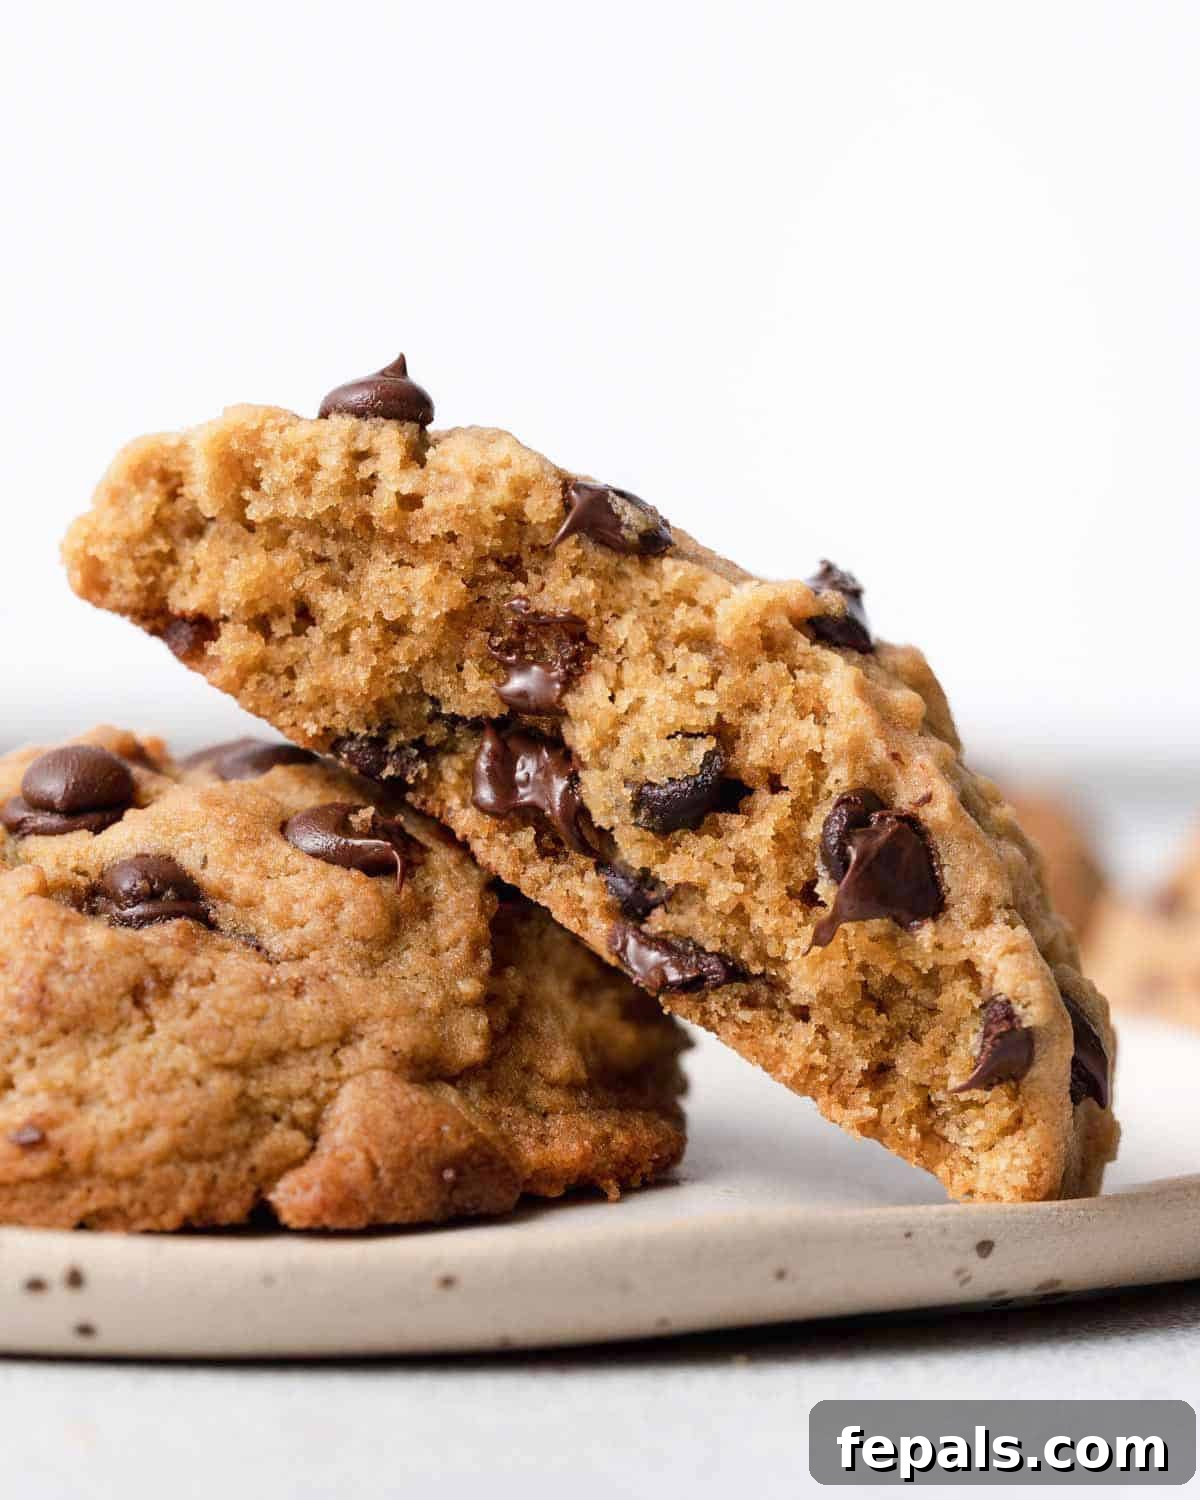
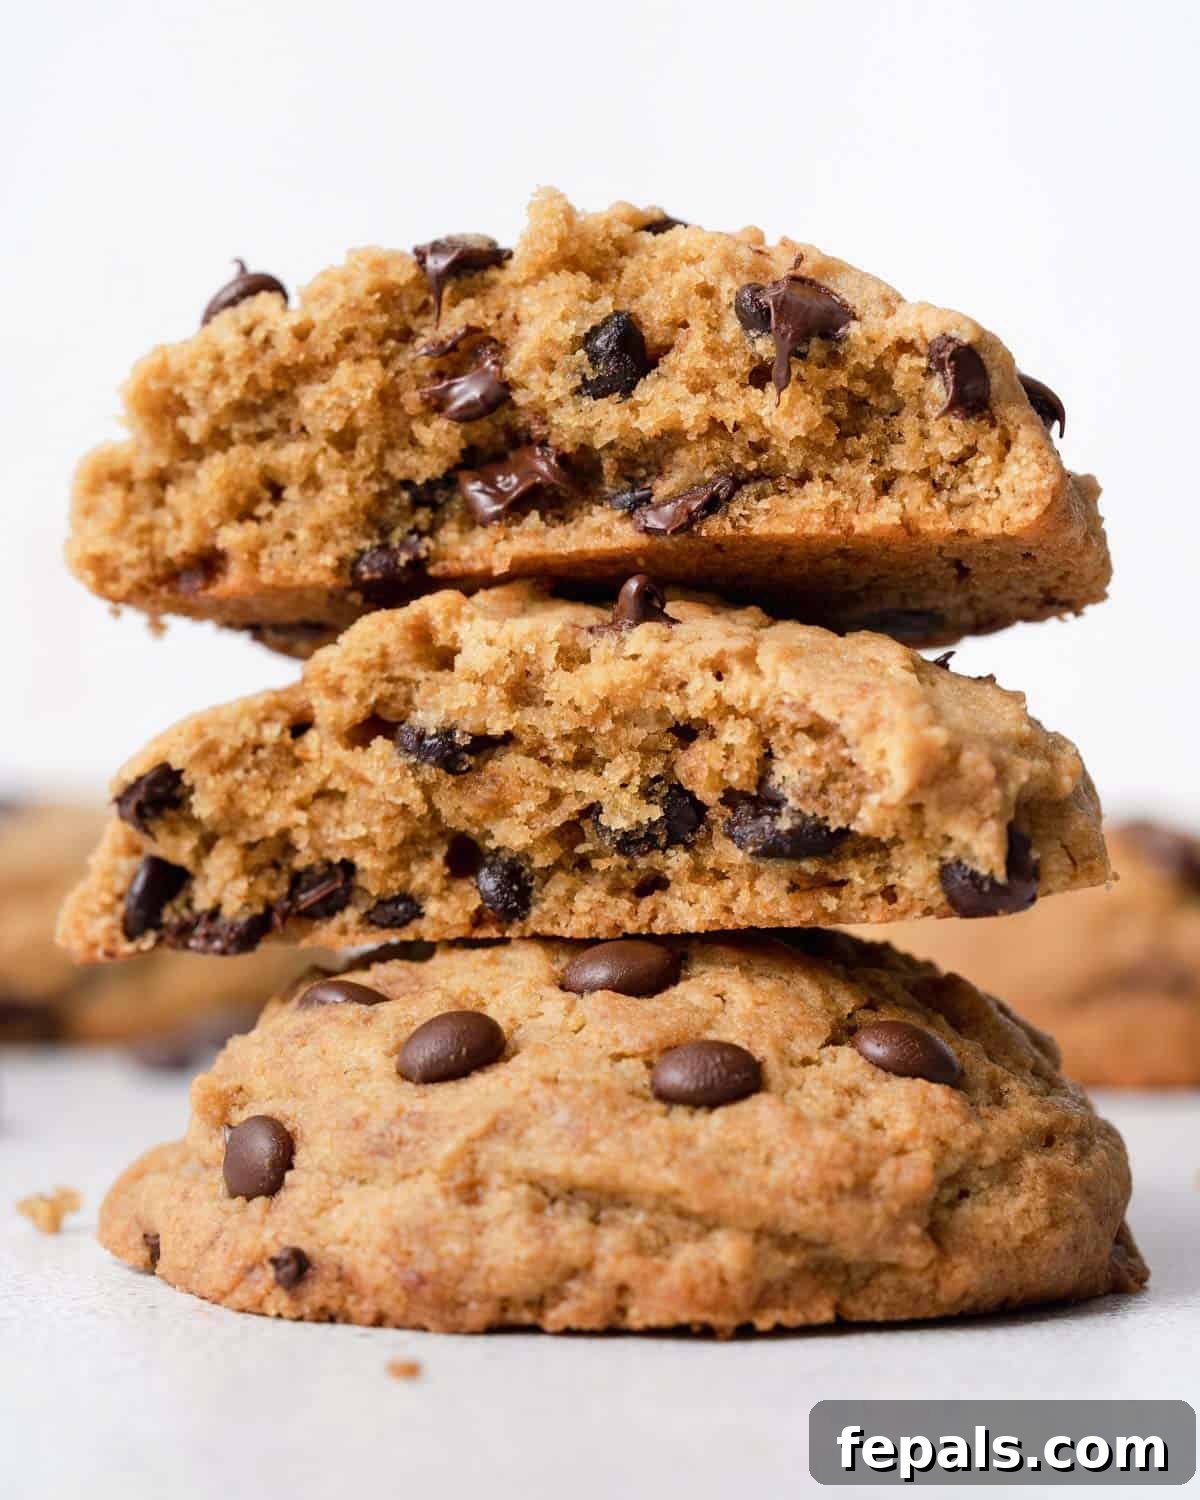
Olive Oil Chocolate Chip Cookies are an exceptional twist on the classic chocolate chip cookie recipe, offering a delightful new flavor profile and texture that everyone will adore! Moving away from traditional butter, these cookies are crafted with extra virgin olive oil, resulting in irresistibly crispy edges, wonderfully soft and chewy centers, and a uniquely rich taste that sets them apart.
If you’re on the hunt for more wholesome cookie alternatives, don’t miss our Gluten Free Monster Cookies or our cozy Snickerdoodle Cookies, perfect for satisfying your sweet cravings with a healthier touch.
Discover the Magic of Olive Oil Chocolate Chip Cookies: A Healthier, Delicious Alternative
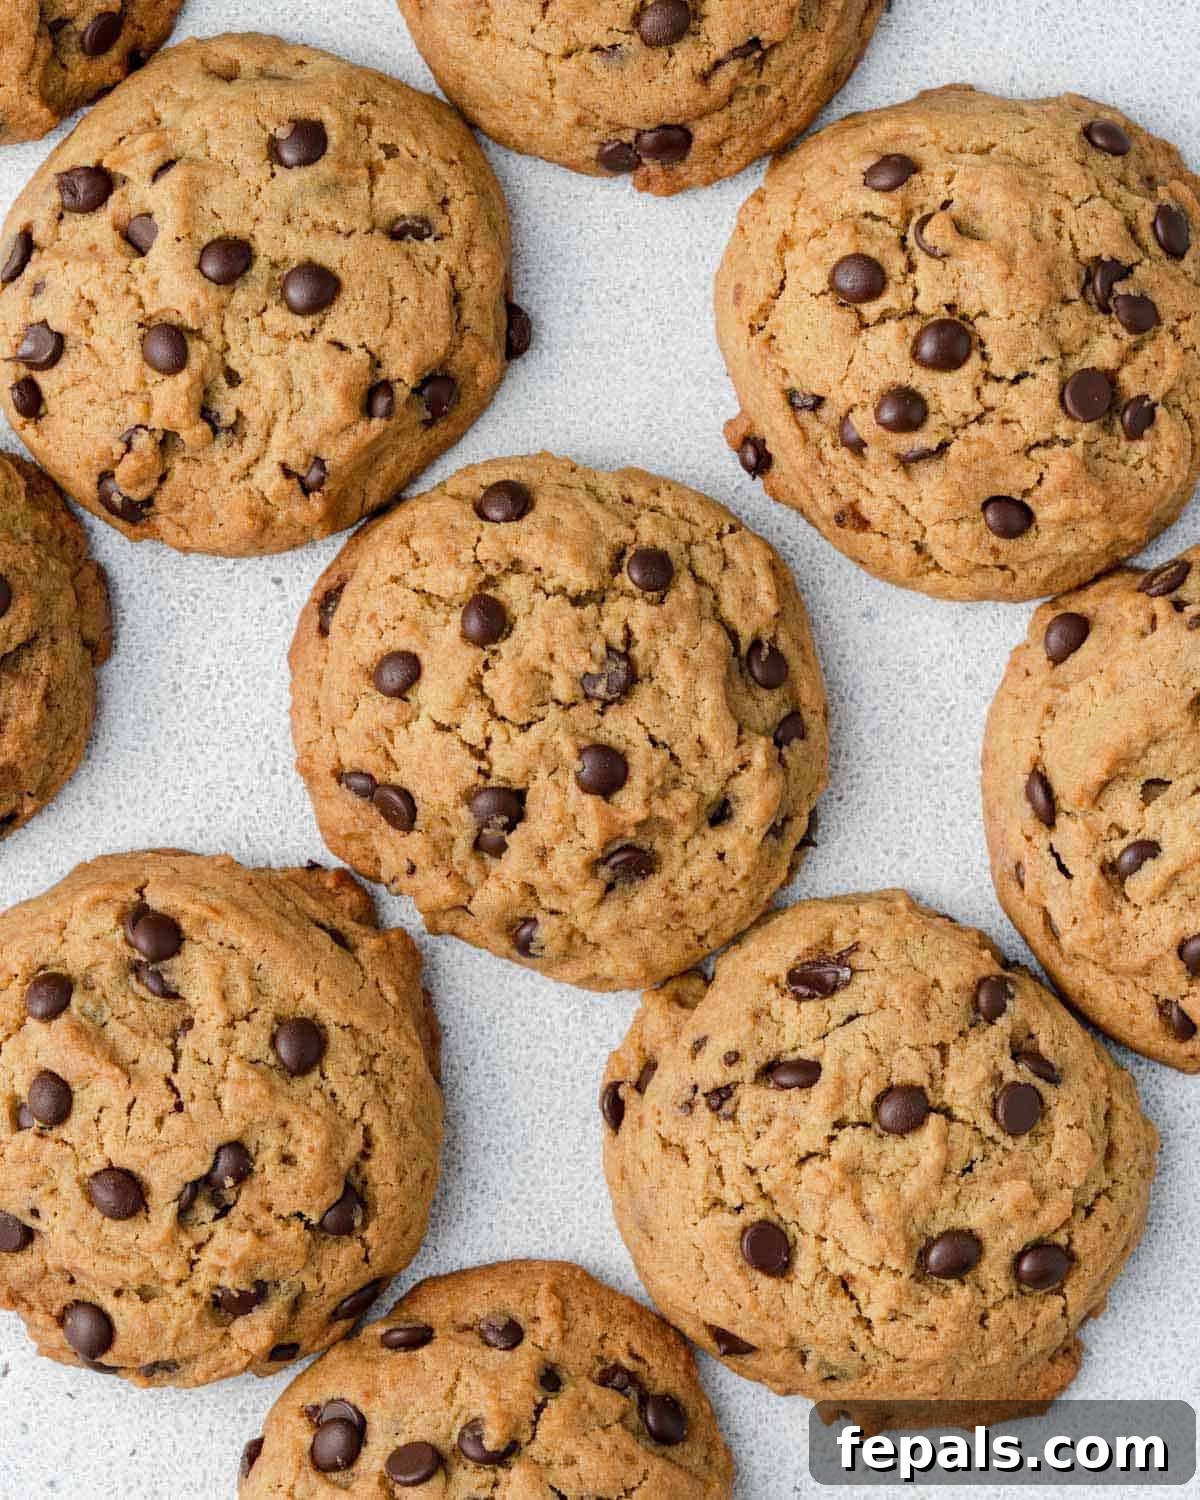
Imagine biting into a cookie that’s both familiar and excitingly new. These olive oil chocolate chip cookies are exactly that – a revelation for your taste buds and a fantastic solution for those moments when you crave homemade goodness but find your butter dish empty. What makes them truly special is their incredible simplicity: they come together effortlessly without the need for an electric mixer, and best of all, there’s no chilling required for the dough. This means you can go from craving to fresh-baked cookies in under 40 minutes!
Beyond their convenience, these cookies boast an adaptable base recipe. While dark chocolate chips are a personal favorite, feel free to get creative with any mix-ins your heart desires. The texture is a dream: a perfect balance of crispy edges giving way to a soft, fluffy, almost cake-like center. It’s like enjoying the best of both worlds – a moist cake and a chewy cookie rolled into one delectable treat. They easily stand shoulder-to-shoulder with other beloved recipes, like our popular Protein Chocolate Chip Cookies, proving that healthier can indeed be incredibly delicious.
Why You’ll Love This Olive Oil Cookie Recipe: Key Highlights
These Olive Oil Chocolate Chip Cookies are more than just a substitute; they’re a standout recipe in their own right. Here’s why they deserve a permanent spot in your baking repertoire:
- Unforgettably Delicious: Prepare for a cookie experience that’s perfectly soft, wonderfully tender, and brimming with a unique, rich flavor. The subtle notes of olive oil elevate the classic chocolate chip cookie to an entirely new level, making it an instant favorite.
- Remarkably Easy to Make: Forget complicated steps or a long list of exotic ingredients. This recipe uses simple, pantry-friendly staples and requires no special equipment like a stand mixer. Plus, with no dough chilling needed, you’re just a few quick steps away from warm, fresh cookies.
- Perfect for Any Occasion: Whether you need a quick after-school snack, a comforting dessert for family movie night, or an impressive addition to your holiday cookie platters, these versatile cookies fit every bill. Their unique flavor profile will be a welcome surprise at any gathering.
- A Healthier Twist: By replacing butter with extra virgin olive oil, these cookies offer a healthier fat alternative. Olive oil is rich in monounsaturated fats, which are known for their heart-healthy benefits, making this a guilt-free indulgence.
Essential Ingredients for Your Olive Oil Chocolate Chip Cookies
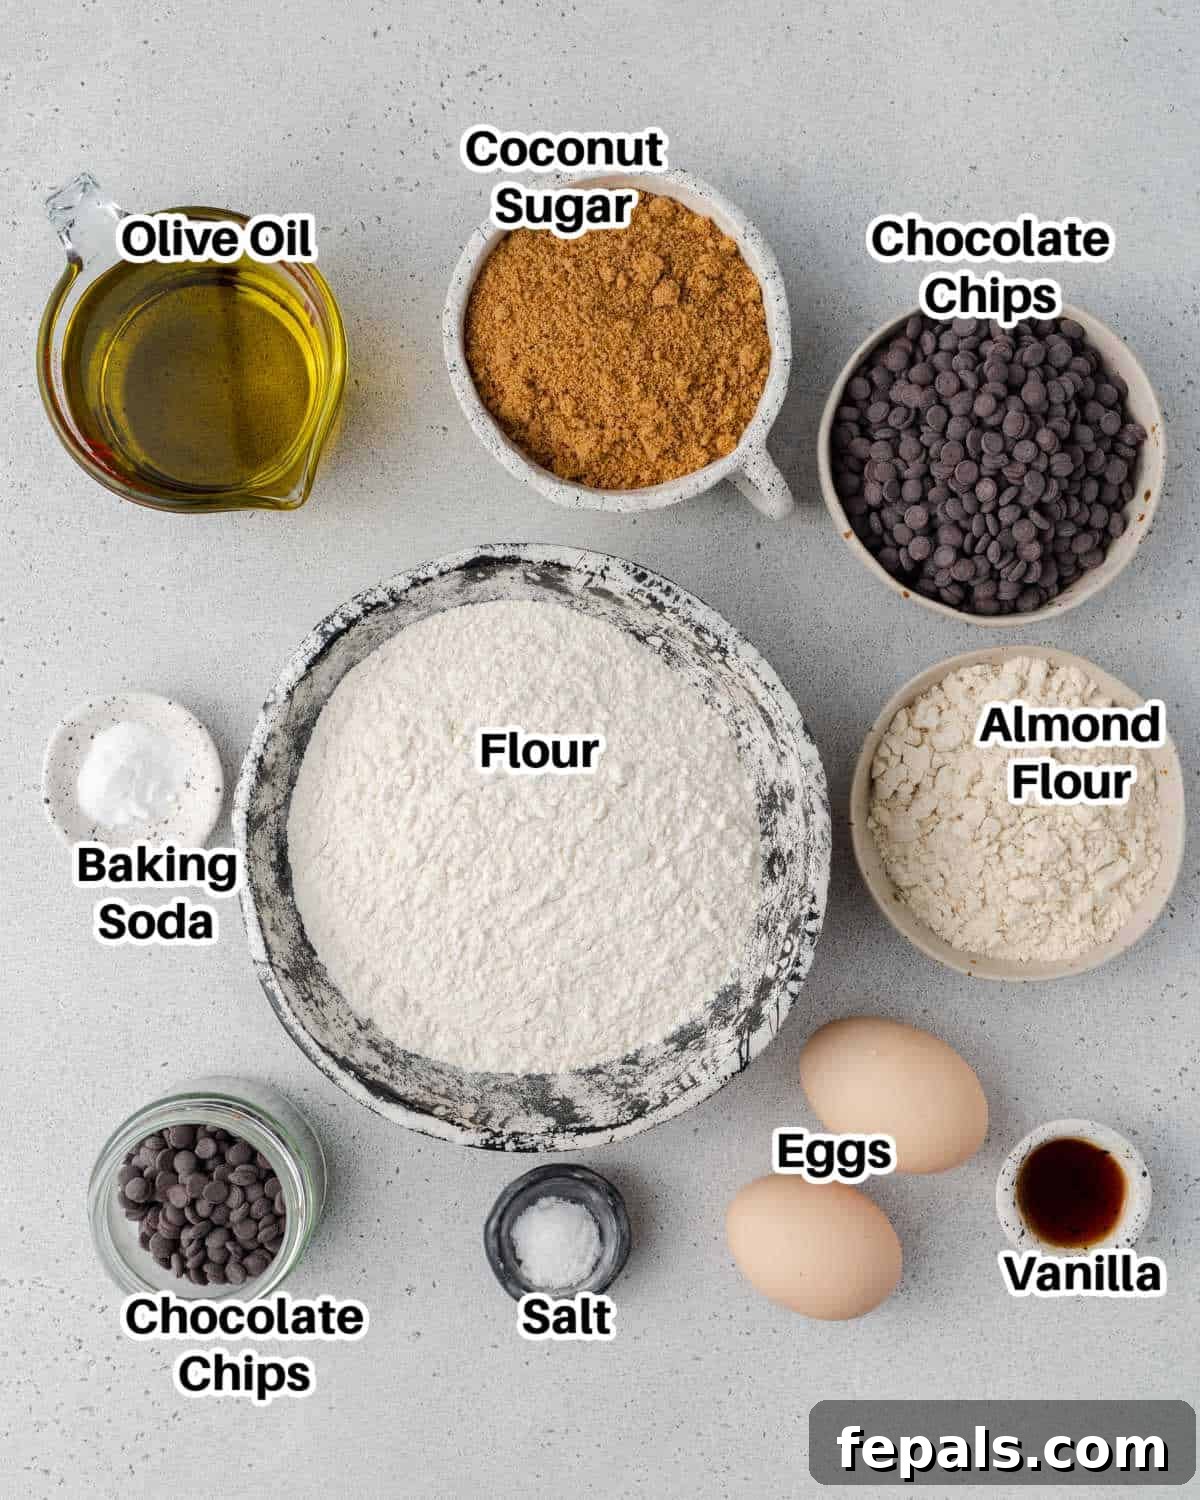
This olive oil cookie recipe masterfully blends basic cookie components with the star ingredient, olive oil, to forge a thick, wonderfully chewy, and deeply flavorful base. Each bite is loaded with decadent chocolate goodness! Below, we delve into each ingredient and its crucial role in creating these extraordinary cookies. You’ll find precise measurements in the comprehensive recipe card further down this page.
- Extra Virgin Olive Oil: This is the hero ingredient, replacing butter entirely. The type of olive oil you choose will subtly influence the cookie’s final flavor. Extra virgin olive oil will lend a more robust, fruity, and peppery note, while a lighter olive oil will be more mild and less noticeable. Both work wonderfully, so select based on your preference for a pronounced olive oil essence. Olive oil contributes healthy monounsaturated fats, making these cookies a more heart-friendly choice compared to traditional butter-laden recipes.
- Coconut Sugar or Light Brown Sugar: To keep these cookies refined sugar-free, we opt for coconut sugar, which imparts a lovely caramel-like depth. However, light brown sugar is an excellent substitute if that’s what you have on hand, providing similar moisture and a classic chewy texture.
- Large Eggs: Two large eggs are essential for structure, acting as a binder that holds all the ingredients together and contributes to the soft, tender crumb of the cookies. They also help with leavening, ensuring a slight lift.
- All-Purpose Flour: The primary dry ingredient, all-purpose flour provides the foundational structure for our cookies. For those seeking a gluten-free option, a 1-to-1 all-purpose gluten-free flour blend can be used successfully without compromising on texture.
- Almond Flour: Incorporating almond flour alongside all-purpose flour is a clever touch. It not only boosts the nutritional profile by adding healthy fats and protein but also contributes to a wonderfully tender crumb and a delicate, nutty flavor that complements the olive oil beautifully.
- Vanilla Extract: A crucial flavor enhancer, vanilla extract introduces warmth and sweetness, tying all the other flavors together and giving the cookies that irresistible classic aroma.
- Salt: A pinch of salt is vital to balance the sweetness of the sugars and chocolate. It elevates and brings out the full spectrum of flavors, preventing the cookies from tasting one-dimensional.
- Baking Soda: This leavening agent reacts with acidic components (like the brown sugar, if used, or naturally present acids) to create carbon dioxide gas, which gives the cookies their proper lift and helps achieve those desirable soft centers.
- Dark Chocolate Chips: The classic pairing with any cookie! To ensure these cookies remain dairy-free, be sure to select high-quality dairy-free dark chocolate chips. Dark chocolate also offers beneficial antioxidants. You can even chop up a good quality dark chocolate bar for varying chocolate textures.
Creative Variations and Simple Substitutions
The beauty of these olive oil chocolate chip cookies lies in their versatility. Feel free to customize them to suit your preferences or whatever you have in your pantry:
- Different Baking Chips: While dark chocolate chips are fantastic, don’t hesitate to experiment! Swap them for white chocolate chips, semi-sweet chocolate chips, classic milk chocolate chips, or even an exciting twist like peanut butter chips for a nutty, salty-sweet combination.
- M&M’s or Candies: For a burst of color and a playful crunch, stir in about 1/2 cup of M&M’s or other small candies. This is particularly fun for holiday baking or themed events – just pick colors that match the occasion!
- Chopped Nuts: Introduce an extra layer of texture and nutty flavor by folding in 1/2 to 1 cup of finely chopped pecans, walnuts, almonds, or peanuts. Toasting the nuts lightly before adding them can enhance their flavor even further.
- Dried Fruit: For a chewy, fruity counterpoint to the chocolate, consider adding 1/2 cup of dried cranberries, cherries, or finely diced apricots.
- Citrus Zest: A teaspoon of orange or lemon zest can brighten the flavor profile beautifully, especially complementing the olive oil.
How to Bake Perfect Olive Oil Chocolate Chip Cookies
This olive oil chocolate chip cookie recipe is wonderfully straightforward, making it a new favorite for bakers of all skill levels. Just follow these easy steps for delicious results every time:
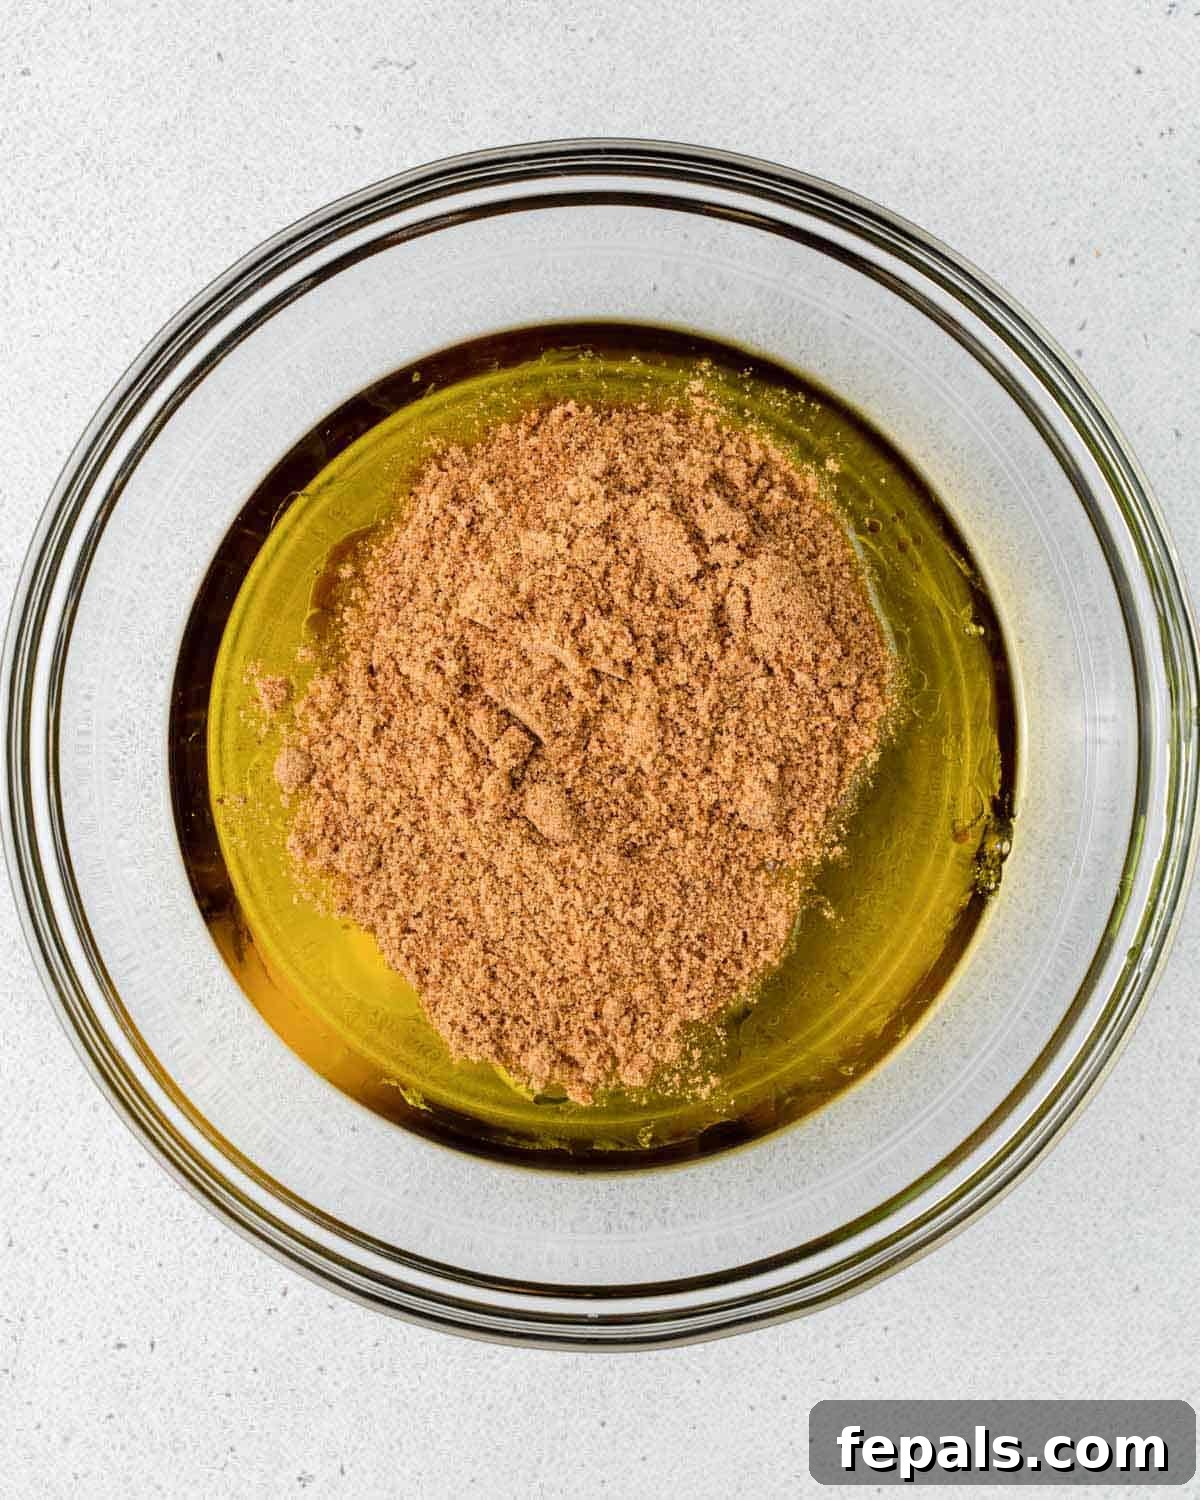
Step 1: Prepare Your Station. Preheat your oven to a cozy 350ºF (175ºC). Line a large baking sheet with parchment paper to prevent sticking and ensure even baking. In a medium-sized mixing bowl, combine the eggs, olive oil, vanilla extract, and your chosen sugar (coconut or light brown). Grab a whisk and vigorously whisk these wet ingredients together until they are thoroughly combined and appear smooth.
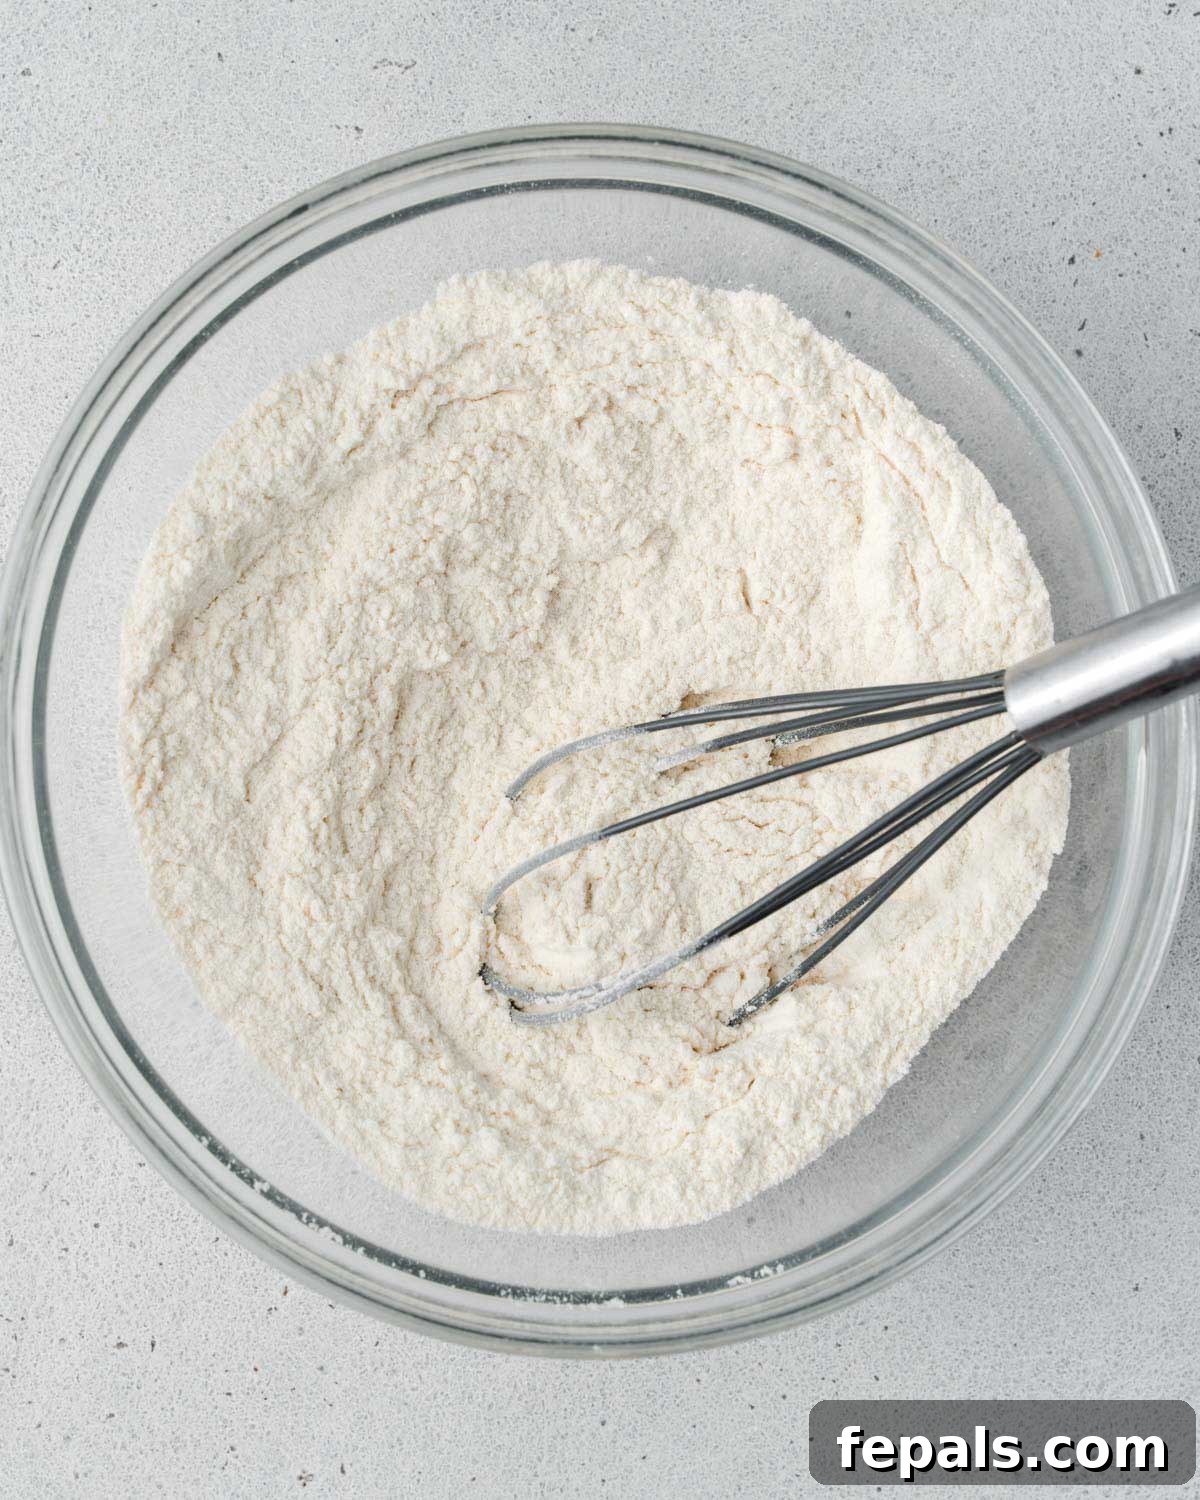
Step 2: Combine Dry Ingredients. In a separate, larger bowl, measure out your all-purpose flour, almond flour, baking soda, and salt. Use a whisk or fork to gently mix these dry ingredients together, ensuring they are well combined. This step helps distribute the leavening agent and salt evenly throughout the dough.
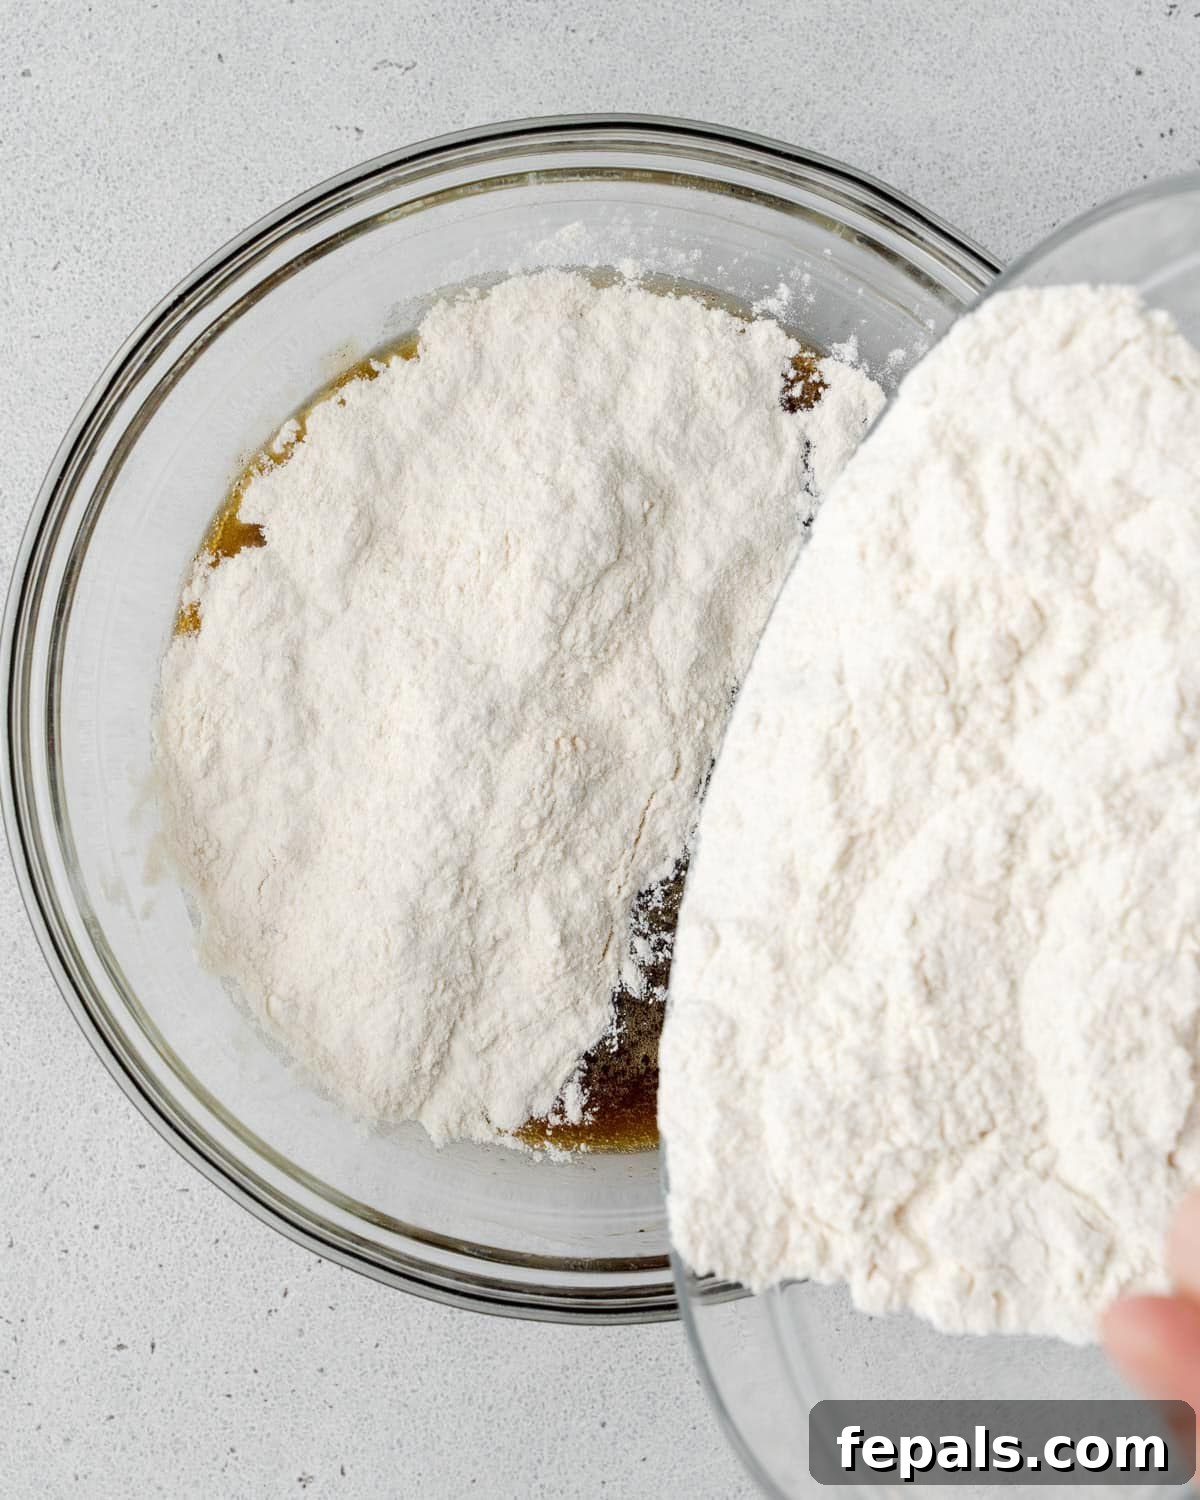
Step 3: Integrate Wet and Dry. Carefully pour the whisked wet mixture from the medium bowl into the bowl containing the dry flour mixture. It’s important to combine them gently.
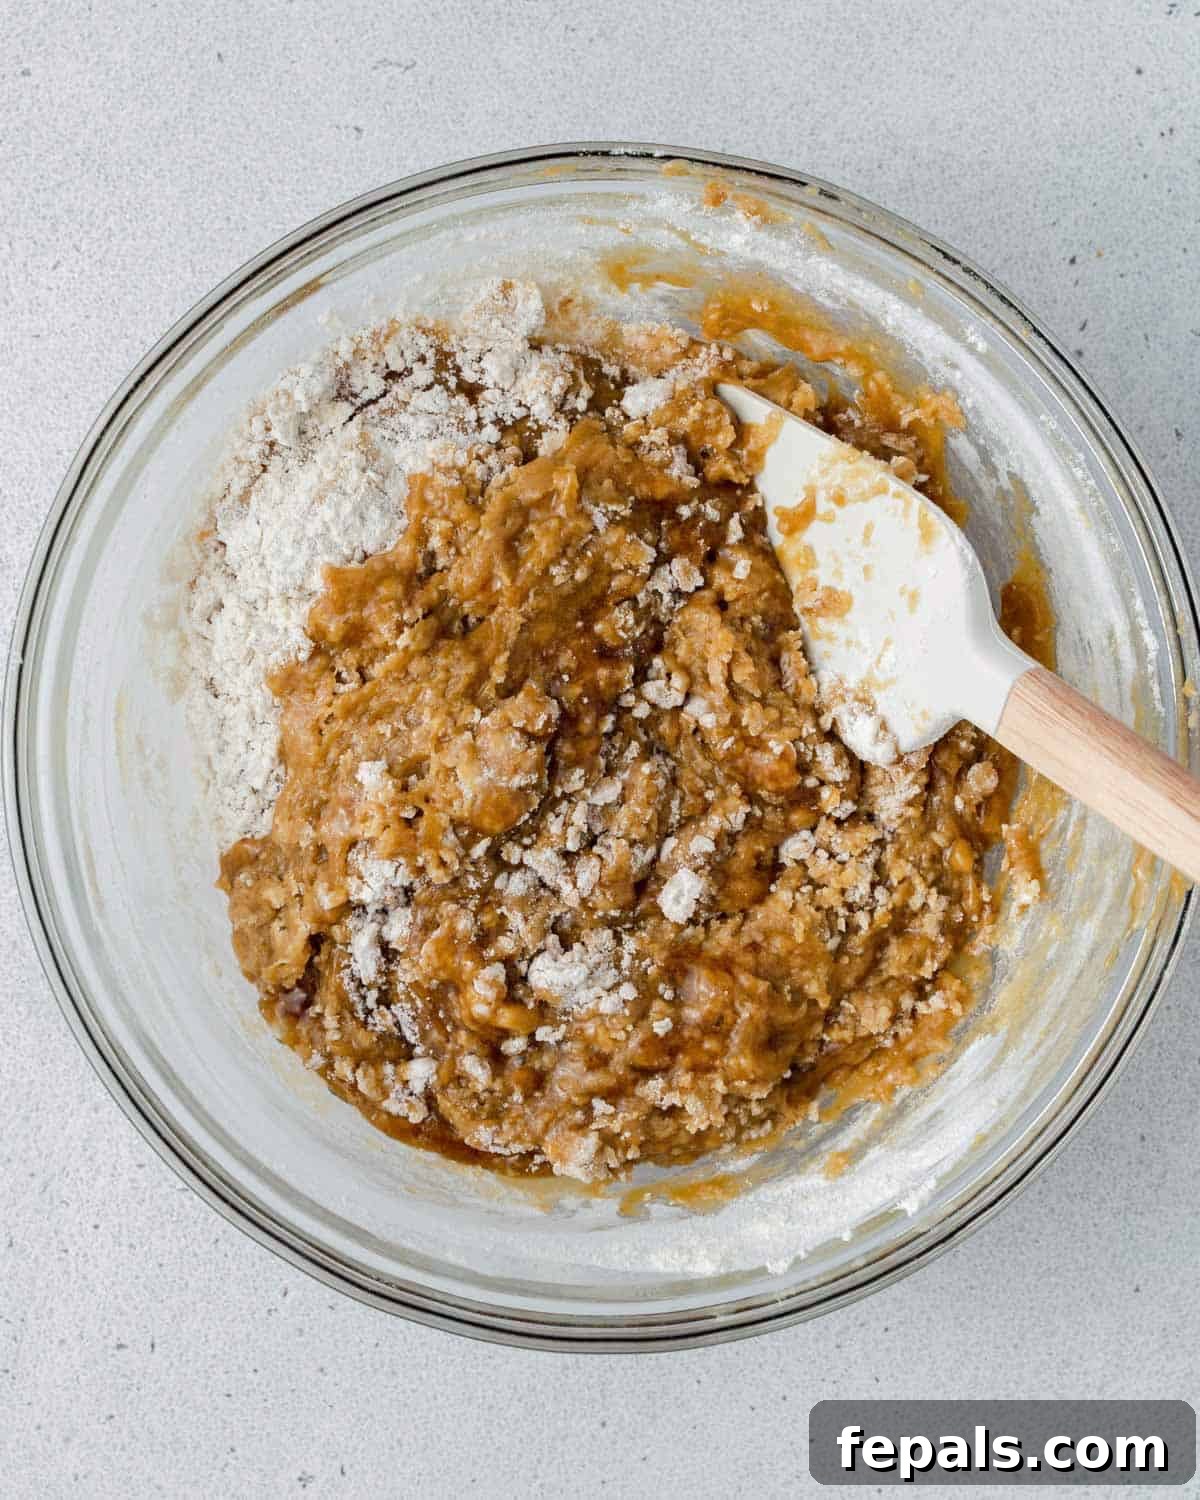
Step 4: Form the Dough. Using a sturdy rubber spatula, gently mix everything until a cohesive dough begins to form. Be careful not to over-mix the dough; mix just until no streaks of dry flour remain, as over-mixing can lead to tough cookies.
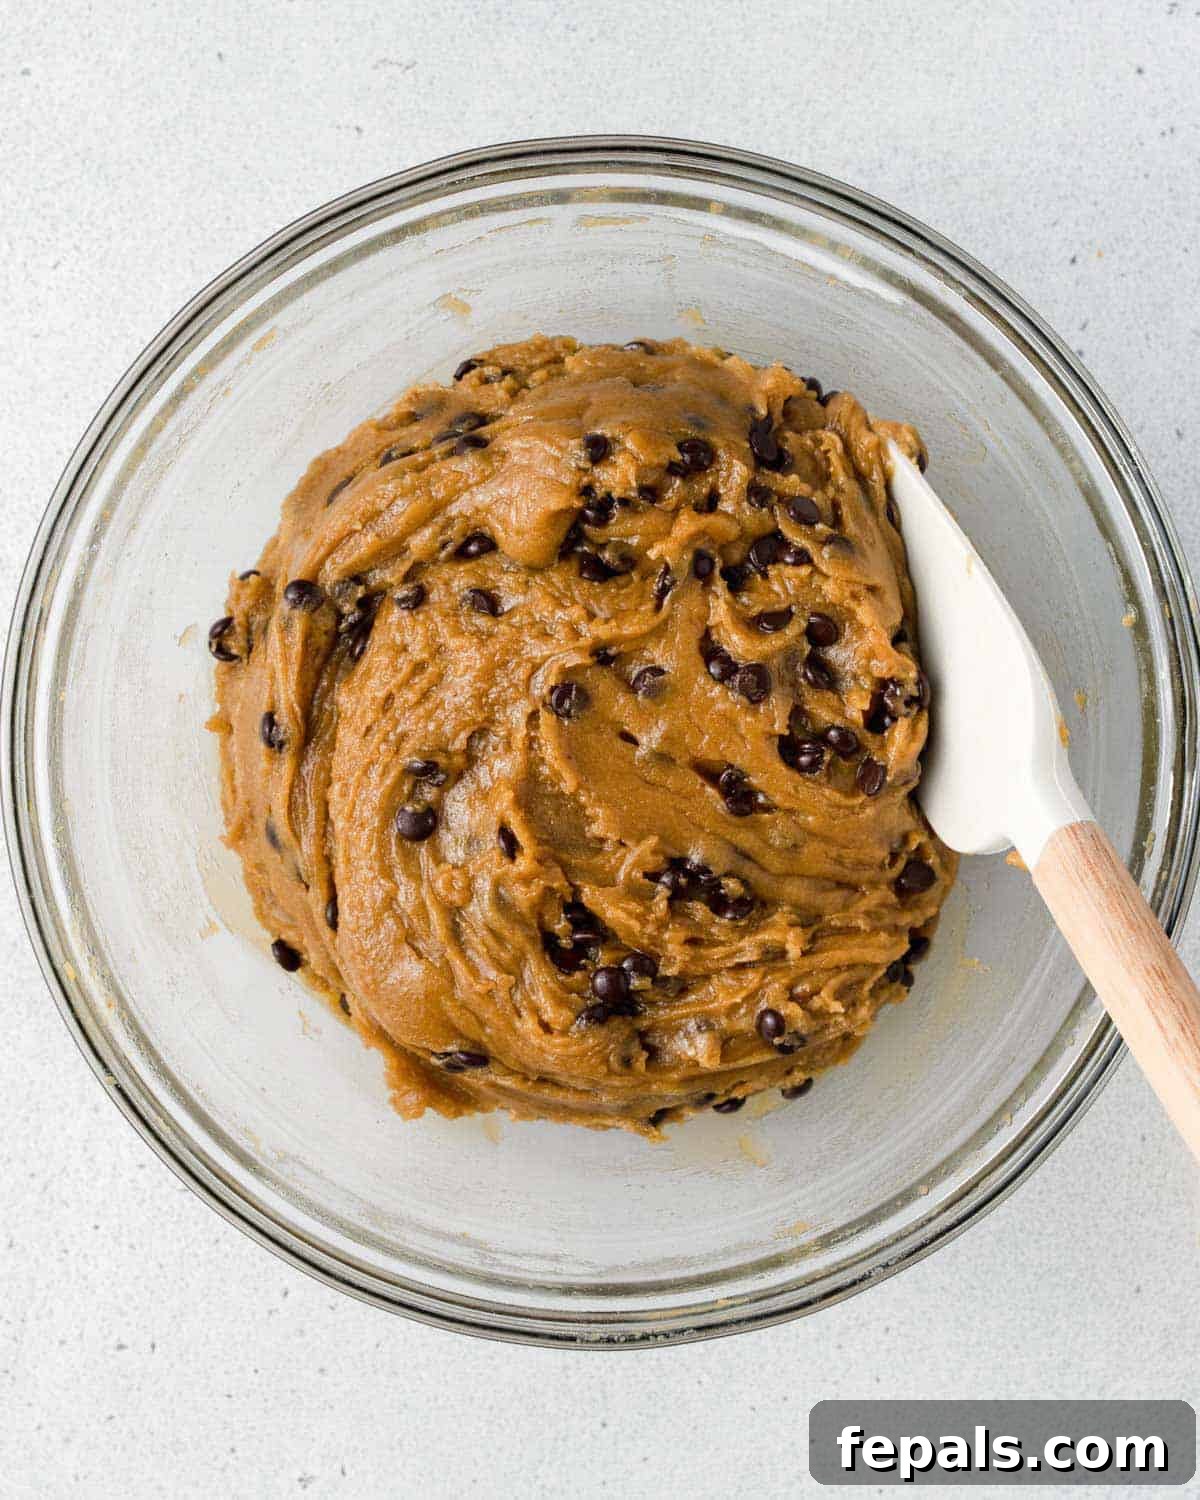
Step 5: Fold in Chocolate Chips & Chill. With your spatula, gently fold in the chocolate chips until they are evenly distributed throughout the dough. Once mixed, cover the bowl and refrigerate the dough for 10-15 minutes. This brief chill time helps prevent excessive spreading during baking, resulting in chewier cookies.
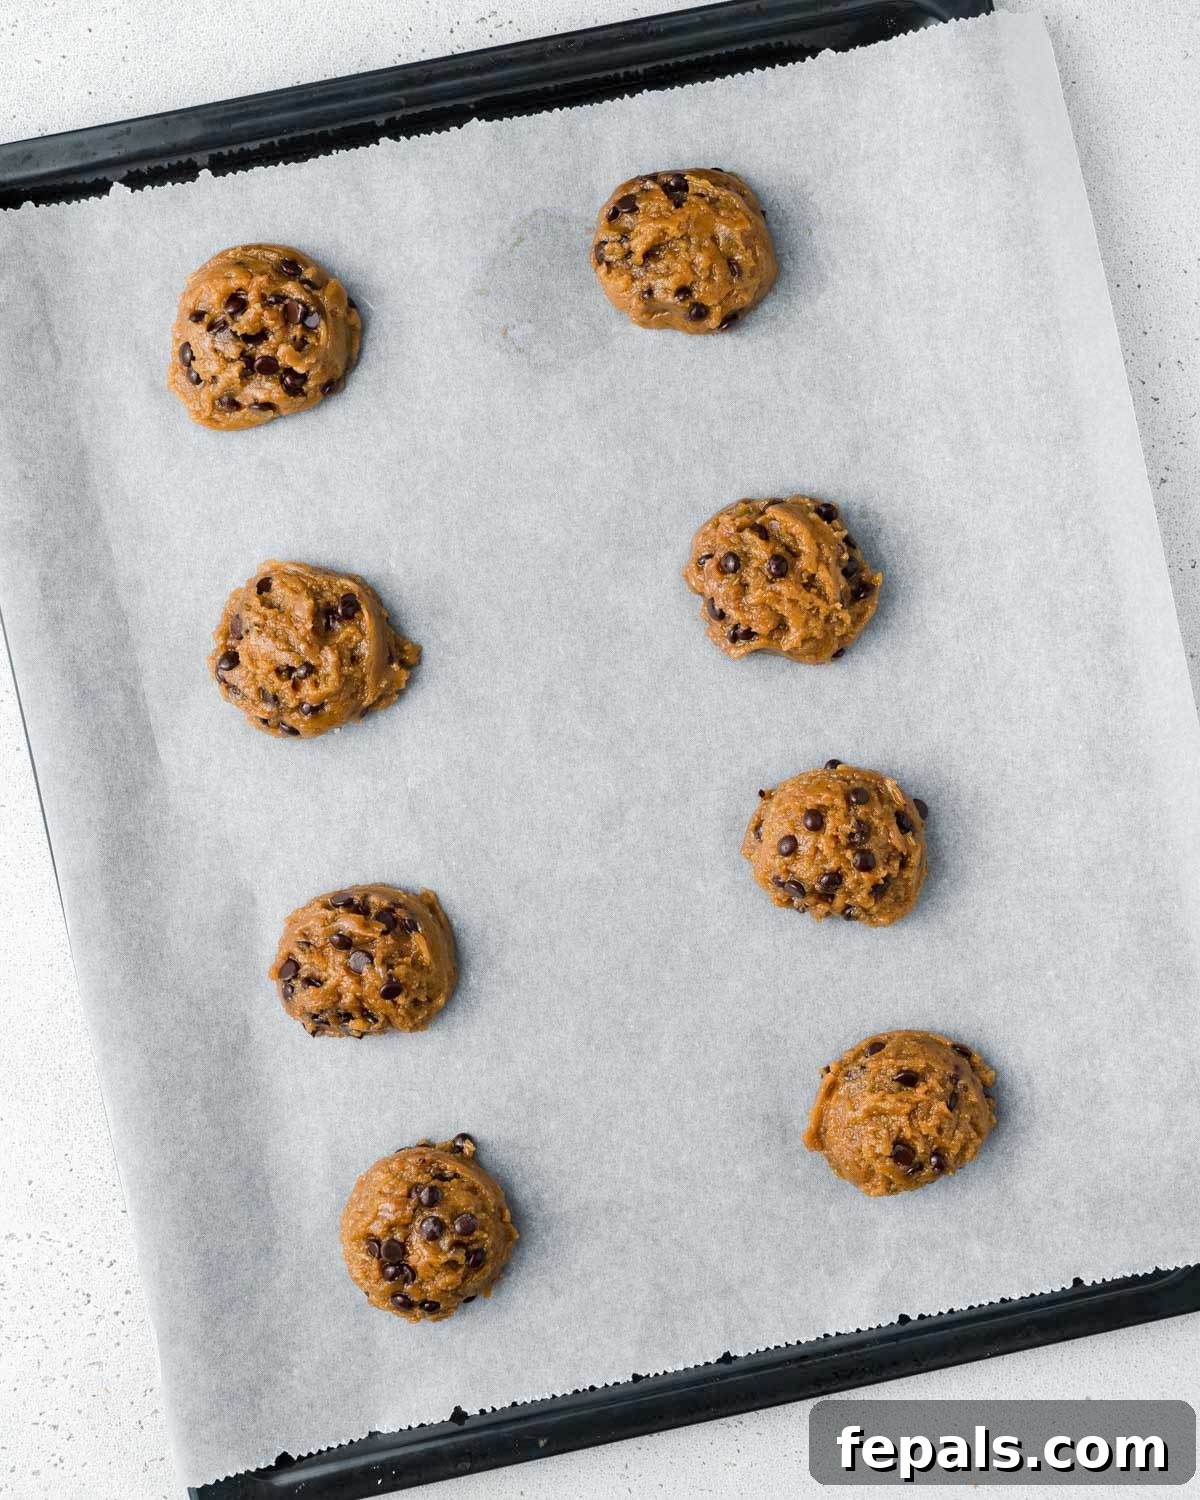
Step 6: Portion the Dough. Use a cookie scooper (about 1.5-2 tablespoons for medium cookies or 3 tablespoons for large cookies) to scoop uniform balls of dough onto your prepared parchment-lined baking sheet. Space them adequately apart, as they will spread. This recipe typically yields about 12 large cookies or 18 medium-sized cookies.
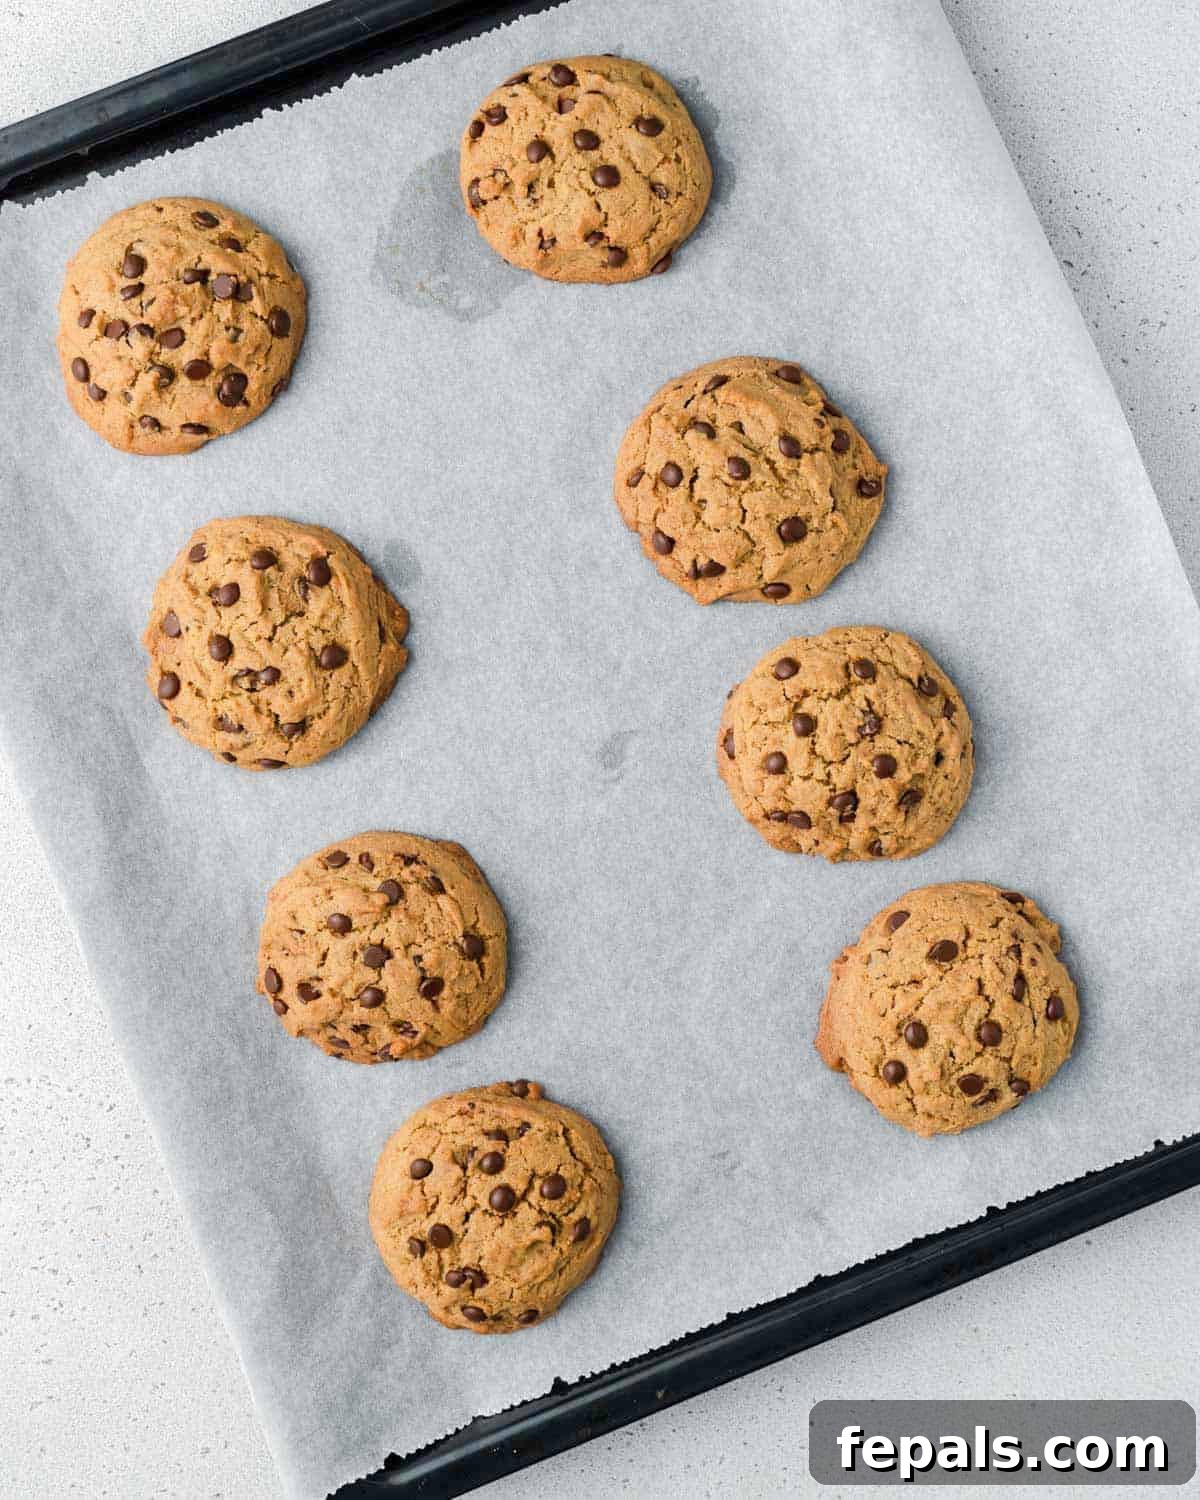
Step 7: Bake to Perfection. Transfer the baking sheet to your preheated oven. Bake for 18-20 minutes, or until the edges are beautifully golden brown and the centers appear set. If you’re baking larger cookies, they will likely require the full 20 minutes to achieve that perfect balance of crispy edges and soft interiors. Keep an eye on them towards the end to avoid over-baking.
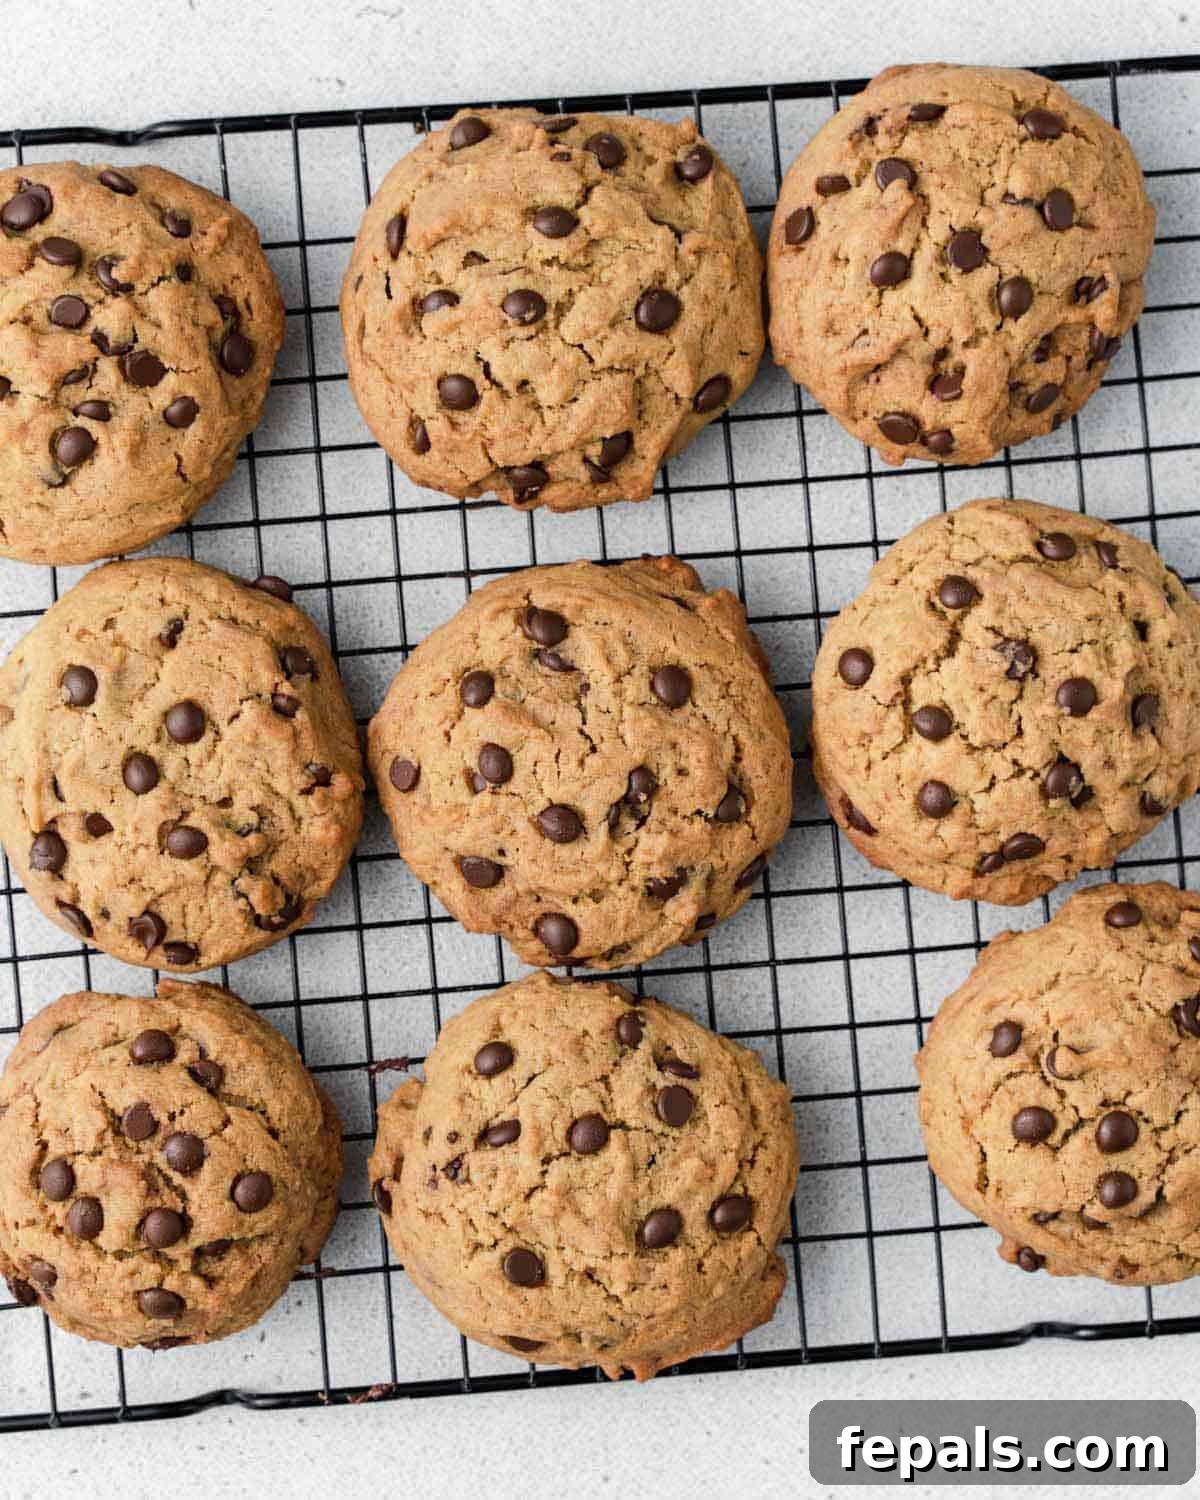
Step 8: Cool and Serve. Once baked, remove the cookies from the oven and allow them to cool on the baking sheet for at least 5 minutes. This crucial step helps them firm up without breaking. After 5 minutes, carefully transfer them to a wire rack to cool for an additional 5-10 minutes. Then, they’re ready to be savored! Enjoy these warm, delightful olive oil chocolate chip cookies with a glass of milk or your favorite hot beverage.
TIPS FOR SUCCESS
Expert Tips for Perfect Olive Oil Chocolate Chip Cookies
Achieving bakery-quality cookies at home is easier than you think with these expert tips:
- Avoid Over-Mixing the Dough: This is a golden rule in baking! Once the wet and dry ingredients are combined, mix only until no streaks of dry flour are visible. Over-mixing develops the gluten in the flour, leading to tough, dense, and potentially flat cookies instead of the desired soft and chewy texture.
- Don’t Skip the Chill Time: While this recipe is designed to be quick, a brief 10-15 minute refrigeration of the dough can make a significant difference. Chilling helps the fats solidify, which prevents the cookies from spreading too much in the oven, resulting in thicker, chewier cookies with better shape. It also allows the flavors to meld beautifully.
- Always Use Parchment Paper or a Silicone Mat: Lining your baking sheet with parchment paper or a silicone baking mat is crucial. It ensures that your cookies don’t stick, promotes even baking, and makes cleanup a breeze. Greasing the baking sheet directly can sometimes cause the cookies to spread excessively and become overly greasy, altering their texture.
- Allow for Proper Cooling: Patience is key! Let the cookies cool on the hot baking sheet for at least 5 minutes before attempting to transfer them to a wire rack. This initial cooling period allows the cookies to set and firm up, preventing them from breaking apart when moved. Transferring them too soon can result in misshapen or crumbly cookies.
- Measure Your Flour Correctly: For accurate baking, always spoon and level your flour rather than scooping directly from the bag. Scooping can compact the flour, leading to an excess amount that will make your cookies dry and crumbly.
- Quality Ingredients Matter: Especially with olive oil, a good quality extra virgin olive oil will shine through in the flavor. Similarly, use good chocolate chips for the best taste experience.
Frequently Asked Questions About Olive Oil Chocolate Chip Cookies
Here are some common questions and helpful answers to ensure your olive oil chocolate chip cookie baking is a complete success:
Can I use gluten-free flour for this recipe?
Absolutely! To make these delicious cookies gluten-free, simply substitute the all-purpose flour with a high-quality 1-to-1 all-purpose gluten-free flour blend. Ensure your blend contains xanthan gum for optimal texture and binding. The almond flour component is already gluten-free and contributes wonderfully to the cookie’s texture.
What kind of olive oil is best for baking?
For these chocolate chip cookies, extra virgin olive oil (EVOO) works beautifully. It imparts a subtle fruity and slightly peppery note that complements the chocolate and sweetness. If you prefer a milder olive oil flavor, opt for a “light” or “mild” olive oil, which has a less pronounced taste. Avoid using strongly flavored or intensely bitter olive oils, as they can overpower the cookie’s delicate balance.
Can I use chopped chocolate instead of chocolate chips?
Yes, chopped chocolate is a fantastic alternative and often preferred by many bakers for its irregular melting quality, which creates gooey puddles of chocolate in the cookies. Just be sure to chop the chocolate bar into small, roughly 1/4 to 1/2-inch pieces. Use about 1 cup for the dough, and you can reserve an extra 1/4 cup to press lightly onto the tops of the cookie dough balls before baking for a more appealing, chocolate-forward appearance.
How do I know when the cookies are done baking?
The key to perfectly baked cookies is knowing when to pull them from the oven. The edges of the olive oil chocolate chip cookies will turn a light golden brown and appear set. The centers, however, should still look slightly soft and perhaps a tiny bit underdone. This slight under-baking ensures a wonderfully chewy and soft interior after cooling. If you’re making larger cookies, they will likely need the full 20 minutes of bake time. Remember, it’s always better to slightly under-bake than over-bake, as over-baked cookies tend to become crispier and drier after cooling.
Can I make the cookie dough ahead of time?
Yes, you can definitely prepare the dough in advance! After mixing the dough and folding in the chocolate chips, cover the bowl tightly with plastic wrap and refrigerate for up to 2-3 days. When you’re ready to bake, let the dough sit at room temperature for about 15-20 minutes to soften slightly before scooping and baking as directed. This can even enhance the flavor as the ingredients have more time to meld.
Storage and Freezing Recommendations
Ensuring your delicious olive oil chocolate chip cookies stay fresh and delightful is simple with these storage guidelines:
- To Store at Room Temperature: For optimal freshness and flavor, these cookies are best enjoyed within the first day or two at room temperature. Simply place them in an airtight container to keep them soft and prevent them from drying out.
- To Refrigerate: If you plan to keep them longer, transfer the cookies to an airtight container and store them in the refrigerator for up to 5 to 7 days. This helps maintain their freshness and texture.
- To Freeze Baked Cookies: These cookies freeze beautifully! Once they have completely cooled to room temperature, arrange them in a single layer in an airtight freezer-safe container. You can layer them with wax or parchment paper in between to prevent sticking. Alternatively, place them in a freezer-safe bag, removing as much air as possible. Frozen cookies will maintain their quality for up to 2 months. When you’re ready for a treat, simply thaw them at room temperature for a few hours, or warm them briefly in the microwave for a fresh-out-of-the-oven experience.
- To Freeze Cookie Dough: You can also freeze portions of the raw cookie dough! Scoop the dough into balls and place them on a parchment-lined baking sheet. Freeze until solid (about 1-2 hours), then transfer the frozen dough balls to a freezer-safe bag or container for up to 3 months. When ready to bake, simply place the frozen dough balls on a baking sheet and add an extra 2-4 minutes to the baking time.
More Irresistible Cookie Recipes to Try
If you’ve loved these olive oil chocolate chip cookies, you’re sure to find a new favorite among these other delightful cookie creations:
- Chocolate Chip Pumpkin Cookies
- Apple Oatmeal Cookies
- Vegan Chocolate Chip Cookies
- Chocolate Oatmeal Cookies
- Carrot Cake Cookies

Get My Free eBook!
Download my exclusive free eBook featuring 20 of my top 30-minute family-friendly healthy dinner recipes. Perfect for busy weeknights!
To receive your free eBook, simply provide your name and email address. A download link will be sent to your inbox.
Download eBook Now
If you try this recipe and absolutely love it, please take a moment to leave us some feedback in the comment section below. Your ratings and comments help us grow and inspire other home cooks!
FOLLOW me on FACEBOOK | INSTAGRAM | PINTEREST | TWITTER for all of my latest blog posts and recipes. Don’t miss out on fresh culinary inspiration!
5 out of 5 stars from 5 votes
Olive Oil Chocolate Chip Cookies
By: Rena
Servings: 18 cookies
Prep: 20 mins
Cook: 18 mins
Total: 38 mins
Rate
Pin

Olive Oil Chocolate Chip Cookies are the best twist on your chocolate chip cookie recipe! Made with extra virgin olive oil instead of butter, they have crispy edges, soft centers, and an amazing flavor everyone will love!
Video
Ingredients
- 1 cup extra-virgin olive oil
- 1 cup coconut sugar, or light brown sugar
- 2 large eggs
- 2¼ cups flour, all-purpose or GF
- ½ cup almond flour
- 2 teaspoons vanilla extract
- 1 teaspoon salt
- 1 teaspoon baking soda
- 1 cup dark chocolate chips, plus ¼ cup for the tops
Instructions
- Preheat the oven to 350ºF (175ºC) and line a large sheet pan with parchment paper.
- Add the eggs, olive oil, vanilla extract, and sugar in a medium bowl. Using a whisk, whisk everything together to combine.
- In a separate bowl, add the all-purpose flour, almond flour, baking soda, and salt. Mix to combine.
- Add the flour mixture to the wet mixture. Using a spatula mix well to combine until a dough is formed. Do not over-mix.
- Fold in the chocolate chips and mix again to combine. Refrigerate the dough for 10-15 minutes.
- Using a cookie scooper, scoop the cookie dough and add it to the lined sheet pan. You should be able to make 12 large cookies or 18 medium sizes.
- Bake for 18-20 minutes or until browned. If making large cookies you will need the full 20 minutes.
- Allow the cookies to cool on the baking sheet for 5 minutes before transferring them to a wire rack to cool for another 5-10 minutes before serving. Enjoy.
Notes
- Do not forget to refrigerate the batter for 10-15 minutes. This helps prevent spreading.
- If you make 12 large cookies, each cookie will be approximately 407 calories.
- To store: These can be kept at room temperature for the first day or two, then stored in an airtight container in the refrigerator for 5 to 7 days.
- To freeze: Allow the cookies to completely cool, then transfer them to an airtight container lined with wax or parchment paper or a freezer-safe bag before storing them in the freezer for up to 2 months. Once ready to eat, simply thaw at room temperature.
Nutrition
Serving: 1 serving
Calories: 273 kcal
Carbohydrates: 26g
Protein: 4g
Fat: 17g
Saturated Fat: 5g
Polyunsaturated Fat: 1g
Monounsaturated Fat: 9g
Trans Fat: 0.002g
Cholesterol: 21mg
Sodium: 227mg
Potassium: 88mg
Fiber: 1g
Sugar: 9g
Vitamin A: 31 IU
Vitamin C: 0.1mg
Calcium: 43mg
Iron: 1mg
Nutrition information is automatically calculated and should be used as an approximation only.
Additional Info
Course: Dessert
Cuisine: American
Tried this recipe? Mention @healthyfitnessmeals or tag #healthyfitnessmeals on Instagram!