
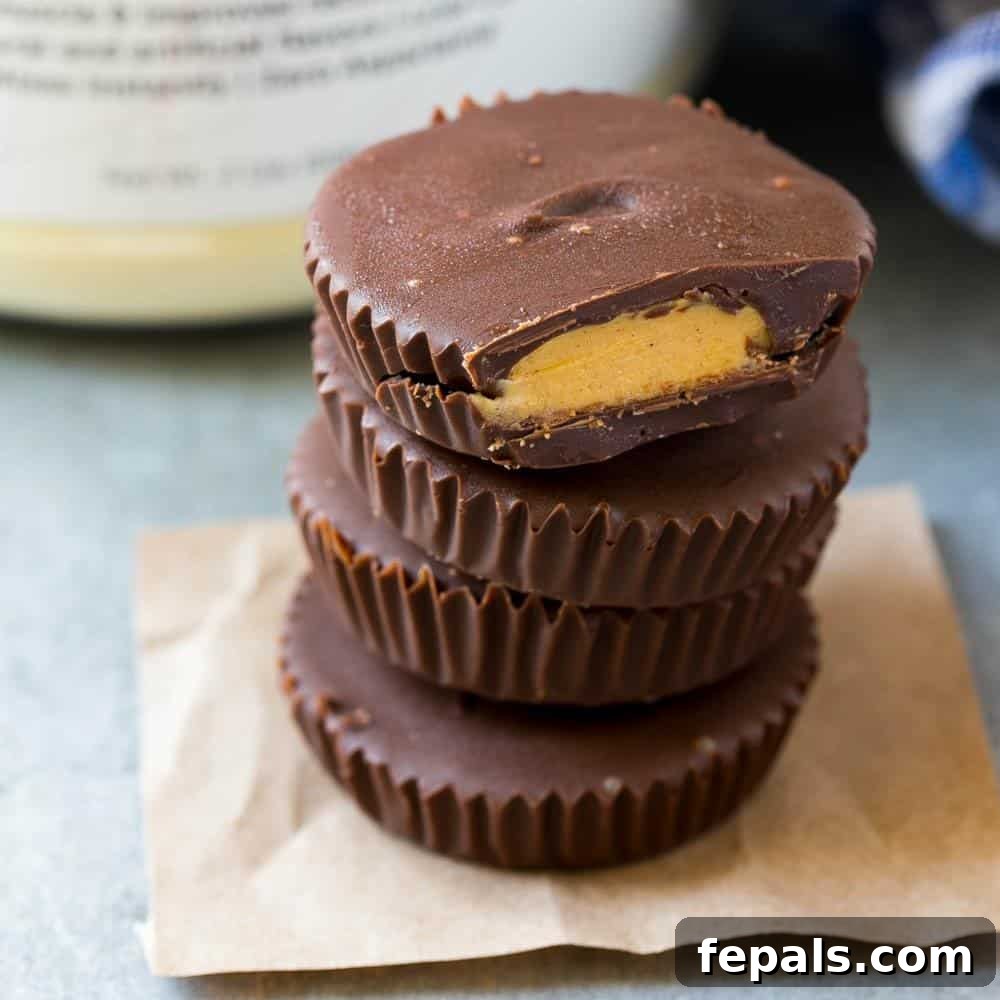
Protein Peanut Butter Cups are more than just a sweet treat; they’re a delicious and nutritious upgrade to a beloved classic. This homemade recipe transforms the iconic peanut butter cup into a high-protein powerhouse, perfect for fueling your body, satisfying cravings, and indulging guilt-free. With just 4 simple ingredients, these cups are incredibly easy to make, resulting in a creamy, rich, and utterly irresistible dessert that everyone will adore.
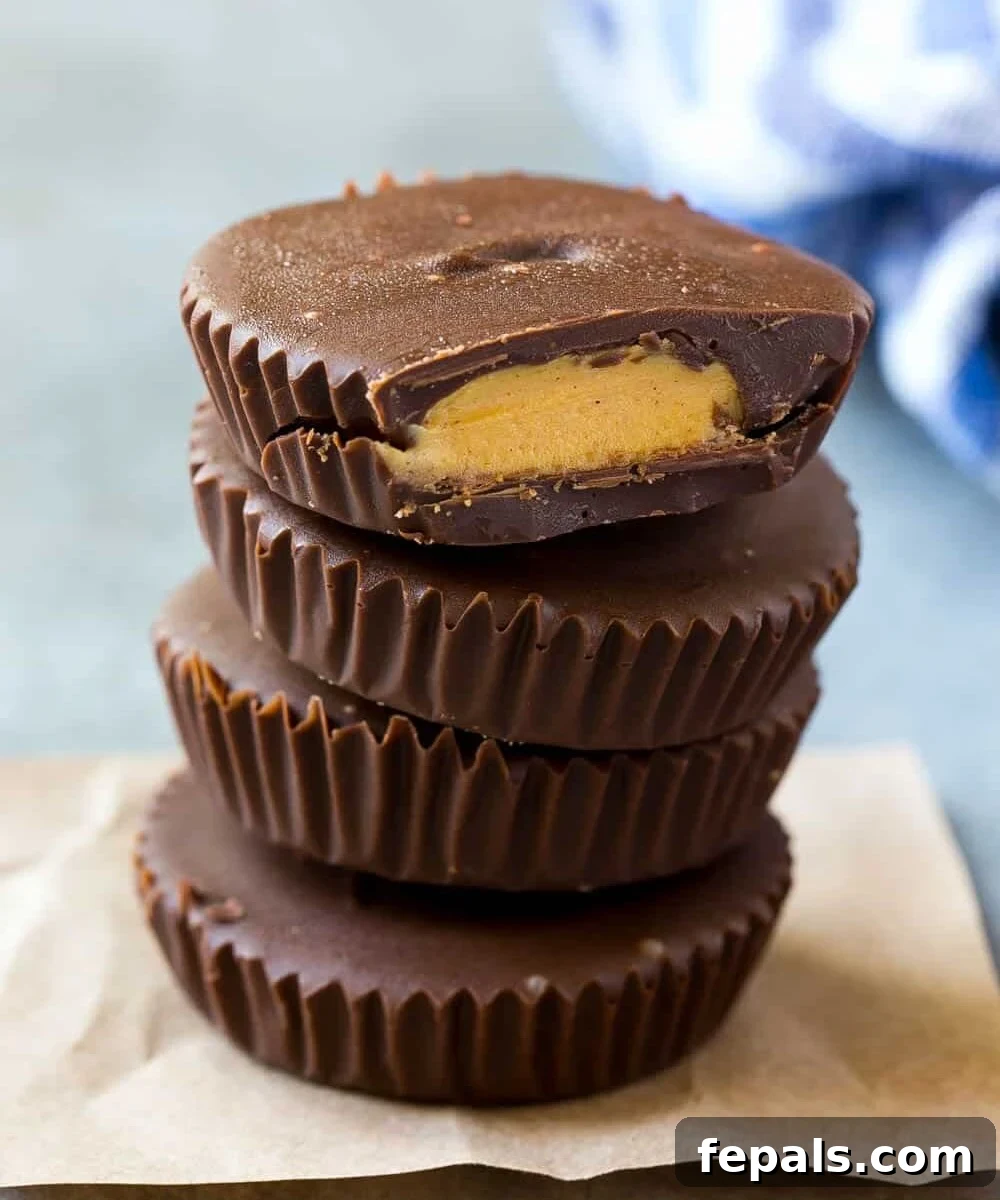
The simplicity of crafting this high-protein delight is truly remarkable. Not only are they incredibly easy to whip up, but they’re also a massive hit with kids and adults alike. These homemade treats offer a significantly cleaner and healthier alternative to their store-bought counterparts, allowing you complete control over the ingredients. You can easily customize them to be vegan-friendly or low in sugar, depending on your dietary preferences. For an even healthier twist, I often opt for sugar-free chocolate chips, proving that healthy eating doesn’t mean sacrificing flavor!
If you’re looking for more delicious and healthy protein-packed desserts, you might also love my Chocolate Protein Baked Oats and my Healthy Protein Brownies. They’re perfect for satisfying your sweet tooth while keeping your fitness goals on track.
Recipe Overview
⭐
⏱️
🔥
Before You Get Started: Essential Tips for Success
Preparing homemade protein peanut butter cups is a straightforward process, but a few key considerations can elevate your results. Keep these tips in mind:
- Healthier Choices: For an even more health-conscious treat, consider using sugar-free chocolate chips. This simple swap significantly reduces the overall sugar content without compromising on taste.
- Vegan Adaptations: To make this recipe completely vegan, ensure you use dairy-free chocolate chips and opt for a plant-based protein powder. There are many excellent vegan protein powders available that work wonderfully in this recipe.
- Protein Powder Alternatives: If you don’t have protein powder on hand, or prefer not to use it, you can substitute it with an equal amount of almond flour. For a touch of sweetness, consider adding 1-2 tablespoons of honey or maple syrup to the peanut butter mixture.
- Quality Ingredients Matter: Using high-quality peanut butter and chocolate will make a noticeable difference in the final taste and texture of your cups.
Key Ingredients You Will Need
Crafting these delectable protein peanut butter cups requires only four core ingredients, making it an accessible recipe for any home cook. Below is a detailed list of what you’ll need, with full measurements provided in the recipe card further down.
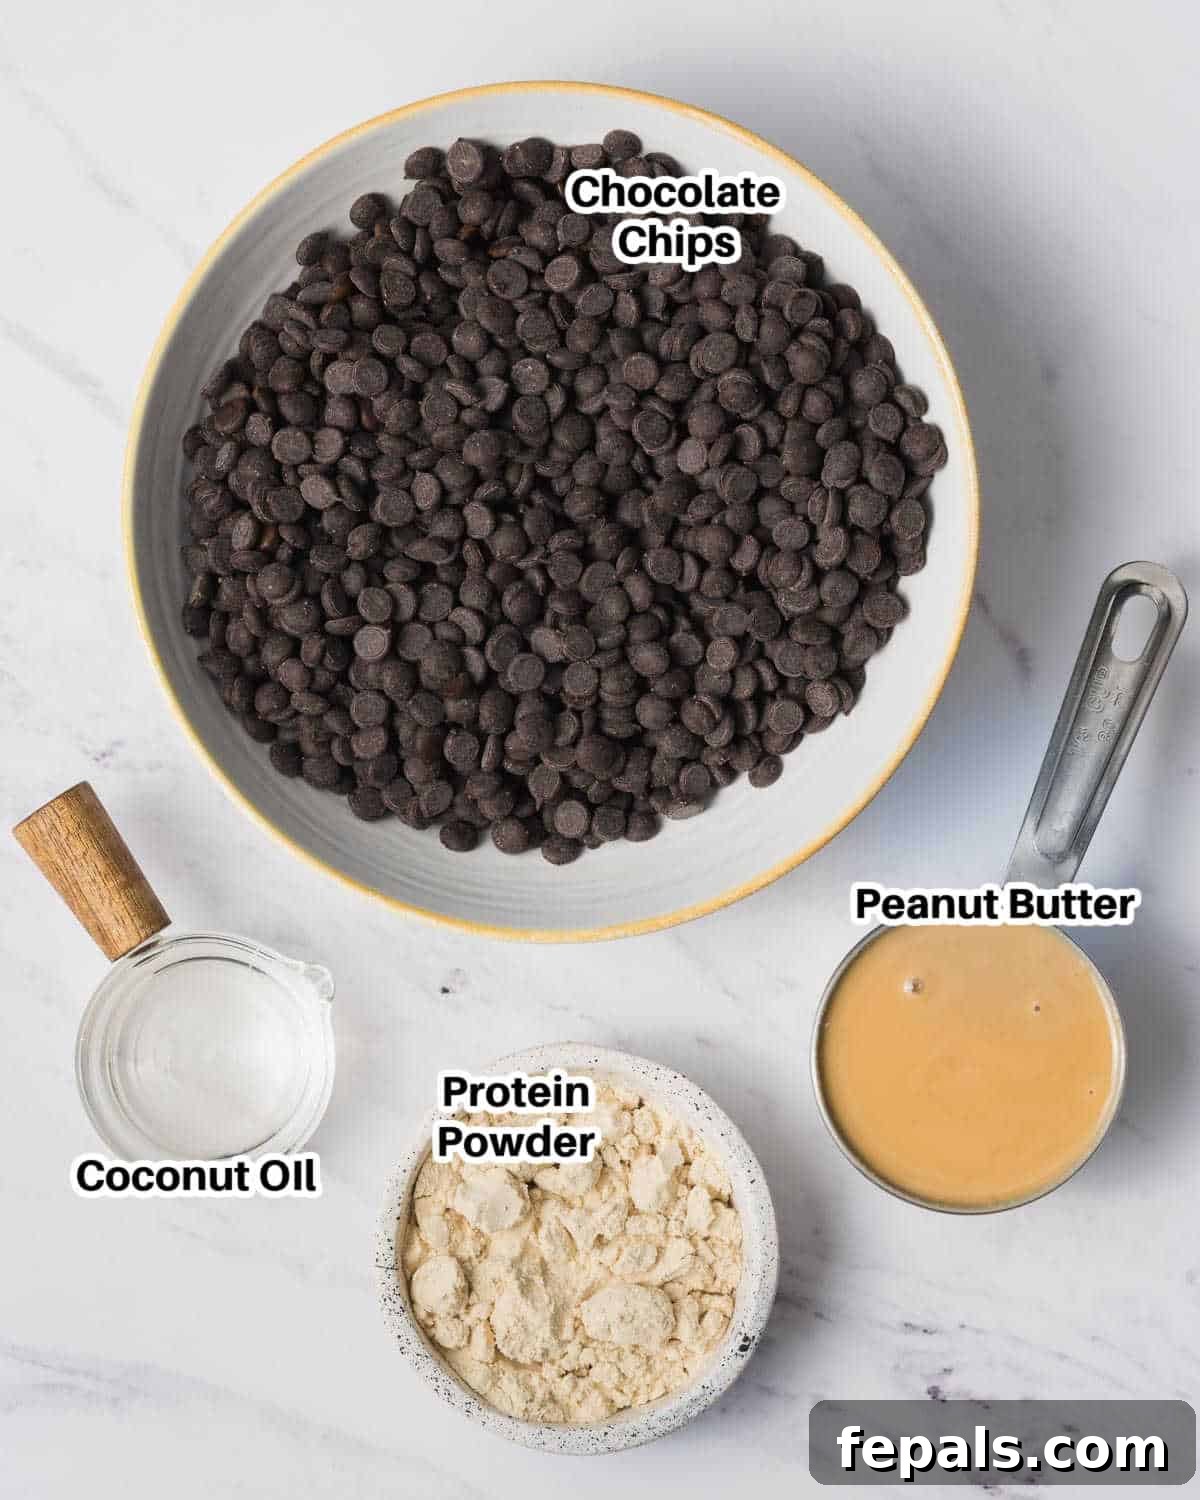
- Creamy Peanut Butter: The star of the show! I personally love using smooth, creamy peanut butter for that classic, melt-in-your-mouth texture. However, feel free to experiment with other nut butters like almond butter, cashew butter, or even sunflower seed butter if you have nut allergies. Natural peanut butter with minimal added sugar is always a great choice for a healthier profile.
- Protein Powder: This is where the “protein” in our peanut butter cups comes from! I typically use vanilla-flavored whey protein powder, which complements the peanut butter and chocolate perfectly. You can use your preferred brand and flavor. For those following a plant-based diet, a good quality plant-based protein powder (like pea, rice, or a blended vegan protein) works just as well. Just ensure it’s a flavor you enjoy.
- Chocolate Chips: The rich outer shell that makes these cups truly irresistible. Dark chocolate chips are my go-to for a less sweet, more intense flavor that balances the peanut butter. However, you can also use semi-sweet chocolate chips for a sweeter profile, dairy-free chocolate chips for a vegan option, or sugar-free chocolate chips to reduce the sugar content.
- Coconut Oil: This ingredient plays a crucial role in achieving the perfect consistency for your chocolate coating. It helps to thin out the melted chocolate, making it smooth and easy to spread, and also prevents it from becoming too brittle or hard when it sets. This ensures a delightful snap when you bite into your finished cup.
How to Make Protein Peanut Butter Cups: A Step-by-Step Guide
Making these protein-packed peanut butter cups is surprisingly simple and requires minimal effort. Follow these step-by-step instructions to create your own batch of healthy, homemade treats.
1️⃣ Prepare Your Muffin Tin and Peanut Butter Filling
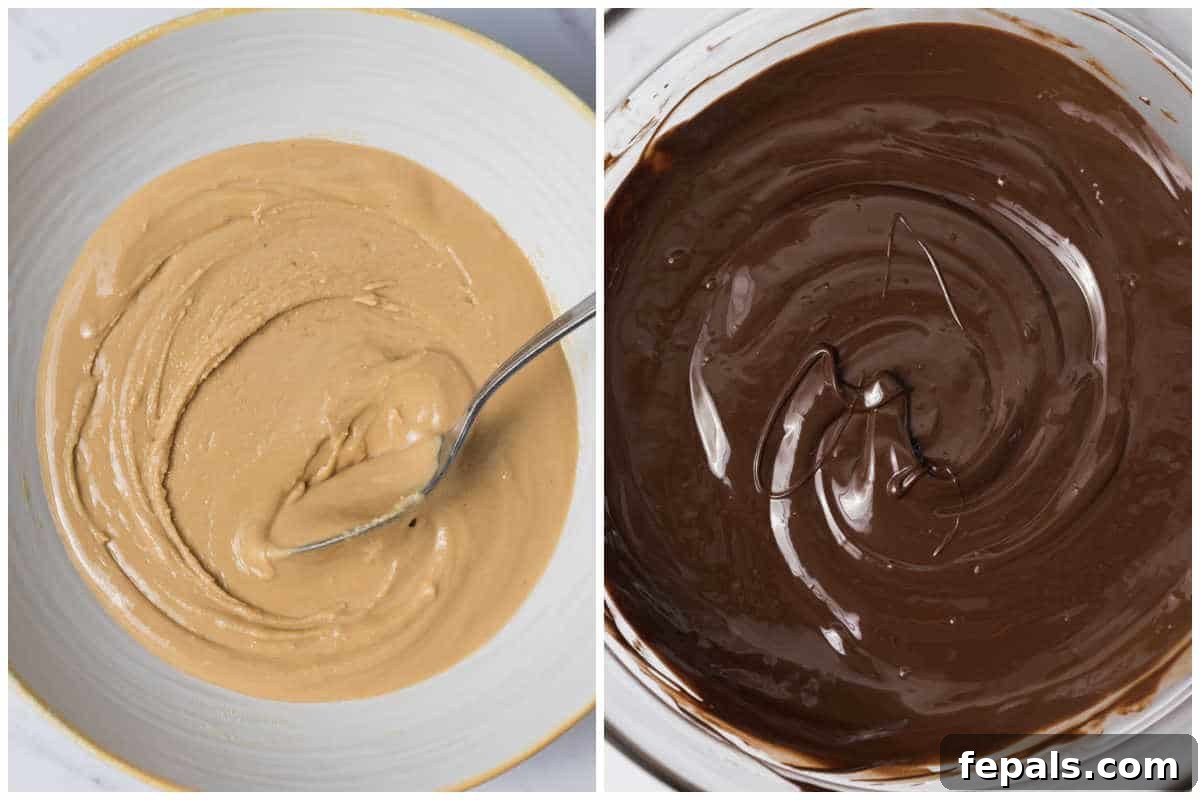
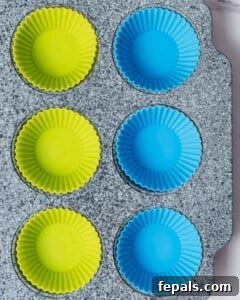
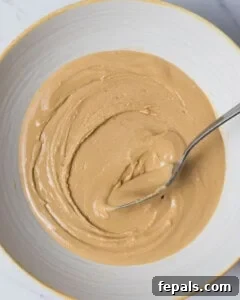
Begin by lining the wells of a standard muffin tin with 6 paper liners. Set this aside, as you’ll be using it shortly. In a separate small mixing bowl, combine your protein powder and creamy peanut butter. Stir these two ingredients together thoroughly until the mixture is completely smooth and well-combined. This will form the delicious, protein-rich center of your peanut butter cups.
Pro Tip: Using silicone liners instead of traditional paper liners will make it significantly easier to peel your finished peanut butter cups away without any sticking. While paper liners certainly work, some can occasionally cling to the chocolate, making removal a bit trickier.
2️⃣ Melt the Chocolate for the Base Layer
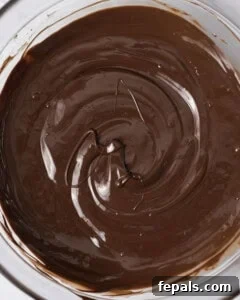
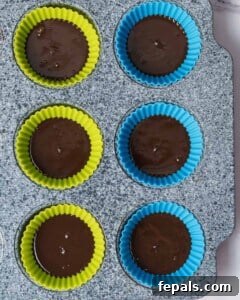
Next, place your chocolate chips and coconut oil into a microwave-safe bowl. Microwave the mixture in short, 30-second increments, stirring well after each interval, until the chocolate is fully melted and smooth. Be careful not to overheat the chocolate, as it can seize. Once melted, spoon approximately 1 tablespoon of this smooth, melted chocolate into the bottom of each prepared paper liner in your muffin tin. This will create the foundational chocolate layer.
Immediately after adding the chocolate base, transfer the muffin tin to the freezer for about 10 minutes. This quick chill time is essential to allow the chocolate layer to firm up and set completely before you add the peanut butter filling.
3️⃣ Add the Creamy Peanut Butter Filling
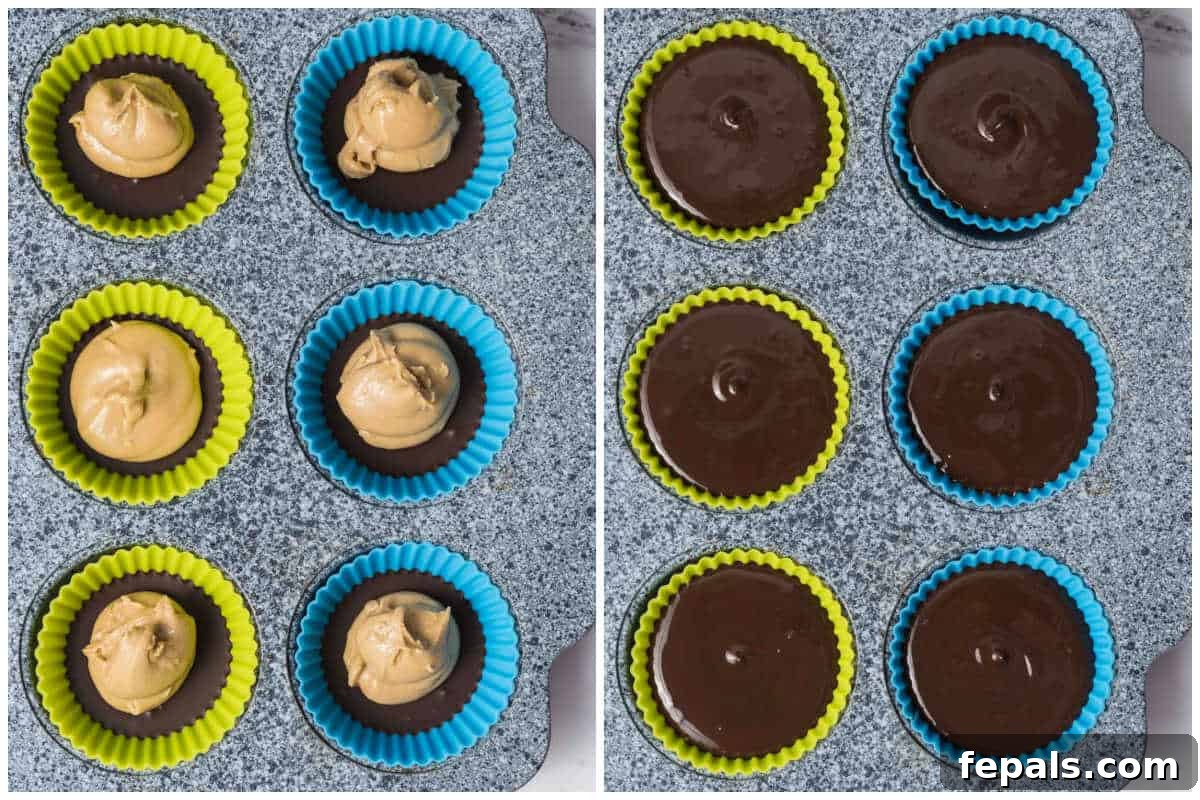
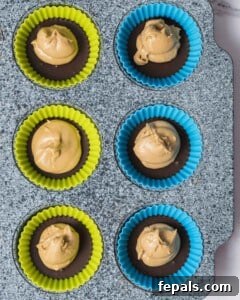
Once the chocolate base layer has completely hardened in the freezer, carefully remove the muffin tin. Take about 2 teaspoons of your prepared peanut butter and protein mixture and gently place it on top of the set chocolate layer in each liner. Use the back of the spoon or your fingers to lightly spread the peanut butter mixture out, creating an even layer without pressing too hard and cracking the chocolate below.
Important: It’s crucial to ensure that the chocolate at the bottom has fully hardened before adding the peanut butter filling. If the base isn’t set, the layers might mix, and your peanut butter cups won’t have that distinct, appealing separation.
4️⃣ Final Chocolate Layer and Chilling
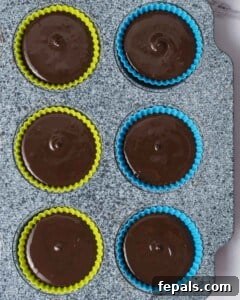
With the peanut butter filling in place, pour an additional tablespoon of the remaining melted chocolate over the top of each peanut butter mound. Gently swirl or tap the tin to ensure the chocolate evenly covers the peanut butter layer, creating a smooth, attractive top.
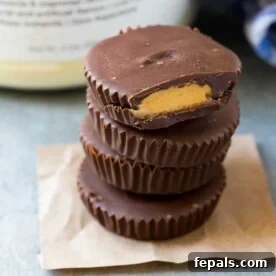
Return the muffin tin to the freezer or refrigerator and chill until the entire peanut butter cup is completely firm. This usually takes about 20 minutes in the freezer or 45-60 minutes in the refrigerator. Once they are fully set and hardened, you can carefully remove them from their silicone or paper cups. Store these delightful protein peanut butter cups in an airtight container in the refrigerator until you’re ready to enjoy them.
Pin this now to find it later!
Pin It
Common Questions About Protein Peanut Butter Cups
Absolutely! This recipe is highly adaptable. If you prefer to avoid whey protein or are following a vegan diet, you can easily substitute it with your favorite plant-based protein powder. Just ensure it’s a flavor that complements peanut butter and chocolate, such as vanilla or unflavored.
Yes, these protein peanut butter cups freeze exceptionally well. You can store them in an airtight container in the freezer for up to 3 months. When you’re ready to enjoy one, simply transfer it to the refrigerator for a few hours to allow it to thaw slightly, or enjoy them directly from the freezer for a firmer, colder treat.
If protein powder isn’t an option for you, you can replace it with an equal amount of almond flour or coconut flour. Keep in mind that this will alter the nutritional profile (lower protein) and potentially the texture slightly. I recommend adding 1-2 tablespoons of natural sweetener, such as honey or maple syrup, to compensate for the lost sweetness and to help bind the peanut butter mixture.
When stored in an airtight container in the refrigerator, these homemade protein peanut butter cups will stay fresh and delicious for up to 1 week. Beyond that, consider freezing them for longer storage.
⭐⭐⭐⭐⭐
Protein Peanut Butter Cups
10 mins
20 mins
30 mins
Pin Recipe
Print Recipe
Video
Ingredients
- 1/3 Cup Smooth peanut butter
- 1 Scoop Whey Protein, vanilla flavor, about 1/3 cup
- 1 ½ Cups Dark chocolate chips
- 1 tablespoon Coconut oil
Instructions
-
Place 6 paper liners in the wells of a muffin tin and set aside.

-
In a small bowl, mix together the 1 Scoop Whey Protein and 1/3 Cup Smooth peanut butter until smooth and thoroughly combined.
-
Place the 1 ½ Cups Dark chocolate chips and 1 tablespoon Coconut oil in a microwave-safe bowl. Microwave in 30-second increments, stirring after each, until fully melted and smooth.
-
Place approximately 1 tablespoon of the melted chocolate into the bottom of each liner. Transfer the muffin tin to the freezer for 10 minutes, or until the chocolate is completely set and firm.
-
Carefully place 2 teaspoons of the peanut butter mixture on top of the hardened chocolate layer in each liner. Gently spread it out a bit to create an even layer.
-
Add an additional tablespoon of the melted chocolate on top of the peanut butter mixture, ensuring it fully covers the filling. Chill the muffin tin until the entire cup is firm and set.
-
Once completely set, carefully remove the protein peanut butter cups from the liners. Store them in an airtight container in the refrigerator until you are ready to serve and enjoy!
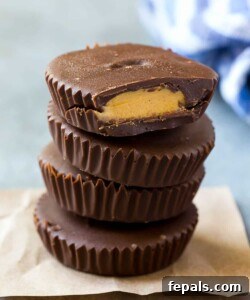
Notes for Perfect Protein Peanut Butter Cups
- Dietary Adjustments: For a plant-based option, ensure you use a good quality plant-based protein powder and dairy-free chocolate chips.
- Calorie Control: To reduce the calorie and sugar content, opt for sugar-free chocolate chips.
- Storage: Always store your protein peanut butter cups in an airtight container in the refrigerator. They will remain fresh and delicious for up to 1 week. For longer storage, freeze them for up to 3 months.
- Flavor Enhancements: A tiny pinch of sea salt added to the peanut butter filling or sprinkled on top of the chocolate can truly enhance the flavors!
- Textural Variations: If you enjoy a bit of crunch, use crunchy peanut butter or add finely chopped nuts (like peanuts or almonds) to the peanut butter filling.
Nutrition Information (per serving)
Calories: 357kcal
Carbohydrates: 31g
Protein: 12g
Fat: 22g
Saturated Fat: 16g
Polyunsaturated Fat: 1g
Monounsaturated Fat: 3g
Cholesterol: 9mg
Sodium: 133mg
Potassium: 396mg
Fiber: 2g
Sugar: 17g
Vitamin A: 18IU
Vitamin C: 0.2mg
Calcium: 158mg
Iron: 1mg
Nutrition information is automatically calculated and should be used as an approximation only.
Additional Information
Tried this recipe?
Mention @healthyfitnessmeals or tag #healthyfitnessmeals!
More Healthy & Delicious Dessert Recipes
If you loved these protein peanut butter cups, you’re in for a treat! Explore more wholesome and delightful dessert ideas from my kitchen that cater to a healthier lifestyle without skimping on flavor:
- Easy Cookie Dough Fudge Recipe – A guilt-free fudge that tastes just like cookie dough.
- Double Chocolate Protein Pudding – Rich, creamy, and packed with protein for a satisfying dessert or snack.
- No-Bake Healthy Cookie Dough Bars – Effortless and wholesome bars perfect for meal prep.
- Easy Coconut Chia Pudding – A simple and refreshing pudding that’s great for breakfast or dessert.
- Dubai Chocolate Bar – Indulge in an exotic chocolate creation.
- Oatmeal Date Bars – Chewy, naturally sweet, and incredibly satisfying.
You May Also Like These Recipes
Beyond desserts, here are some other popular recipes that embrace healthy ingredients and fantastic flavors:
- Pistachio Cream – A versatile and vibrant spread or topping.
- Peanut Butter Banana Bread – A moist and flavorful twist on a classic comfort food.
- Sweet Potato Brownies – Fudgy brownies with a hidden vegetable boost.
- Pumpkin Banana Bread – Seasonal flavors combine in this deliciously moist bread.
Get My Free eBook!
Grab my free eBook featuring 20 of my top 30-minute, family-friendly healthy dinner recipes. No sign-up required, just pure culinary inspiration!
Download Your Free eBook Here!
Remember to subscribe to my NEWSLETTER for free and receive recipes like this High Protein Peanut Butter Cups Recipe delivered right to your inbox!
FOLLOW me on FACEBOOK | INSTAGRAM | PINTEREST | TWITTER for all of my latest blog posts and recipes.