
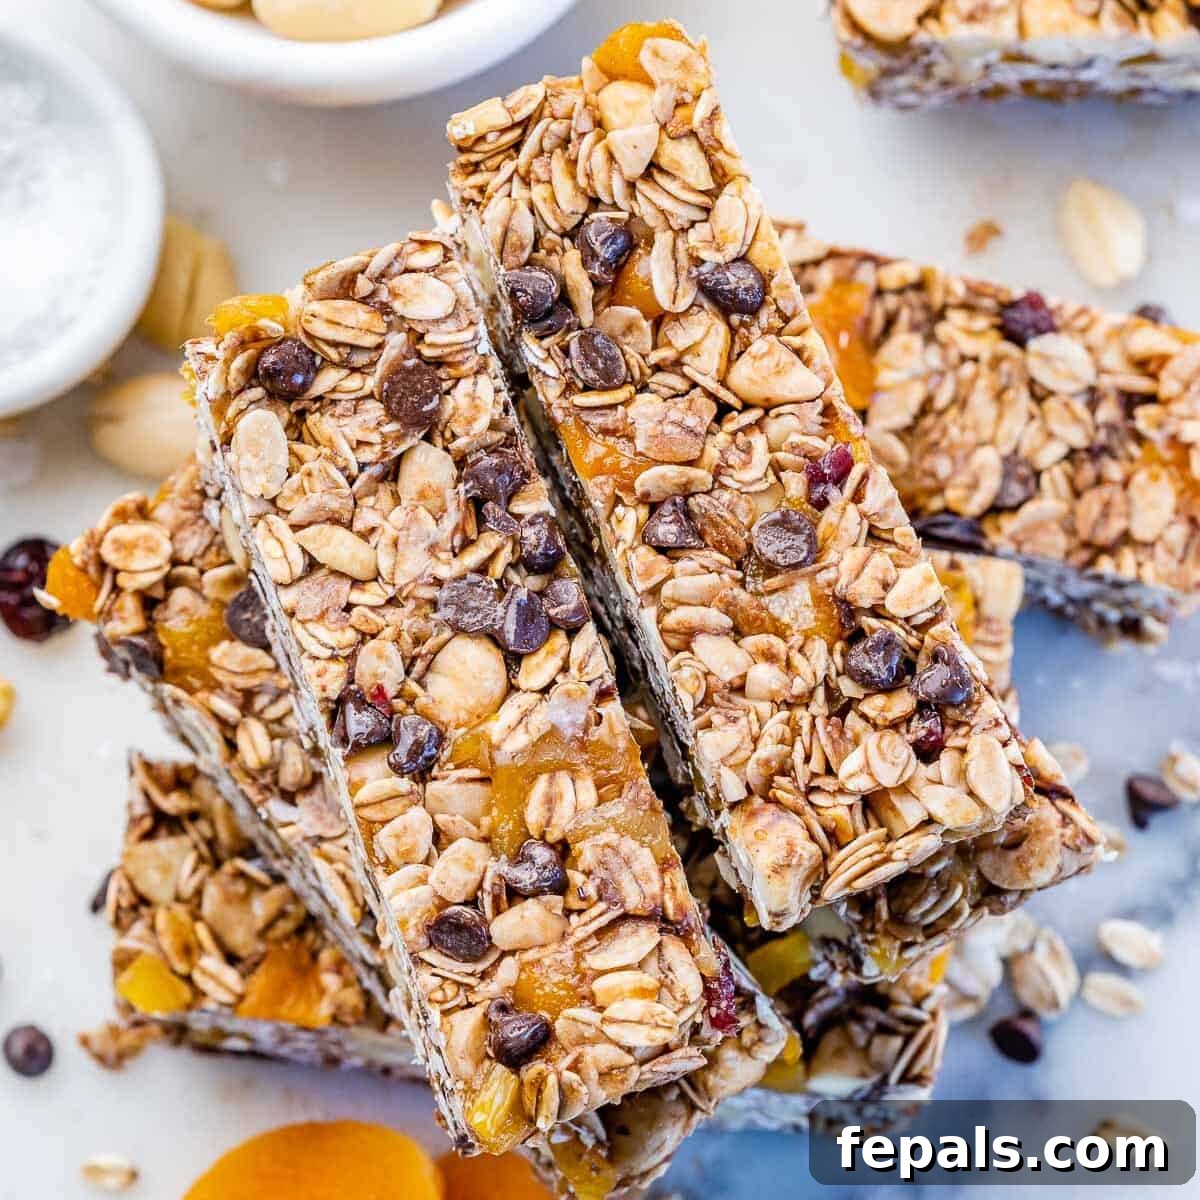
Welcome to your new favorite go-to snack! These homemade chocolate chip granola bars are the epitome of wholesome deliciousness: soft, wonderfully chewy, and packed with simple, natural ingredients you likely already have in your pantry. Forget highly processed store-bought versions filled with unpronounceable additives; crafting your own healthy granola bars is incredibly quick, surprisingly easy, and immensely satisfying. Whether you’re rushing out the door, packing lunchboxes for busy kids, or simply craving a nutritious pick-me-up during the day, these bars are perfectly suited for any occasion.
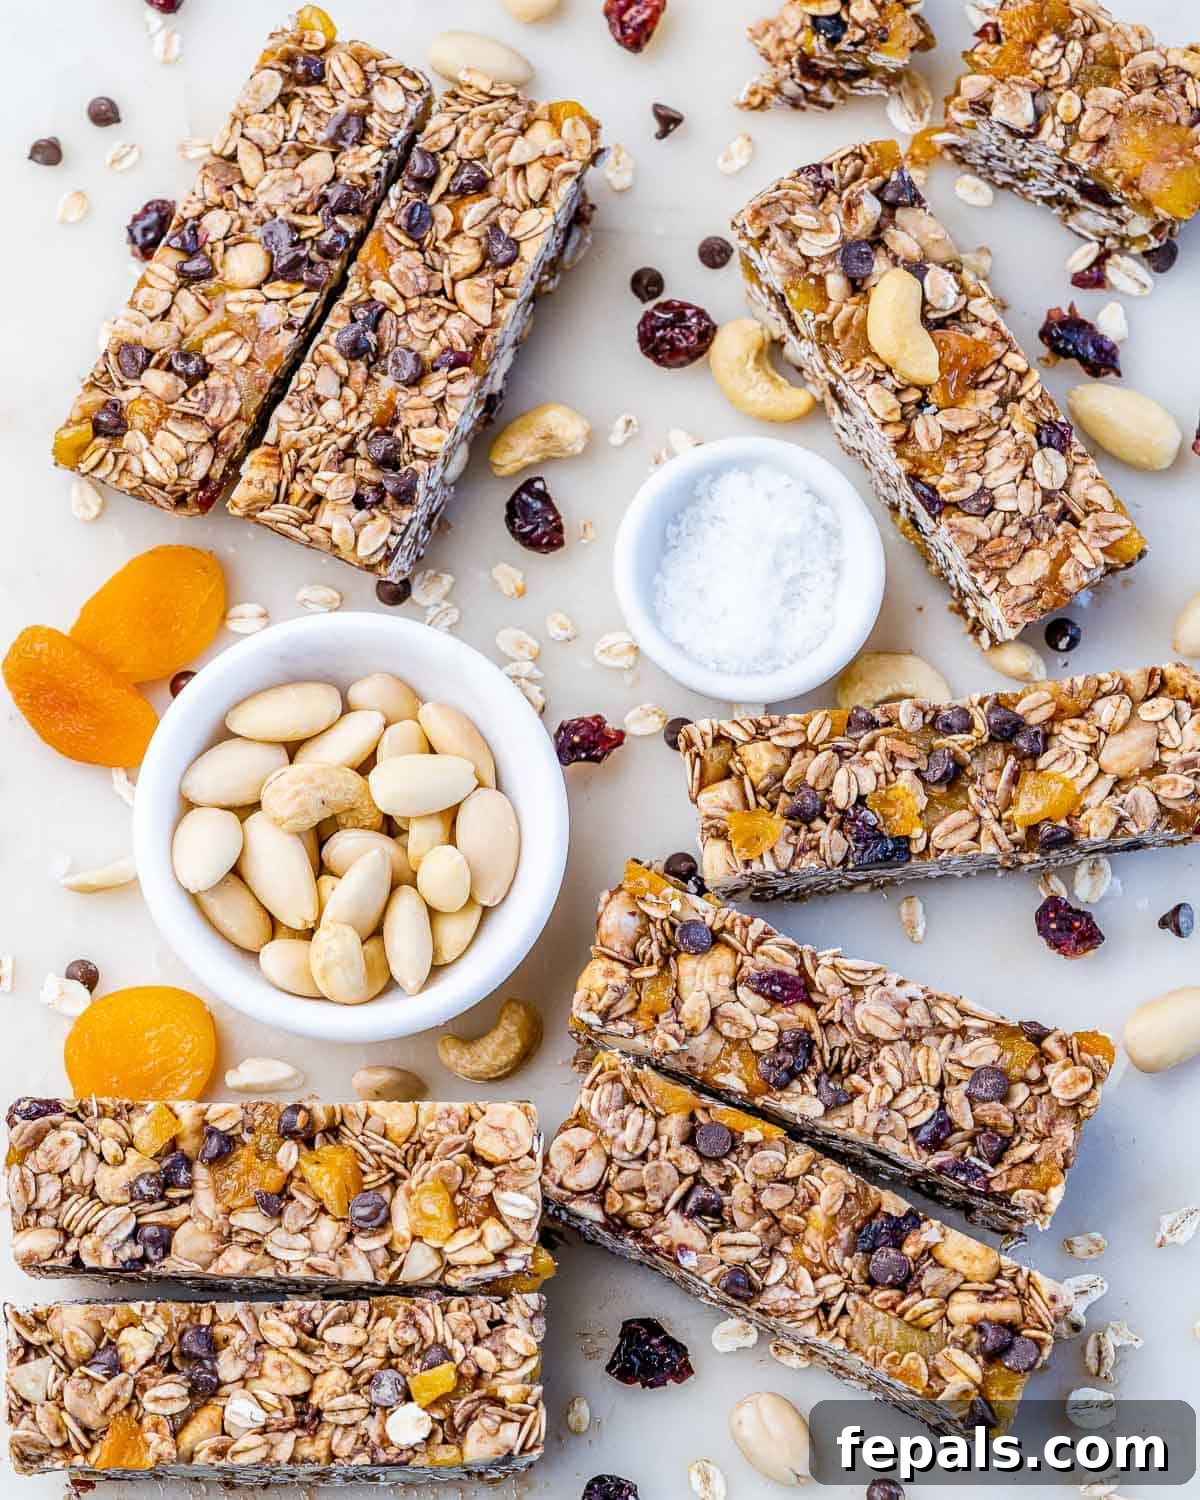
In our household, with five active children, snacks vanish at an astonishing rate. This makes having a stash of these easy-to-grab, wholesome granola bars a true lifesaver during hectic weeks. My teenage kids, in particular, are constant snackers, and knowing exactly what goes into their treats brings me immense peace of mind. These homemade delights are not only a healthier alternative but also far more cost-effective and customizable than anything you’ll find on supermarket shelves. Prepare to revolutionize your snack game with a recipe that’s both nourishing and irresistibly tasty.
If you’re looking for more quick and wholesome snack ideas, be sure to explore my other popular recipes like No-Bake Energy Bites, hearty Peanut Butter Oat Bars, or these delightful Chewy Trail Mix Bars. Each recipe is designed to offer maximum flavor and nutrition with minimal effort.
Homemade Chocolate Chip Granola Bars: Your Guide to a Perfect Snack
Making your own granola bars is not just about saving money; it’s about controlling the quality of ingredients, adapting to dietary needs, and enjoying a truly fresh, flavorful treat. Our healthy chocolate chip granola bars are designed to be a simple, rewarding experience for home cooks of all skill levels. They combine the classic appeal of chocolate chips with the hearty goodness of oats and nuts, all bound together with a touch of natural sweetness. This guide will walk you through every step, ensuring your homemade granola bars turn out perfectly chewy and delicious every single time.
Why You’ll Love This Healthy Granola Bar Recipe
- Wholesome & Nutrient-Dense: Made with natural ingredients like old-fashioned oats, various nuts, and dried fruits, these bars provide sustained energy and essential nutrients without unnecessary fillers.
- Incredibly Easy to Make: With straightforward steps and minimal cooking, even novice bakers can achieve perfect results. The process is quick, making them ideal for busy schedules.
- Soft & Chewy Texture: Unlike some rock-hard store-bought bars, these are wonderfully soft and chewy, making them a joy to eat for all ages, from toddlers to adults.
- Highly Customizable: This recipe serves as a fantastic base for endless variations. Easily swap nuts, dried fruits, or add extra boosts like seeds or spices to suit your taste and dietary preferences.
- Perfect for Meal Prep: Whip up a batch on the weekend, and you’ll have healthy snacks ready for the entire week. They’re freezer-friendly too, extending their shelf life even further.
- Kid-Friendly & Lunchbox Approved: A delicious and healthy alternative to sugary treats, these bars are a hit with kids and make an excellent addition to school lunchboxes.
- No Baking Required (Mostly!): While we lightly toast the oats and nuts for enhanced flavor, the binding process itself is no-bake, simplifying the overall preparation.
Key Ingredients for Healthy Granola Bars
Crafting the perfect chocolate chip granola bar starts with selecting quality ingredients. Here’s a closer look at what you’ll need and why each component is essential for achieving that ideal balance of flavor, texture, and nutrition. The full quantities and detailed instructions are provided in the comprehensive recipe card further down.
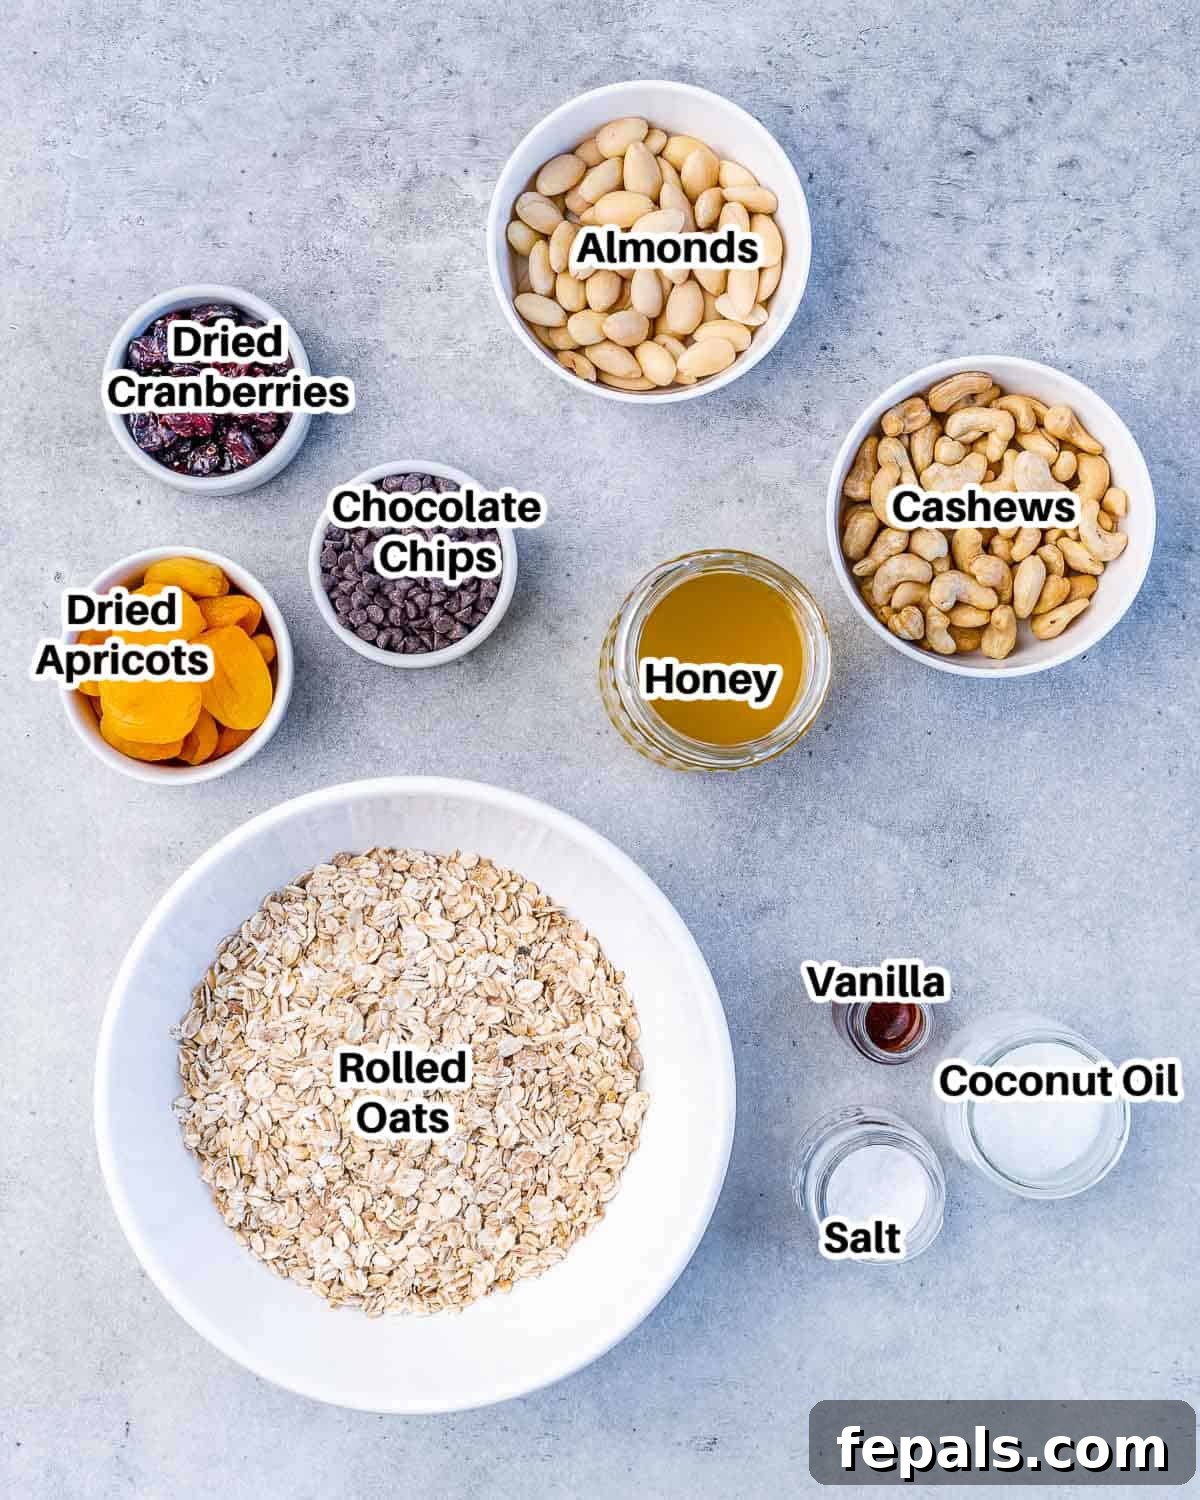
- Old-Fashioned Oats: These are the backbone of our granola bars, providing that delightful chew and hearty structure. Rolled oats are preferred because they hold their shape well and offer a satisfying texture. Quick oats, while convenient, tend to become too soft and mushy, compromising the bar’s integrity. Oats are also an excellent source of dietary fiber, promoting digestive health and helping you feel full longer. For a gluten-free option, simply ensure you use certified gluten-free rolled oats.
- Raw Skinned Almonds and Raw Cashews: These nuts contribute a fantastic crunch, a boost of healthy fats, and a creamy richness that elevates the flavor profile. They are also a good source of protein, making these bars more satisfying. Roasting them lightly before adding to the mixture significantly enhances their nutty flavor without the risk of burning, as they will be toasted gently.
- Honey: Beyond its natural sweetness, honey acts as the primary binder in these granola bars, holding all the ingredients together to create that signature chewy texture. We recommend using a good quality, runny honey for easier mixing and distribution. Both raw and regular honey will work beautifully, offering distinct flavor nuances. For a vegan alternative, maple syrup or brown rice syrup can be substituted.
- Coconut Oil: This ingredient adds a subtle richness and helps with the binding process, contributing to the bar’s pleasant chewiness. It also helps the bars set nicely when chilled. If you prefer a more neutral flavor profile or have a coconut aversion, unrefined avocado oil makes an excellent alternative.
- Vanilla Extract and Kosher Salt Flakes: These two essential flavor enhancers work wonders. Vanilla extract adds a warm, aromatic depth that complements the other sweet and nutty elements, while kosher salt flakes balance the sweetness, bringing out the nuances of the chocolate and fruit. Don’t skip the salt – it makes a noticeable difference!
- Dried Apricots and Dried Cranberries: These provide natural sweetness, a lovely tang, and an extra layer of chewy texture. They also add vibrant pops of color to your bars. Feel free to get creative here; any dried fruits you have on hand, such as raisins, chopped dates, dried cherries, or blueberries, can be used to customize your granola bars. Just make sure they are finely chopped if large.
- Mini Dark Chocolate Chips: The star of the show for many! Mini dark chocolate chips are perfect because they disperse evenly throughout the mixture, creating delightful little melty pockets of rich, bittersweet chocolate in every bite. Dark chocolate also offers antioxidants and a satisfying depth of flavor that contrasts beautifully with the fruit and nuts. For a vegan option, look for dairy-free mini dark chocolate chips.
How to Make Chewy Chocolate Chip Granola Bars
Achieving perfectly chewy and well-bound granola bars every time is simpler than you might think. Follow these straightforward steps to create your own batch of irresistible homemade treats:
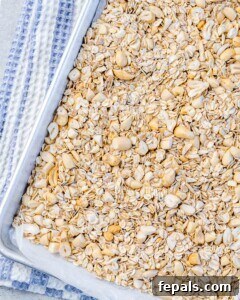
Step 1: Toast the Oats and Nuts for Enhanced Flavor.
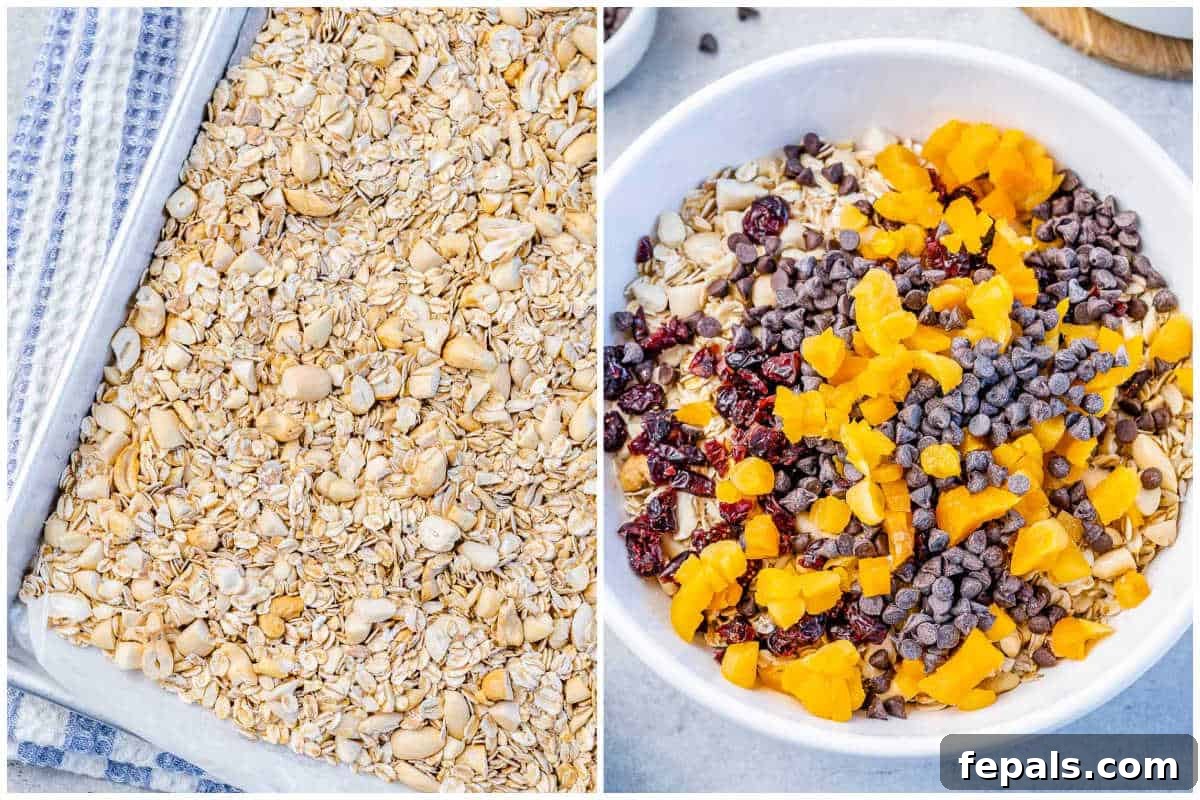
Preheat your oven to 350°F (175°C). Line a standard sheet pan with parchment paper to prevent sticking and ensure easy cleanup. Evenly spread the 2 cups of old-fashioned oats, ½ cup of coarsely chopped raw skinned almonds, and ½ cup of coarsely chopped raw cashews across the prepared pan. Roasting these ingredients is a crucial step that intensifies their nutty flavor and adds a fantastic depth, making your granola bars taste much richer. Roast them for approximately 12 minutes, making sure to stir them halfway through the cooking time to ensure even toasting and prevent any burning. You’re looking for a light golden color and a fragrant, nutty aroma.
Step 2: Combine Wet and Dry Ingredients.
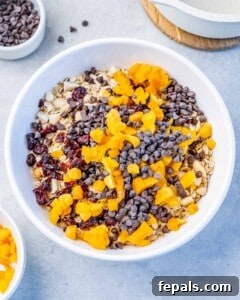
Once the toasted oats and nuts are lightly golden and aromatic, remove them from the oven and allow them to cool completely. This cooling step is important to maintain their crispness before mixing. Once cooled, transfer them into a large mixing bowl. In a small saucepan, gently warm the ½ cup of honey, 3 tablespoons of melted coconut oil, and 1 teaspoon of vanilla extract over low heat until just warm and fluid enough to mix easily. You don’t need to boil it, just ensure it’s pourable. Pour this warm honey mixture over the roasted nuts and oats in the bowl. Immediately add the 1 teaspoon of kosher salt flakes, ½ cup of coarsely chopped dried apricots, ¼ cup of dried cranberries (also chopped if large), and ¼ cup of mini dark chocolate chips. Stir everything very well to combine, ensuring all the dry ingredients are thoroughly coated with the honey mixture. The warmth from the honey will slightly melt the chocolate chips, which is a desirable effect as it helps bind the bars together.
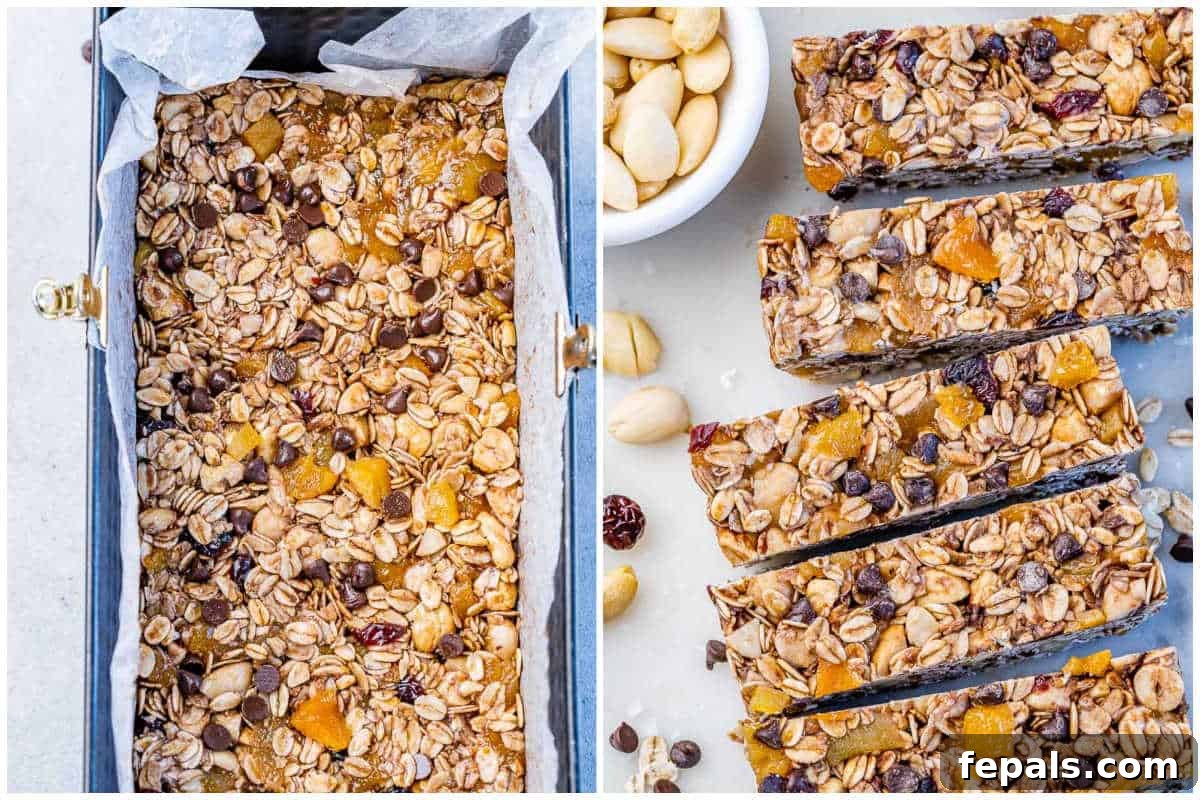
Step 3: Press Firmly for Cohesive Bars.
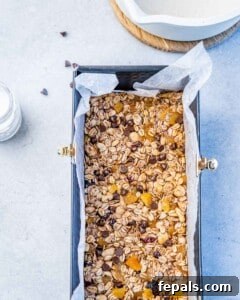
This step is critical for ensuring your granola bars hold together and don’t crumble. Transfer the entire mixture into an 11×5-inch loaf pan that has been generously lined with parchment paper, leaving an overhang on the sides for easy removal later. Using the back of a spoon, a spatula, or even the bottom of a glass or measuring cup, press the mixture down as firmly and evenly as possible. Really insist on packing it down, especially into the corners and along the edges, and flatten the surface. The harder you press, the more cohesive and less crumbly your finished bars will be. The melted chocolate will also act as a fantastic binding agent once cooled.
Step 4: Chill and Slice.
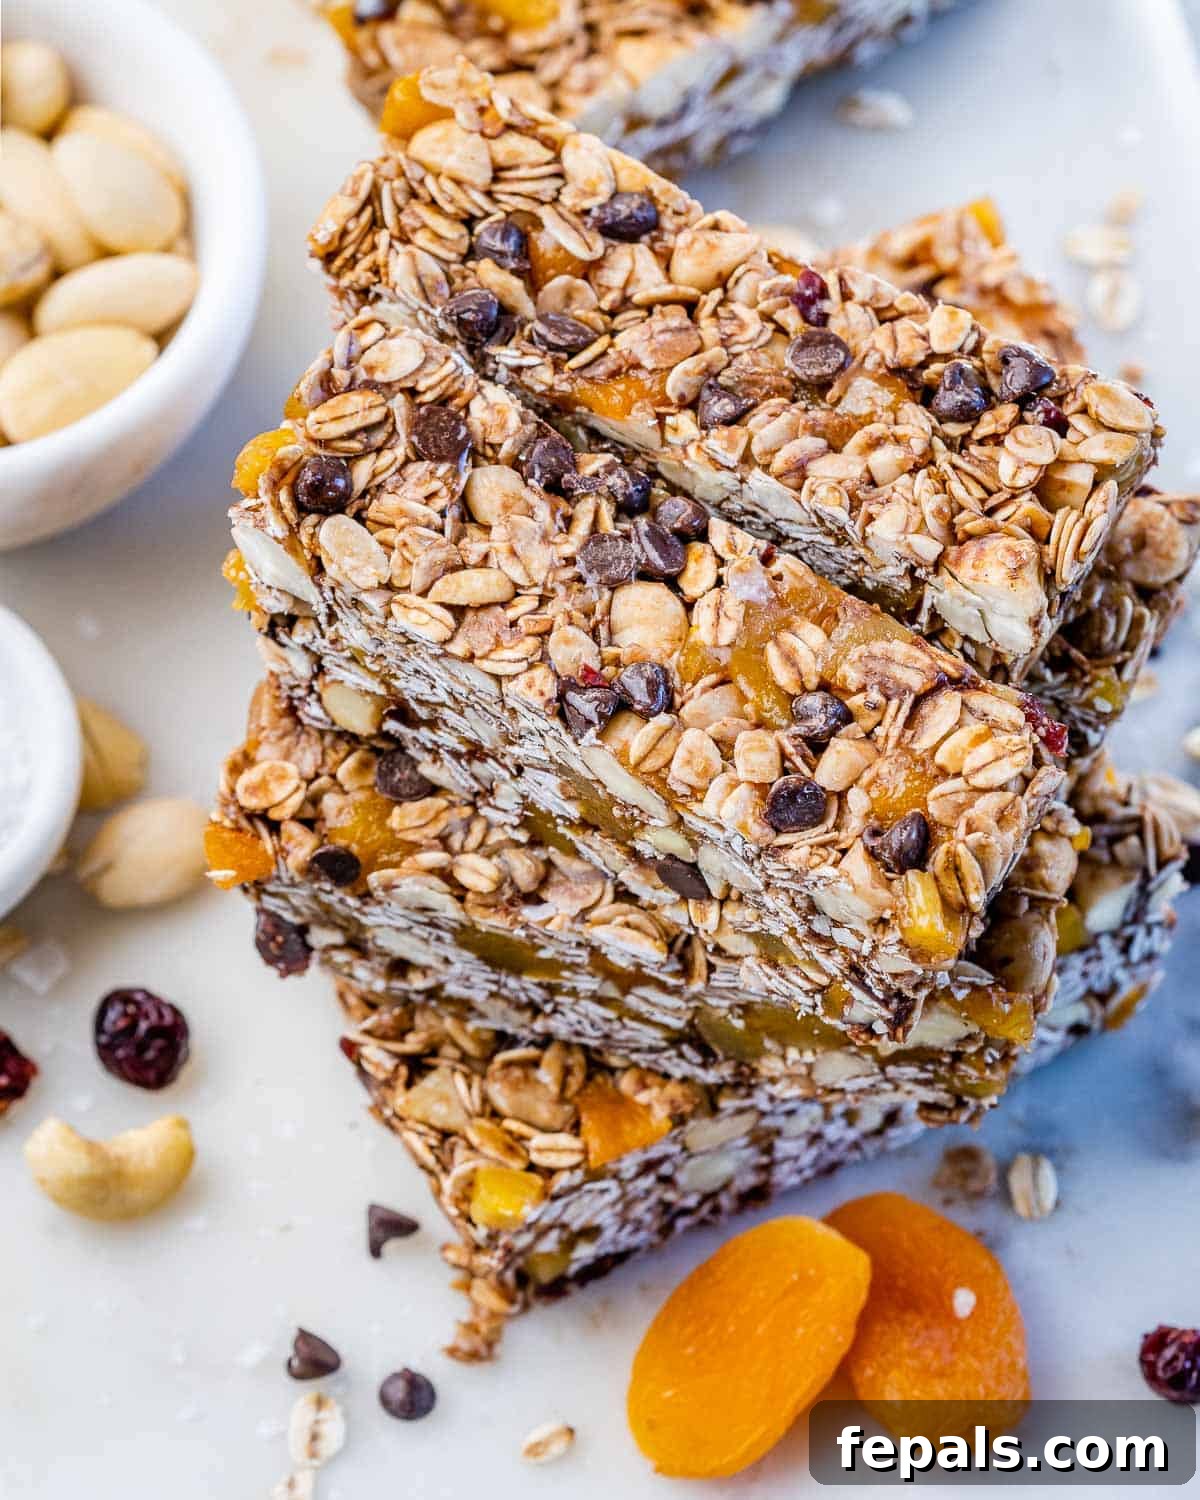
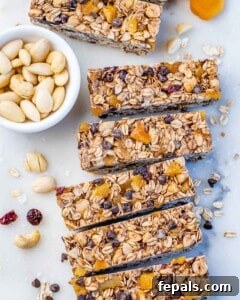
Once the mixture is firmly pressed into the pan, transfer the pan to the freezer for at least 1 hour. Freezing is essential for the bars to set completely, allowing for clean, neat slices. After an hour, use the parchment paper overhang to lift the entire block of granola out of the pan. Place it on a cutting board and slice it into your desired bar size. We typically aim for 10-12 bars. Once sliced, store the bars in an airtight container in the refrigerator until you’re ready to serve or pack them. They maintain their firmness and chewiness best when kept chilled.
Expert Tips & Granola Bar Variations
While this recipe for chocolate chip granola bars is fantastic as is, there are many ways to customize and perfect them to your liking. Here are some expert tips and creative variations to inspire you:
- Boost the Crunch with Seeds: For an added layer of texture and nutritional value, consider tossing in ¼ cup of pumpkin seeds (pepitas) or sunflower seeds along with the oats and nuts before toasting. These seeds offer healthy fats, fiber, and an extra satisfying crunch.
- Seasonal Spice Infusion: To give your granola bars a warm, comforting twist, especially during colder months, add 1 teaspoon of ground cinnamon or pumpkin pie spice to the honey mixture. This will infuse the bars with aromatic fall flavors that are simply delightful.
- Tropical Flair with Shredded Coconut: Stir in ¼ cup of unsweetened shredded coconut with the dried fruit. This addition will introduce a lovely chewy texture and a subtle tropical flavor that pairs beautifully with the chocolate and fruit.
- Omega-3 Power-Up: For an extra boost of omega-3 fatty acids and added chewiness, mix in a tablespoon of chia seeds or ground flax seeds with the oats before toasting. These tiny powerhouses also help with binding and contribute to a healthier profile.
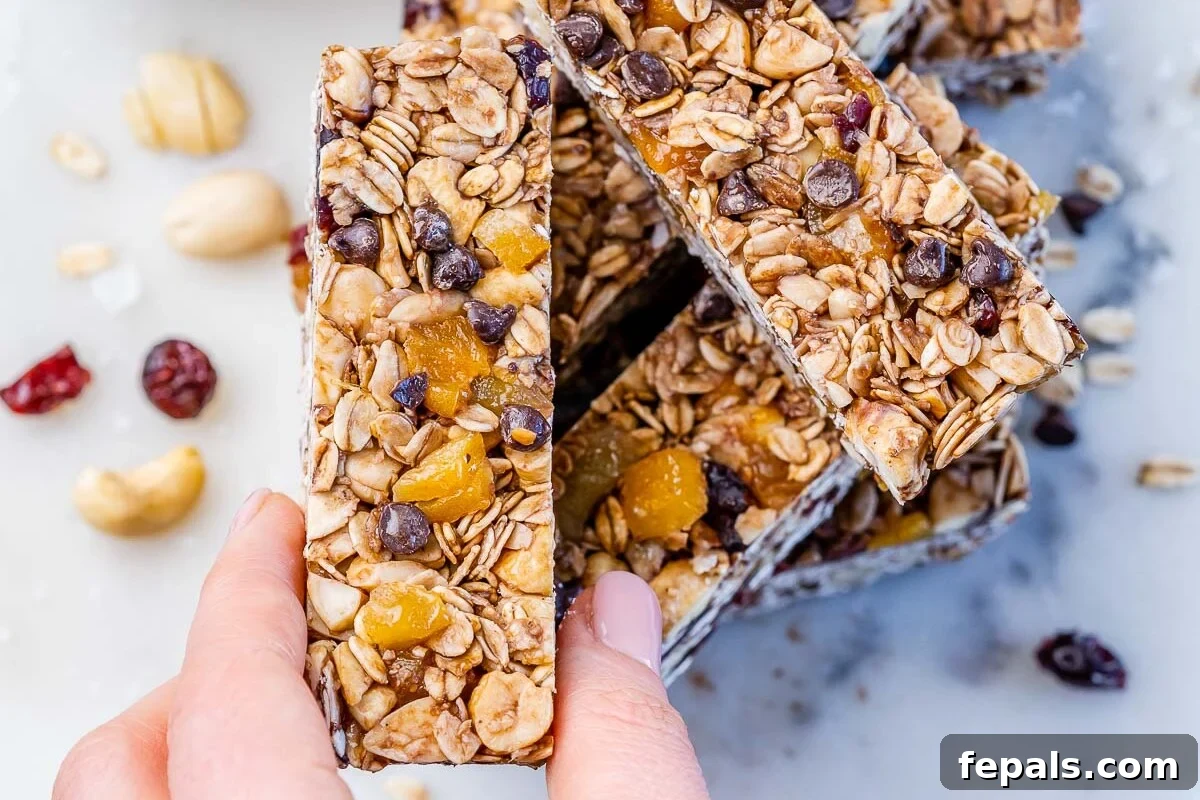
- Perfecting the Bite: These bars are best enjoyed slightly softened. If taking them straight from the fridge, allow them to sit at room temperature for 5-10 minutes for a softer, chewier bite. They are quite firm straight from the freezer or fridge, which makes them excellent for packing in lunchboxes or for travel.
- Prevent Sticking: Always line your pan with parchment paper, ensuring an overhang on the sides. This makes lifting the set granola block out of the pan incredibly easy and mess-free.
- Even Thickness is Key: When pressing the mixture into the pan, aim for uniform thickness. This ensures that all parts of the bar set evenly and allows for consistent slices.
- Double the Batch: If you have a larger family or want to ensure a longer supply of snacks, feel free to double the recipe and use a larger baking dish, adjusting chilling time as needed.
More Granola Bar Flavor Combinations:
- Nut Butter Swirl: After pressing the granola mixture into the pan, gently swirl 2-3 tablespoons of melted peanut butter or almond butter on top before freezing.
- Citrus Zest: Add 1 teaspoon of orange or lemon zest to the honey mixture for a bright, refreshing flavor.
- Different Dried Fruits: Experiment with chopped dates, figs, dried cherries, or blueberries instead of or in addition to apricots and cranberries.
- Spice Variations: Try a pinch of cardamom or ginger for a unique flavor profile.
- Chocolate Alternatives: Use white chocolate chips, milk chocolate chips, or even chopped dark chocolate chunks for different textures and flavors.
- Nut-Free Option: If allergies are a concern, replace almonds and cashews with an equal amount of toasted sunflower seeds, pumpkin seeds, or shredded coconut.
Common Questions About Granola Bars
If you prefer a less sweet bar, you can easily cut the amount of honey by 1-2 tablespoons. The dried fruits and chocolate chips already contribute a good amount of natural sweetness and flavor, so the bars will still be delicious. Taste the mixture before pressing it into the pan and adjust if needed. You can also use slightly less dried fruit than recommended.
The key to non-crumbly granola bars is firm pressing and proper chilling. Press the mixture as hard as possible into the prepared pan using the bottom of a sturdy glass, a measuring cup, or your hands. Really pack it down, paying special attention to the center and all four corners. After pressing, ensure you freeze the bars completely for at least 1 hour (or longer) before attempting to slice them. This allows the binders to fully set.
Making these granola bars vegan is simple! Replace the honey with an equal amount of liquid sweetener like maple syrup or brown rice syrup. Brown rice syrup often provides an even better binding property for chewy bars. For the mini dark chocolate chips, ensure you use a dairy-free/vegan brand (such as Enjoy Life). These vegan chocolate chips melt similarly to regular ones, which helps in holding everything together. All other ingredients in the recipe are naturally plant-based.
These homemade granola bars store exceptionally well. Keep them in an airtight container in the refrigerator for up to 2 weeks. For longer storage, wrap individual bars tightly in plastic wrap or parchment paper and place them in a freezer-safe bag or container. They will last in the freezer for up to 3 months. Thaw them at room temperature for 5-10 minutes before enjoying for a softer texture.
For a genuinely gluten-free option, the most important step is to use certified gluten-free oats. While oats are naturally gluten-free, they can sometimes be cross-contaminated during processing. Checking for a “certified gluten-free” label ensures they are safe for those with gluten sensitivities or celiac disease. All other ingredients in this recipe are naturally gluten-free.
While roasting is highly recommended for depth of flavor, you can technically skip it for a truly no-bake approach. However, the nuts and oats won’t have the same robust, toasted taste. If you omit roasting, your bars will still hold together and be delicious, but the flavor profile will be slightly different.
If the mixture seems overly sticky, try lightly dampening your hands with water or a tiny bit of coconut oil before pressing. This will help prevent the mixture from sticking to your hands and make the pressing process much easier. Ensure the honey and coconut oil mixture wasn’t too hot when combined with the dry ingredients, as this can sometimes make it more sticky if it over-melts the chocolate too quickly.
More Wholesome Snack Recipes You’ll Love
If you enjoyed making and devouring these delicious chocolate chip granola bars, you’re in for a treat! Here are more fantastic snack recipes from my collection, perfect for keeping your pantry stocked with healthy, easy-to-make options:
- No-Bake Protein Energy Bites
- Peanut Butter Protein Balls
- Oatmeal Cookie Dough Bites
- Chocolate Protein Chia Pudding
- Double Chocolate Chip Date Energy Balls
- No Bake Peanut Butter Oatmeal Bars
- Homemade Chocolate Protein Bars
- Date Energy Balls
Thank you for visiting and giving one of my recipes a try! Your feedback is incredibly valuable. If you enjoyed these homemade chocolate chip granola bars, please consider leaving a rating and sharing your thoughts in the comments section below. I truly appreciate hearing from you and seeing your creations!
Chocolate Chip Granola Bars
Rena Awada
Beginner
10
-12 Bars
15 minutes
12 minutes
1 hour
1 hour
27 minutes
Pin
Ingredients
-
2 cups old-fashioned oats, or gluten-free option -
½ cup raw whole skinned almonds, coarsely chopped -
½ cup raw cashews, coarsely chopped -
½ cup honey, use agave or maple syrup for vegan option -
3 tablespoons coconut oil, melted -
1 teaspoon vanilla extract -
1 teaspoon kosher salt flakes -
½ cup dried apricots, coarsely chopped -
¼ cup dried cranberries -
¼ cup mini dark chocolate chips, or dairy-free for vegan
Instructions
-
Preheat the oven to 350F and line a sheet pan with parchment paper. Spread the 2 cups old-fashioned oats, chopped ½ cup raw whole skinned almonds, and ½ cup raw cashews over the prepared pan and roast for 12 minutes, stirring halfway.

-
Once the oats and nuts are lightly toasted, allow them to cool, then transfer to a bowl. In a saucepan, add the ½ cup honey, 3 tablespoons coconut oil, and 1 teaspoon vanilla extract, and heat until warm. Pour the honey mixture over the roasted nuts and oats. Add in the 1 teaspoon kosher salt flakes, chopped ½ cup dried apricots, ¼ cup dried cranberries (chopped), and ¼ cup mini dark chocolate chips.
-
Stir very well to combine; the chocolate will melt and help keep the bars together. Press the mixture into an 11×5 in paper-lined loaf pan. Make sure you insist on pressing especially over the center and corners.
-
Freeze for 1 hour, then slice into bars. Keep refrigerated in an air-tight container until ready to serve.
Notes
- Press mixture firmly into pan (use the bottom of a glass) for bars that hold together.
- Freeze fully before slicing for clean cuts.
- Add cinnamon/pumpkin pie spice to the honey mix for a warm fall flavor.
- Stir in shredded coconut or seeds/chia for extra texture and nutrition.
- Store in an airtight container in the fridge for up to 2 weeks.
- Freeze individually wrapped up to 3 months. Thaw 5-10 minutes at room temp for a softer texture.
Nutrition
Carbohydrates: 38g
Protein: 5g
Fat: 13g
Saturated Fat: 6g
Polyunsaturated Fat: 2g
Monounsaturated Fat: 4g
Trans Fat: 0.001g
Cholesterol: 0.04mg
Sodium: 241mg
Potassium: 269mg
Fiber: 4g
Sugar: 22g
Vitamin A: 235IU
Vitamin C: 0.2mg
Calcium: 49mg
Iron: 2mg
Nutrition information is automatically calculated, so should only be used as an approximation.
Additional Info
Dessert, Snack
American
Tried this recipe?
Mention @healthyfitnessmeals or tag #healthyfitnessmeals!