
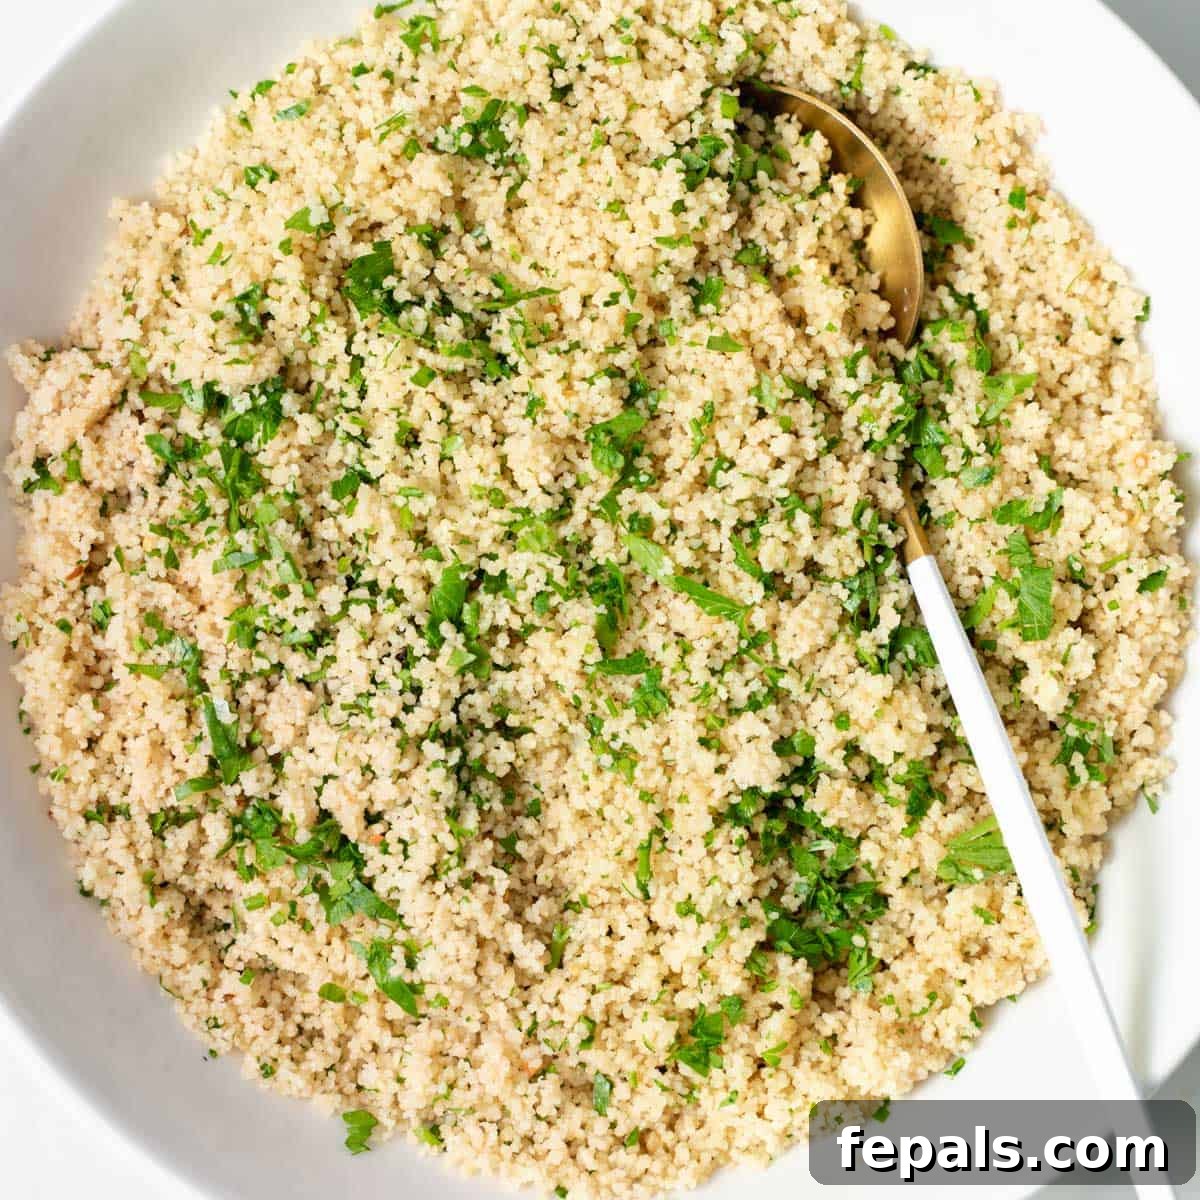
Unlock the secrets to effortlessly preparing perfectly fluffy and flavorful couscous in just 15 minutes! This comprehensive guide provides a simple, step-by-step recipe that transforms basic ingredients into a versatile side dish. Whether you’re pairing it with your favorite protein, incorporating it into vibrant salads, or adding texture to hearty soups, learning how to cook couscous opens up a world of culinary possibilities. It’s a Mediterranean staple that promises quick, delicious, and healthy additions to any meal, making it an essential skill for home cooks of all levels.
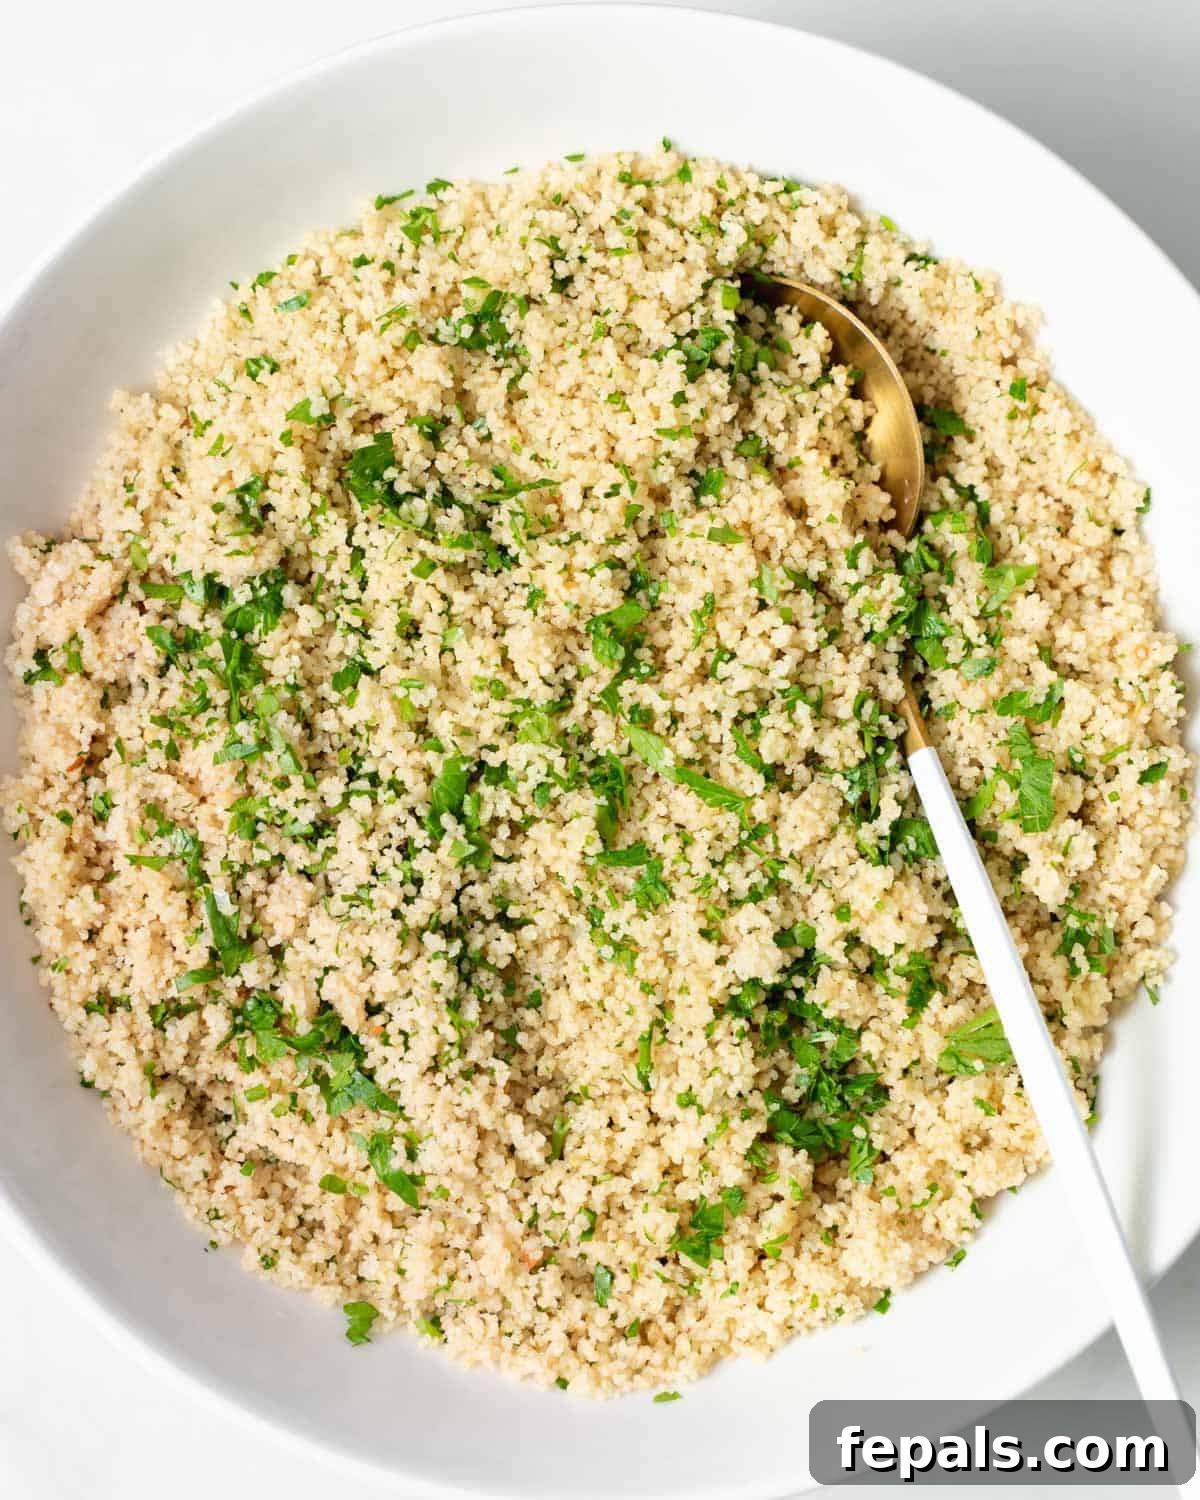
What Exactly is Couscous? Understanding This Mediterranean Staple
Often mistaken for a grain or seed, couscous is actually a delightful form of pasta, originating from North Africa and becoming a beloved staple in Mediterranean cooking. It’s crafted from dry semolina flour, which is coarsely ground durum wheat, and water, then traditionally rolled into tiny, irregular pieces. This unique composition gives couscous its distinctive light and fluffy texture when cooked. Its small size is also the secret to its rapid cooking time, making it an incredibly convenient and quick side dish for busy weeknights.
Beyond its quick preparation, couscous boasts remarkable versatility, much like rice or quinoa. It serves as a blank canvas, readily absorbing the flavors of accompanying herbs, spices, vegetables, and broths. Historically, couscous was hand-rolled by women in North Africa, a time-consuming process that spoke to its cultural importance. Today, most couscous available in stores is “instant” or “pre-steamed,” which means it has been partially cooked and then dried, significantly reducing preparation time at home. This makes it an invaluable pantry item for adding a touch of the Mediterranean to your meals with minimal effort.
Is Couscous Gluten-Free? A Common Question Answered
A frequent query regarding this beloved pasta revolves around its gluten content. The straightforward answer is: generally, no. Traditional couscous is made from semolina, which is derived from durum wheat. As wheat is a primary source of gluten, conventional couscous inherently contains gluten. This means individuals with celiac disease or gluten sensitivity should avoid standard couscous products.
However, as dietary needs and preferences evolve, the market has responded with alternatives. You might encounter “gluten-free couscous” in some specialty stores. These varieties are typically made from substitutes like corn or rice flour, explicitly labeled to cater to gluten-free diets. Always check the packaging carefully to ensure it explicitly states “gluten-free” if you require this dietary restriction. For those without gluten concerns, classic semolina couscous offers its unique texture and flavor profile.
Exploring the Diverse World of Couscous: Three Main Varieties
While the term “couscous” might bring one specific image to mind, there are actually three distinct varieties, each offering unique characteristics in size, texture, and culinary application. The good news is that the fundamental cooking method remains largely similar across all types, though larger varieties will naturally require slightly more liquid and a bit longer to achieve perfect tenderness. Let’s delve into each:
- Moroccan Couscous: This is by far the most common and smallest variety you’ll find, often referred to as “instant couscous” in grocery stores. Its tiny granules, similar in size to fine sand, make it incredibly quick to cook – typically ready in under 10 minutes. Moroccan couscous has a light, fluffy texture that’s perfect for absorbing flavors, making it an excellent base for salads, a simple seasoned side dish, or as a light accompaniment to stews. It’s wonderfully versatile, equally delicious served hot, at room temperature, or chilled in salads. This is the variety highlighted in our recipe.
- Pearl Couscous (Israeli Couscous): Noticeably larger than its Moroccan counterpart, Pearl or Israeli couscous boasts a pea-sized, spherical shape. It has a chewier, slightly pasta-like texture, which makes it heartier and more substantial. This variety is fantastic in soups, stews, or roasted vegetable dishes where its texture can stand up to other ingredients. It can often be used interchangeably with Moroccan couscous in many recipes, particularly in salads, offering a different mouthfeel. Its larger size means it takes a little longer to cook, usually around 10-15 minutes, and may require a slightly higher liquid-to-couscous ratio.
- Lebanese Couscous (Moghrabieh): The largest of the trio, Lebanese couscous, also known as Moghrabieh, is comparable in size and color to small chickpeas. It’s often traditionally steamed multiple times to achieve its signature tender, chewy texture and subtle nutty flavor. Its robust size and hearty bite make it an excellent substitute for small pasta shapes like acini de pepe or orzo. It truly shines in main dishes, absorbing rich sauces and serving as a satisfying component in tagines, braises, or as a bed for grilled meats and vegetables. Due to its size, Lebanese couscous requires the most cooking time and liquid among the three types.
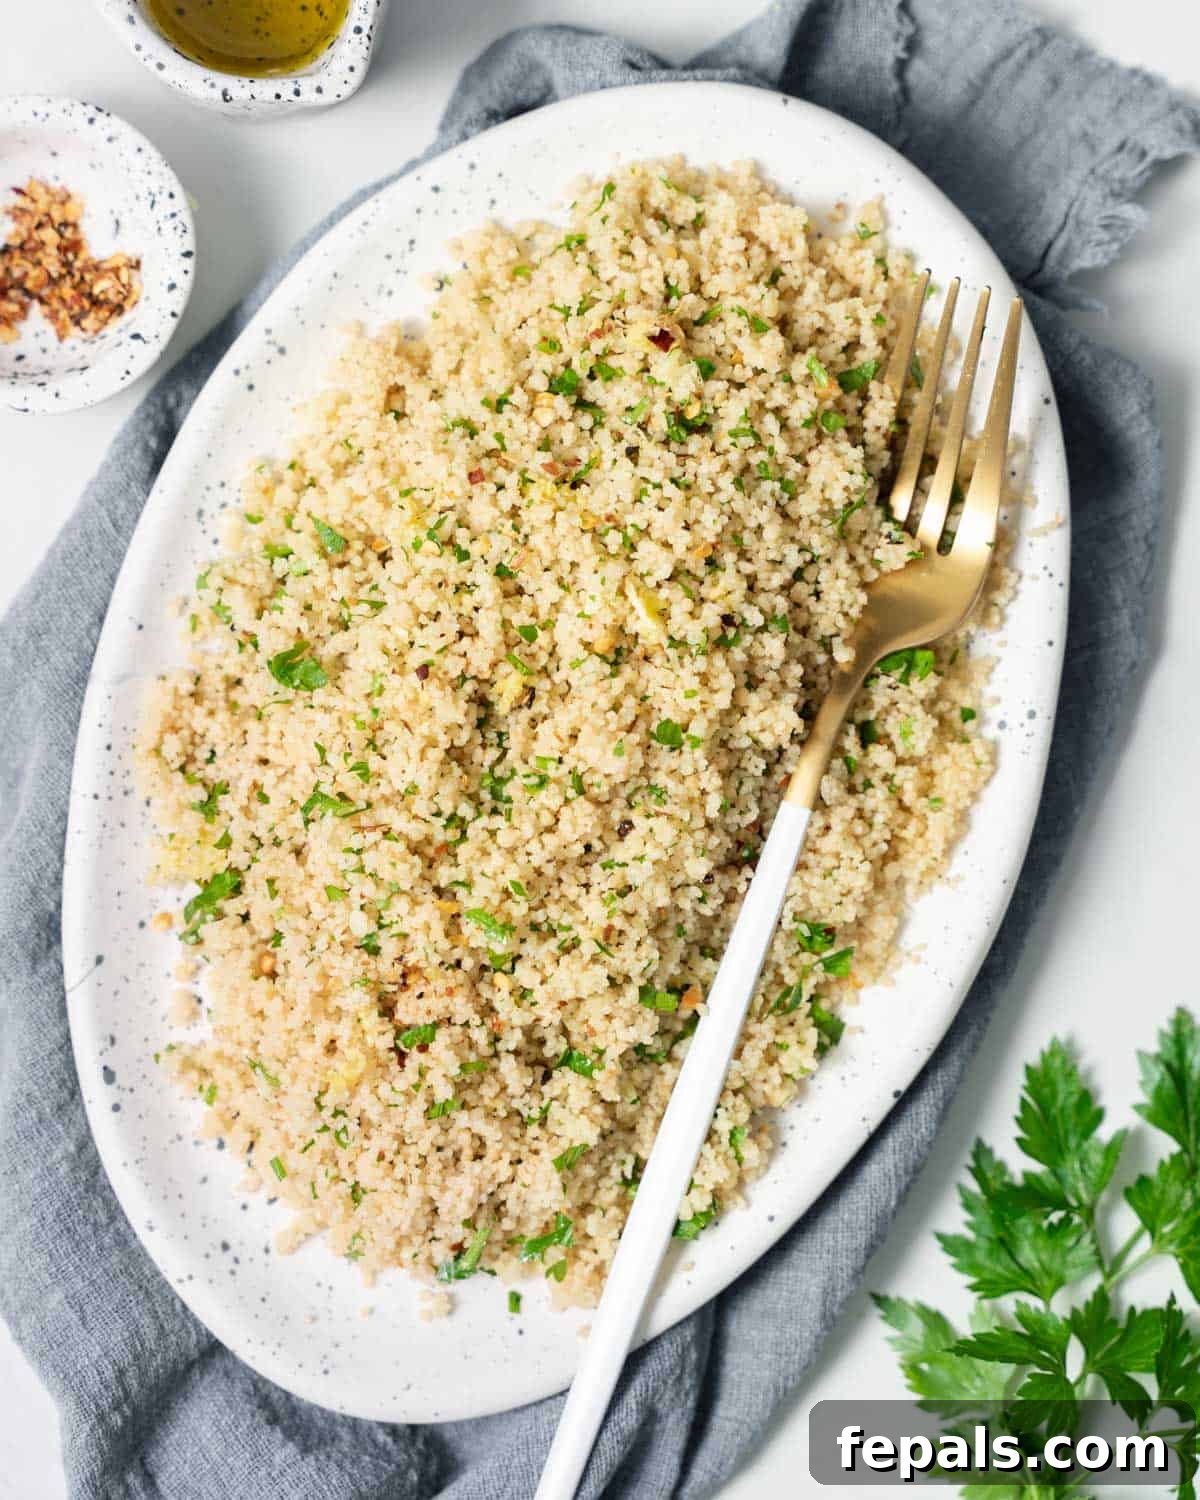
Why This Easy Couscous Recipe Will Become Your New Favorite Side Dish
Once you master this simple method for cooking couscous, you’ll find countless reasons to integrate it into your weekly meal rotation. It’s more than just a quick side; it’s a versatile foundation that brings flavor and efficiency to your kitchen:
- Effortlessly Quick and Simple: This recipe is designed for maximum convenience. Regardless of the couscous variety you choose, the preparation is incredibly straightforward and remarkably fast. Moroccan (instant) couscous, in particular, goes from pantry to plate in less than 15 minutes, making it a perfect solution for impromptu meals or when you’re short on time. It’s a truly beginner-friendly dish that yields impressive results.
- Incredibly Flavorful and Adaptable: Think of couscous as a culinary blank canvas, much like pasta or rice. It readily absorbs any flavors you introduce, allowing for endless customization. While delicious with just a squeeze of lemon juice, fresh herbs, salt, and pepper, its neutral base makes it perfect for creative culinary exploration. Transform it into a vibrant salad with chopped vegetables, chickpeas, feta, and a light vinaigrette, or enrich it with spices and dried fruits for a more exotic touch. The possibilities are genuinely limitless.
- An Ideal Choice for Meal Prepping: Leftover couscous is a meal prep superstar! It maintains its texture and flavor beautifully when stored properly, making it an excellent component to prepare in advance. Cook a larger batch at the beginning of the week and use it as a base for packed lunches, quick dinners, or versatile salads. It holds up well for up to a week in the refrigerator, offering healthy and convenient options throughout your busy schedule.
- Healthy and Wholesome: Couscous offers a good source of carbohydrates, providing energy, along with some protein and fiber. Choosing whole-grain couscous further boosts its nutritional profile, adding more beneficial fiber to your diet. When prepared with fresh ingredients and lean proteins, it contributes to a balanced and wholesome meal.
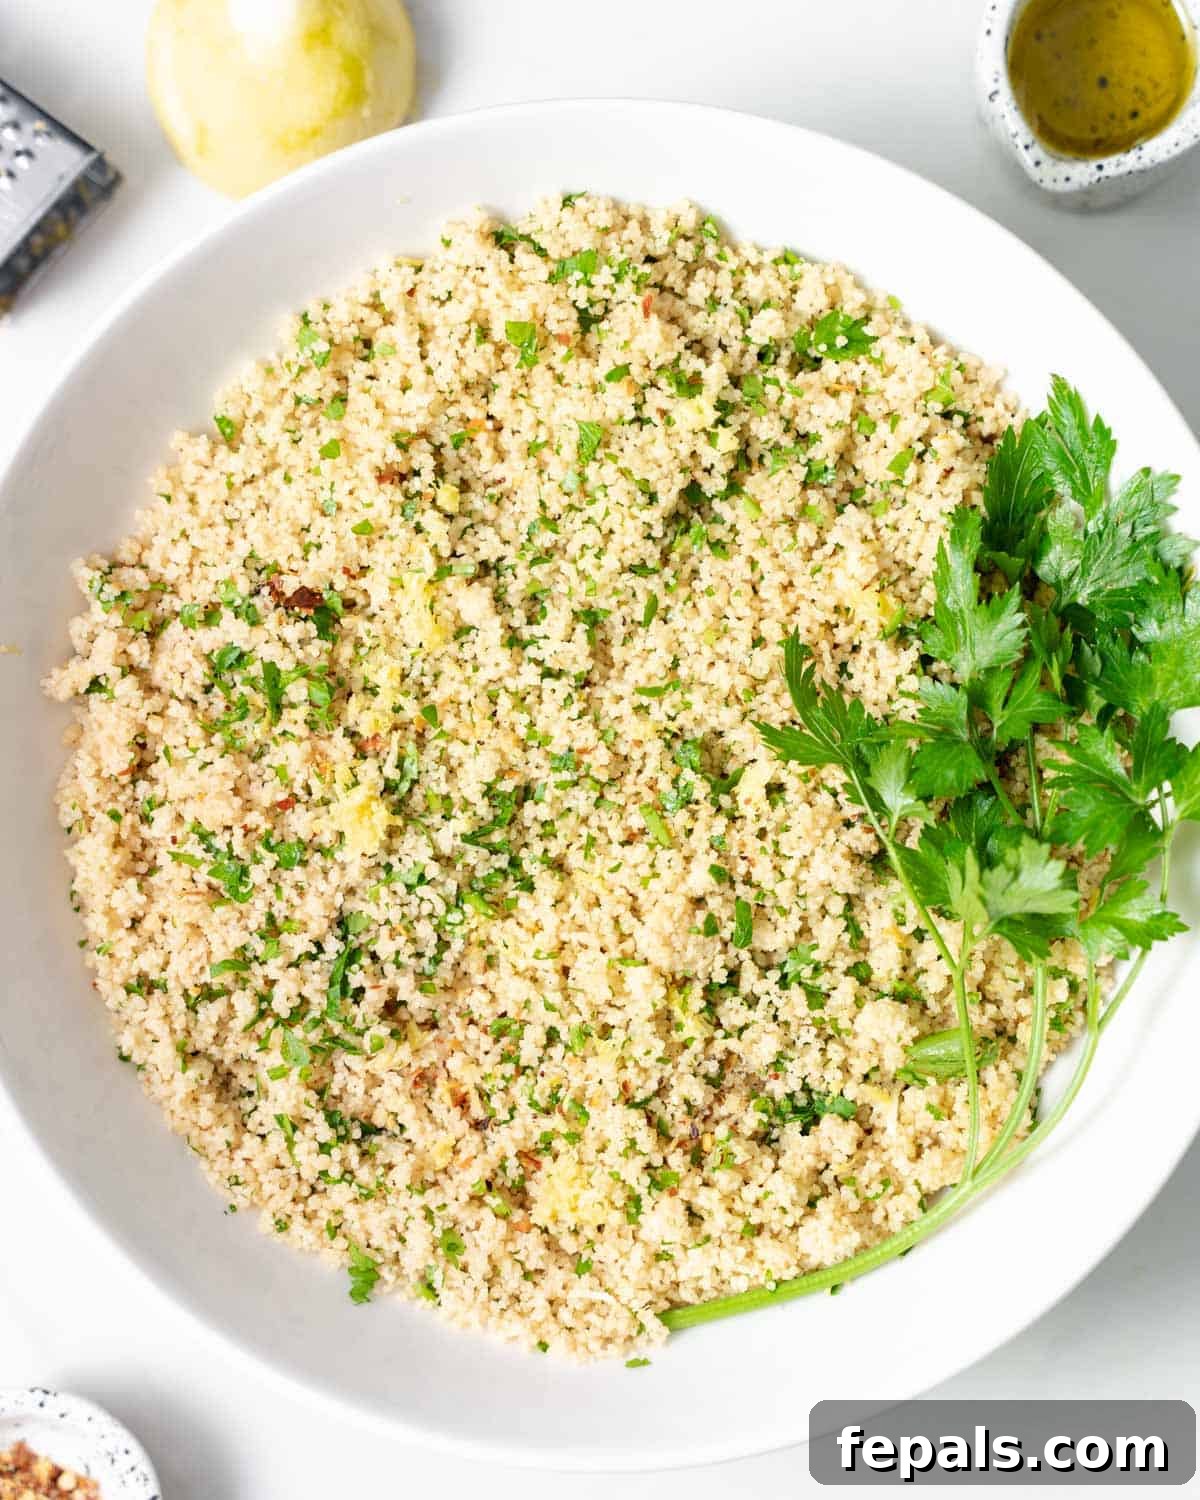
Essential Ingredients for Your Flavorful Couscous Recipe
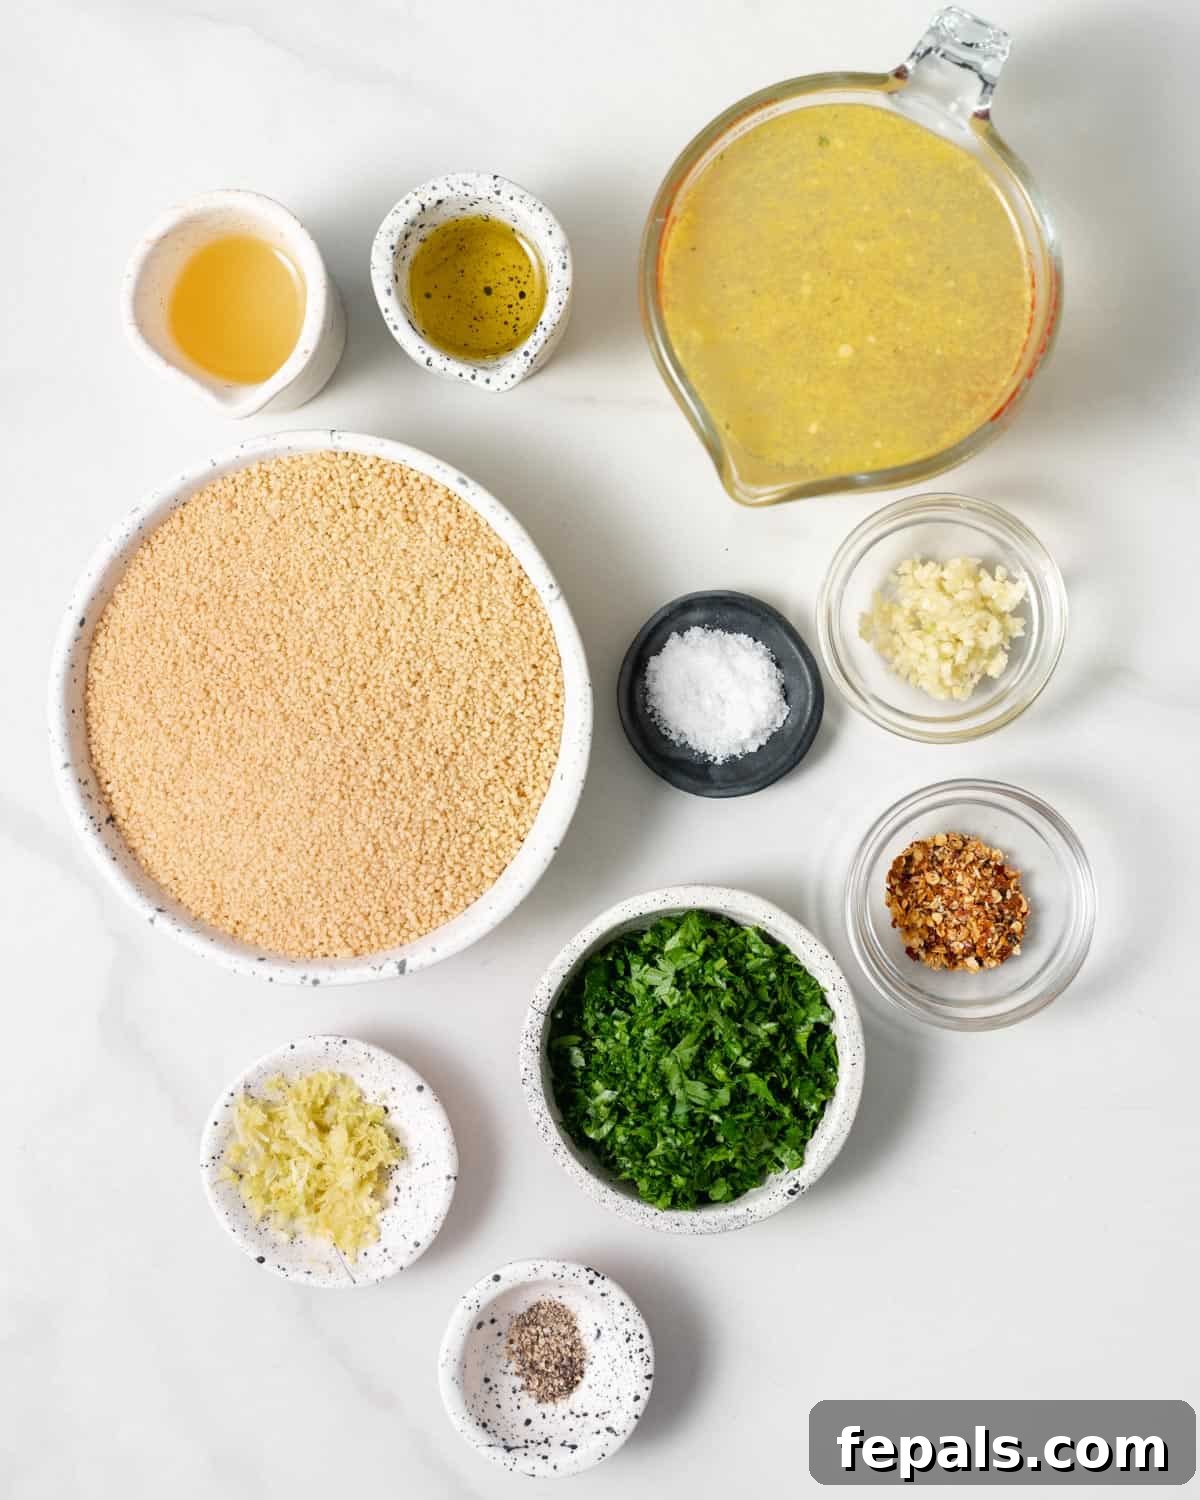
While a basic couscous recipe only requires water and salt, we’re elevating this dish with a few carefully selected additions to create truly exceptional flavor. Each ingredient plays a crucial role in transforming simple semolina into a delicious and aromatic side. Here’s a detailed look at what you’ll need:
- Instant Couscous (Moroccan Variety): The star of our show. We recommend the fine-grained Moroccan variety for its quick cooking time and light, fluffy texture. It’s incredibly absorbent, making it perfect for soaking up all the delicious flavors we’re adding.
- Broth (Chicken or Vegetable) or Water: This is the liquid that cooks your couscous. While water works, using low-sodium chicken or vegetable broth is highly recommended. Broth infuses the couscous with a rich, savory depth of flavor from the very beginning, making a significant difference in the final taste.
- Olive Oil: Used in two stages. Initially, a tablespoon is for gently sautéing the garlic, releasing its aromatic compounds. The remaining tablespoon is added at the end, providing a silky texture, subtle fruity notes, and helping to prevent sticking.
- Salt & Pepper: Fundamental seasonings that are essential for enhancing and balancing all the flavors in the dish. Adjust to your personal preference for the perfect savory touch.
- Fresh Lemon Juice: A squeeze of fresh lemon juice at the end is a game-changer. It provides a bright, zesty acidity that cuts through the richness, uplifting the entire dish and adding a wonderful freshness.
- Garlic (Minced): Aromatic and pungent, minced garlic cloves are lightly sautéed to build a flavorful base, adding depth and a warm, inviting aroma that permeates the couscous.
- Fresh Herbs (Chopped Parsley): Fresh herbs contribute a vibrant, earthy freshness. We particularly love chopped fresh parsley for its clean flavor and beautiful green flecks, but feel free to experiment with other herbs like cilantro, mint, or chives based on your preference.
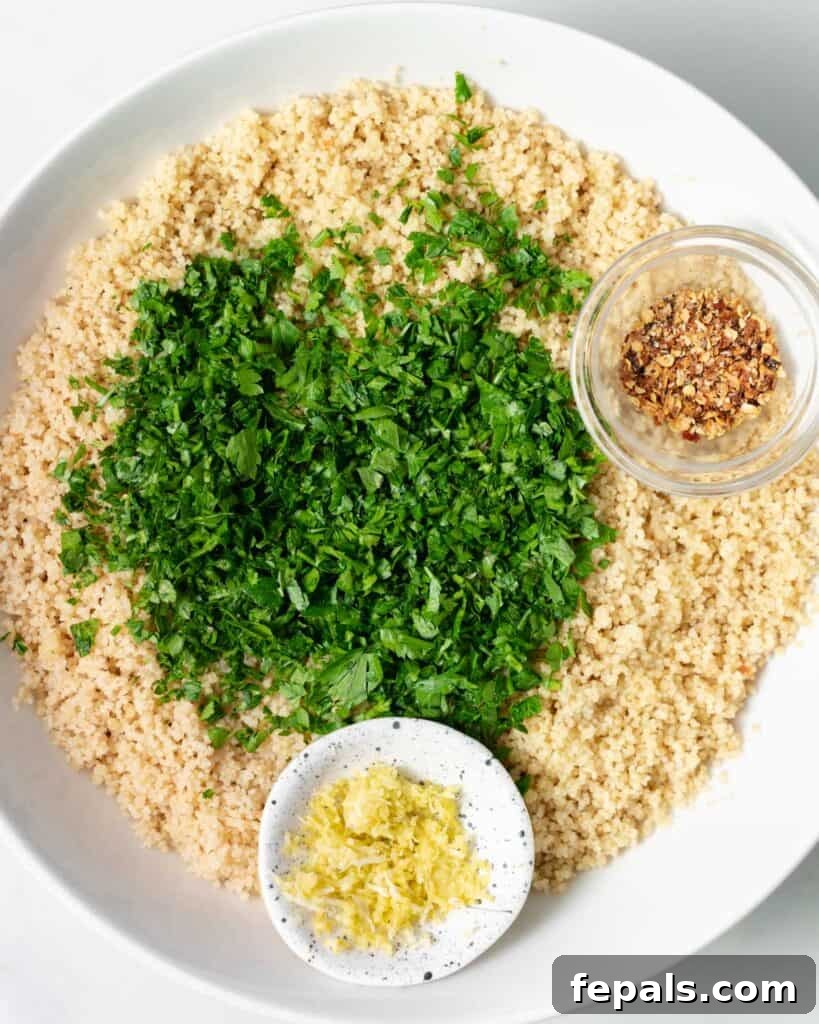
- Optional Flavor Boosters: For those who enjoy a hint of heat, a tablespoon of red pepper flakes can be stirred in at the end. If you desire an even more pronounced lemon flavor, finely grated lemon zest can be added along with the juice. These small additions can significantly customize your couscous.
Step-by-Step Guide: Crafting Perfect Couscous Every Time
Preparing delicious couscous is incredibly simple and quick. Follow these easy steps to achieve a perfectly fluffy and flavorful result that will impress without the fuss.
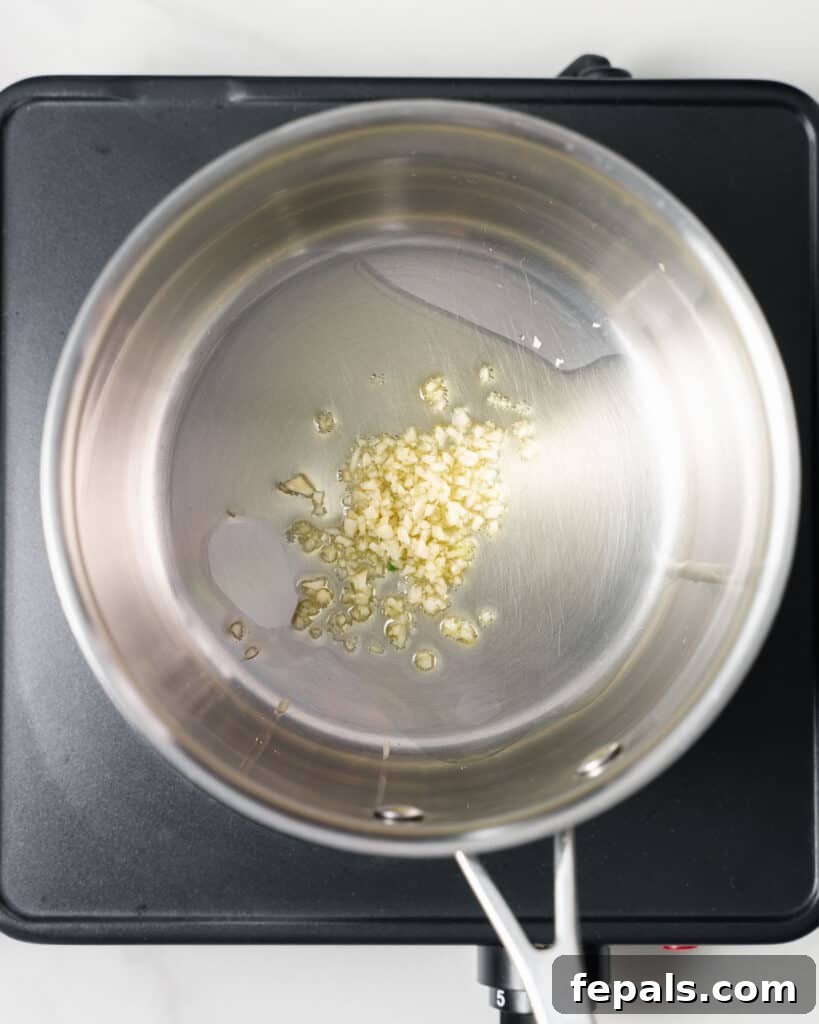
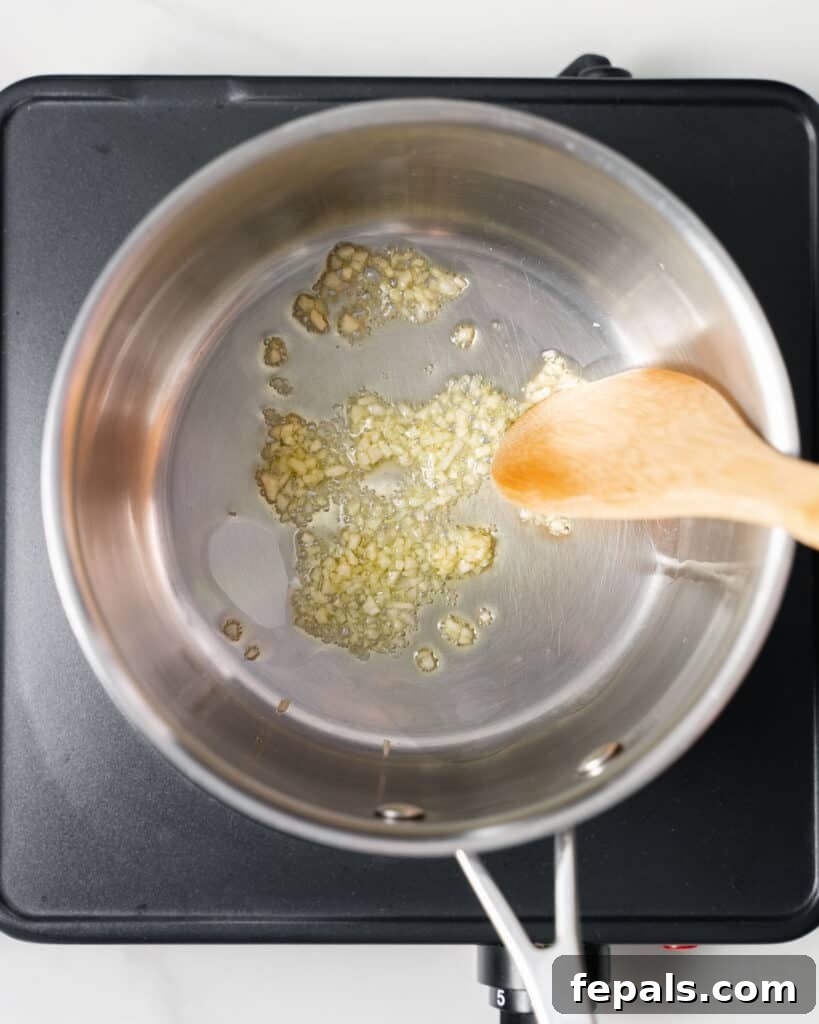
- Sauté the Garlic for an Aromatic Base: Begin by adding one tablespoon of olive oil to a medium saucepan and placing it over medium heat. Once the oil is shimmering, add the minced garlic. Sauté gently for just 20-30 seconds, stirring continuously, until the garlic becomes fragrant and lightly golden. Be vigilant, as garlic can burn quickly, which will impart a bitter flavor.
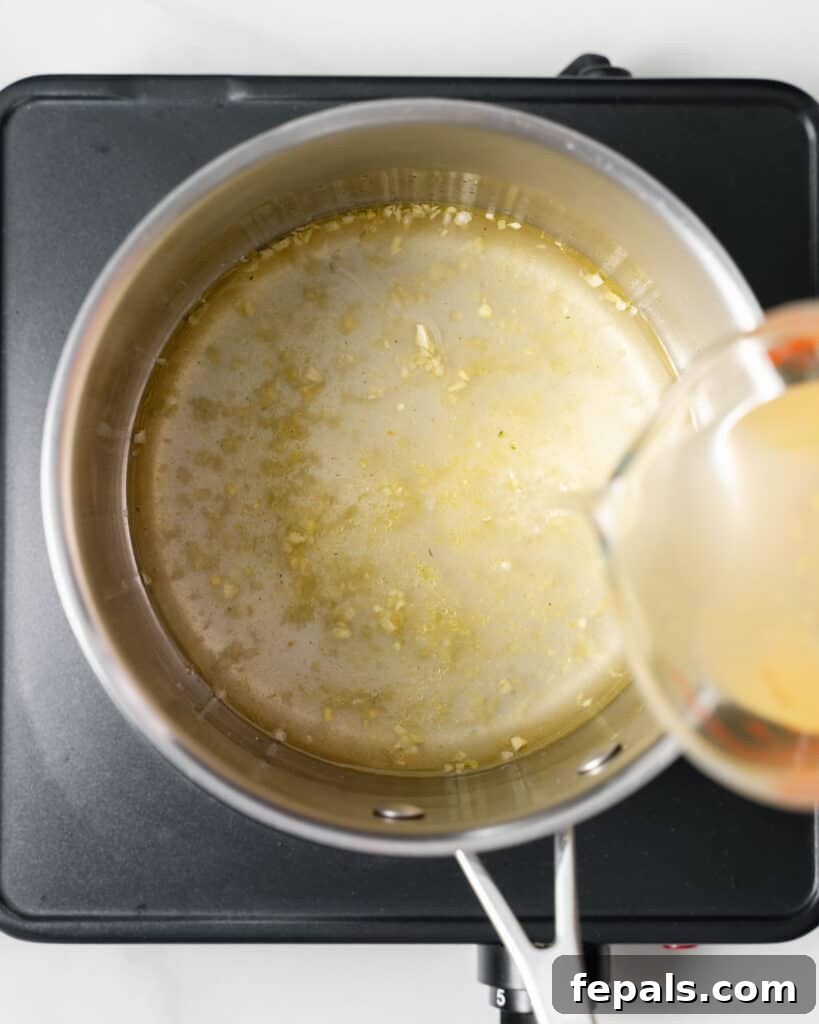
- Bring the Broth to a Gentle Boil: To the saucepan with the aromatic garlic, add your chosen liquid—chicken broth, vegetable broth, or water—along with the specified amounts of salt and pepper. Increase the heat to bring the liquid to a rolling boil. This usually takes about 3-5 minutes.
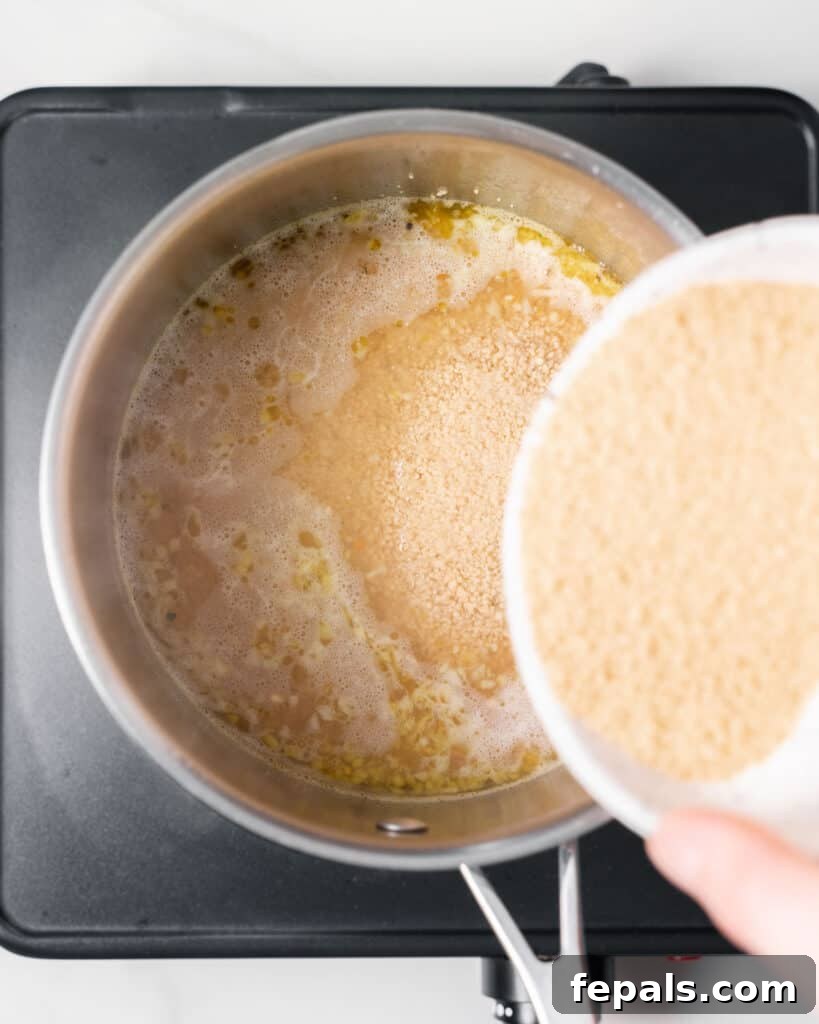
- Infuse and Cover for Absorption: Once the liquid is boiling, stir in the instant couscous with a wooden spoon to ensure it’s fully submerged. Immediately remove the saucepan from the heat and cover it tightly with a lid. It’s crucial not to peek! Allow the couscous to sit undisturbed for 8-10 minutes. During this time, the tiny granules will absorb all the hot liquid, swelling and becoming tender.
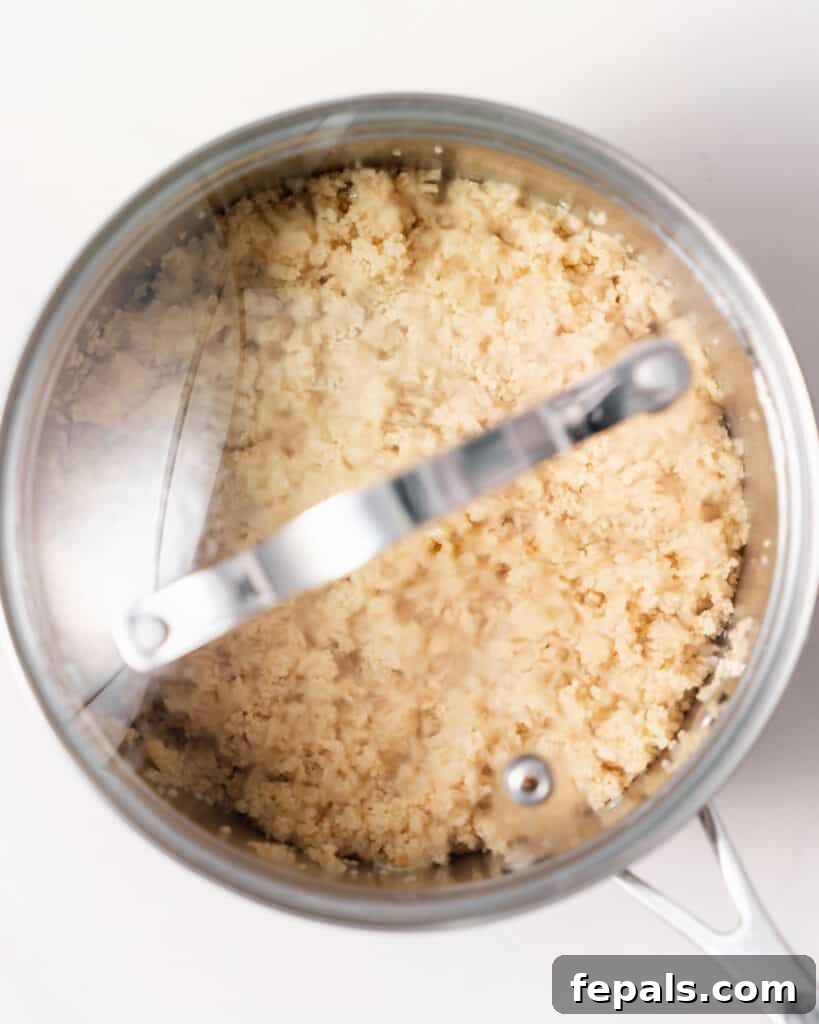
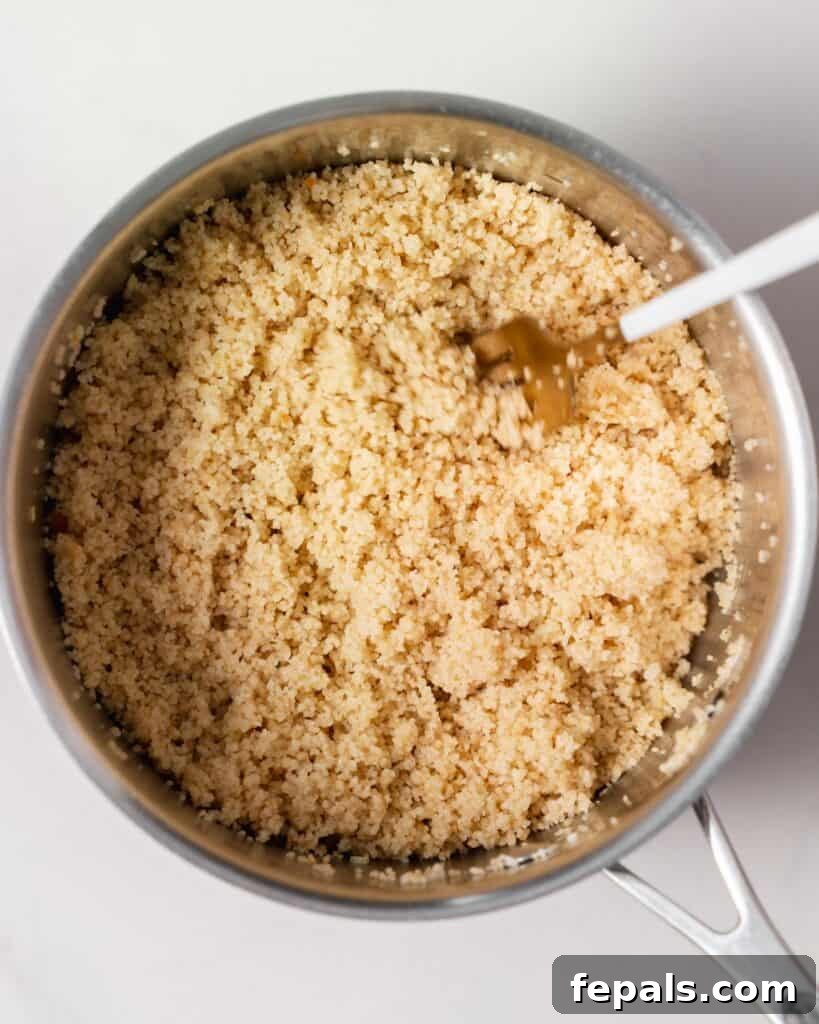
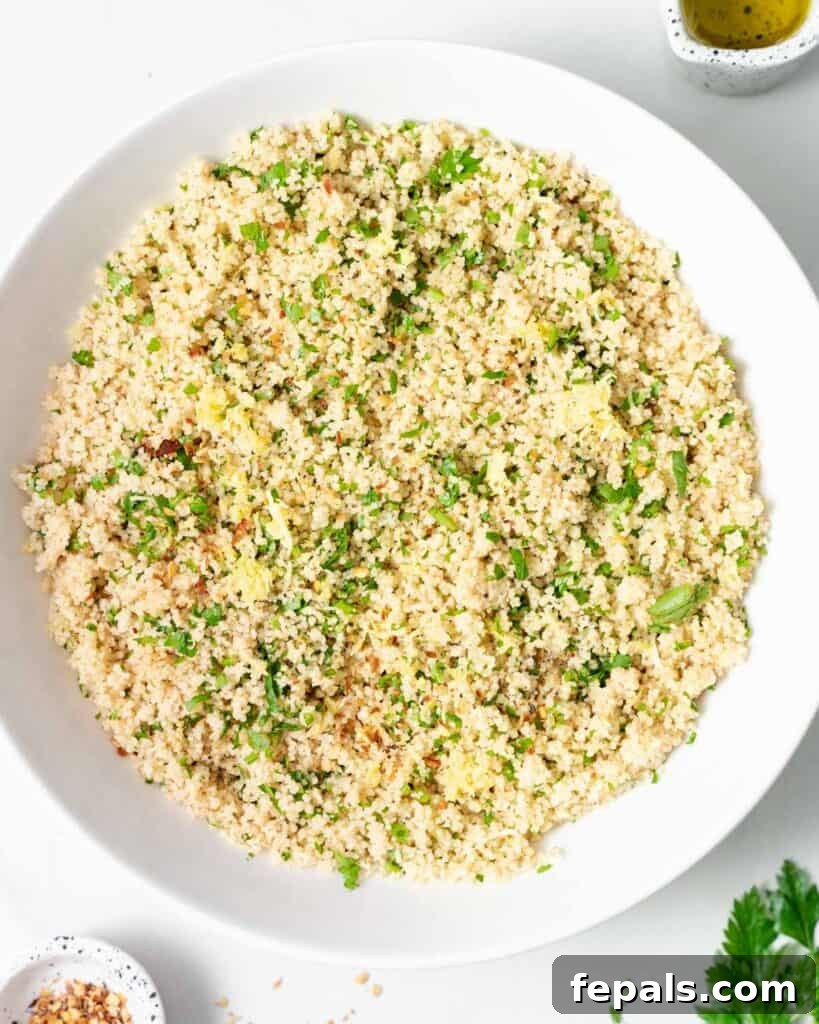
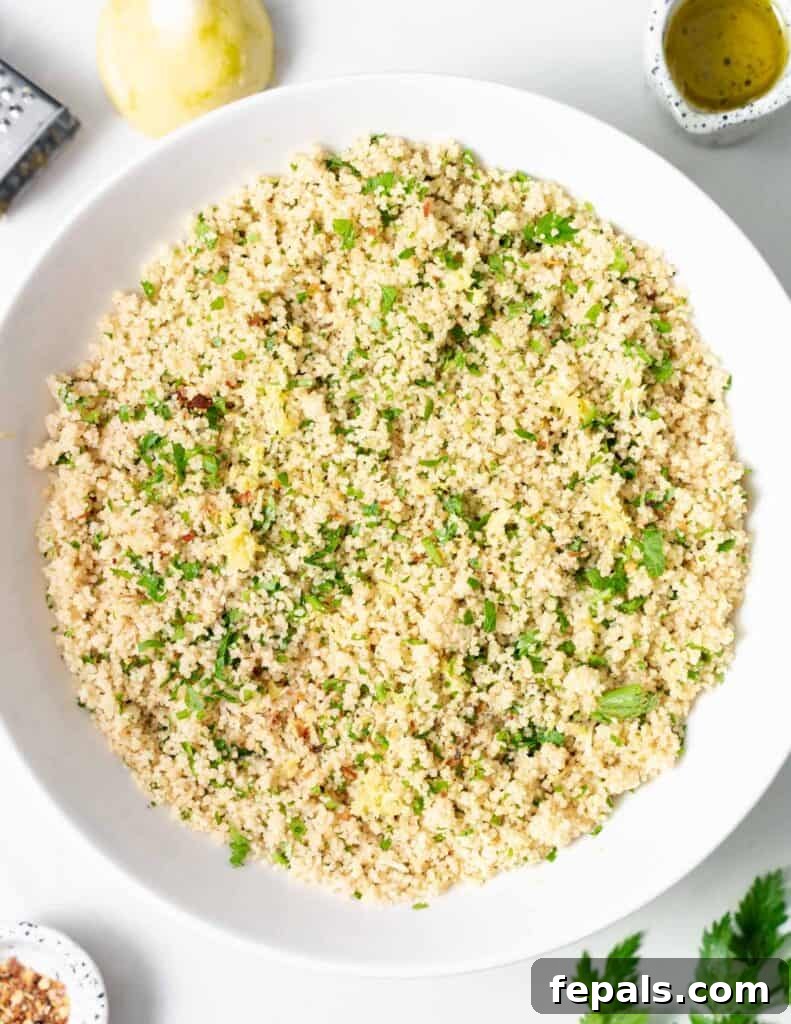
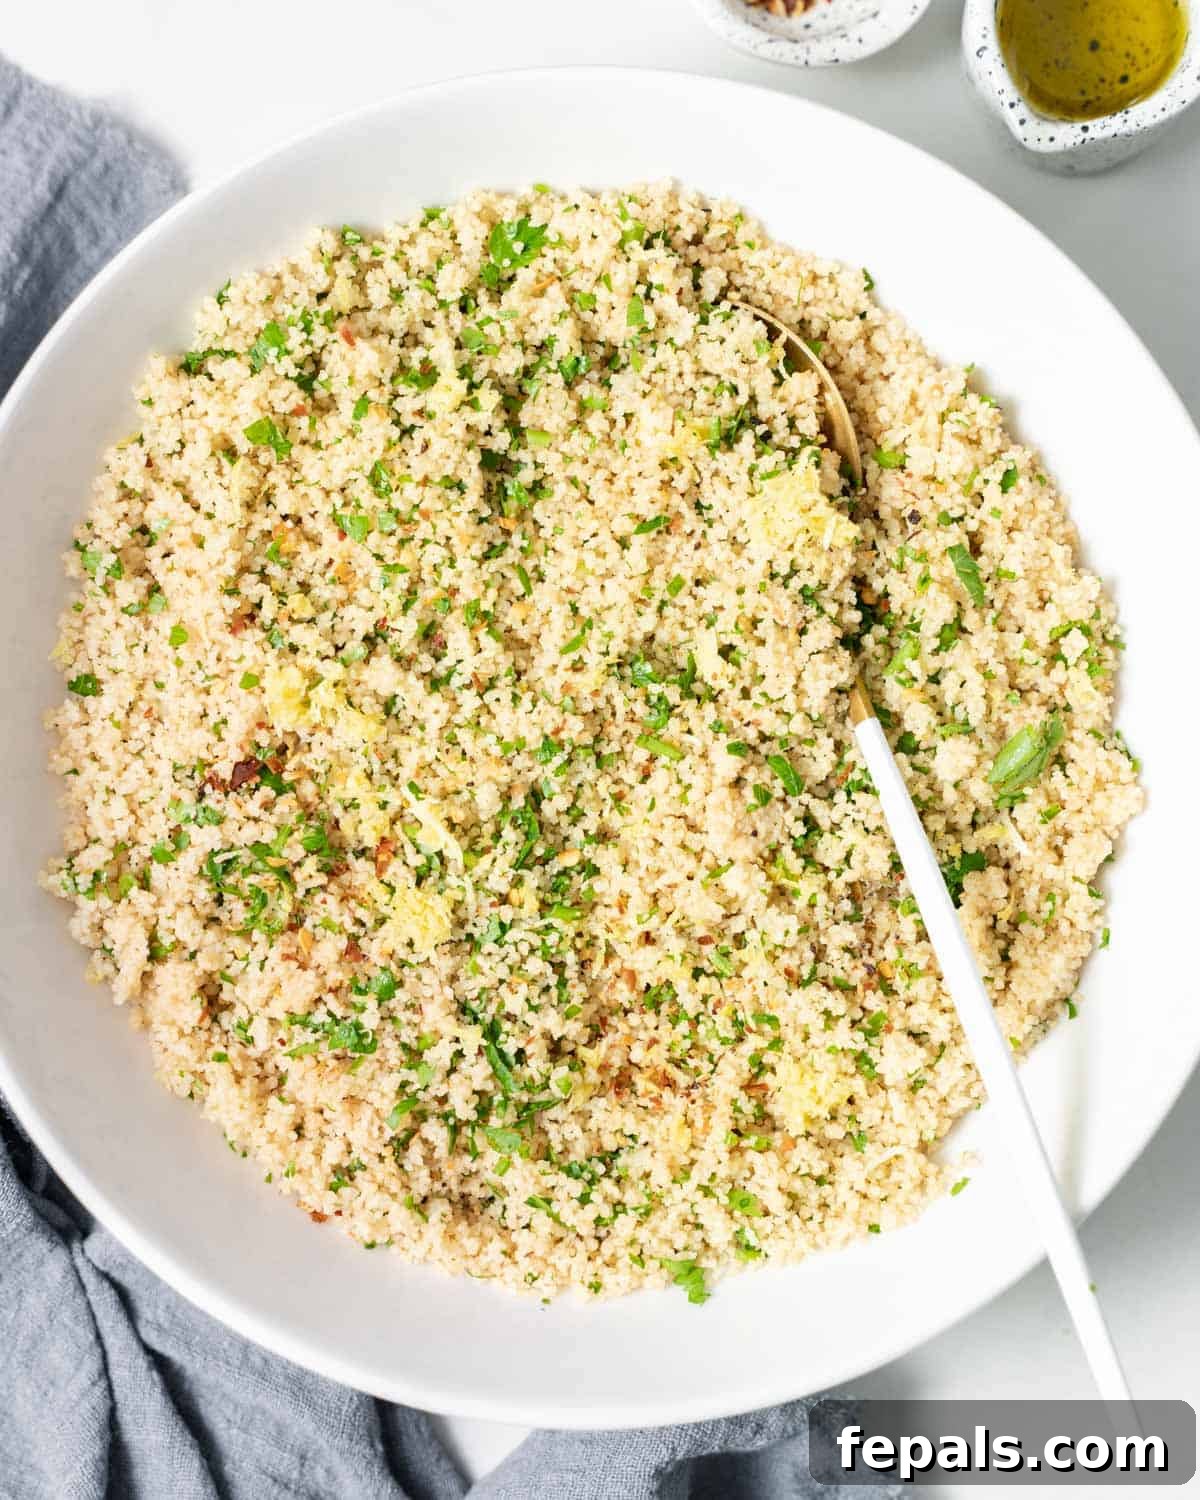
- Fluff and Personalize with Fresh Additions: Once the resting time is complete, remove the lid. Using a fork, gently fluff the couscous, separating the grains to achieve that desirable light and airy texture. Transfer the fluffy couscous to a medium or large serving bowl. Now, incorporate the final touches: a generous drizzle of the remaining one tablespoon of olive oil, the fresh lemon juice, and the vibrant chopped parsley. These ingredients add a burst of freshness and enhance the overall flavor profile.
- Taste, Adjust, and Serve: Before serving, take a moment to taste the couscous. If desired, sprinkle a little more salt or pepper to fine-tune the seasoning to your liking. Serve your perfectly cooked couscous immediately as a delightful side dish or incorporate it into your main meal. Enjoy!
Expert Tips for Achieving Consistently Perfect Couscous
While cooking couscous is straightforward, a few expert tips can elevate your results from good to absolutely fantastic. Incorporating these simple techniques will ensure your couscous is always flavorful, fluffy, and never sticky or bland.
- Always Opt for Broth Over Water: This is perhaps the most impactful tip for flavorful couscous. While water will cook the couscous, using a good quality chicken or vegetable broth (low-sodium is often preferred to control saltiness) infuses every tiny grain with a rich, savory essence from the inside out. This makes a noticeable difference in the overall taste and complexity of your dish.
- Consider Toasting Your Couscous Before Cooking: This extra step is completely optional but highly recommended for an added layer of flavor. Before adding the couscous to the boiling liquid, heat a small amount of olive oil (or even butter) in a pan. Add the dry couscous and toast it over medium heat, stirring frequently, until it turns a light golden brown and releases a wonderfully nutty aroma. This process, similar to toasting rice for risotto, adds depth and prevents the couscous from becoming overly sticky. Be careful not to burn it; a few minutes are usually sufficient.
- Practice Patience: Allow for Full Absorption: The most common mistake when cooking instant couscous is lifting the lid too early. Once you’ve added the couscous to the boiling liquid and covered the pot, resist the urge to peek or stir. The steam and heat trapped inside are crucial for the couscous to properly absorb the liquid and cook evenly. Let it sit undisturbed for the full recommended time (8-10 minutes for Moroccan couscous). Prematurely uncovering it releases steam, which can result in undercooked or inconsistent texture.
- Master the Fluffing Technique: After the couscous has absorbed all the liquid, don’t just stir it. Use a fork to gently “fluff” the grains. A fork separates the individual pieces, creating that characteristic light, airy, and fluffy texture. A spoon can mash the grains together, leading to a denser, heavier result. Work from the edges of the pot inward, gently lifting and separating the grains.
- Experiment with Extra Toppings and Mix-ins: Couscous is incredibly versatile and loves additions! Elevate your dish with a variety of mix-ins and toppings to suit your palate. Great ideas include a pinch of red pepper flakes for a subtle kick, thinly sliced green onions for a mild onion flavor, toasted pine nuts for a buttery crunch, toasted sliced almonds for texture, or even dried fruits like cranberries or apricots for a touch of sweetness. Fresh herbs like mint or cilantro can also add a delightful aromatic finish.
- Check for Doneness and Adjust: Always taste a small amount of couscous after the resting period. It should be tender and fluffy. If it feels slightly crunchy or too firm, add a tablespoon or two of extra hot broth (or water), cover the pot again, and let it sit for another 2-3 minutes before fluffing.
Couscous Troubleshooting: Common Issues and Quick Fixes
Even with simple dishes, sometimes things don’t go perfectly. Here are quick solutions for common couscous conundrums:
- Couscous is Sticky or Gummy: This usually means too much liquid was used, or it wasn’t fluffed properly. To fix, spread the couscous on a baking sheet and bake at a low temperature (around 200°F/95°C) for 10-15 minutes, fluffing occasionally, to help dry it out. Next time, ensure accurate liquid measurements and use a fork to fluff thoroughly.
- Couscous is Dry and Crunchy: This indicates insufficient liquid or not enough resting time. Add another 1/4 cup of hot broth or water, cover the pot tightly, and let it steam for an additional 3-5 minutes off the heat. Then fluff with a fork.
- Couscous Lacks Flavor: If your couscous tastes bland, you likely used water instead of broth, or didn’t season it sufficiently. Next time, use broth! For immediate improvement, stir in extra lemon juice, fresh herbs, a good drizzle of olive oil, and adjust salt and pepper to taste. A pinch of garlic powder or onion powder can also help.
Frequently Asked Questions About Cooking Couscous
For the most common type, small Moroccan (instant) couscous, a 1:1 ratio of liquid to couscous is typically perfect. For example, 1 cup of dry couscous requires 1 cup of broth or water. If you’re cooking larger varieties like pearl (Israeli) or Lebanese couscous, you will need to use more liquid, often around a 1.5:1 or even 2:1 liquid-to-couscous ratio, depending on the specific brand and desired texture. Always check the package instructions for precise guidance.
The cooking time for couscous can vary, primarily depending on the type and brand. Small Moroccan (instant) couscous is incredibly fast, usually taking only 5 to 15 minutes to cook, with an average resting time of about 8-10 minutes. Larger varieties like Pearl or Lebanese couscous will require a longer cooking time, often between 10-20 minutes of simmering. To test for doneness, try a small amount; it should be tender and soft. If it’s still slightly crunchy or firm, simply cover the pot again and let it sit for a few more minutes until it reaches your desired texture.
No, unlike some grains or rice, there is generally no need to wash or rinse couscous before cooking it. Instant couscous is pre-steamed and dried, meaning it doesn’t have excess starch or foreign particles that require rinsing. Rinsing could also make the fine grains clump together or become overly soggy. Simply add it directly to your hot liquid as per the recipe instructions.
Couscous can indeed be a very healthy and nutritious option, particularly when compared to some other refined carbohydrates. It’s a good source of carbohydrates for energy, and it provides some protein and dietary fiber. Its health benefits are greatly influenced by how it’s prepared and your portion sizes. For maximum nutritional value, always opt for whole-grain couscous over refined varieties, as whole grains offer significantly more fiber, vitamins, and minerals. Pairing it with lean proteins and plenty of vegetables further enhances its health profile.
Delicious Pairings: What to Serve with Your Cooked Couscous
Couscous is an incredibly versatile side dish that complements a wide array of main courses. Its neutral flavor and fluffy texture make it a perfect canvas for many cuisines. Here are some fantastic ideas to get you started:
- Crispy Parmesan Crusted Salmon: The light texture of couscous beautifully balances the rich, crispy salmon.
- Shrimp Creole Recipe: Couscous is ideal for soaking up the vibrant, spicy sauce of a Shrimp Creole.
- Creamy Tuscan Salmon: A perfect companion for the rich, herby sauce of Tuscan Salmon.
- Creamy Chicken and Broccoli Skillet: The couscous provides a wonderful base for this comforting skillet meal.
- Baked BBQ Chicken Breast: Its lightness cuts through the sweetness and tang of BBQ chicken.
- Air Fryer Chicken Bites: A quick and healthy pairing for these flavorful chicken bites.
- Maple Pecan Salmon: The subtle sweetness of the salmon pairs well with a savory couscous.
- Salmon Florentine: Enjoy with the creamy spinach sauce of Salmon Florentine.
- Chicken Florentine: A delightful accompaniment to this classic creamy chicken dish.
- Grilled Vegetables: For a vegetarian option, serve with a medley of grilled zucchini, bell peppers, and eggplant.
- Hearty Soups & Stews: Couscous can be added directly to brothy soups or served alongside rich stews and tagines.
- Fresh Salads: Cool couscous makes a great base for vibrant salads with chopped cucumbers, tomatoes, feta, and a lemon vinaigrette.
Storing and Reheating Cooked Couscous
Proper storage is key to enjoying your delicious couscous leftovers. Here’s how to keep it fresh and ready for your next meal:
- Leftovers: Once cooled, transfer any leftover couscous to an airtight container or a covered bowl. Store it in the refrigerator for up to 5 to 7 days. Ensure it’s sealed well to maintain moisture and prevent it from drying out or absorbing other fridge odors.
- To Reheat: To bring your couscous back to life, add a small splash of water or broth (about a tablespoon per cup of couscous) to it before reheating. You can warm it gently in the microwave, stirring occasionally, or on the stovetop over low heat until it’s heated through. The added liquid helps to rehydrate the grains and restore their fluffy texture.
- Freezing: Couscous freezes exceptionally well, making it excellent for long-term meal prep. For best results, freeze plain couscous without additional herbs or fresh vegetables, as these can lose their texture or flavor upon thawing. Transfer the cooled couscous to a freezer-safe bag or container, pressing out as much air as possible to prevent freezer burn. It can be stored in the freezer for up to 3 months. When ready to use, thaw it overnight in the refrigerator, then reheat as described above, adding a bit of liquid.
More Essential How-To Guides for Your Kitchen
Expand your culinary skills with these helpful step-by-step guides:
- Homemade Tartar Sauce Recipe
- Homemade Pesto Recipe
- How to Make Homemade BBQ Sauce
- How to Make Homemade Nutella
- Homemade Healthy Alfredo Sauce
- How to Make Homemade Buffalo Sauce
- How to Make Homemade Ranch Dressing
- Homemade Strawberry Jam
We hope this guide empowers you to cook couscous with confidence! If you try this recipe and love it, please consider leaving us feedback in the comment section below, and don’t forget to rate it! Sharing your experience helps other home cooks discover and enjoy these delicious meals. We’d also be thrilled if you shared it with friends and family on social media!
Finally, we’d love to see your culinary creations! Please use our hashtag #healthyfitnessmeals on INSTAGRAM for a chance to be featured! FOLLOW Healthy Fitness Meals on FACEBOOK | INSTAGRAM | PINTEREST | TWITTER for all of our latest blog posts and recipes.
How to Cook Couscous
Print Recipe
Equipment
- Pot or Pan
- Wooden spoon
- Bowl
Ingredients
- 1 cup dry instant couscous
- 1 cup low-sodium chicken broth, vegetable broth, or water
- 2 tbsp olive oil, divided
- 1 tsp kosher Salt
- ground black pepper to taste
- 2 tbsp fresh lemon juice
- 2 garlic cloves, minced
- 1/4 cup fresh parsley, chopped
- Optional: 1 tbsp of red pepper flakes and/or lemon zest
Instructions
- In a medium saucepan, over medium heat, add one tablespoon of the olive oil and minced garlic. Sauté for just 20-30 seconds until garlic is aromatic. Be careful not to burn the garlic.
- Next, add the chicken broth or vegetable broth along with salt and pepper. Bring it to a boil, about 3-5 minutes.
- Then, add the couscous and stir using a wooden spoon. Turn off the heat and cover the pot. Let it sit for 8-10 minutes or until the couscous has absorbed all the liquid.
- Remove the lid and fluff with a fork. Transfer the couscous to a medium or large bowl and then add the lemon juice, remaining one tablespoon of olive oil, and chopped parsley.
- Taste to see if you need to adjust salt, and sprinkle some more if needed. Serve and enjoy.
- Optional toppings: red pepper flakes, sliced green onions, toasted pine nuts, and toasted sliced almonds.
Notes
- Leftovers: Store leftovers in a covered bowl or airtight container, in the fridge, for up to 5 to 7 days.
- To reheat: Reheat with a splash of water or broth in the microwave, or on the stovetop, until warm.
- Freezing: Couscous also freezes well! Keep it plain for freezing; don’t include other ingredients such as herbs until serving. To freeze, transfer to a freezer bag or container, removing as much air as possible, for up to 3 months. Thaw in the refrigerator overnight or for a day.
Nutrition
Serving: 1serving
Calories: 239kcal
Carbohydrates: 35g
Protein: 7g
Fat: 8g
Saturated Fat: 1g
Polyunsaturated Fat: 1g
Monounsaturated Fat: 5g
Sodium: 606mg
Potassium: 157mg
Fiber: 2g
Sugar: 0.3g
Vitamin A: 316IU
Vitamin C: 8mg
Calcium: 22mg
Iron: 1mg
Nutrition information is automatically calculated, so should only be used as an approximation.