
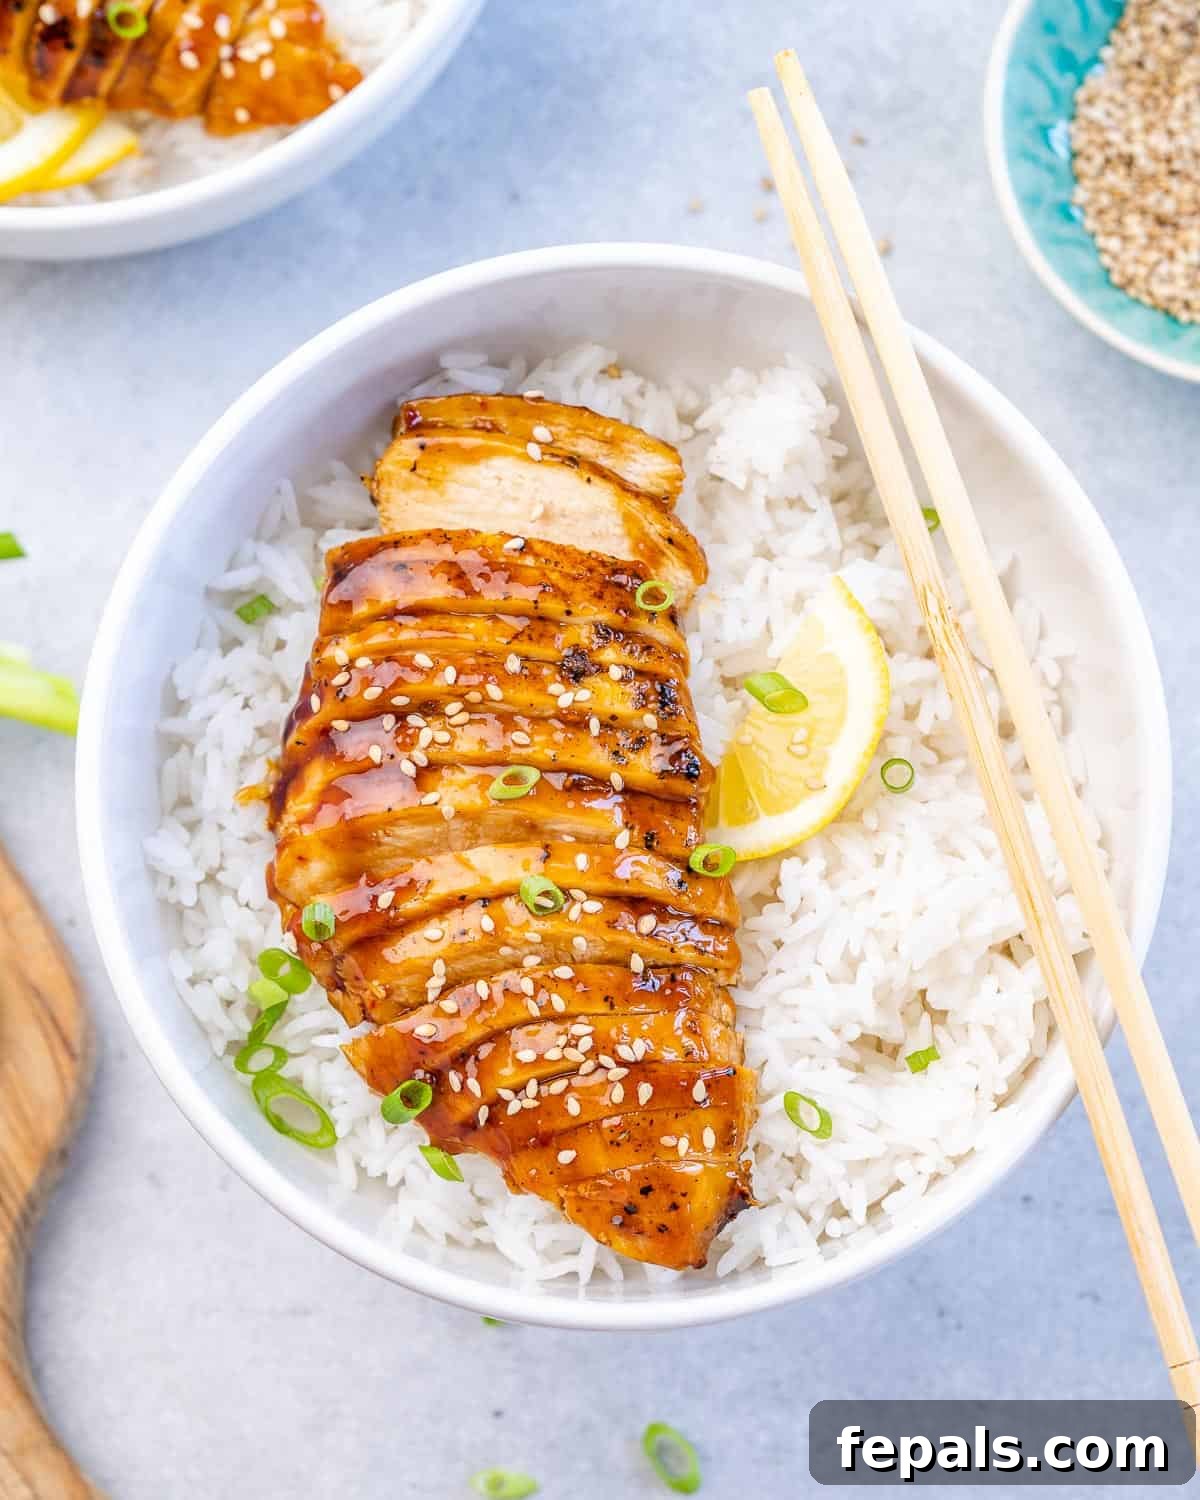
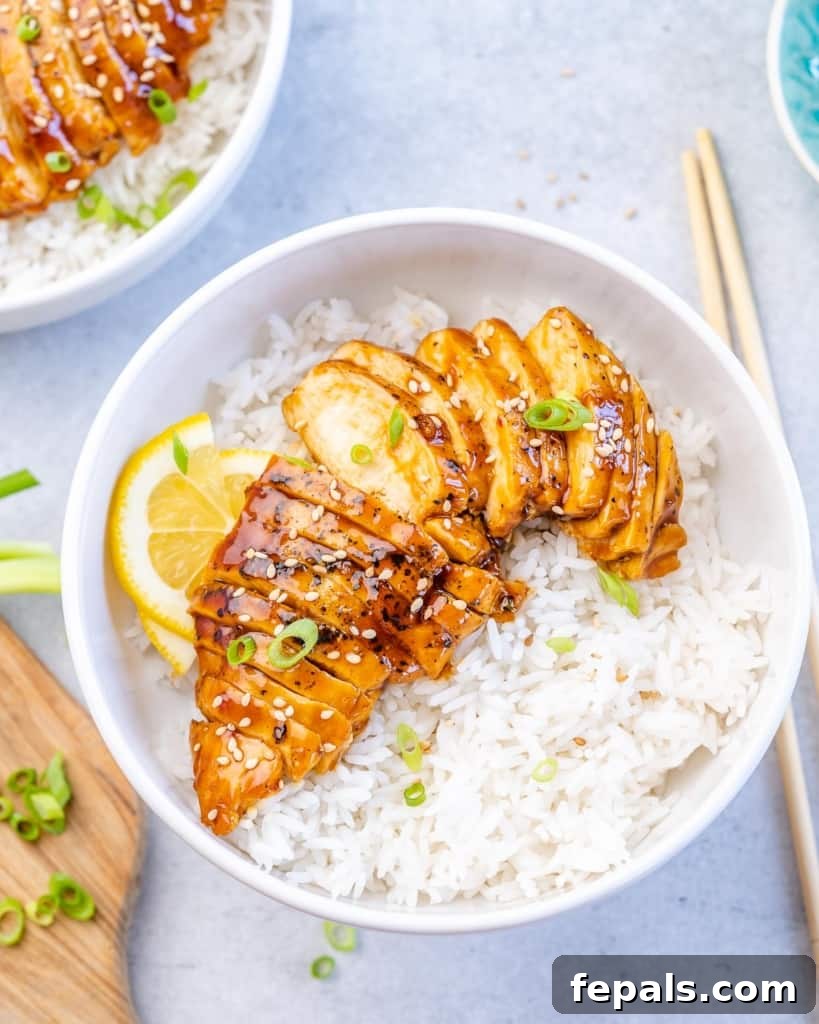
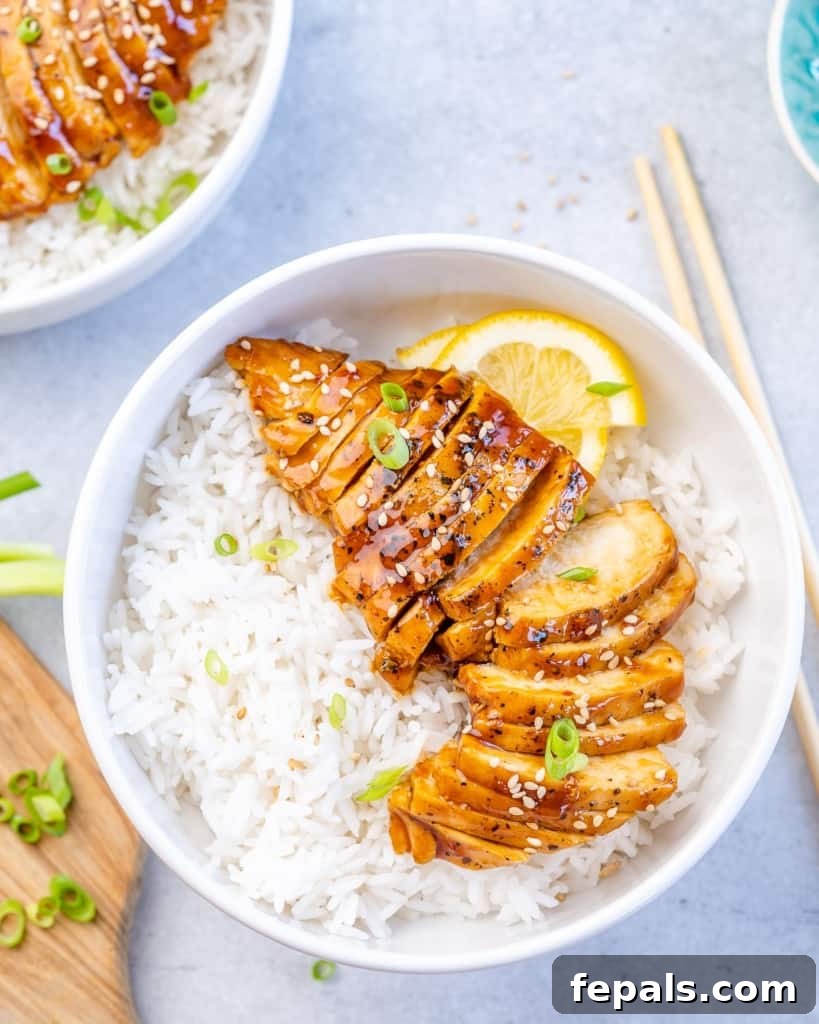
Unlock the secret to irresistible weeknight dinners with this incredible Baked Teriyaki Chicken Breast recipe. Imagine succulent, tender chicken breast, perfectly cooked and bathed in a rich, flavorful homemade teriyaki sauce, served alongside fluffy white rice. Forget the long wait times and questionable ingredients of takeout – you can whip up this restaurant-quality meal right in your own kitchen in just 30 minutes. It’s the ultimate combination of speed, flavor, and healthy eating, making it a staple for busy weeknights or a fantastic option for meal prepping throughout the week.
If you love the savory-sweet notes of Asian-inspired dishes, you’ll also adore my Teriyaki Steak recipe, offering another delicious way to enjoy this classic flavor profile.
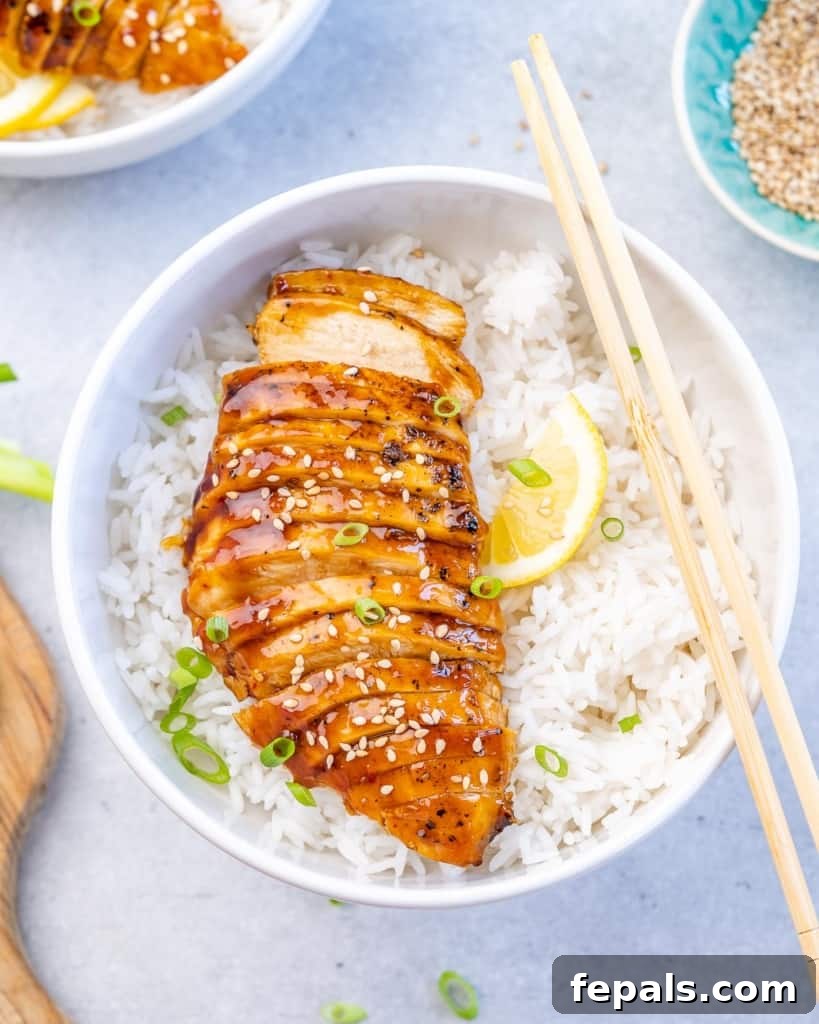
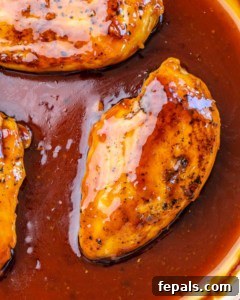
This baked teriyaki chicken recipe is an absolute game-changer, especially if you appreciate the simplicity and health benefits of baking chicken breast. It’s incredibly straightforward, requiring minimal effort and just about 30 minutes from start to finish. The magic begins on the stovetop, where the chicken is briefly seared to lock in moisture and develop a beautiful golden crust, adding a depth of flavor that baking alone can’t achieve. Following this initial sear, it’s transferred to the oven to finish cooking through, ensuring a juicy interior. The star of the show, of course, is the rich, glossy homemade teriyaki sauce, which coats every piece of chicken with its perfect balance of sweet, salty, and umami notes. We recommend serving this delightful chicken breast over a bed of aromatic white basmati rice, transforming it into a complete, satisfying, and deeply comforting meal that will quickly become a family favorite.
To round out this wholesome meal, I often pair it with simple, fresh side dishes. Classic white rice or a vibrant cilantro lime rice provides the perfect canvas for the savory teriyaki chicken. For a boost of greens and nutrients, consider serving it alongside crisp sautéed green beans, tender air fryer broccoli, or even a medley of your favorite roasted vegetables. These additions not only enhance the nutritional value but also add texture and freshness to every bite.
Why You’ll Love This Baked Teriyaki Chicken Recipe
This baked teriyaki chicken isn’t just another dinner idea; it’s a culinary experience designed for convenience, flavor, and versatility. Here’s why it deserves a spot in your weekly rotation:
- Effortlessly Simple and Lightning Fast: In today’s fast-paced world, finding time for a delicious, home-cooked meal can be challenging. This recipe eliminates that hurdle. From prep to plate, your tender, juicy baked teriyaki chicken breast will be ready in approximately 30 minutes. The straightforward steps mean even novice cooks can achieve perfect results, making it an ideal choice for busy weeknights when you crave something wholesome without the fuss.
- Perfect for Smart Meal Prep: If you’re a fan of meal prepping to streamline your week, this teriyaki chicken is an absolute dream. It reheats beautifully, making it an excellent candidate for healthy lunches or dinners throughout the week. Prepare a larger batch on Sunday, and you’ll have flavorful, protein-packed meals ready to go, saving you time and ensuring you stick to your healthy eating goals. Pair it with rice and your favorite veggies for a complete grab-and-go solution.
- Comforting, Delicious & Better Than Takeout: Say goodbye to expensive and often less-healthy takeout options! This recipe brings all the comforting, savory-sweet flavors of your favorite Chinese or Japanese teriyaki right to your dining table. The homemade sauce allows you to control the quality of ingredients and adjust sweetness or saltiness to your preference. It’s so incredibly delicious and satisfying that it’s guaranteed to earn a permanent spot on your weekly dinner menu, providing a flavorful alternative to restaurant dining.
- Healthy and Wholesome: Made with lean chicken breast and a homemade sauce free from excessive additives, this dish is a healthy choice for the whole family. You’re in control of the ingredients, ensuring a nutritious meal that doesn’t compromise on taste.
- Versatile Serving Options: While traditionally served with white rice, this teriyaki chicken is incredibly versatile. It pairs wonderfully with brown rice, quinoa, cauliflower rice for a low-carb option, or even noodles. Add a side of steamed broccoli, green beans, or a fresh salad for a perfectly balanced meal.
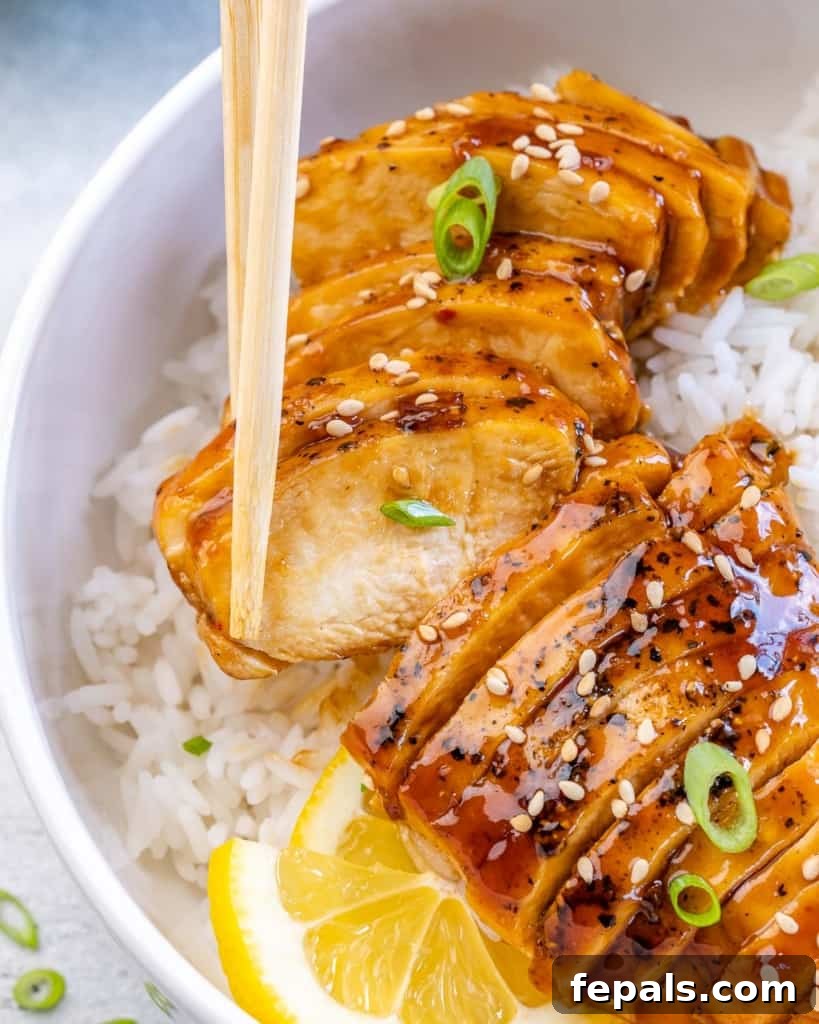
Essential Ingredients for Perfect Teriyaki Chicken
Crafting this delightful teriyaki chicken breast dish requires a selection of fresh, high-quality ingredients that come together to create a symphony of flavors. The homemade teriyaki sauce, in particular, benefits immensely from fresh components, elevating the entire meal. Below is a comprehensive list of what you’ll need, with full, precise measurements available in the detailed recipe card further down this page.
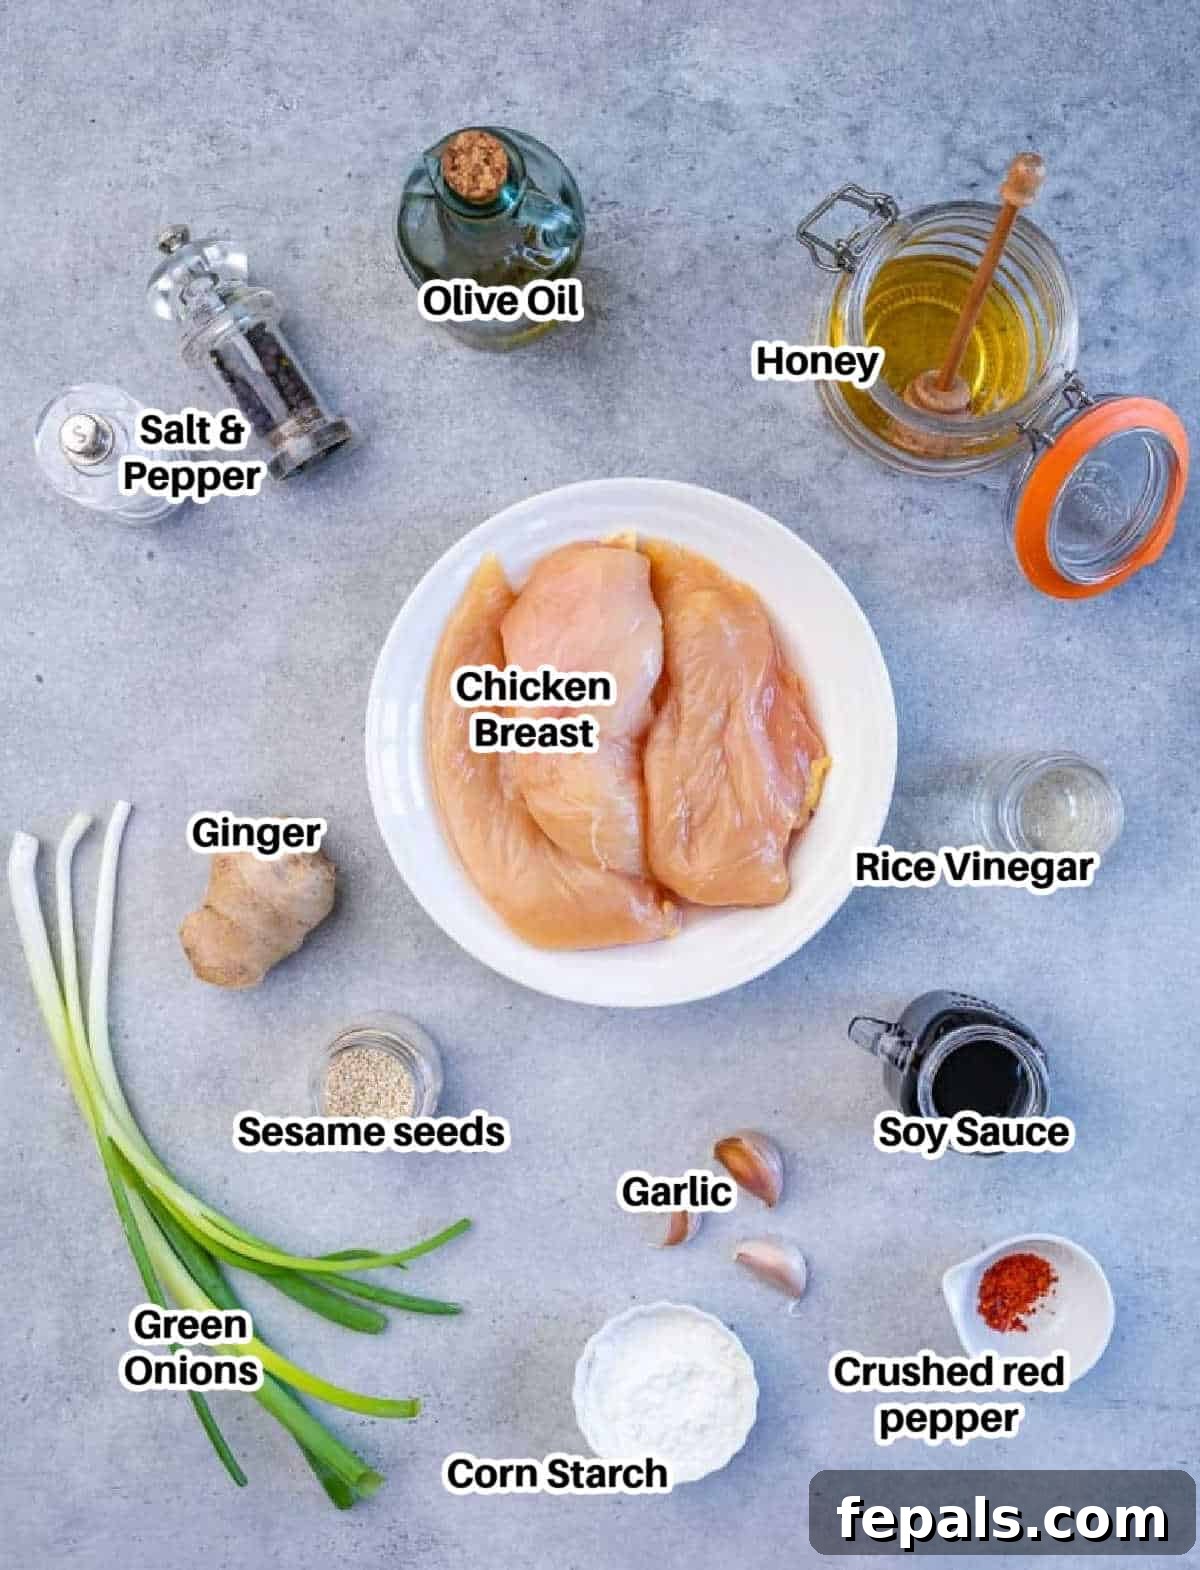
- Boneless, Skinless Chicken Breasts: The lean protein base of our dish. I typically opt for chicken breasts due to their mild flavor and ease of preparation. For best results, lightly pound them to an even thickness (about 3/4 inch) to ensure uniform cooking and prevent drying out. If you prefer a richer, slightly fattier cut, boneless and skinless chicken thighs make an excellent alternative. For an exciting variation, consider swapping the chicken for salmon, which bakes beautifully with teriyaki.
- Salt and Pepper: Basic seasonings to enhance the natural flavor of the chicken before searing. Use kosher salt and freshly ground black pepper for superior taste.
- Olive Oil: Essential for searing the chicken and sautéing the aromatics. Extra virgin olive oil adds a lovely depth of flavor. Lately, I’ve also been a fan of avocado oil for cooking due to its high smoke point and neutral flavor, so feel free to use that as a substitute.
- Fresh Garlic Cloves: Minced fresh garlic is non-negotiable for an authentic and vibrant teriyaki sauce. The pungent, aromatic notes of fresh garlic truly make a difference, far surpassing the flavor profile of garlic powder.
- Fresh Ginger: Similar to garlic, fresh ginger grated or finely minced, provides a warm, spicy, and fragrant essence that is crucial for balancing the sweetness and saltiness of the sauce. Powdered ginger simply cannot replicate the brightness of fresh ginger, so I highly recommend sticking to the fresh root.
- Soy Sauce or Coconut Aminos: The foundation of our teriyaki sauce, providing the essential savory, umami-rich base. For those sensitive to gluten or looking for a soy-free option, coconut aminos are a fantastic, equally flavorful alternative.
- Rice Vinegar: Adds a subtle tang and brightness to the sauce, cutting through its richness and adding complexity. If rice vinegar is unavailable, white vinegar can be used as a convenient substitute, though it might be slightly sharper in taste.
- Honey: My preferred sweetener for this teriyaki sauce, as it imparts a beautiful glaze and a rich, natural sweetness that caramelizes wonderfully. For a vegan option or a different flavor profile, agave nectar can be used, but I highly recommend honey for its unique taste.
- Cornstarch: This is a key ingredient for thickening the homemade teriyaki sauce, ensuring it beautifully coats the chicken and achieves that signature glossy finish. Arrowroot powder is an excellent grain-free alternative if you prefer.
- Crushed Red Pepper Flakes: An optional but recommended addition for those who enjoy a little kick. These flakes introduce a subtle warmth and a hint of spice, complementing the savory-sweet profile. If you’re preparing this dish for children or those sensitive to heat, feel free to omit them.
- Sesame Seeds: Primarily used as a garnish, sesame seeds add a lovely nutty flavor and a pleasing textural contrast. While not strictly essential for the core flavor of the dish, they significantly enhance its visual appeal and overall experience. Feel free to skip if you don’t have them on hand.
- Green Onions (Scallions) to Garnish: Chopped green onions are a fantastic final touch, adding a fresh, slightly pungent flavor and a pop of vibrant color. They contribute a wonderful aromatic quality that brightens the dish, though they are not an absolute must.
- Steamed White or Brown Rice: The perfect accompaniment to soak up all that delicious teriyaki sauce. White rice offers a classic, comforting pairing, while brown rice provides a nutty flavor and added fiber.
Crafting Your Perfect Baked Teriyaki Chicken: A Step-by-Step Guide
Creating this flavorful baked teriyaki chicken is simpler than you might think, combining searing on the stovetop for a golden crust with baking in the oven for ultimate juiciness. Follow this detailed step-by-step guide to achieve perfect results every time. For a printable version of the recipe, scroll down to the full recipe card below.
- Prepare Your Pan and Oven: Begin by heating 1 tablespoon of olive oil in a large, ovenproof skillet (cast iron or a heavy-bottomed stainless steel pan works best) over medium-high heat. Simultaneously, preheat your oven to 400°F (200°C). This dual-method approach ensures the chicken gets a beautiful sear before baking.
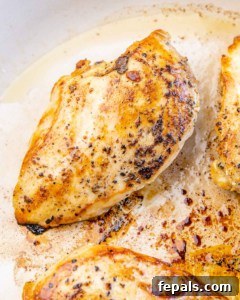
- Season and Sear the Chicken: Lightly pat your boneless, skinless chicken breasts dry with paper towels to ensure a good sear. Season them generously with a pinch of kosher salt and freshly ground black pepper on both sides. Once the skillet is hot and the oil is shimmering (but not smoking), carefully place the seasoned chicken breasts in the pan. Sear for 2-3 minutes per side, or until they develop a beautiful golden-brown crust. This crucial step locks in moisture and builds a foundational layer of flavor. After searing, remove the chicken from the skillet and set it aside on a plate; it will finish cooking in the oven later.
- Prepare for Sauce Building: To the same preheated skillet where you seared the chicken, add the remaining 1 tablespoon of olive oil. The residual flavorful bits from the chicken will contribute immensely to the depth of the teriyaki sauce.
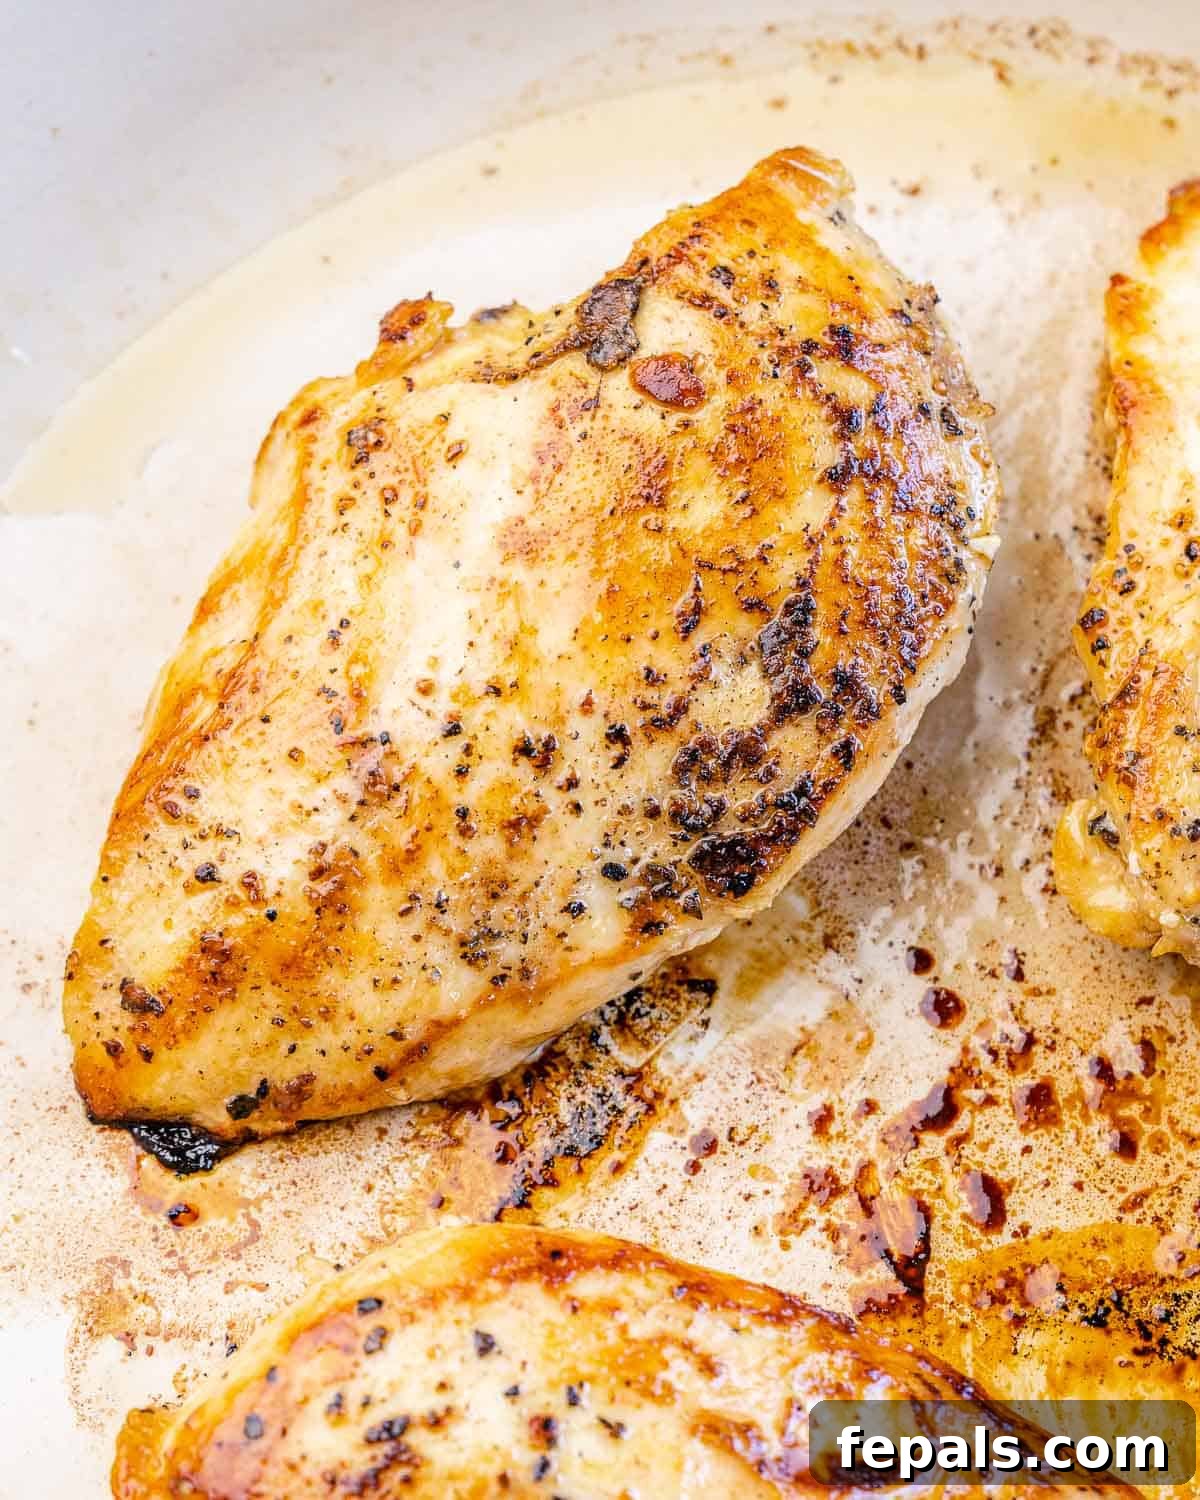
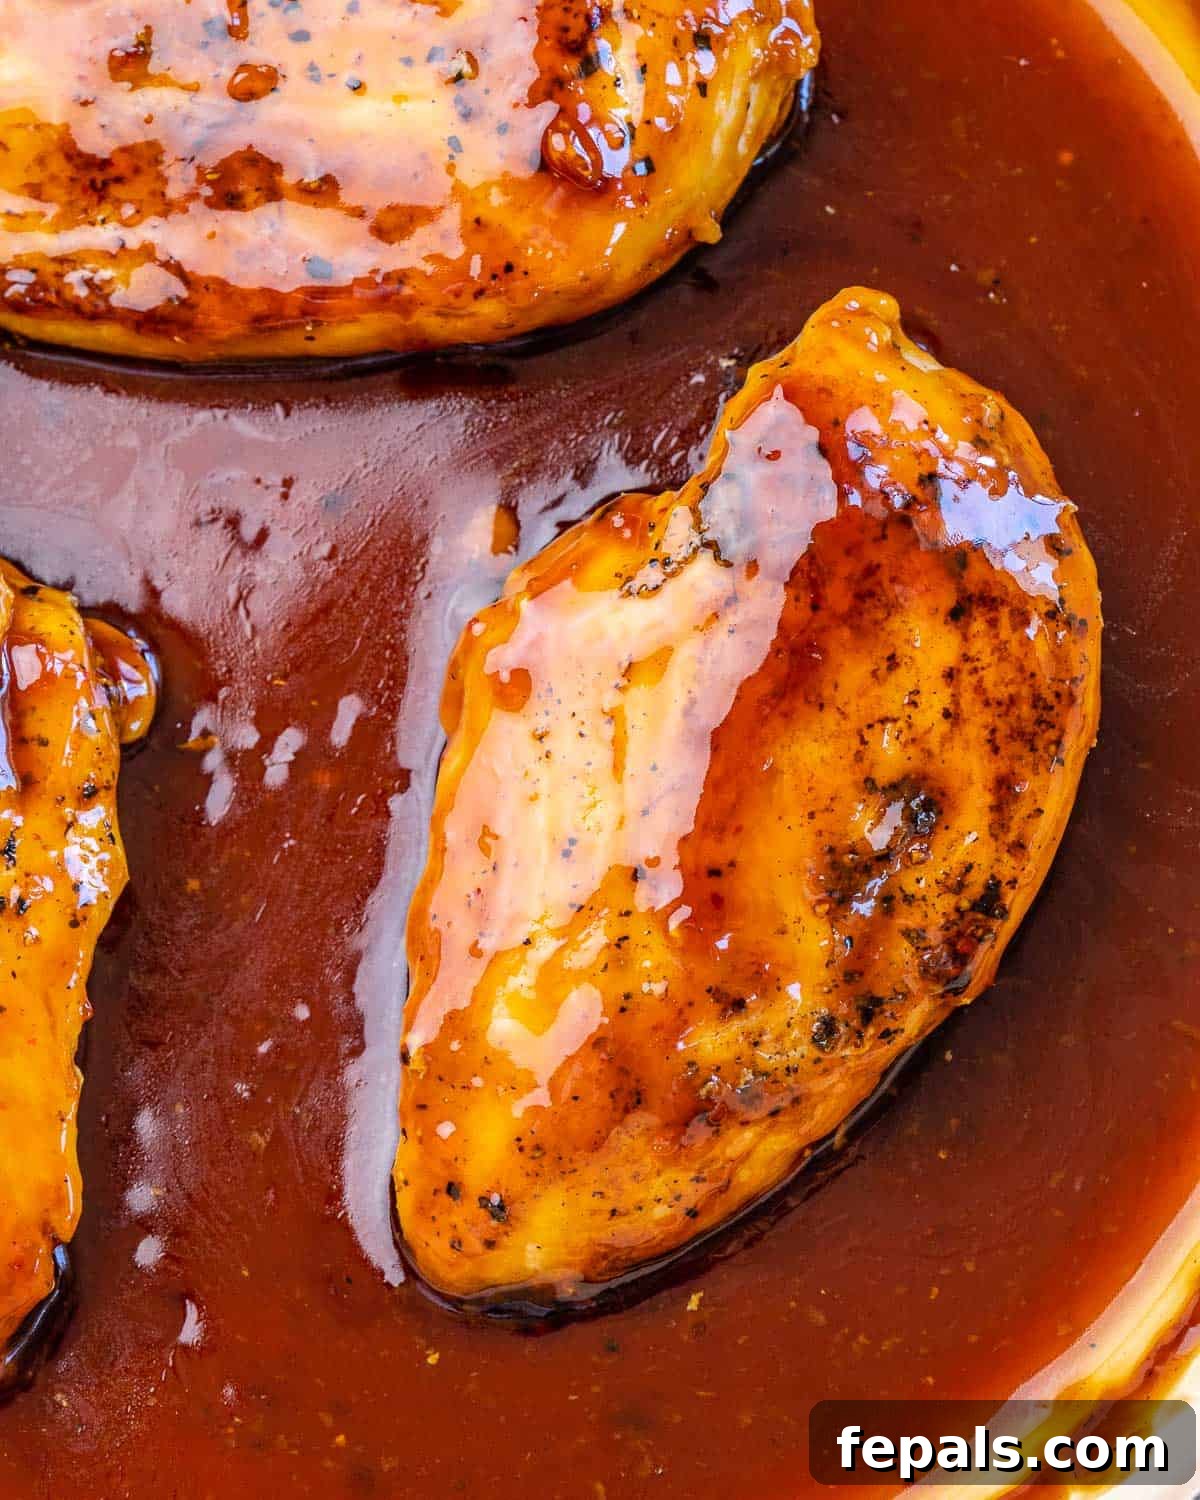
- Build the Homemade Teriyaki Sauce: Reduce the heat to medium. Add the minced fresh garlic and grated fresh ginger to the skillet. Sauté for about 30 seconds to 1 minute, stirring constantly, until they become fragrant and lightly golden. Be careful not to burn the garlic. Next, pour in the soy sauce (or coconut aminos), rice vinegar, and honey. Whisk well to combine these liquid ingredients. In a small separate bowl, create a cornstarch slurry by mixing the cornstarch with 2 tablespoons of cold water until smooth; this prevents lumps in the sauce. Pour the cornstarch slurry into the skillet with the other sauce ingredients, along with the crushed red pepper flakes (if using) and sesame seeds.
- Thicken the Sauce: Continue to cook the sauce over medium heat, stirring continuously, for 2-3 minutes. As it heats, the cornstarch will activate, and the sauce will begin to thicken and become glossy, eventually coating the back of your spoon. This creates that desirable rich, sticky consistency characteristic of perfect teriyaki.
- Combine and Bake: Once the sauce has thickened, return the seared chicken breasts to the skillet, nestling them into the luscious teriyaki sauce. Ensure each piece of chicken is generously coated. Transfer the entire skillet to your preheated 400°F (200°C) oven. Bake for an additional 8-10 minutes, or until the chicken is fully cooked through and reaches an internal temperature of 165°F (74°C) when checked with a meat thermometer. Avoid overcooking to keep the chicken tender and juicy.
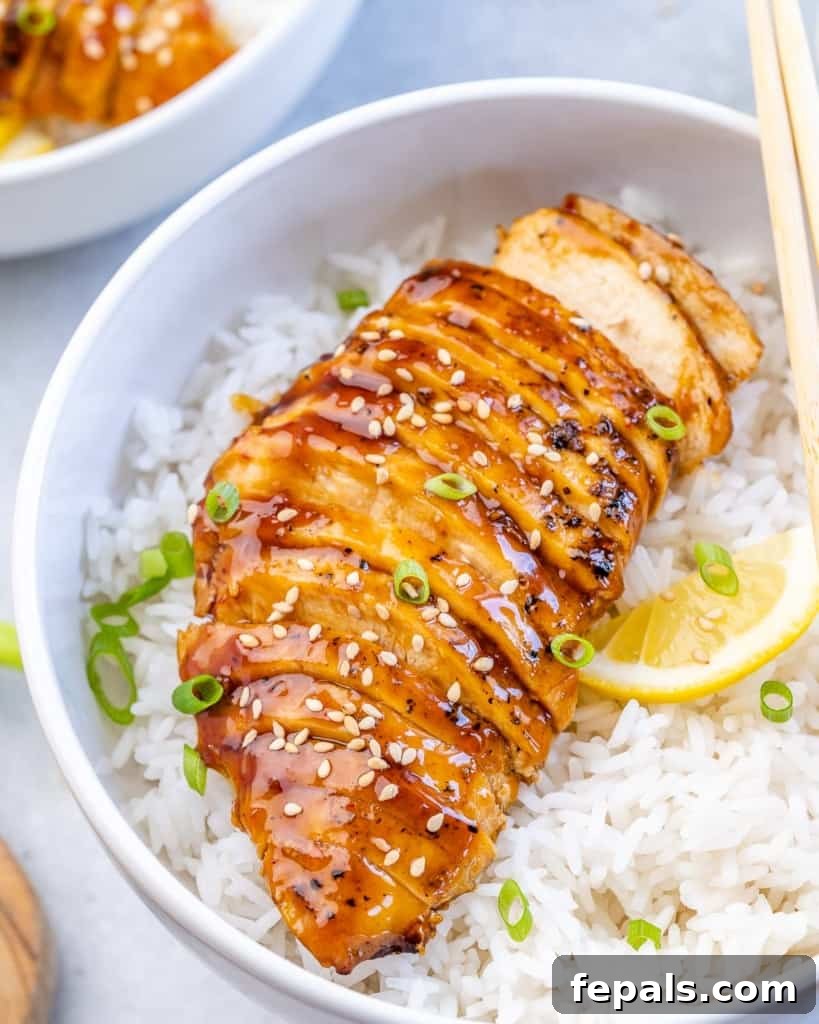
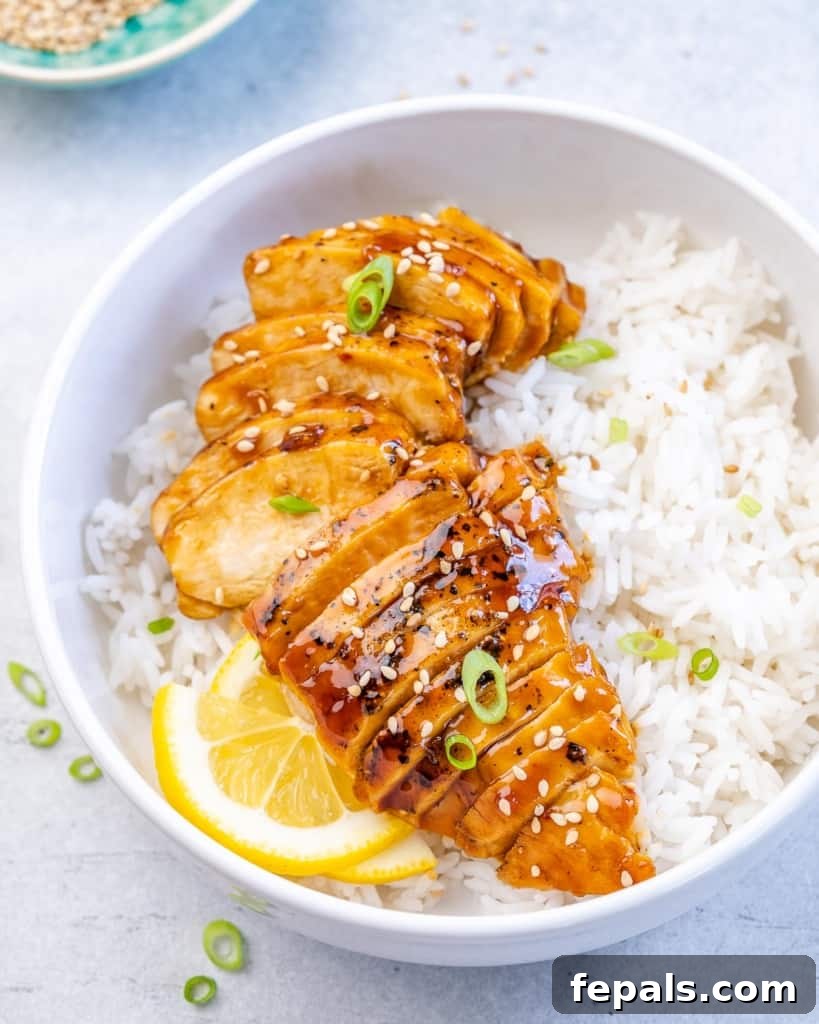
- Serve and Garnish: Carefully remove the skillet from the oven. Let the chicken rest for a few minutes before slicing or serving whole. This allows the juices to redistribute, ensuring maximum tenderness. Serve your delicious baked teriyaki chicken immediately over hot steamed white or brown rice, drizzling extra sauce from the skillet over the top. Garnish with a generous sprinkle of fresh chopped green onions and a final scattering of sesame seeds for both flavor and visual appeal.
Chef’s Notes & Expert Tips for the Best Baked Teriyaki Chicken
Achieving restaurant-quality results at home is all about the details. Here are some invaluable tips and tricks from my kitchen to ensure your Baked Teriyaki Chicken Breast turns out perfect every time, along with ideas for customization and meal planning:
- Mind Your Nutrition Facts: Please note that the nutritional information provided in the recipe card below is for the chicken and sauce only and does not include any accompanying rice or side dishes. Factor in these additions when calculating your total meal macros.
- Low-Carb Options Galore: For those following a low-carb diet, this recipe is incredibly adaptable. Instead of traditional rice, serve your teriyaki chicken with cauliflower rice, zucchini noodles, or a generous portion of garlic roasted vegetables like broccoli, bell peppers, or asparagus. These alternatives absorb the sauce beautifully and add a wealth of nutrients without the added carbs.
- Chicken Thighs for Extra Flavor: While chicken breasts are wonderfully lean, boneless, skinless chicken thighs can offer a slightly richer flavor and more forgiving texture, as they are less prone to drying out. If you choose to use chicken thighs, remember that their fat content and cooking time might slightly alter, and thus the nutritional values will change. Adjust baking time as needed, ensuring they reach an internal temperature of 165°F (74°C).
- Beyond Chicken – Explore Other Proteins: Not a fan of chicken or simply looking for variety? This homemade teriyaki sauce is incredibly versatile. It pairs exceptionally well with fish, especially my Baked Teriyaki Salmon recipe. It also works wonders with pork tenderloin or even firm tofu for a vegetarian option.
- Homemade Sauce is King: I am a firm believer that homemade teriyaki sauce offers a superior flavor profile and allows you to control the quality of ingredients, sugar, and sodium levels. However, if time is truly of the essence, and you have a trusted favorite brand, a good quality store-bought teriyaki sauce can be used in a pinch. Just be aware that flavors and consistency may vary.
- Storage and Reheating: Leftovers of this delicious teriyaki chicken store beautifully. Transfer any cooled chicken and sauce to an airtight container and refrigerate for up to 4 days. To reheat, gently warm in the microwave or on the stovetop over medium-low heat until heated through. Add a splash of water or broth if the sauce has thickened too much.
- Sweetener Alternatives: My recipe calls for honey, which I believe lends the best flavor and glaze to the teriyaki sauce. Its natural sugars caramelize wonderfully. However, if you prefer or need an alternative, maple syrup or agave nectar can be used as direct substitutes. While they will work, the subtle flavor nuances will be slightly different, so I genuinely recommend sticking with honey if possible.
- Avoid Overcooking – The Key to Juiciness: Chicken breast can notoriously dry out if overcooked. To prevent this, use a meat thermometer and remove the chicken from the oven as soon as it reaches an internal temperature of 165°F (74°C). The initial sear combined with the quick bake ensures it remains incredibly tender and juicy.
- Pound for Even Cooking: For consistently cooked chicken breasts, lightly pound them to an even thickness (around 3/4 inch). This ensures that thinner parts don’t dry out while thicker parts are still cooking.
Frequently Asked Questions About Baked Teriyaki Chicken
Here are some common questions about making Baked Teriyaki Chicken Breast, offering practical solutions and further tips for your culinary success:
The key to a beautifully coated chicken lies in the thickness of your teriyaki sauce. We achieve this by adding cornstarch (or arrowroot powder) to the sauce. Cornstarch acts as a thickening agent, preventing the sauce from being too watery and ensuring it clings perfectly to every piece of chicken. Mixing the cornstarch with a small amount of cold water before adding it to the hot sauce (creating a slurry) is crucial to avoid lumps and achieve a smooth, glossy consistency. Additionally, basting the chicken with the sauce during the last few minutes of baking can help build an extra layer of glaze.
Teriyaki chicken is incredibly versatile and pairs wonderfully with a variety of sides. The most classic accompaniment is steamed white or brown rice, which effectively soaks up the rich sauce. For a complete and balanced meal, add a side of fresh or cooked vegetables such as steamed broccoli, sautéed green beans, roasted asparagus, or bell peppers. For a low-carb alternative, consider serving it with cauliflower rice, zucchini noodles, or even a fresh green salad with a light vinaigrette. It also works well in stir-fries or as a topping for healthy noodle bowls.
If your homemade teriyaki sauce appears a bit thin or watery, you can easily thicken it using a cornstarch slurry. In a small bowl, whisk together about 1 tablespoon of cornstarch with approximately 1/4 cup of cold water until no lumps remain. Gradually pour this slurry into your simmering teriyaki sauce, stirring continuously. Continue cooking the sauce over medium heat, stirring, for another 1-2 minutes. The sauce will begin to thicken as it heats, reaching that perfect glossy, coating consistency. You can adjust the amount of slurry used to achieve your desired thickness.
Explore More Delicious Recipes
If you enjoyed this Baked Teriyaki Chicken, you’ll love exploring these other incredible recipes from our collection, perfect for expanding your culinary repertoire:
- Creamy Cajun Chicken Pasta: A spicy and creamy pasta dish packed with flavor.
- Fajita Stuffed Chicken Breast: Juicy chicken breasts stuffed with vibrant fajita fillings.
- Honey Garlic Salmon: A sweet and savory salmon dish that’s quick and healthy.
- Cauliflower “Potato” Salad: A low-carb twist on a classic comfort food.
- Cucumber Tomato Feta Salad: A refreshing and vibrant salad perfect for any meal.
- Chipotle Chicken Skillet: A smoky and zesty one-pan chicken meal.
Pin this now to find it later
Pin It
Our Fan Favorite Recipes
Discover more beloved dishes that our readers can’t get enough of. These fan favorites are tried, tested, and guaranteed to delight:
- Hearty Homemade Beef Stew: A comforting and rich classic perfect for colder days.
- Easy Chicken Chili: A simple yet flavorful chili that’s quick to prepare.
- Creamy Chicken Enchilada Soup: A warming and creamy soup with all the flavors of enchiladas.
- Jennifer Aniston Salad: The viral, refreshing, and nutritious salad everyone loves.
- Perfect BBQ Chicken Breast: A foolproof guide to juicy, flavorful baked BBQ chicken.
- Crispy Oven-baked Chicken Cutlets: Golden brown and perfectly crispy chicken cutlets, baked not fried.
- Healthy Cottage Cheese Pizza Crust: A high-protein, low-carb alternative for your pizza nights.

To receive your free copy of my ebook with 20 healthy, family-friendly dinner recipes ready in just 30 minutes, simply click the link below to download!
Download Free Ebook
If you try this recipe or any other from Healthy Fitness Meals and absolutely love it, please don’t hesitate to leave me some feedback and a rating in the comment section below! Your thoughts and experiences are incredibly valuable and help others discover delicious new meals. I’d be thrilled if you also shared this recipe with your friends and family – spread the joy of healthy, homemade cooking!
FOLLOW Healthy Fitness Meals on FACEBOOK | INSTAGRAM | PINTEREST | TWITTER for all of our latest blog posts, updates, and inspiring recipes delivered straight to your feed.
Baked Teriyaki Chicken Breast
Rate
Pin
Video
Ingredients
- 4 boneless skinless chicken breasts, lightly pounded to even thickness
- Kosher salt and ground pepper, to taste
- 2 tablespoons olive oil
- 2-3 garlic cloves, minced
- 1- inch knob of ginger, grated on the Microplane
- 1 cup soy sauce , or coconut aminos
- 2 tablespoons rice vinegar
- 1/4 cup honey
- 2 tablespoons cornstarch
- ¼ teaspoon crushed red pepper flakes
- ½ teaspoon sesame seeds
- 1-2 Green onions, chopped
- Steamed rice, for serving
Instructions
-
Heat 1 tablespoon of olive oil in a large ovenproof skillet over medium-high heat. Preheat the oven to 400°F (200°C).
-
Season the boneless skinless chicken breasts with Kosher salt and ground pepper. Sear the chicken for 2-3 minutes per side until golden brown. Set aside.

-
To the same preheated skillet, add the remaining 1 tablespoon of olive oil.
-
Add the garlic cloves (minced) and ginger (grated) and cook until fragrant (about 30 seconds). Add the soy sauce , rice vinegar, honey, cornstarch (mixed with 2 tablespoons cold water), crushed red pepper flakes, and sesame seeds, stirring continuously. Cook for 2-3 minutes, or until the sauce thickens and coats the back of your spoon.
-
Return the chicken to the skillet, submerging it in the sauce, and transfer to the preheated oven. Bake for 8-10 minutes, or until the chicken is fully cooked through (internal temperature of 165°F / 74°C).
-
Serve immediately with steamed rice and garnish with sliced Green onions.
Notes
- The nutrition facts provided do not include any accompanying rice or side dishes.
- For a delicious low-carb option, serve this dish with cauliflower rice or zucchini noodles instead of regular rice.
- If you prefer to use boneless, skinless chicken thighs, they make a great substitute, but please note that their cooking time and nutritional values will vary.
- While homemade teriyaki sauce offers superior flavor, a high-quality store-bought teriyaki sauce can be used if you’re short on time.
- Store any leftover teriyaki chicken in an airtight container in the refrigerator for up to 4 days.
- Using honey for the homemade teriyaki sauce is highly recommended for its flavor and glaze, though maple syrup or agave can be substituted if necessary.
- To ensure juicy chicken, avoid overcooking. Use a meat thermometer to check for an internal temperature of 165°F (74°C).
Nutrition
Nutrition information is automatically calculated, so should only be used as an approximation.