
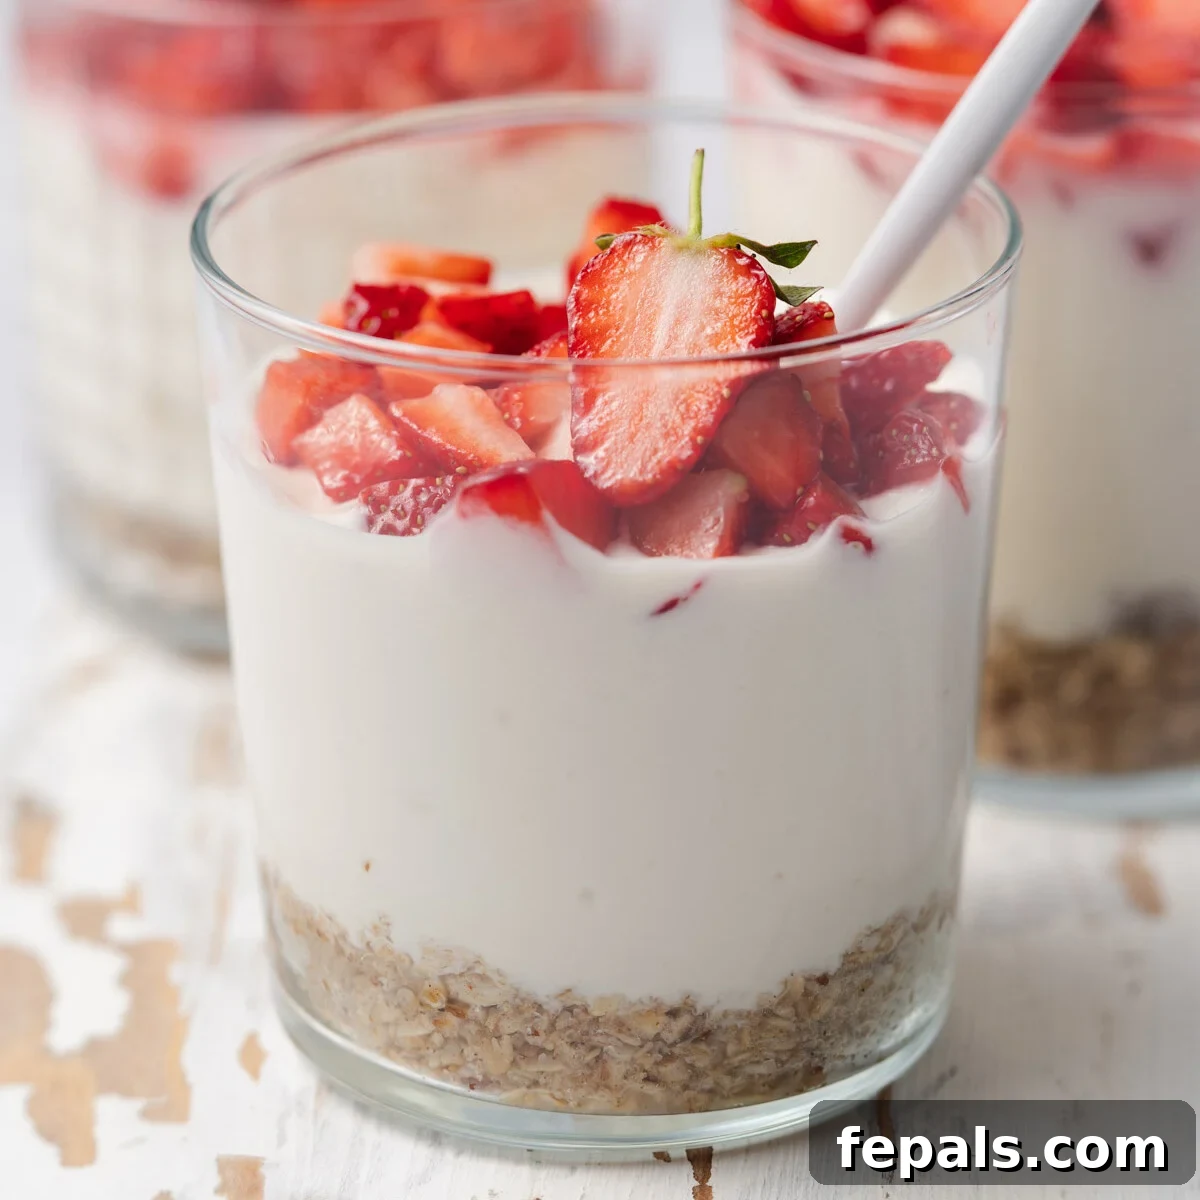
Craving a sweet treat that’s both indulgent and beneficial for your health goals? Look no further than these incredible No-Bake Protein Cheesecake Cups! This recipe offers a guilt-free dessert option that’s bursting with flavor, incredibly easy to prepare, and packed with valuable protein. Whether you’re seeking a quick breakfast, a satisfying midday snack, or a delightful after-dinner dessert, these cheesecake cups are ready in mere minutes, making them perfect for your busy lifestyle.
If you’re a fan of fuss-free, delicious treats, you might also enjoy our No-Bake Blueberry Cheesecake Cups for another fantastic option.
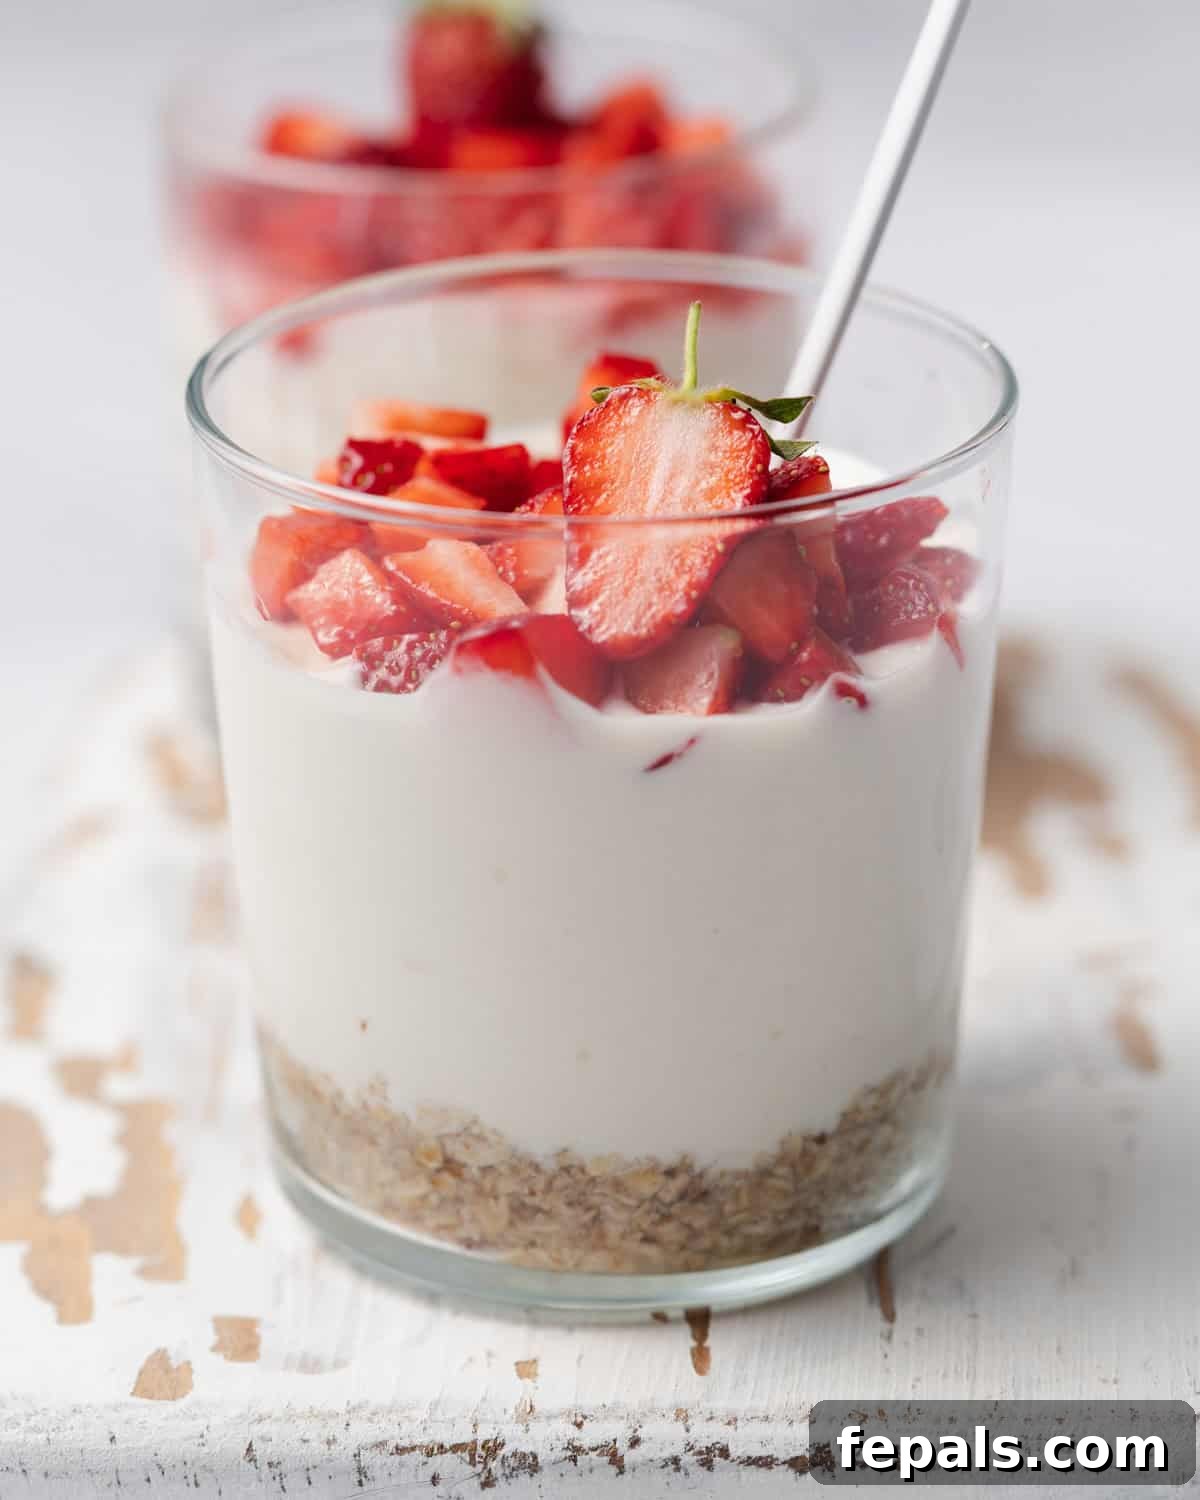
No-bake cheesecakes have revolutionized the dessert world, offering unparalleled convenience and deliciousness. They are inherently fun and incredibly straightforward to make, proving to be a perfect solution for anyone who loves homemade treats but lacks the time for extensive baking. The beauty of these desserts lies in their simplicity – no oven required, minimal cleanup, and quick assembly.
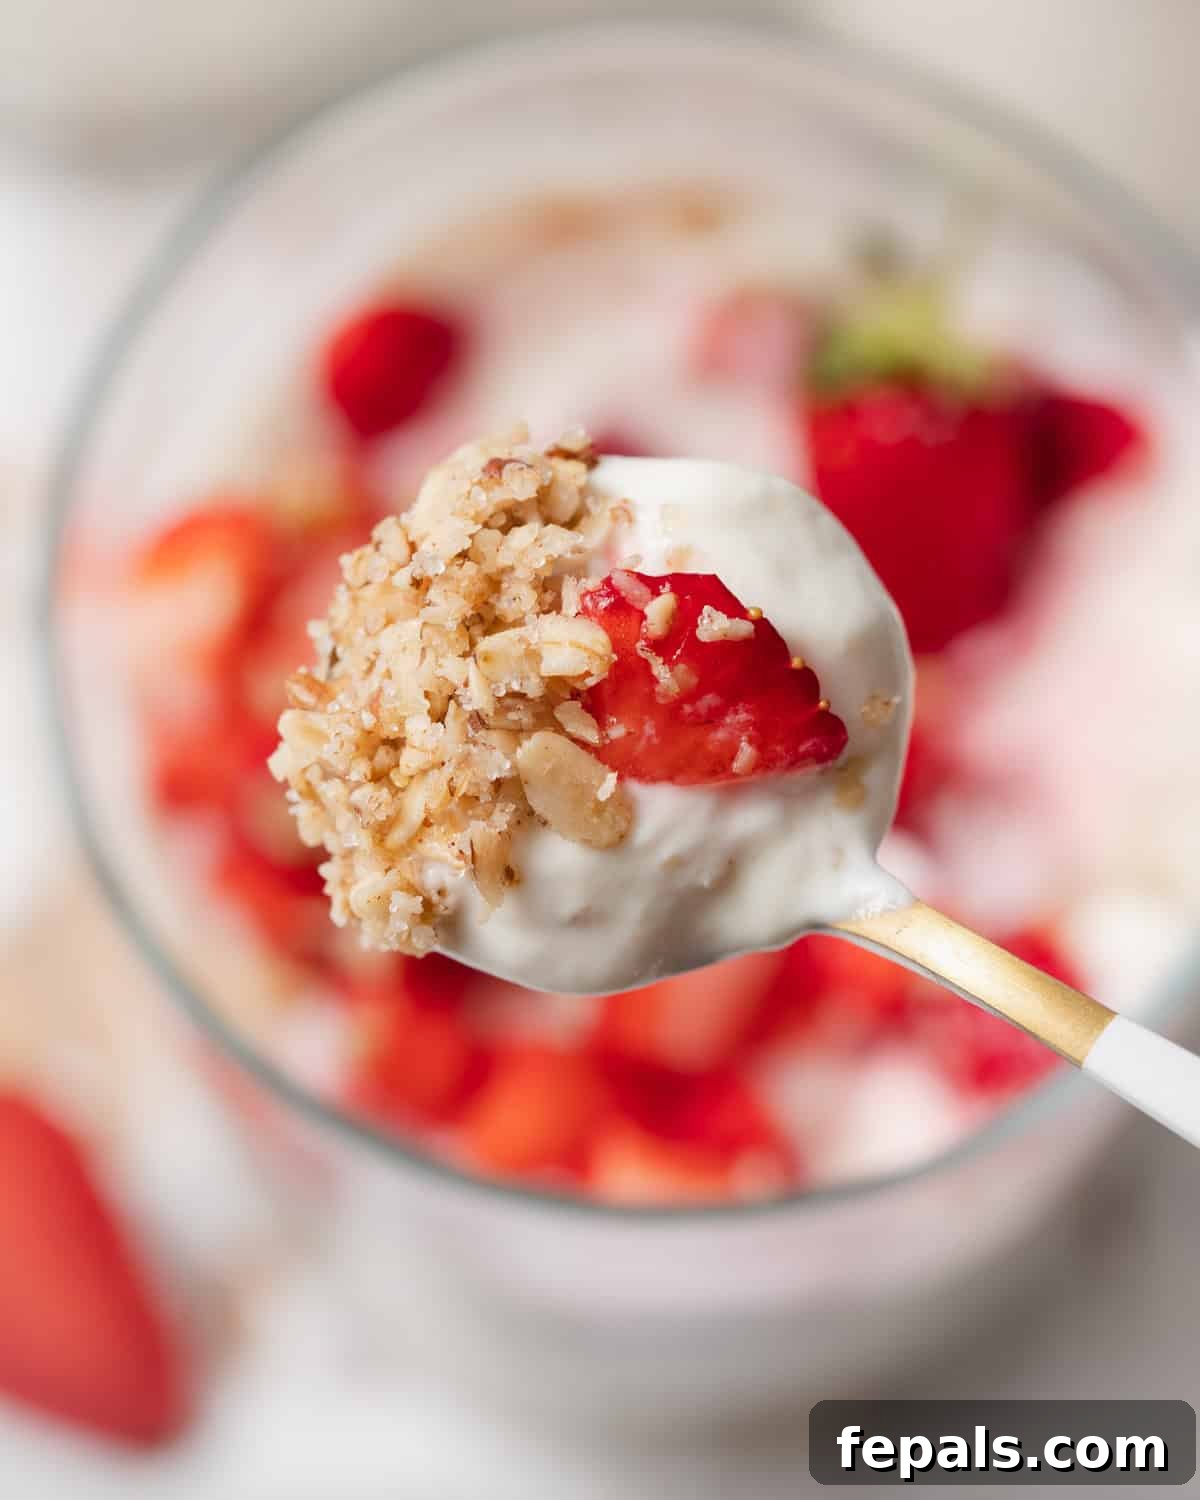
These particular protein cheesecake cups take convenience and flavor to the next level by infusing them with essential nutrition. They’re not just a treat for your taste buds; they’re a smart choice that provides a substantial boost of protein, helping you feel fuller for longer and supporting muscle recovery. Enjoy them as a wholesome breakfast to kickstart your day, a satiating afternoon snack to beat the slump, or a delectable dessert without the typical calorie overload. Their versatility also shines through with customization options: pile on your favorite fresh fruits, or add an extra sprinkle of chopped pecans or other nuts for an added textural dimension and healthy fats.
Why These No-Bake Protein Cheesecake Cups Are a Must-Try
Preparing healthy meals and desserts doesn’t have to be complicated or time-consuming. This recipe for protein-packed cheesecake cups is designed to fit seamlessly into a health-conscious lifestyle, offering numerous benefits:
- Irresistibly Delicious: Imagine a rich, creamy cheesecake experience combined with a satisfyingly crunchy crust, all beautifully balanced with the freshness of vibrant fruits. These cups deliver classic cheesecake flavor without any compromise, making every spoonful a pure delight. The combination of textures and flavors creates a truly gourmet experience in a simple, portion-controlled package.
- Effortlessly Easy & Super Quick: Time is a precious commodity, and this recipe respects that. With just about 10 minutes of active preparation, you can assemble these delicious treats. They only require a brief chill in the fridge for 15-20 minutes to set. If you’re truly in a hurry and can’t wait, you can even enjoy them immediately, although the chilling helps solidify the layers for a more traditional cheesecake experience. This makes them ideal for last-minute cravings or spontaneous gatherings.
- Remarkably Good for You: We believe that dessert can be both indulgent and nutritious. These protein cheesecake cups are crafted with cleaner, wholesome ingredients, ensuring that the calories you consume are “good calories” that fuel your body. Each serving is loaded with protein, which is vital for satiety, muscle growth, and repair, making this dessert a smart choice for fitness enthusiasts and anyone looking to boost their protein intake while enjoying something sweet.
The Simple Ingredients You’ll Need
Crafting these delectable protein cheesecake cups requires a handful of common and accessible ingredients. Each component plays a vital role in building the perfect balance of flavor, texture, and nutrition. Here’s what you’ll need to gather:
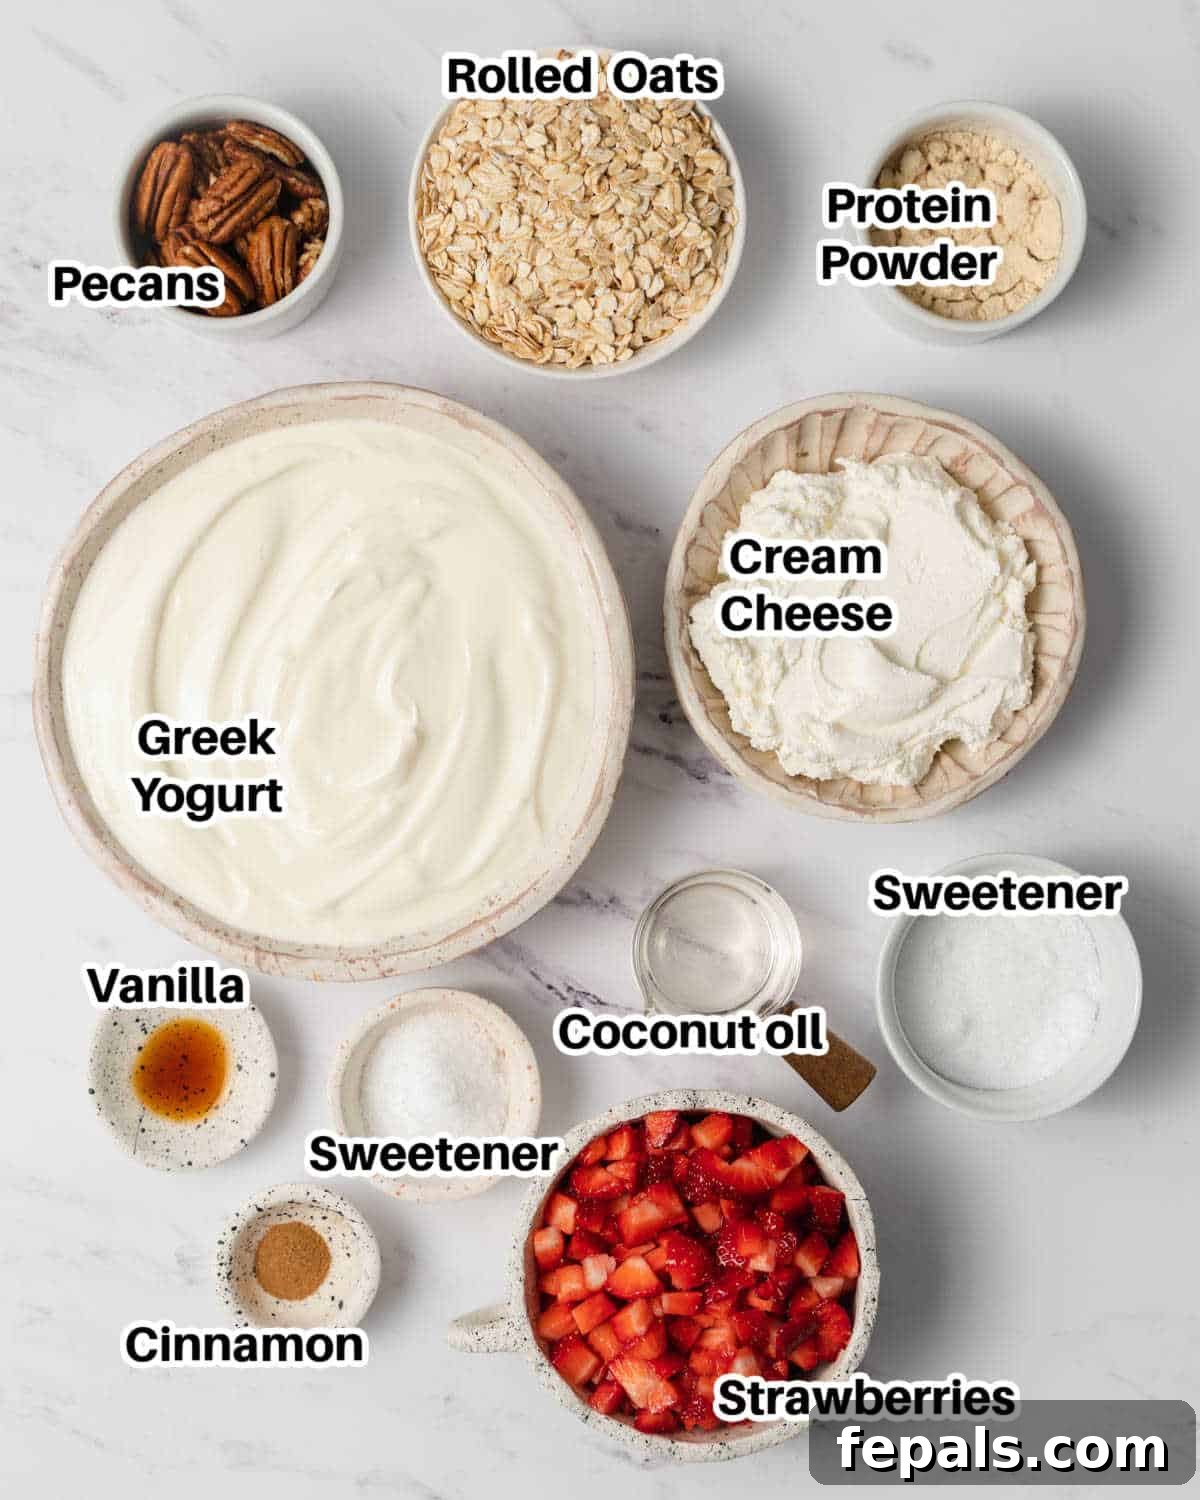
- Rolled Oats: These form the wholesome and fiber-rich base of your cheesecake cups. Rolled oats provide complex carbohydrates for sustained energy and a satisfying texture. Quick oats can also be used for convenience, but rolled oats offer a bit more chewiness.
- Pecans: Adding a delightful crunch and healthy fats, pecans elevate the flavor profile of the crust. If pecans aren’t available or you prefer another nut, walnuts or almonds make excellent substitutes, offering similar textural and nutritional benefits.
- Cinnamon: A dash of ground cinnamon introduces a warm, comforting aroma and subtle spice to the crust, complementing the oats and nuts beautifully. It adds depth without overpowering the other flavors.
- Coconut Oil (Melted): This acts as the binding agent for the crust, holding the oats and nuts together. Coconut oil provides a subtle tropical hint and contributes healthy medium-chain triglycerides. Melt it gently before mixing.
- Low-Calorie Granulated Sweetener or Honey: To lightly sweeten the crust, you can choose a low-calorie granulated sweetener (like erythritol or stevia blends) or natural honey. Both options offer sweetness while allowing you to control sugar content.
- Whey Protein (Vanilla Flavor): The star ingredient for the protein boost in your filling! Vanilla-flavored whey protein powder not only adds a significant amount of protein but also contributes to the creamy texture and sweet vanilla notes. For those following a plant-based diet, a plant-based protein powder (such as pea or soy protein) will work just as effectively.
- Light Cream Cheese (Softened): The foundation of any classic cheesecake filling! Using light cream cheese reduces the fat content without sacrificing the signature tang and creaminess. Ensure it’s softened to room temperature for a lump-free, smooth filling.
- Vanilla Extract: Essential for enhancing the overall sweetness and adding a classic aromatic depth to the creamy filling. A good quality vanilla extract makes a noticeable difference.
- Vanilla Greek Yogurt: This ingredient is crucial for adding extra protein, a rich creaminess, and a delightful tang to the filling. Vanilla-flavored Greek yogurt harmonizes perfectly with the other ingredients, while also providing beneficial probiotics.
- Low-Calorie Granulated Sweetener or Honey (for filling): Similar to the crust, this allows you to sweeten the filling to your preference. Agave nectar is another great alternative for a liquid sweetener. Adjust the amount based on the sweetness of your protein powder and personal taste.
- Berries or Mixed Fruit: For topping, fresh berries like strawberries, blueberries, raspberries, or a colorful mix of your favorite fruits add natural sweetness, a burst of freshness, and vital antioxidants. They provide a beautiful presentation and a light, fruity contrast to the rich cheesecake.
You’ll find the exact measurements and detailed quantities for each ingredient in the comprehensive recipe card located further down below.
Crafting Your High-Protein Cheesecake Cups: A Step-by-Step Guide
Making these no-bake protein cheesecake cups is a breeze. Follow these simple steps to assemble your delicious and healthy treats. You’ll be amazed at how quickly these come together!
Creating the Crunchy Oat & Pecan Base:
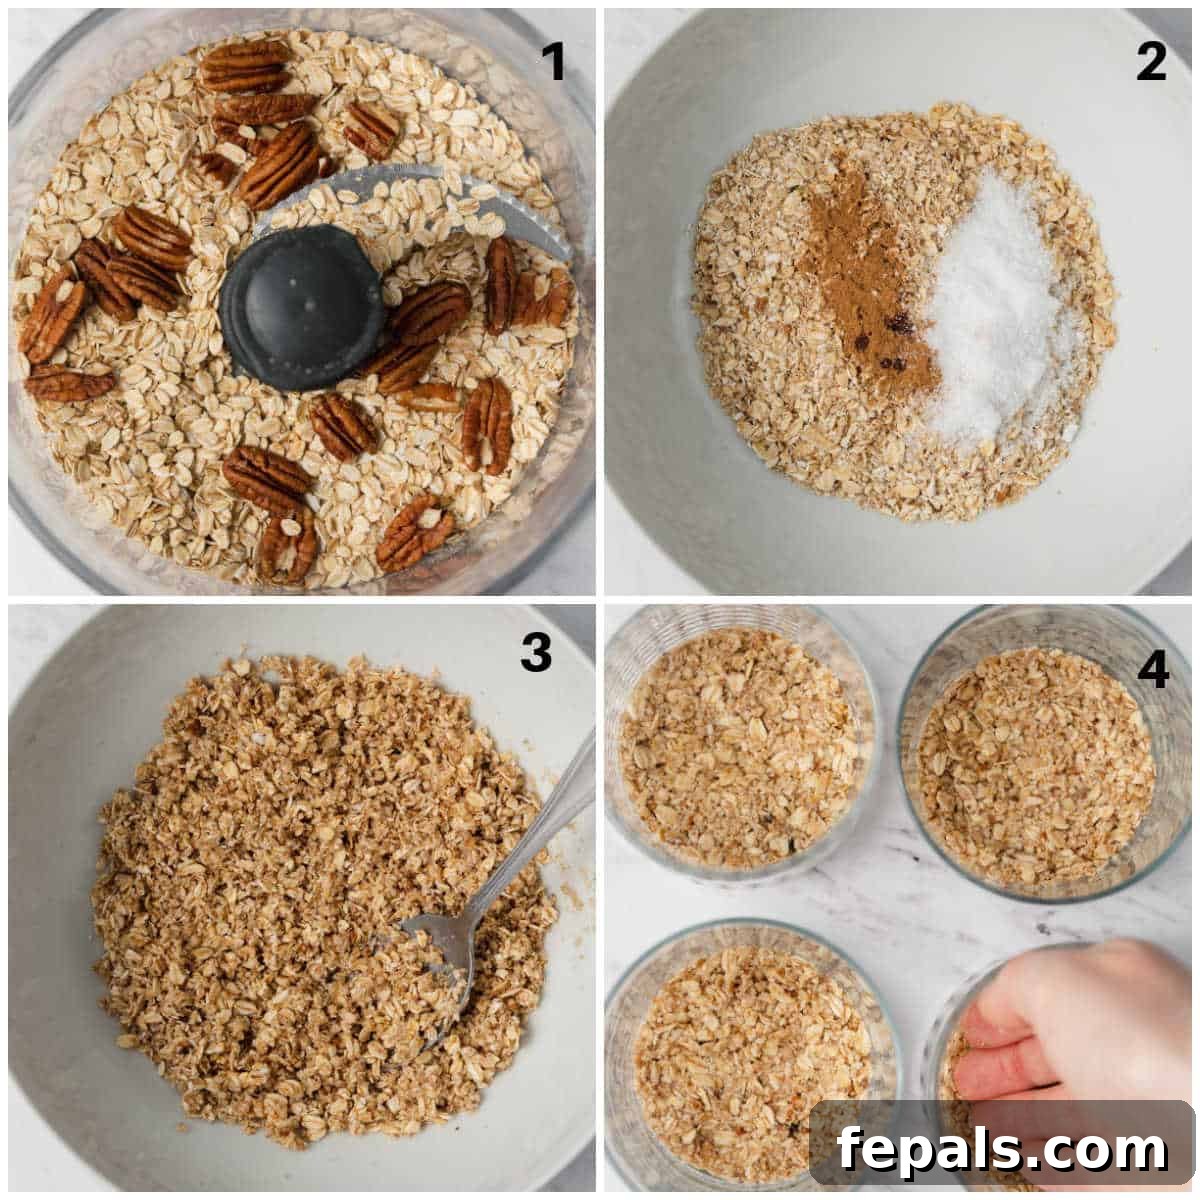
- Step 1: Prepare the Dry Ingredients. Begin by placing the rolled oats and pecans into the bowl of a food processor. Pulse a few times until the oats and nuts are coarsely chopped. You want a crumbly texture, not a fine powder, to ensure a satisfying crunch in your crust.
- Step 2: Combine with Wet Ingredients. Transfer the blended oat and nut mixture to a medium-sized mixing bowl. Stir in the ground cinnamon, melted coconut oil, and your chosen granulated sweetener or honey. Mix thoroughly until all the dry ingredients are evenly coated and the mixture is moist and crumbly.
- Step 3: Press into Cups. Divide the oat mixture evenly among four individual serving cups or jars. Using your fingers or the back of a spoon, firmly press the mixture down to form a compact and even crust layer at the bottom of each cup. This step is crucial for ensuring the crust holds together.
- Step 4: Chill the Base. Place the cups with the crusts into the refrigerator and chill for at least 20 minutes. This helps the coconut oil solidify, setting the crust and preventing it from becoming too crumbly when you add the filling.
Whipping Up the Creamy Protein Filling:
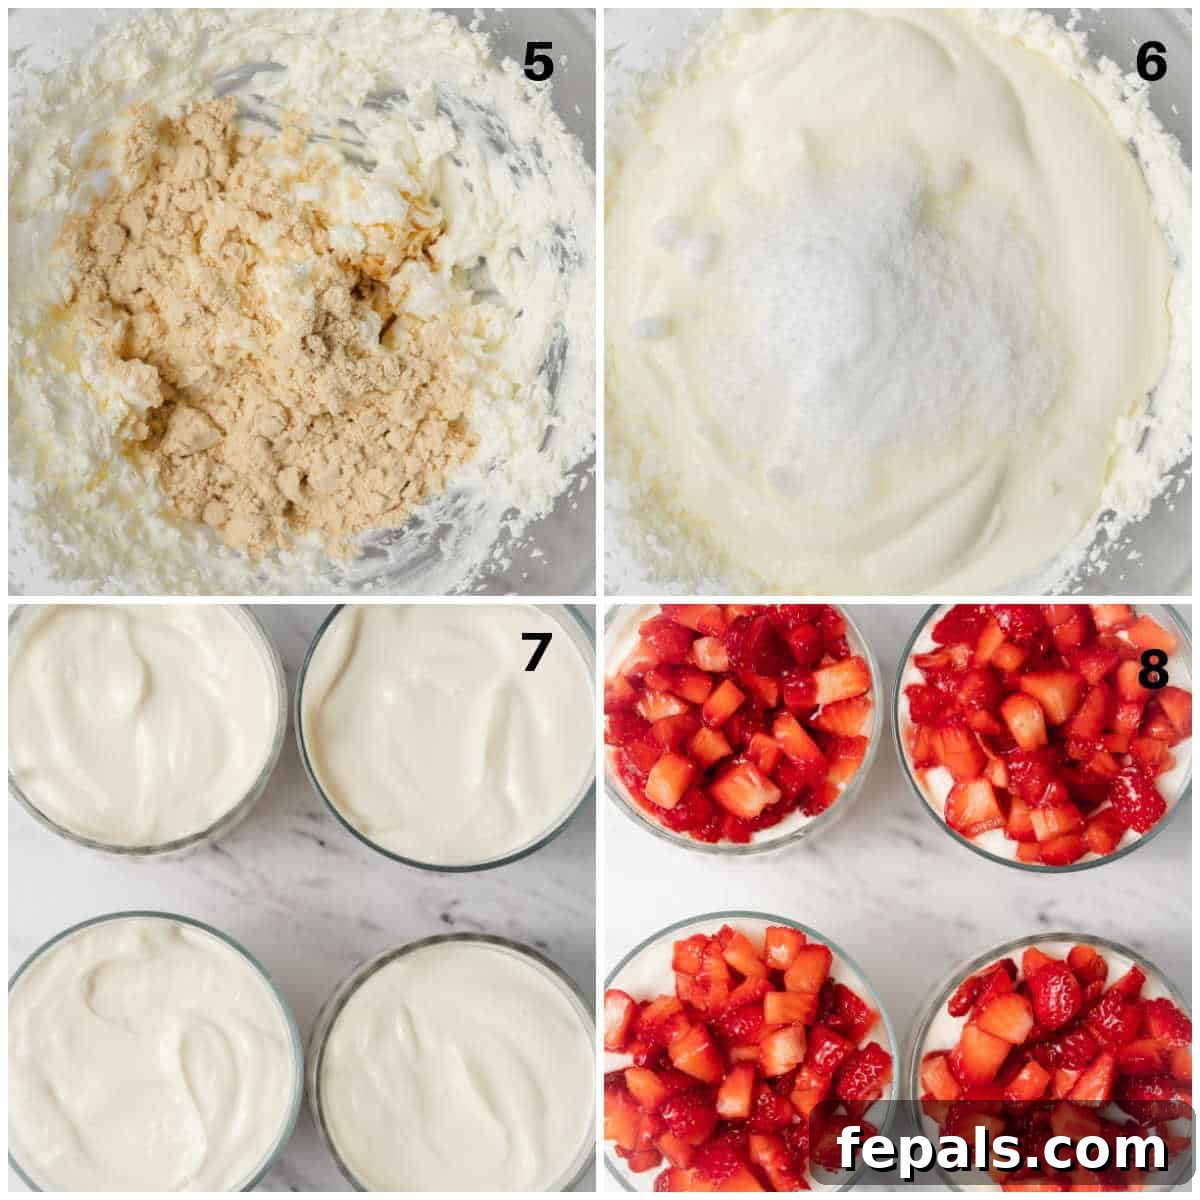
- Step 5 & 6: Create the Filling. In a separate large mixing bowl, using an electric mixer, beat the softened light cream cheese until it is light, fluffy, and smooth. This typically takes 1-2 minutes. Then, add the protein powder, vanilla extract, vanilla Greek yogurt, and the remaining low-calorie granulated sweetener or honey. Continue to beat the mixture until all ingredients are thoroughly combined and the filling is completely smooth and creamy, with no lumps.
- Step 7: Fill and Chill. Carefully divide the luscious cream cheese filling evenly among the four cups, layering it on top of the chilled oat crusts. Use a spoon or a small spatula to gently smooth out the top of the filling in each cup. Return the cups to the refrigerator and chill for at least one hour. This allows the cheesecake filling to set properly, ensuring a firm, creamy texture.
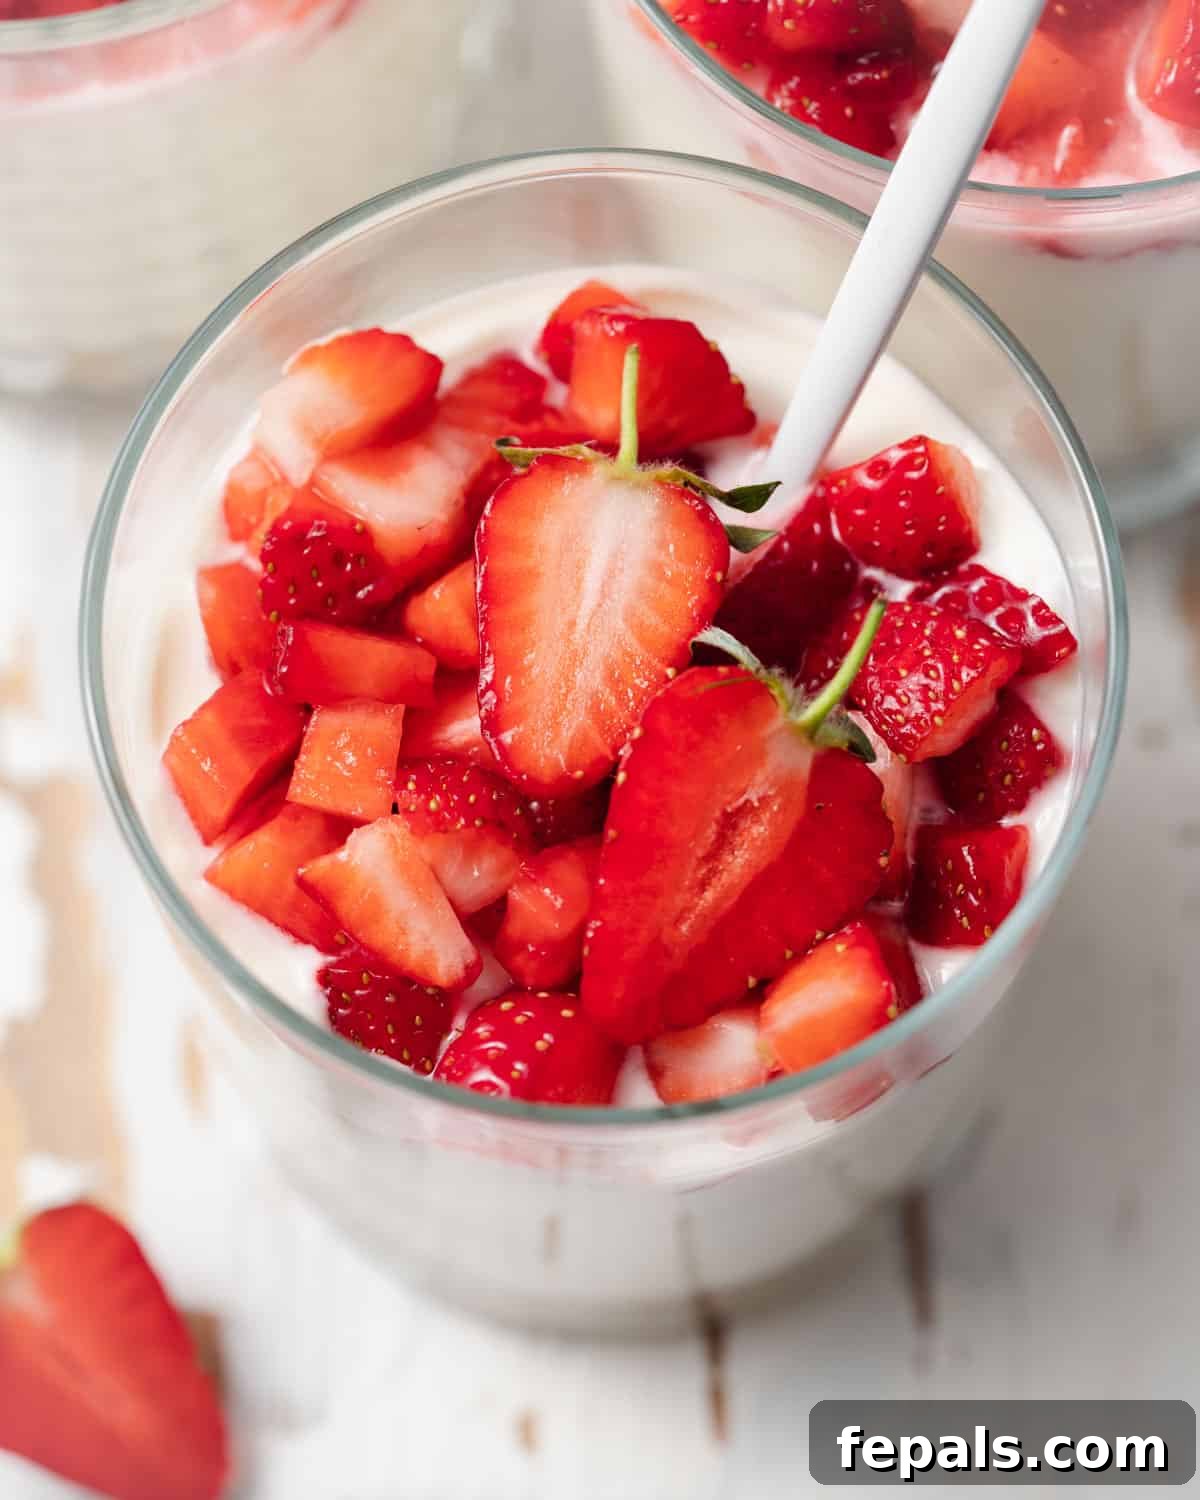
- Step 8: Garnish and Serve. Once adequately chilled and set, remove the cheesecake cups from the refrigerator. Just before serving, top each cup generously with your favorite fresh berries or mixed fruit. The vibrant colors and natural sweetness of the fruit provide the perfect finishing touch and a delightful contrast to the rich cheesecake. Serve immediately and enjoy your homemade, healthy treat!
Expert Tips & Variations for Your Protein Cheesecake
This recipe is wonderfully adaptable, allowing you to customize it to your taste, dietary needs, or what you have on hand. Here are some detailed notes and variations to make these protein cheesecake cups truly your own:
- Fat Alternatives for the Crust: While coconut oil provides a lovely flavor and firm texture, you can easily substitute it. Unsalted butter (melted) works perfectly for a classic cheesecake crust flavor. Any other neutral-tasting oil, such as avocado oil or light olive oil, can also be used as a binder.
- Nut Substitutions: Pecans offer a distinct, buttery flavor, but feel free to experiment with other nuts. Walnuts or almonds are excellent choices, providing similar healthy fats and crunch. For a nut-free option, consider using sunflower seeds or pumpkin seeds, or omit nuts entirely and increase the oats slightly.
- Sweetener Choices: The recipe calls for low-calorie granulated sweeteners (like Truvia or monk fruit) or honey. For a truly vegan option, pure maple syrup or agave nectar are fantastic plant-based liquid sweeteners that also add a unique flavor profile. Adjust the quantity to your preferred level of sweetness.
- Protein Powder Flexibility: Any protein powder of your choice will work well in this recipe. For individuals following a vegan lifestyle, opt for a plant-based protein powder (e.g., pea protein, brown rice protein, or a blend). If you’re not concerned about the protein boost or simply don’t have protein powder, you can omit it and potentially increase the Greek yogurt or cream cheese slightly for consistency, or simply accept a slightly less firm filling.
- Yogurt Swaps for Creaminess: Vanilla Greek yogurt provides richness and tang, along with extra protein. To make this recipe completely vegan-friendly, choose a plant-based yogurt alternative, such as almond, soy, or coconut-based vanilla yogurt. Any other plain or vanilla yogurt of choice can be used if vegan is not a concern.
- Cream Cheese for All Diets: Light cream cheese is recommended for its classic flavor and texture. However, for a healthier option, you can blend low-fat cottage cheese until smooth and use it as a substitute for a protein-packed, lower-fat alternative. If you are aiming for a vegan cheesecake, look for plant-based cream cheese brands, which are widely available in most grocery stores today.
- Flavor Boosters: For an extra layer of flavor, consider adding a pinch of lemon zest or orange zest to the filling. A tiny amount of almond extract can also complement the vanilla beautifully.
- Topping Ideas Beyond Berries: While fresh berries are classic, don’t limit yourself! Try thinly sliced banana, diced mango, a drizzle of sugar-free chocolate syrup, a sprinkle of toasted coconut flakes, or a dollop of sugar-free whipped cream.
Storage Instructions:
Store your covered protein cheesecake cups in an airtight container in the refrigerator for up to 5 days. For longer storage, these cheesecake cups freeze exceptionally well. Place them in freezer-safe containers and freeze for up to 3 months. When you’re ready to enjoy a frozen treat, simply remove it from the freezer and allow it to thaw overnight in the refrigerator for the best texture. You may want to add fresh fruit toppings only when serving after thawing.
Frequently Asked Questions
Absolutely! No-bake cheesecake is excellent for freezing and can be stored for up to 3 months. For these individual no-bake cheesecake cups, place them in a freezer-safe bowl or container. Ensure they are tightly covered or individually wrapped to prevent freezer burn. It’s often best to skip adding fresh fruits until you’re ready to serve, as fruits can become watery upon thawing. When you’re ready to enjoy, simply transfer them to the fridge the night before to allow them to thaw gradually.
The fundamental distinction between baked and no-bake cheesecakes lies in their key ingredients and preparation methods. Baked cheesecakes traditionally contain eggs, which act as a binding agent and require oven baking to set the custard-like filling. In contrast, no-bake cheesecakes are crafted without eggs. Instead, they rely on ingredients like cream cheese, yogurt, and often a stabilizer (like gelatin, though not in this recipe) or simply thorough chilling, to achieve their firm yet creamy texture. This means no-bake cheesecakes only need refrigeration to set, making them quicker and easier to prepare, especially during warmer months.
If you prefer not to use low-calorie granulated sweeteners, there are several natural alternatives. For the creamy filling, honey or agave nectar are excellent choices, providing natural sweetness and a smooth consistency. For the oat and pecan crust, honey or coconut sugar will work wonderfully, offering a subtle caramel-like flavor. Remember that natural sweeteners like honey and agave are still sugar and contribute to calorie count, so adjust quantities according to your dietary preferences and taste.
Yes, these no-bake protein cheesecake cups are perfect for meal prepping and can be made a day or two in advance. In fact, preparing them ahead of time allows the flavors to meld beautifully and the filling to set even more firmly, resulting in a richer taste and better texture. Just make sure to keep them covered in the refrigerator. Add your fresh fruit toppings right before serving for optimal freshness and appearance.
For this recipe, vanilla-flavored protein powder is recommended as it complements the classic cheesecake flavor. Whey protein (isolate or concentrate) works very well for a smooth, creamy texture. If using a plant-based protein powder (like pea, rice, or a blended vegan protein), be aware that some brands can be thicker or absorb more liquid. You might need to adjust the amount of Greek yogurt or a splash of milk to achieve the desired creamy consistency. Always ensure your protein powder has a flavor you enjoy, as it will be noticeable in the final product.
To further reduce calories or fat, you can make a few adjustments. Use fat-free Greek yogurt instead of light, and opt for a very light or fat-free cream cheese if available. You could also reduce the amount of pecans in the crust or swap them for fewer oats to cut down on fat. For sweeteners, stick to zero-calorie granulated options exclusively. Additionally, increasing the proportion of Greek yogurt relative to cream cheese in the filling can lighten the overall calorie and fat count while maintaining creaminess.
More Healthy Desserts to Delight In
If you loved these protein-packed cheesecake cups, you’re sure to find more favorites among our collection of healthy and delicious dessert recipes. Explore these other fantastic options:
- Wholesome Apple Oatmeal Bars
- Nutritious Sweet Potato Muffins
- Easy 4-Ingredient Protein Peanut Butter Cups
- Refreshing No-Bake Blueberry Cheesecake
- Invigorating Tropical Protein Smoothie
- Energizing Cookies and Cream Energy Bites
- Bright Lemon Blueberry Muffins
Get Your Free Ebook!
Don’t miss out on our complimentary ebook, packed with 20 of our top family-friendly healthy dinner recipes, all ready in 30 minutes or less. Discover quick, nutritious meals that everyone will love!
Download Now
You May Also Like These Healthy Treats
- Decadent Sweet Potato Brownies
- Simple No-Bake Chocolate Oatmeal Cookies
- Flavorful Protein Chocolate Chip Cookies
- Satisfying Chocolate Chip Oatmeal Breakfast Bars
- Wholesome Healthy Oatmeal Bars
Loved this recipe? Pin it now to save for later!
Pin It
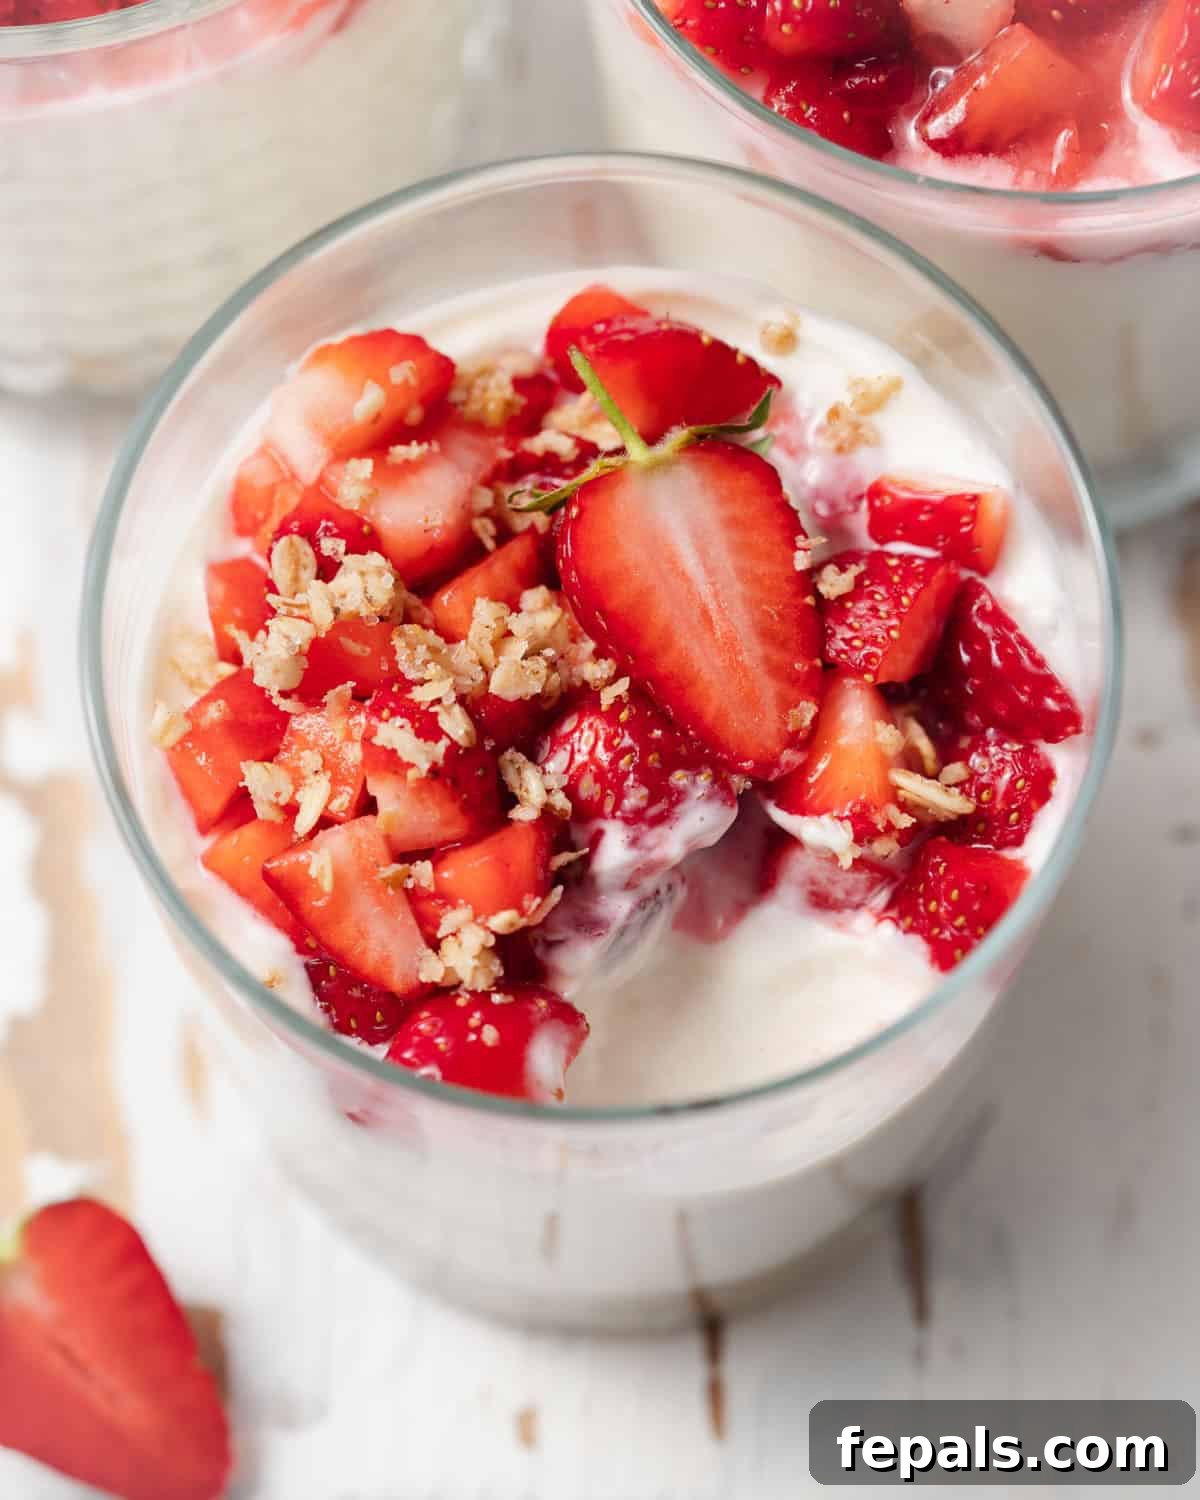
We hope you thoroughly enjoy preparing and savoring these delightful No-Bake Protein Cheesecake Cups. If you give this recipe a try and love it, please consider leaving us some feedback in the comment section below. Your ratings and comments help us improve and inspire other home cooks! Don’t forget to share your creations with friends and family who might also appreciate a healthier, easy-to-make dessert option.
CONNECT with us on FACEBOOK | INSTAGRAM | PINTEREST | TWITTER to stay updated on all our latest blog posts, healthy recipes, and culinary inspirations.
Easy High Protein No-Bake Cheesecake Cups
By: Rena
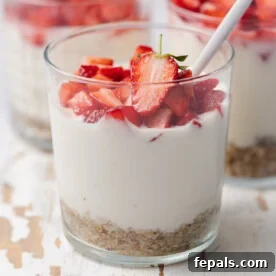
A healthier dessert option that’s full of protein! Easy to make and ready in just 30 minutes, these no-bake cheesecake cups are topped with fresh strawberries for a perfect treat.
Servings: 4 Servings
Prep time: 10 minutes
Refrigerate time: 20 minutes (crust) + 1 hour (filling)
Total time: Approximately 1 hour 30 minutes (including chill time)
Ingredients
- ¾ Cup Rolled oats
- ¼ Cup Pecans
- ¼ teaspoon Cinnamon
- 3 tablespoons Coconut oil, melted
- 2 tablespoons Low calorie granulated sweetener or honey
- 1 Scoop Whey Protein, vanilla flavor
- 6 ounces Light cream cheese, softened
- ½ teaspoon Vanilla extract
- 2 Cups Vanilla Greek yogurt
- ¼ Cup Low calorie granulated sweetener (honey or agave will work)
- 1 Cup Berries or mixed fruit
Instructions
- First, place the oats and pecans in the bowl of a food processor; pulse until the oats and nuts are coarsely chopped. Transfer the mixture to a bowl and stir in the cinnamon, coconut oil, and sweetener.
- Divide the oat mixture between 4 cups, pressing the mixture down with your fingers to form a firm crust.
- Chill the crusts for 20 minutes.
- While the crust chills, beat the softened cream cheese with a mixer until fluffy. Add the protein powder, vanilla extract, Greek yogurt, and sweetener. Beat until thoroughly combined and smooth.
- Divide the cream cheese mixture evenly between the 4 cups, layering it over the chilled crusts. Chill for one hour to allow the filling to set. Finally, top with fresh fruit and serve.
Notes
Substitutes:
- In place of coconut oil, you may use butter or any other neutral-tasting oil.
- Pecans: use any other nuts of choice like walnuts or almonds.
- Low-calorie sweeteners can be something like Truvia or monk fruit. You may use honey or maple syrup for a vegan option.
- Any protein of choice will work, plant-based for vegans, and you may also skip the protein.
- Yogurt: plant-based for a vegan option or any other yogurt of choice.
- Cream cheese is recommended. For a healthier option consider blending and using low-fat cottage cheese. If there is any plant-based cream cheese, use it.
Storage:
Store the covered cheesecake in the fridge for up to 5 days. You may freeze for up to 3 months. Remove from the freezer and allow it to thaw overnight in the refrigerator. Place the cheesecake in freezer-safe containers if you plan to freeze any.
Nutrition Information (per serving)
Calories: 462 kcal
Carbohydrates: 48 g
Protein: 20 g
Fat: 23 g
Saturated Fat: 13 g
Cholesterol: 42 mg
Sodium: 255 mg
Potassium: 339 mg
Fiber: 3 g
Sugar: 31 g
Vitamin A: 253 IU
Vitamin C: 1 mg
Calcium: 117 mg
Iron: 1 mg
Nutrition information is automatically calculated and should only be used as an approximation.
Additional Info
Course: Dessert
Cuisine: American