
Homemade Cashew Butter: Your Ultimate Guide to Creamy Perfection
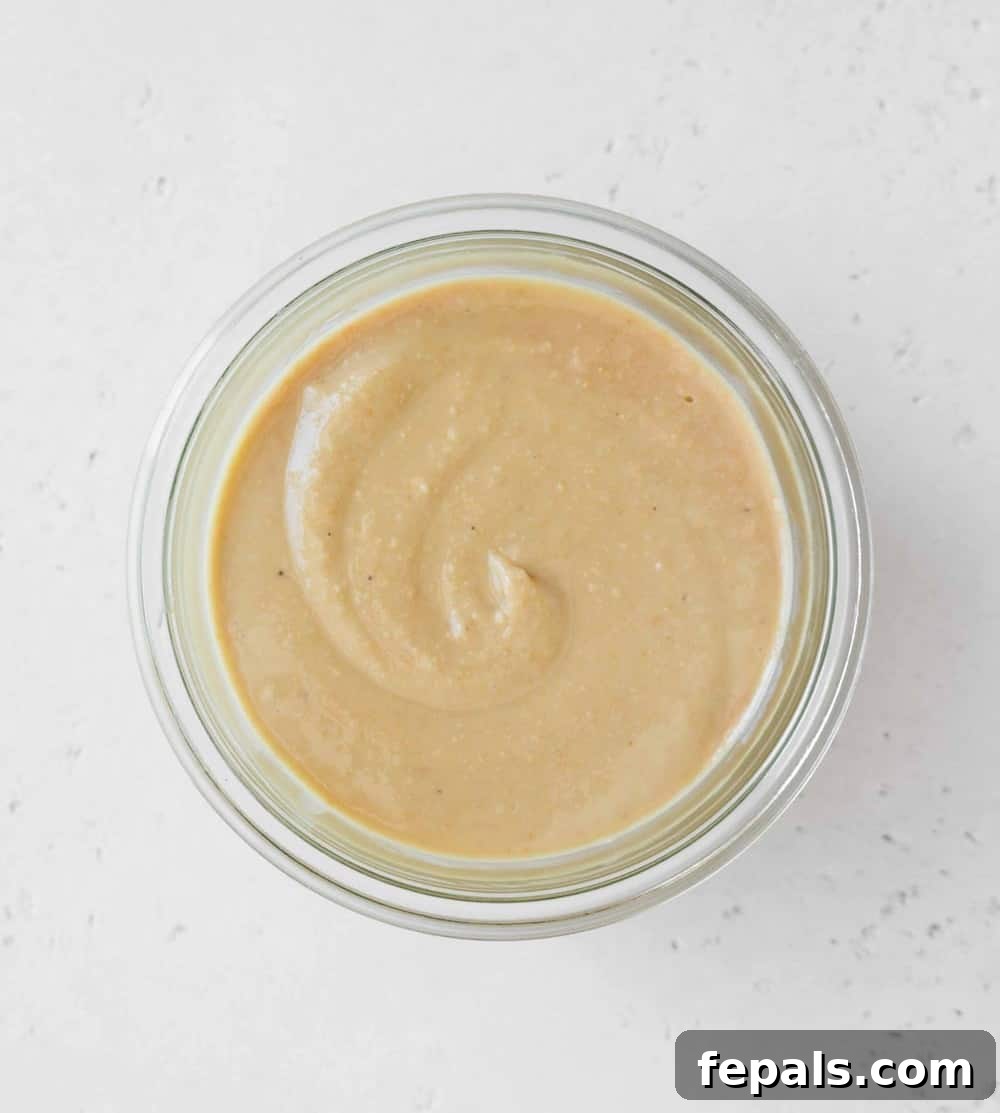
Discover the incredibly simple process of crafting your very own Homemade Cashew Butter right in your kitchen. With just two core ingredients and a reliable food processor, you can transform humble cashews into a luscious, velvety spread. Forget expensive store-bought versions laden with unwanted additives; this guide empowers you to create silky, creamy, and undeniably fresh cashew butter regularly at home. It’s not just a recipe; it’s an invitation to elevate your healthy eating and enjoy the purest form of this delightful nut butter.
Why Choose Homemade Cashew Butter? Health, Savings, and Unmatched Freshness
In today’s market, finding truly all-natural nut butter can be a challenge and often comes with a hefty price tag. Many commercial brands sneak in unnecessary added sugars like cane syrup, hydrogenated oils, or artificial preservatives to extend shelf life and enhance flavor. This often leaves you scanning ingredient lists with an eagle eye, trying to discern what exactly you’re putting into your body. By opting to make cashew butter at home, you bypass these concerns entirely.
Beyond ingredient control, the economic benefits are significant. Cashew butter, in particular, tends to be one of the pricier options among nut butters. Making your own from bulk cashews can lead to substantial savings over time, especially if you consume it regularly. Furthermore, nothing beats the freshness of homemade. The flavor profile of freshly processed cashews is vibrant and rich, a stark contrast to products that have sat on shelves for months. You control the texture, the salt level, and any additional flavors, ensuring a perfectly tailored product every time. It’s a simple act of self-care and smart budgeting wrapped into one delicious creation.
What You’ll Need: Simple Ingredients & Essential Equipment
The beauty of this recipe lies in its minimalist approach. You truly only need a handful of items to embark on your homemade cashew butter journey. Preparing your ingredients and equipment beforehand will make the process smooth and enjoyable.
Key Ingredients:
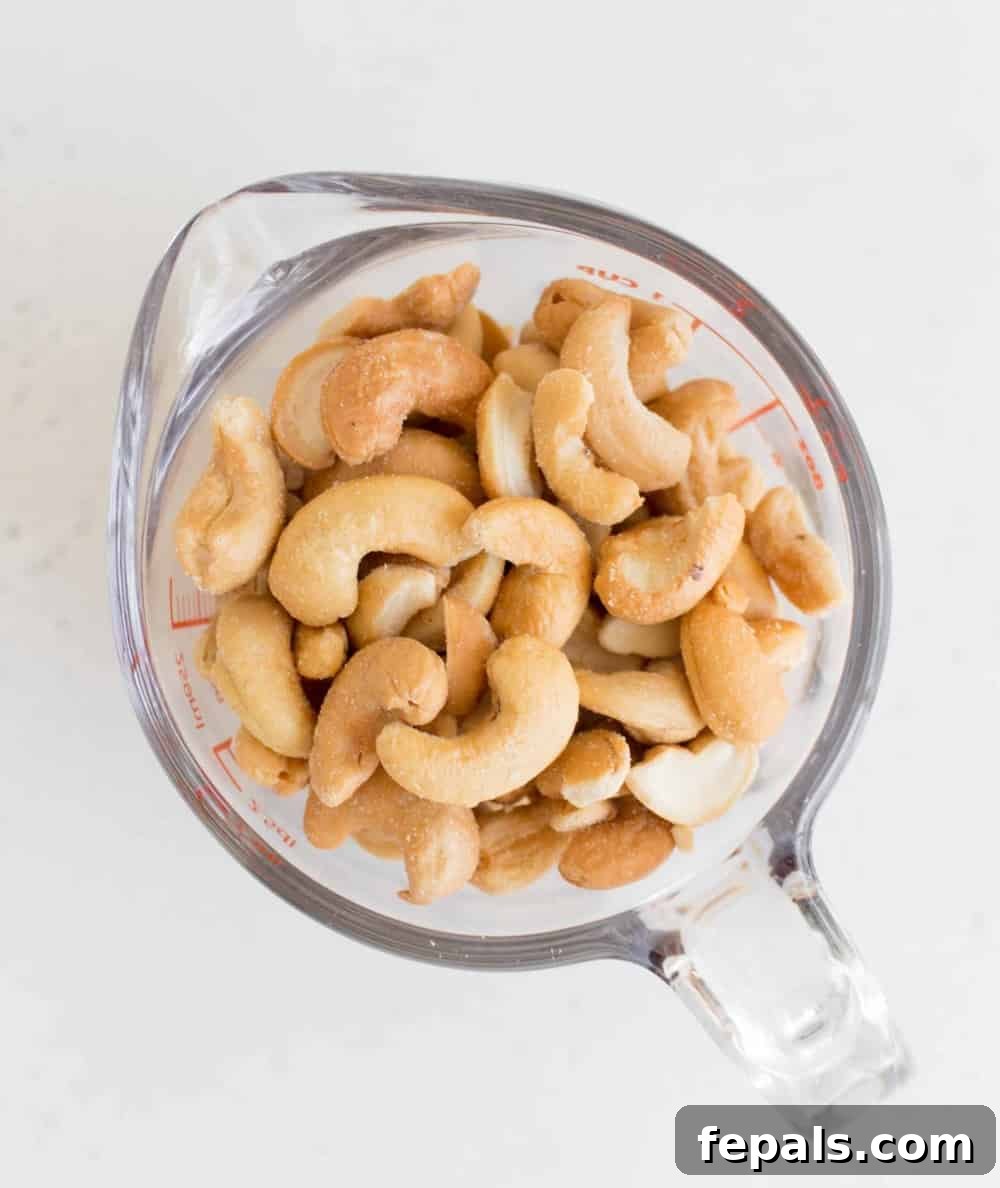
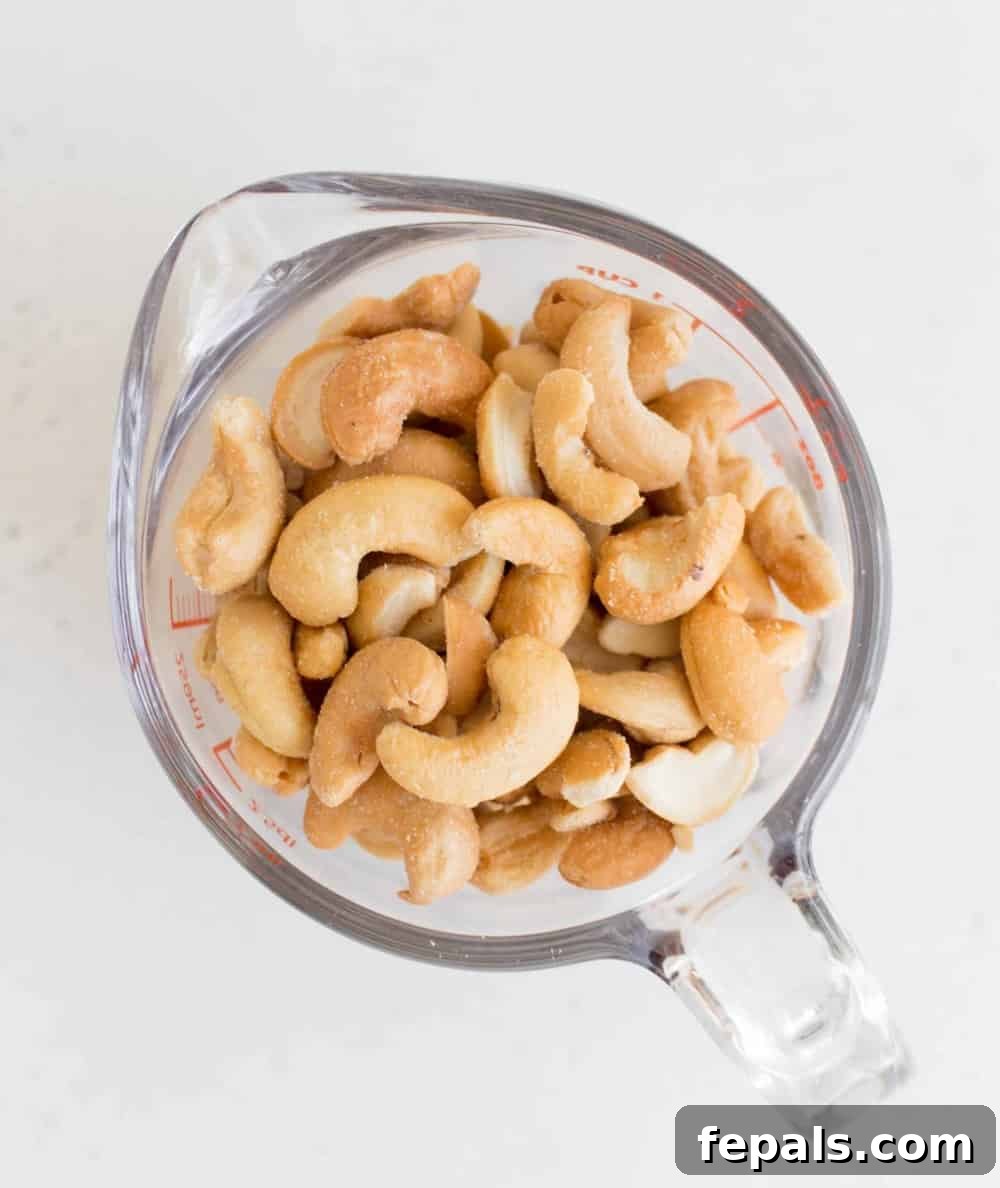
- Roasted Cashews: Start with high-quality cashews. Roasted cashews are highly recommended as their natural oils are more readily released during processing, leading to a smoother, creamier butter. You can use unsalted or lightly salted varieties depending on your preference. If you can only find raw cashews, don’t worry – we’ll cover how to roast them yourself later in this guide.
- Neutral Oil (Optional): While cashews release their own natural oils, a tablespoon of a neutral-flavored oil can aid in achieving an extra-silky consistency. Options like coconut oil (refined, to avoid coconut flavor), grapeseed oil, or a light olive oil work wonderfully. This ingredient is entirely optional but can truly enhance the texture.
Essential Equipment:
- High-Powered Food Processor: This is the star of the show! A robust food processor is crucial for making nut butter. Brands like Kitchenaid or Cuisinart are excellent choices. A high-powered machine ensures that the cashews are broken down efficiently and prevents the motor from overheating or burning out, which can happen with weaker blenders that aren’t designed for such heavy-duty tasks. The continuous processing required demands a powerful motor.
- Airtight Jar or Container: Once your luscious cashew butter is ready, you’ll need a suitable container for storage. A mason jar with a tight-fitting lid or any other airtight container will keep your butter fresh for an extended period.
Step-by-Step Guide: Crafting Your Silky Cashew Butter at Home
Making homemade cashew butter is a remarkably straightforward process that requires patience and a good food processor. The transformation from whole nuts to a creamy spread is fascinating to watch. Follow these detailed steps to achieve perfect, small-batch cashew butter.
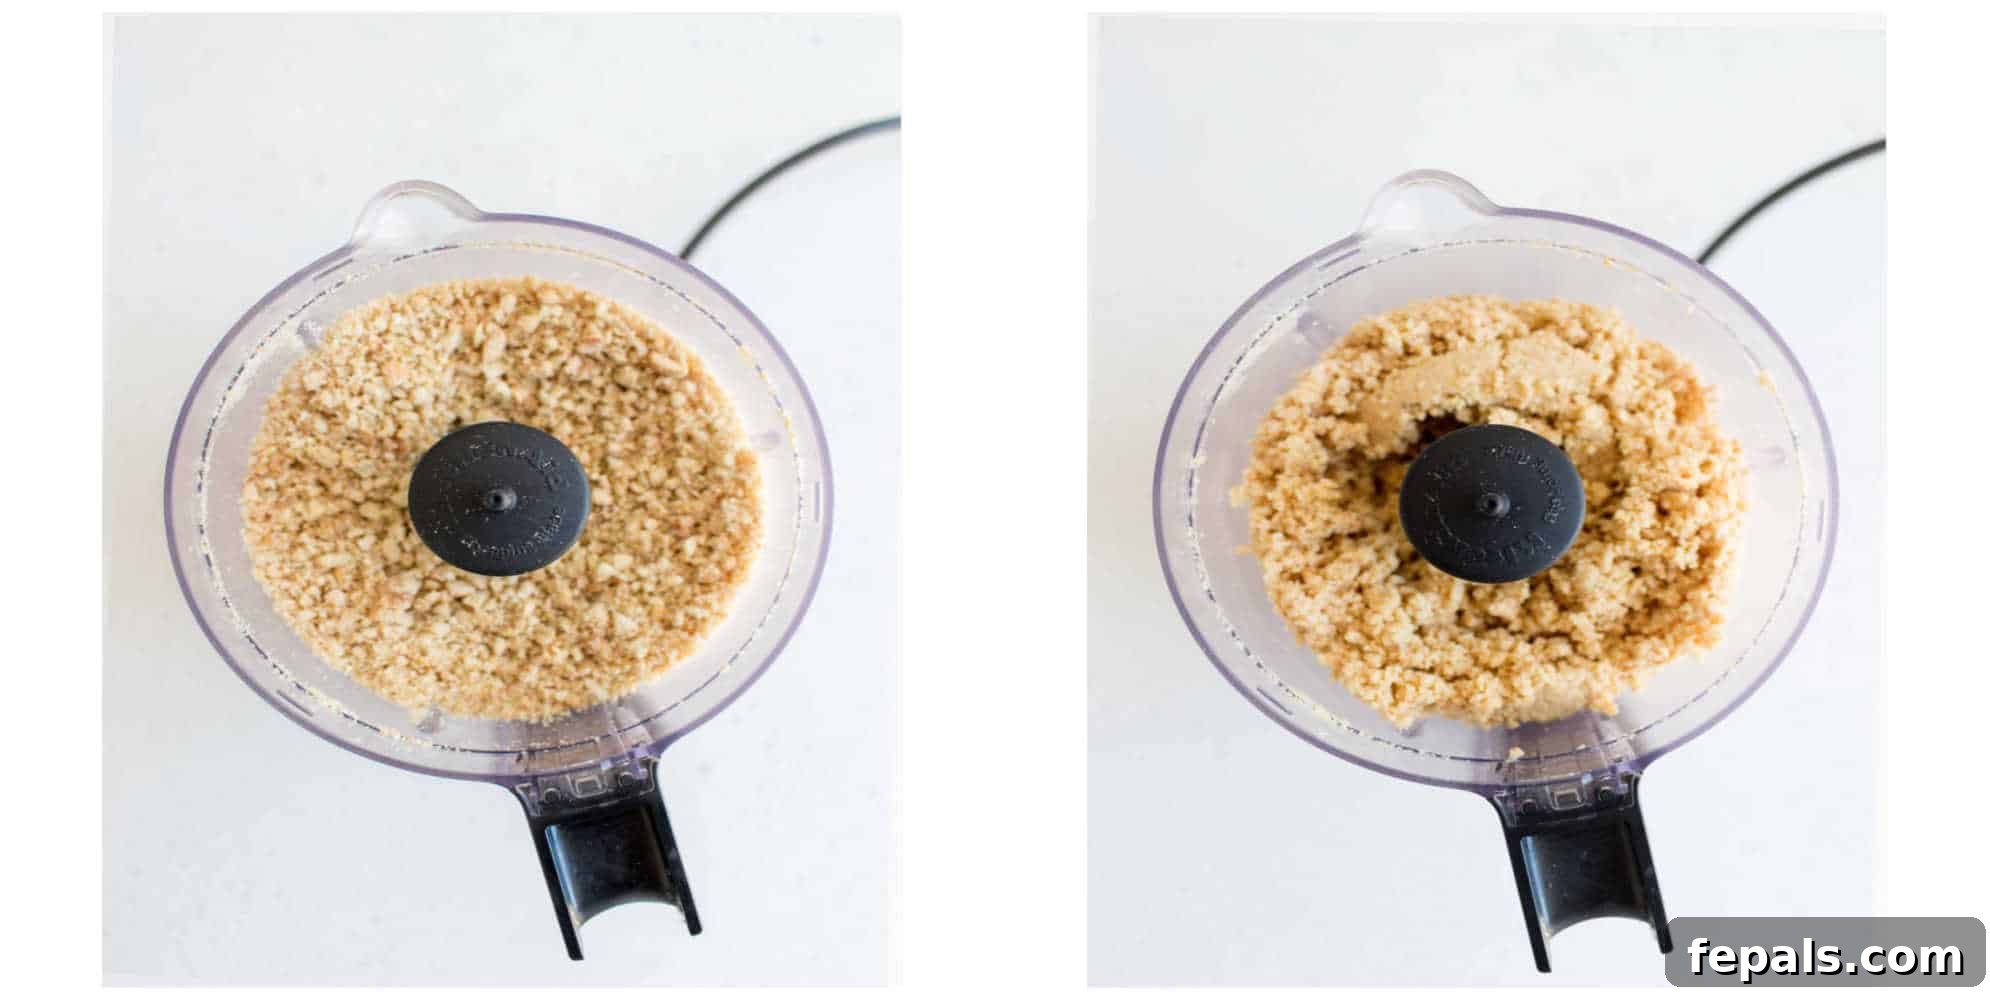
- Initial Grind (2-3 Minutes): Begin by placing your roasted cashews into the bowl of your food processor. Secure the lid and start processing. For the first 2-3 minutes, the cashews will break down into small, coarse crumbs. It might look like ground nuts at this stage. This is a normal and necessary first step, breaking down the initial structure of the nuts.
- Scrape and Process to Dough (2 Minutes): Stop the food processor. Using a rubber spatula, carefully scrape down the sides of the bowl to push any clinging cashew crumbs back towards the blades. Restart the processor at a low speed and continue for another 2 minutes. During this phase, the cashews will start to release more of their natural oils and coalesce into a thicker, dough-like consistency. It will resemble a sticky ball or a thick paste.
- Second Scrape and Assess (Optional Oil Addition): Pause the processor again and scrape down the sides thoroughly. At this point, the mixture should be noticeably less crumbly, but still gritty. It will likely show signs of becoming smoother. If the mixture appears too dry or is struggling to become completely smooth, this is the perfect time to add your optional neutral oil. The oil helps to expedite the process and contributes to an exceptionally silky texture. However, if the cashews are already releasing plenty of oil and moving towards smooth, you might not need to add any.
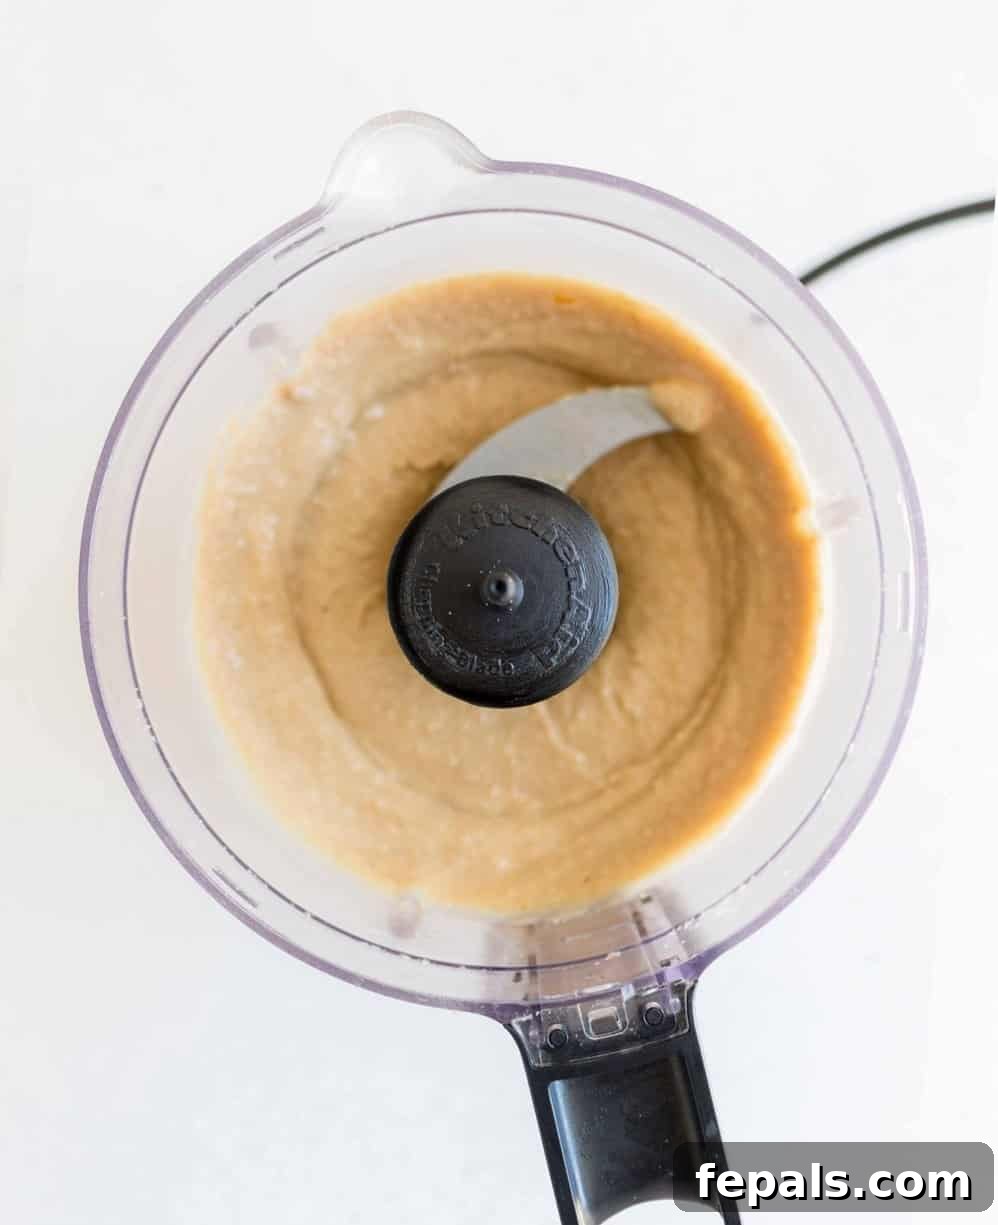
- Final Blend to Desired Consistency (2-3 Minutes): Continue processing at a low speed for an additional 2-3 minutes. This is the stage where the magic truly happens! The continuous blending will further break down the cashews, releasing more oils and transforming the gritty dough into a wonderfully smooth, creamy butter. Keep an eye on the texture; blend until it reaches your preferred consistency – whether you like it perfectly smooth or with a slight textural nuance.
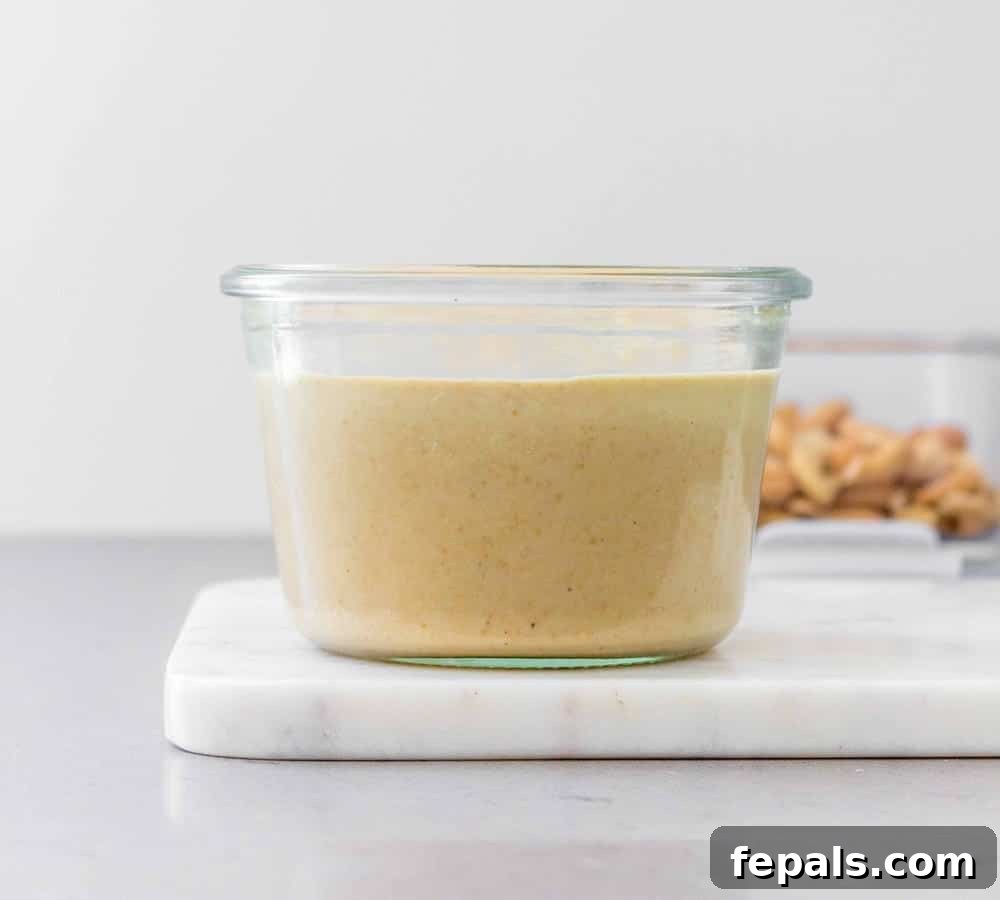
- Storage: Once your cashew butter reaches its ideal consistency, transfer it to an airtight container or a mason jar. It’s now ready to be enjoyed!
Frequently Asked Questions & Expert Tips for Cashew Butter Success
Making homemade cashew butter is simple, but a few common questions and tips can help ensure your success and make the process even more rewarding. Here’s what you need to know:
How Long Does Homemade Cashew Butter Last?
Because your homemade cashew butter is all-natural and free from artificial preservatives and shelf stabilizers, its shelf life is shorter than commercial products. When stored correctly in an airtight container, it can last for about 3 to 6 months. Always check for any signs of spoilage, such as an off smell or mold, before consuming.
Best Practices for Storing Homemade All-Natural Cashew Butter
For immediate use, such as within a week or two, you can safely store your cashew butter in a cool, dark pantry. However, for longer storage and to maintain optimal freshness, it is highly recommended to keep your homemade cashew butter in the refrigerator. The cooler temperatures will slow down oil separation and prevent spoilage, extending its lifespan considerably.
Can This Recipe be Doubled?
Yes, absolutely! This recipe is easily scalable. However, to prevent overfilling your food processor and to ensure efficient processing, it’s best to make larger quantities in multiple batches. Overloading the food processor can lead to an uneven consistency and may strain the motor. It’s better to do two smaller batches than one stressed-out, large one.
Raw vs. Roasted Cashews: Which to Use?
While you can use raw cashews, roasting them first is highly recommended. Roasting the cashews enhances their flavor profile, making the butter taste richer and nuttier. More importantly, the roasting process helps to release the natural oils within the cashews, which significantly aids in breaking them down in the food processor. This results in a smoother, creamier butter with less effort. To roast raw cashews, spread them in a single layer on a baking sheet and roast at 325ºF (160ºC) for about 10-15 minutes, or until they are lightly golden and fragrant. Be sure to let them cool completely before processing to prevent overheating the food processor and to achieve the best texture.
Is a Food Processor Absolutely Necessary?
For making nut butter at home, a high-powered food processor or a heavy-duty blender (like a Vitamix or Blendtec) is essential. The process of grinding nuts into butter requires significant power and continuous operation. Regular or less powerful blenders often lack the motor strength to handle the dense nuts, leading to potential motor burnout and a gritty, uneven final product. Investing in the right equipment ensures a smooth and successful cashew butter-making experience.
Do You Need to Add Oil?
No, adding oil is not strictly necessary. As the cashews process, their natural oils are released, eventually forming a creamy butter. However, incorporating a small amount (1-2 tablespoons) of neutral oil can greatly enhance the smoothness and creaminess of the final product. It can help the butter reach that desired silky consistency more quickly. If you choose to add oil, opt for a neutral-flavored variety such as coconut oil (refined), grapeseed oil, or a very light-tasting vegetable oil, as cashews can absorb the flavor of the added oil.
When and How to Infuse Flavors
Timing is key when adding extra flavors to your cashew butter. Always incorporate any additional flavorings near the very end of the blending process, once the butter has reached its desired smooth consistency. Adding liquid ingredients like honey or maple syrup too early can cause the nut butter to “seize up,” turning it into a stiff, crumbly mass that is unfortunately very difficult to fix. For best results, once your plain cashew butter is smooth, simply add your chosen flavors like honey, salt, vanilla extract, cinnamon, or cocoa powder, and blend for just another 30 seconds to a minute until thoroughly combined.
Unleash Your Creativity: Delicious Cashew Butter Flavor & Mix-in Ideas
Homemade cashew butter is a blank canvas for culinary creativity! Once you’ve mastered the basic recipe, you can experiment with a myriad of flavors to create unique spreads. Remember to add these near the end of the blending process.
- Sweet Vanilla Delight: A touch of honey and vanilla extract, or even specks from a vanilla bean, creates a classic, comforting flavor.
- Autumn Spice: Swirl in ground cinnamon and a handful of plump raisins for a taste reminiscent of fall.
- Caramel Notes: A spoonful of brown sugar adds a deep, molasses-like sweetness that complements the cashews beautifully.
- Holiday Cheer: Incorporate a gingerbread spice mix for a festive twist, perfect for the cooler months.
- Maple Indulgence: Pure maple syrup offers a rich, distinctive sweetness that pairs wonderfully with the creamy cashews.
- Chocolate Lover’s Dream: Blend in cocoa powder for a decadent, homemade Nutella-like spread that’s healthier and more satisfying.
- Savory Kick: A pinch of smoked paprika and a dash of cayenne can turn your cashew butter into a surprising savory dip.
- Nutty Crunch: For extra texture, fold in some finely chopped roasted cashews at the very end.
Beyond the Jar: Versatile Uses for Your Homemade Cashew Butter
Your freshly made cashew butter isn’t just for spreading! Its creamy texture and mild flavor make it incredibly versatile in the kitchen. Here are some delicious ways to incorporate it into your daily meals:
- Classic Toast Topper: Spread generously on whole-grain toast, bagels, or English muffins for a quick and satisfying breakfast.
- Smoothie Booster: Add a dollop to your morning smoothie for an extra boost of healthy fats and protein, making it creamier and more filling.
- Oatmeal and Yogurt Swirl: Stir a tablespoon into your warm oatmeal or Greek yogurt for added richness and a nutty flavor.
- Healthy Dip: Pair it with sliced apples, bananas, celery sticks, or other fresh vegetables for a nutritious and tasty snack.
- Baking Ingredient: Substitute it for other nut butters in cookies, energy bites, or bars to lend a subtle sweetness and creamy texture.
- Sauce and Dressing Base: Whisk it into savory sauces for stir-fries, salad dressings, or even curries to add body and a delicate richness.
- Dessert Enhancer: Drizzle over ice cream, pancakes, or waffles for a luxurious finish.
Additional Pro Tips for the Perfect Batch
Achieving the perfect homemade cashew butter is a journey of patience and a few clever tricks:
- Guard Against Overheating: Food processors work hard, and continuous blending can cause the motor to heat up. If your processor feels warm to the touch or if you notice any burning smell, give it a short break (5-10 minutes) to cool down. This prevents damage to your appliance and ensures its longevity.
- Trust the Process: The transformation from whole cashews to smooth butter can seem slow. The mixture will go through several distinct stages: from coarse crumbs to a finer meal, then to a sticky dough, and finally, a liquid-like creamy butter. Don’t be discouraged if it looks gritty or stiff initially. Keep blending, and trust that the cashews will eventually release enough oil to achieve that coveted smooth consistency. Patience is key!
- Adjust Consistency: If after prolonged blending, your cashew butter is still too thick for your liking, you can add an additional teaspoon of neutral oil at a time, blending well after each addition, until you reach your desired pourable or spreadable texture.
Homemade Cashew Butter Recipe Card
Here’s a concise overview of the recipe, making it easy to follow and reference.
Recipe Summary:
Crafting the easiest Homemade Cashew Butter requires just two key ingredients and a food processor. This simple recipe yields a silky, creamy, and wonderfully delicious spread that you’ll want to make regularly at home!
Yields & Serving Size:
- Yield: Approximately 1 cup
- Serving Size: 2 tablespoons (about 16 servings per batch)
- Prep Time: 5 minutes
- Cook Time: 0 minutes
- Total Time: 5 minutes
Ingredients:
- 2 cups Roasted cashews (unsalted or lightly salted)
- 1 tablespoon Neutral oil (optional, such as coconut oil or grapeseed oil, or any mild nut oil)
Instructions:
- Place the roasted cashews into a high-powered food processor. Process for 2-3 minutes until they break down into a coarse, crumbly texture.
- Stop the processor and use a spatula to scrape down the sides of the bowl. Continue to process at a low speed for another 2 minutes, until the cashews begin to form a dough-like ball or a thick paste.
- Scrape down the sides once more. The mixture should now be gritty but visibly smoother. If it appears too dry or not progressing, you may add the optional neutral oil now. The oil assists in achieving a smoother, creamier consistency.
- Process again at a low speed for an additional 2-3 minutes. Continue blending until the mixture transforms into a luxuriously smooth and creamy cashew butter, reaching your desired consistency.
- Transfer the finished cashew butter into an airtight container or a mason jar. Store in the pantry for up to 2 months or in the refrigerator for 3-6 months for extended freshness.
Recipe Notes:
- If your cashew butter isn’t reaching the desired consistency, try adding 1-2 more tablespoons of neutral oil, one teaspoon at a time, blending thoroughly after each addition.
- For a delightful crunchy cashew butter, consider stirring in some finely chopped roasted cashews at the very end of the process.
Nutrition Information (per 2 tbsp serving):
Calories: 106kcal | Carbohydrates: 6g | Protein: 3g | Fat: 9g | Saturated Fat: 2g | Sodium: 3mg | Potassium: 97mg | Fiber: 1g | Sugar: 1g | Calcium: 8mg | Iron: 1mg
Nutrition information is automatically calculated and should be used as an approximation only.
Additional Information:
- Course: Condiment, Ingredient
- Cuisine: American
More Nut Butter Inspired Recipes to Explore
If you love the versatility of nut butters, you’ll definitely want to try these other delicious recipes that feature them as a star ingredient:
- No-Bake Homemade Chocolate Protein Bars
- Protein Energy Bites
- Peanut Butter Keto Cookies
- Healthy Buckeye Balls
- Keto Peanut Butter Fudge
Share Your Homemade Cashew Butter Creations!
We absolutely love seeing your culinary masterpieces! If you try this homemade cashew butter recipe and fall in love with its silky texture and rich flavor, please leave us some feedback in the comment section below. Don’t forget to give it a star rating – your reviews help others discover these fantastic recipes!
We’d be thrilled if you shared your creations with friends and family. Tag us on social media using #healthyfitnessmeals on INSTAGRAM for a chance to be featured on our page! You can also FOLLOW Healthy Fitness Meals on FACEBOOK, INSTAGRAM, PINTEREST, and TWITTER for all our latest blog posts, healthy recipes, and kitchen tips.