

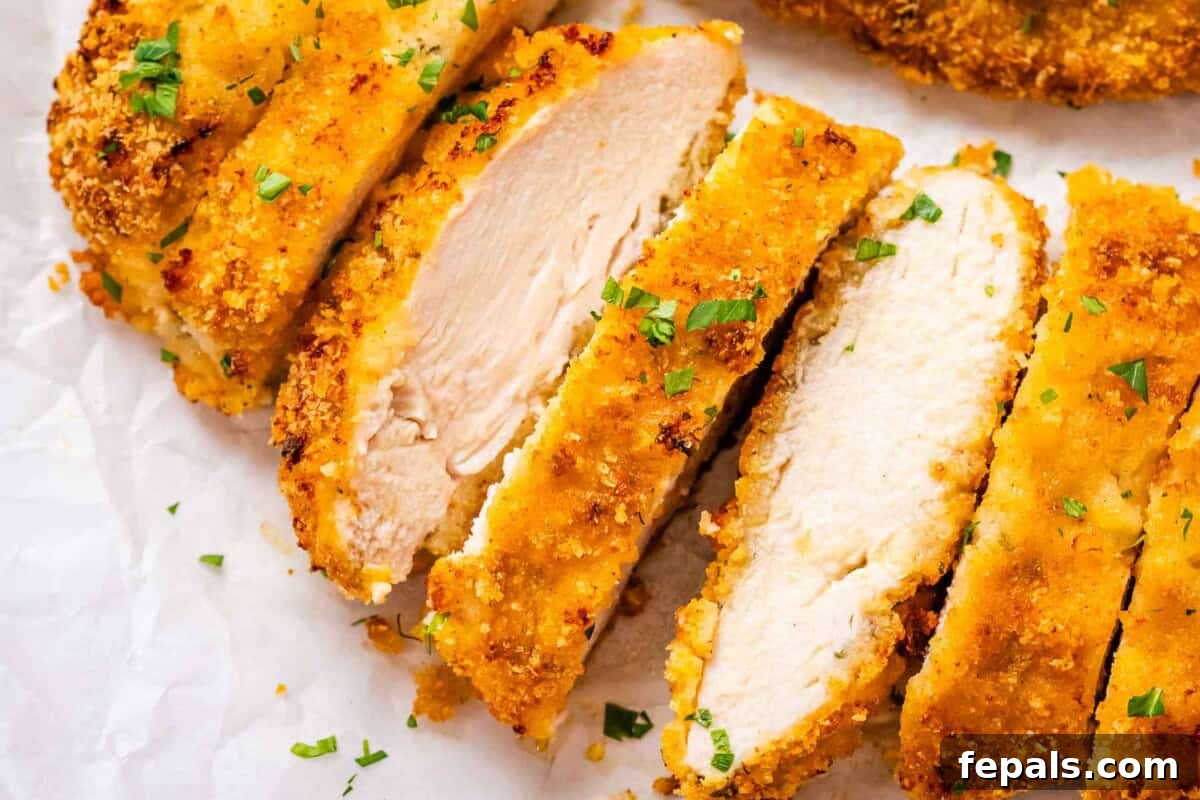
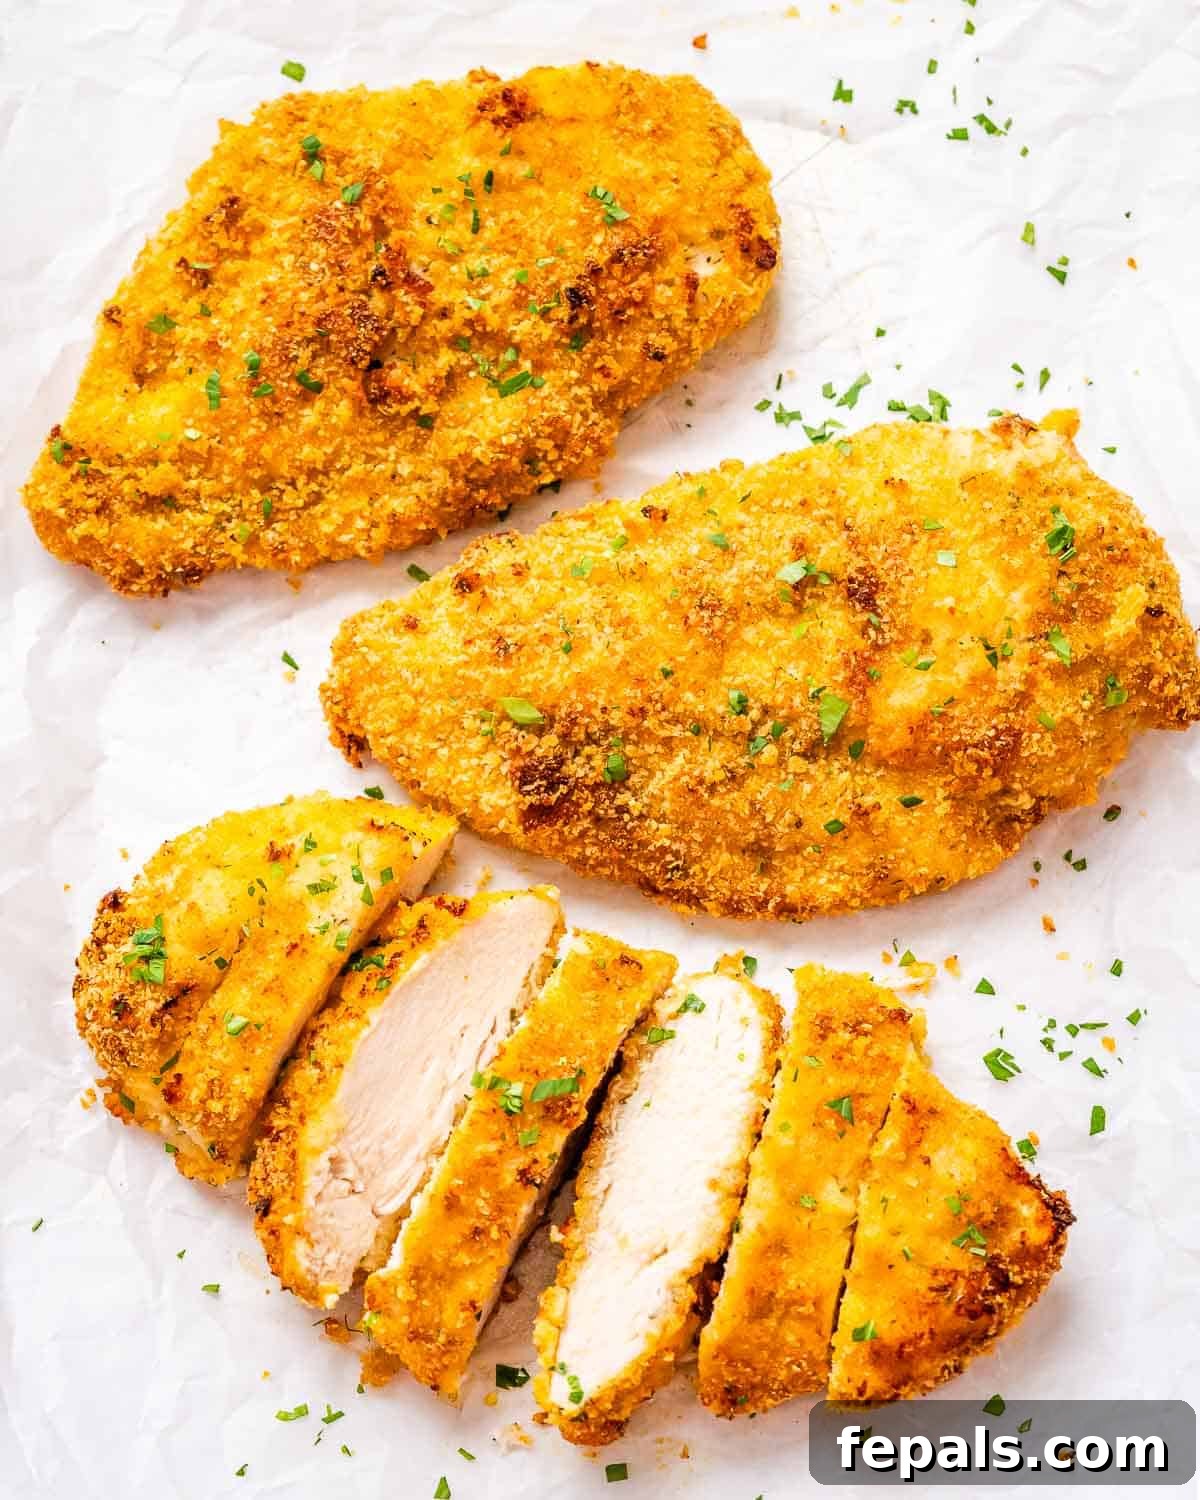
Discover the ultimate Homemade Shake and Bake Chicken recipe that delivers an unbelievably crispy and juicy result every single time. With just 15 minutes of prep work, this easy-to-make dish will become your new go-to for busy weeknights. It’s a guaranteed hit with the whole family, perfect when served with fresh vegetables, a hearty salad, or tucked into a delicious sandwich.
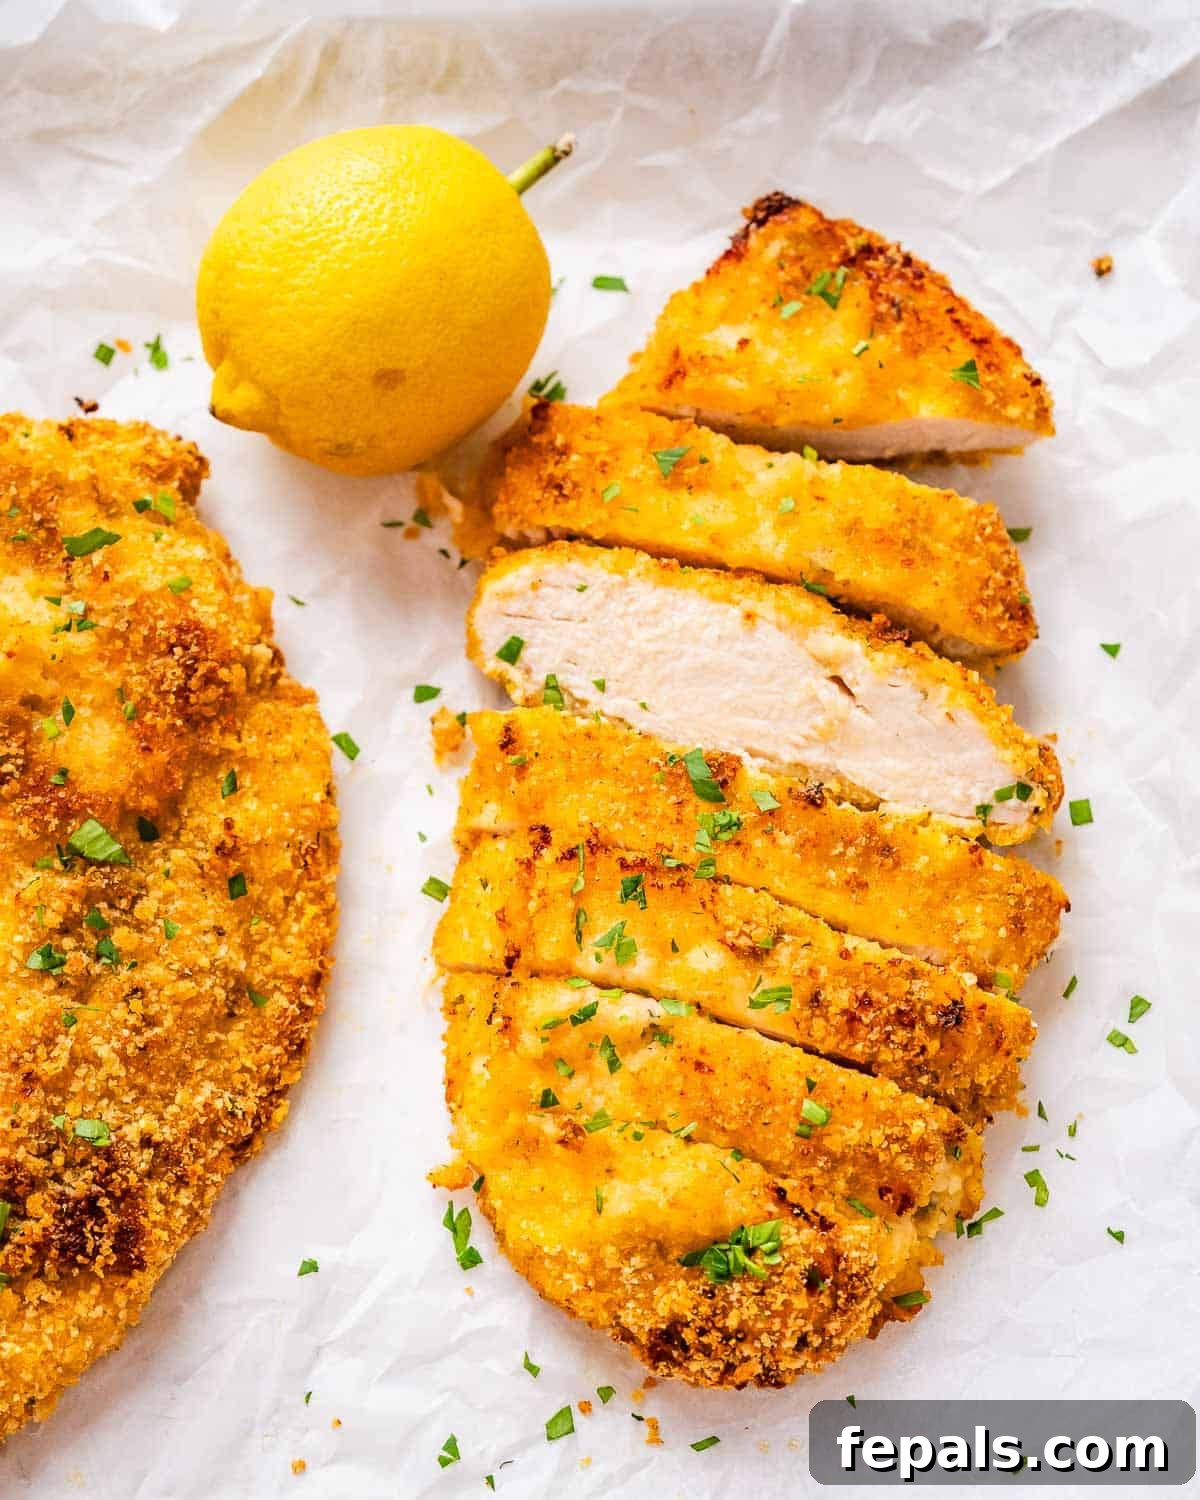
When I’m searching for a quick dinner idea that I know everyone at the table will love, this Shake and Bake Chicken recipe is always at the top of my list. The secret lies in a simple yet flavorful homemade ranch coating that keeps the chicken incredibly moist while infusing it with amazing flavor. Once coated, a quick toss in a bag of seasoned panko breadcrumbs creates that signature crispy exterior with almost no mess. For the best results, I always bake it on a wire rack, which allows air to circulate and ensures a perfectly golden, crunchy crust all around.
This versatile chicken pairs wonderfully with a variety of sides. Try it with some Crispy Oven-Baked Asparagus for a healthy green component, or serve it alongside some comforting Baked Smashed Sweet Potatoes for a complete and satisfying meal.
Why You’ll Love This Crispy Baked Chicken
- Incredibly Easy to Make: With simple steps and just 15 minutes of hands-on time, this recipe is perfect for cooks of all skill levels.
- Healthier Than Fried: Get all the satisfying crunch of fried chicken without the excess oil. Baking is a much healthier cooking method.
- Family-Friendly: This recipe is a certified crowd-pleaser. Kids and adults alike will be asking for seconds.
- Minimal Cleanup: The “shake in a bag” method means fewer dirty dishes and a quicker cleanup process after dinner.
- Perfectly Crispy & Juicy: The combination of the ranch coating and panko breadcrumbs locks in moisture while creating an irresistibly crunchy exterior.
Ingredients You’ll Need
Here’s a detailed look at the simple ingredients required for this delicious Shake and Bake Chicken. You can find the exact measurements in the recipe card at the bottom of this post.
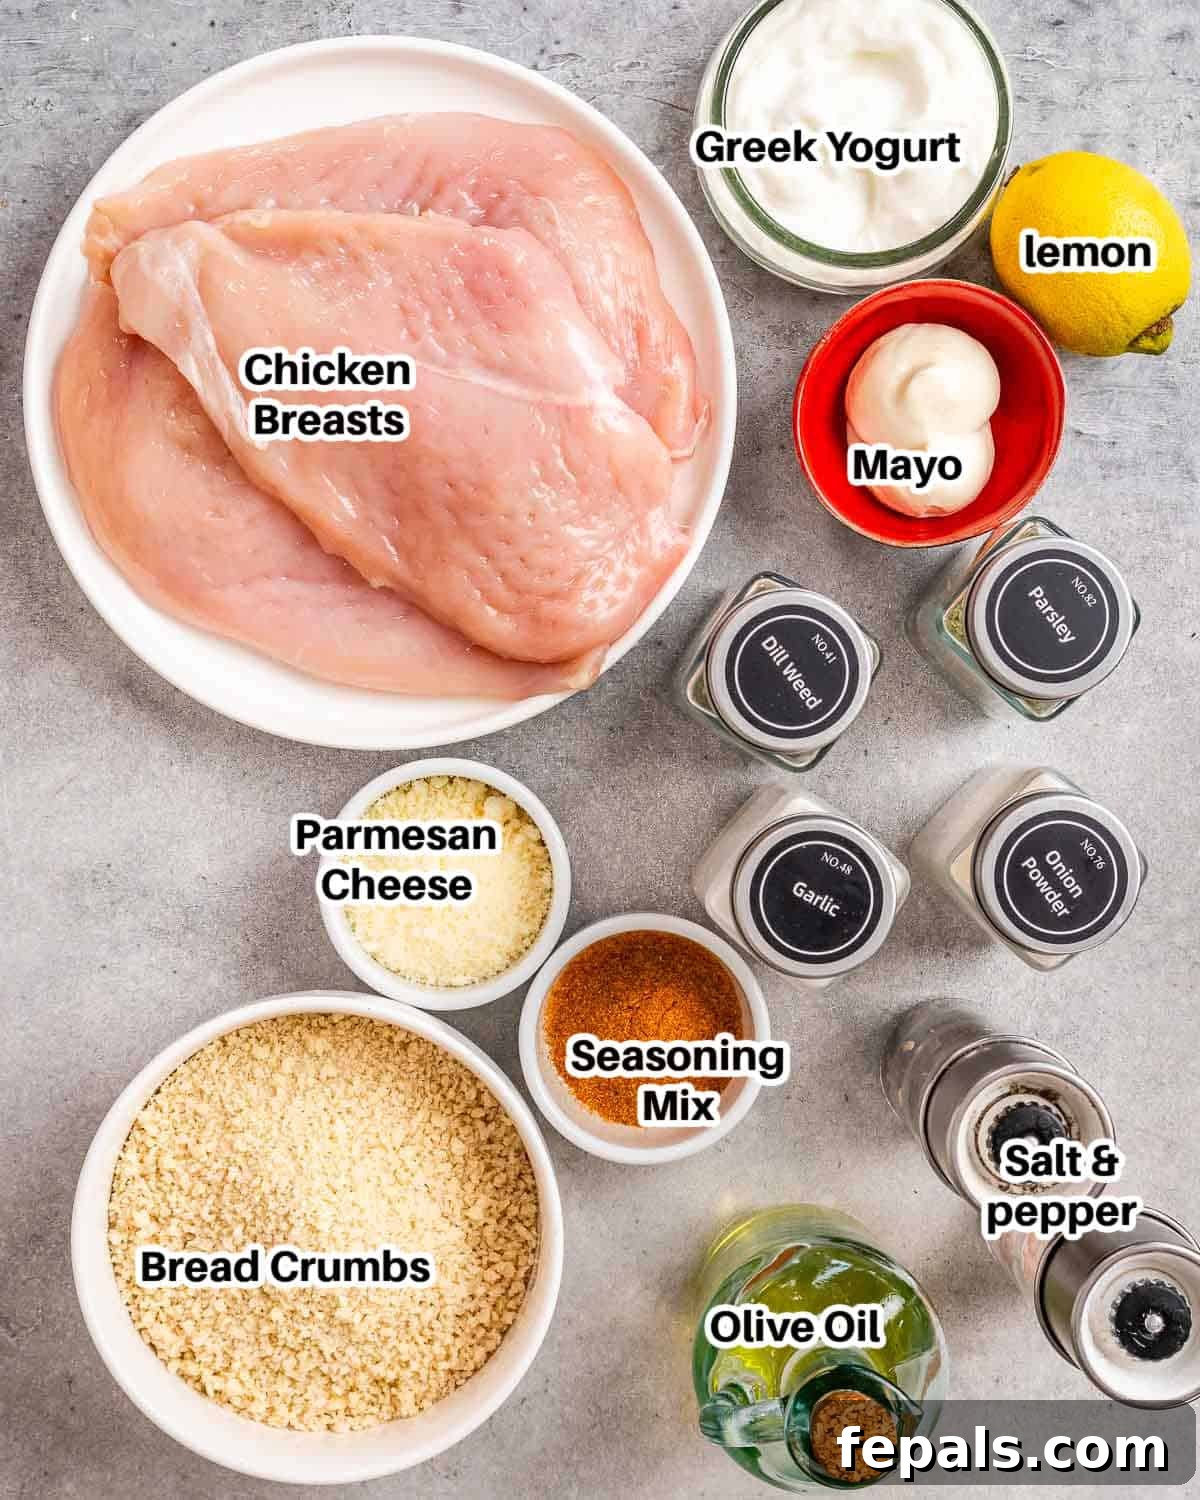
- Chicken Breast: Boneless, skinless chicken breasts are the star of the show. For even cooking, it’s crucial to pound them to a uniform thickness using a meat mallet or a rolling pin. This prevents the thinner parts from drying out before the thicker parts are cooked through.
- Greek Yogurt: This is the secret ingredient for the creamy ranch coating. It not only adds a tangy flavor but also helps to tenderize the chicken, making it extra juicy. Plain, low-fat, or full-fat Greek yogurt all work perfectly.
- Mayonnaise: Just a touch of mayonnaise adds richness and fat to the ranch coating, which helps it adhere to the chicken and contributes to a beautiful golden-brown color during baking.
- Lemon Juice: Freshly squeezed lemon juice brightens up the ranch coating, cutting through the richness and adding a vibrant, zesty flavor.
- Herbs & Seasonings: A classic blend of garlic powder, onion powder, dried dill, and dried parsley gives the coating its signature ranch flavor. Kosher salt and freshly ground black pepper are essential for enhancing all the other flavors.
- Panko Breadcrumbs: For the ultimate crispy texture, panko is non-negotiable. These Japanese-style breadcrumbs are lighter and flakier than traditional breadcrumbs, resulting in a superior crunch. Whole wheat panko is a great option if you want to add a bit of extra fiber.
- Parmesan Cheese: Finely grated Parmesan cheese is mixed with the panko to add a savory, salty, and nutty flavor to the crust. It also helps the coating brown beautifully in the oven.
- Olive Oil: A small amount of olive oil is tossed with the breadcrumbs. This step is crucial, as it helps “toast” the panko during baking, ensuring a deep golden color and extra crispiness.
- Cooking Oil Spray: While optional, a light spritz of cooking oil (like olive or avocado oil) on the chicken just before baking gives the crust an extra boost of crunch and a professional-looking finish.
How to Make Shake and Bake Chicken
Ready to get cooking? Follow these simple steps for perfectly crispy and juicy chicken every time. Start by preheating your oven to 400°F (200°C) and placing a wire rack on top of a baking sheet. The wire rack is key for getting a crispy bottom!
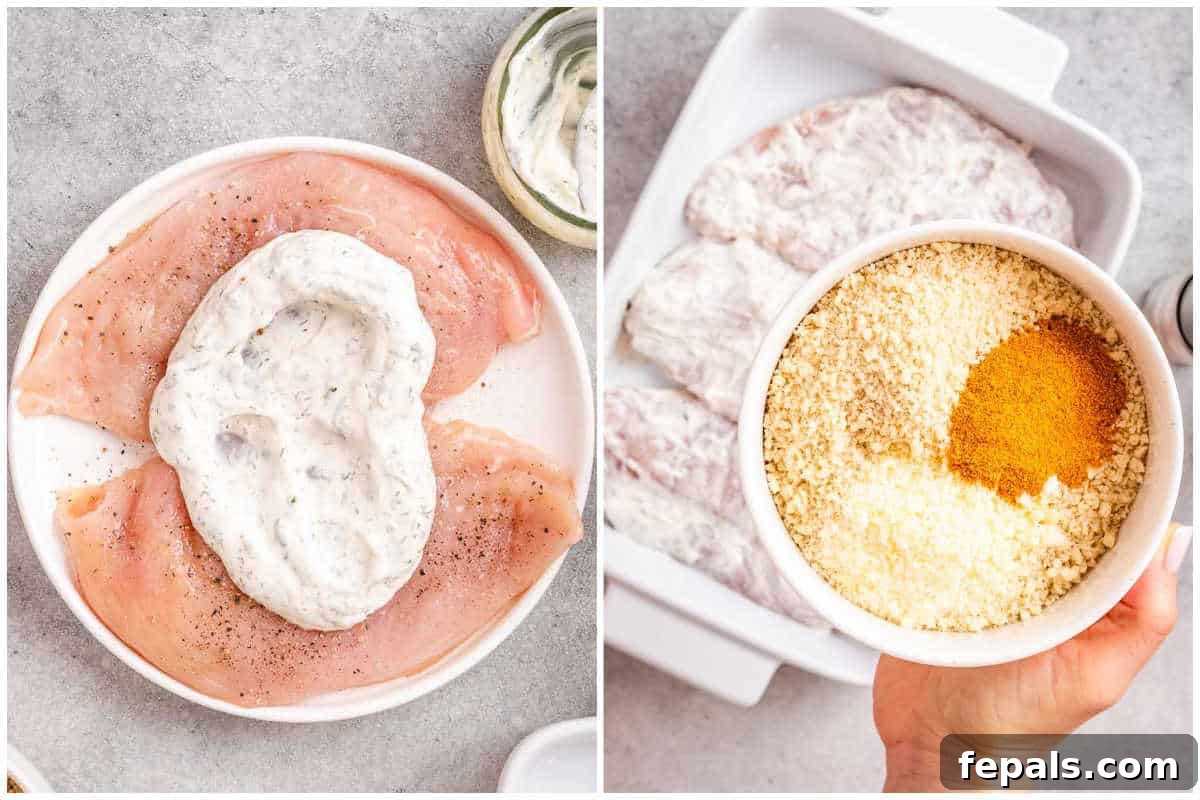
Step 1: Create the Homemade Ranch Coating
In a medium-sized bowl, combine the Greek yogurt, mayonnaise, fresh lemon juice, garlic powder, onion powder, dried dill, and dried parsley. Whisk everything together until the mixture is completely smooth and creamy. Give it a taste and adjust the seasoning with salt and pepper if needed.
Step 2: Prepare the Crispy Panko Topping
In a separate, shallow bowl or a large zip-top bag, combine the panko breadcrumbs, grated Parmesan cheese, and your chosen seasoning mix. Drizzle the olive oil over the top and use your fingers or a fork to toss everything together until the breadcrumbs are lightly and evenly moistened. This helps them turn golden and crispy in the oven.
Step 3: Coat the Chicken Breasts
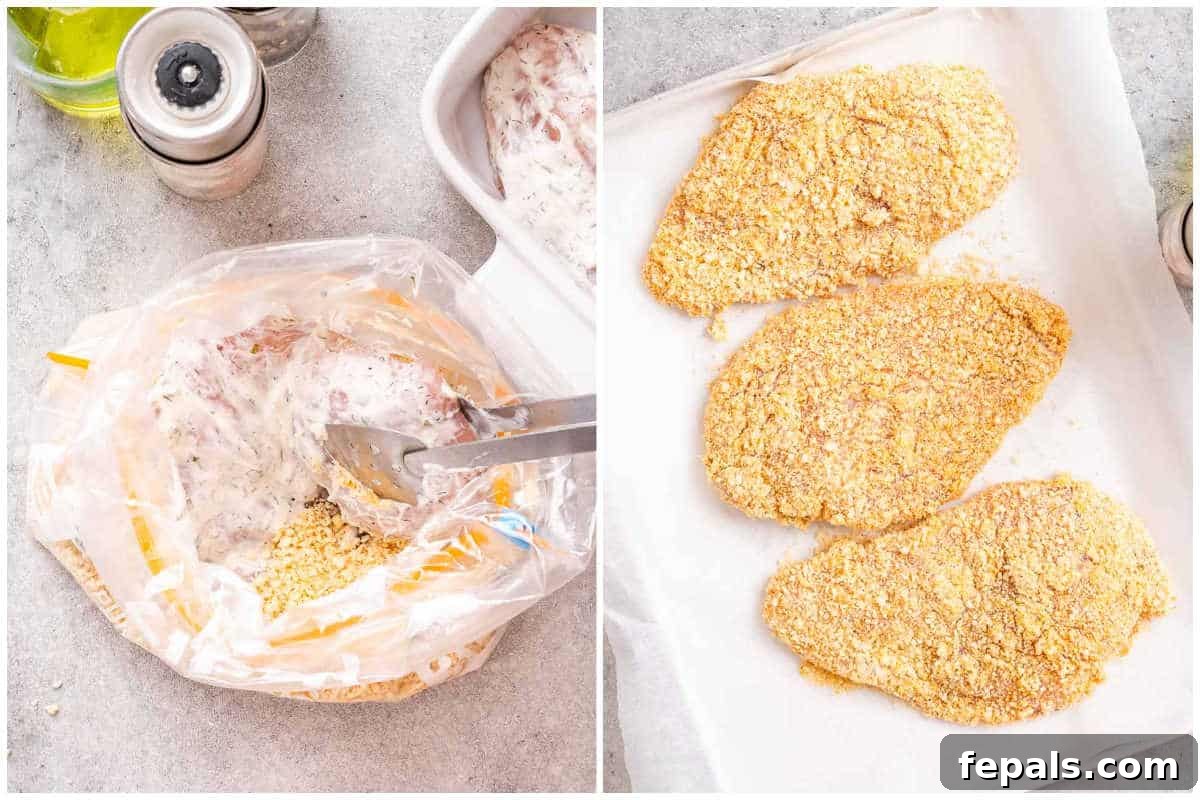
Pat the chicken breasts dry with a paper towel and season them lightly on both sides with salt and pepper. Using a pastry brush or the back of a spoon, spread a thin, even layer of the ranch coating over all surfaces of each chicken breast.
Step 4: Shake and Bake!
Place one ranch-coated chicken breast into the zip-top bag with the panko mixture. Seal the bag and shake it vigorously until the chicken is fully and evenly coated. Gently press the coating onto the chicken to help it adhere. Repeat this process with the remaining chicken breasts, one at a time.
Step 5: Bake to Perfection
Arrange the coated chicken breasts in a single layer on the prepared wire rack. Make sure there is some space between each piece to allow for even cooking. Lightly spray the tops with cooking oil spray, if you’re using it. Bake for 25 to 30 minutes, or until the chicken is cooked through and the internal temperature reaches 165°F (74°C) on a meat thermometer.
Step 6: Rest and Serve
For an extra-crispy, golden-brown finish, you can switch the oven to broil for the last 1-2 minutes of cooking. Be sure to watch it closely to prevent burning. Once cooked, remove the chicken from the oven and let it rest on the rack for at least 5 minutes. This allows the juices to redistribute, ensuring every bite is moist and tender. Slice and serve immediately!
Tips, Tricks, and Variations
- Don’t Skip the Wire Rack: Baking the chicken on a wire rack is the best way to prevent the bottom from becoming soggy. It allows hot air to circulate underneath, crisping up all sides.
- One Piece at a Time: To ensure an even, thick coating, shake each chicken breast in the breadcrumb mixture individually. Overcrowding the bag will lead to patchy spots.
- Flavor Variations: Feel free to customize the seasoning mix! Add a pinch of cayenne pepper for a spicy kick, smoked paprika for a smoky flavor, or use a pre-made Italian or Cajun seasoning blend.
- Make it Gluten-Free: Easily adapt this recipe by using gluten-free panko breadcrumbs or finely crushed gluten-free cornflakes for the coating.
- Make it Dairy-Free: For a dairy-free version, substitute the Greek yogurt with a plain, unsweetened non-dairy yogurt and use a vegan Parmesan cheese alternative or omit it entirely.
- Marinate for More Flavor: For even more tender and flavorful chicken, you can coat the breasts in the ranch mixture and let them marinate in the refrigerator for up to 24 hours before breading and baking.
Frequently Asked Questions
Once the chicken has cooled completely, store it in an airtight container in the refrigerator for up to 3 days. The coating will soften upon refrigeration but can be crisped up again when reheating.
Absolutely! You can freeze the cooked chicken for up to 3 months. Let it cool completely, then place it in a freezer-safe bag or container. For best results, place parchment paper between the pieces to prevent them from sticking together.
To restore its original crispiness, avoid the microwave. The best method is to reheat the chicken in an oven or air fryer. Place it on a wire rack and bake at 400°F (200°C) for 10-15 minutes (from chilled) or 20-25 minutes (from frozen), until heated through and crispy.
Yes, this recipe is very versatile. It works wonderfully with boneless, skinless chicken thighs (they may need a few extra minutes of cooking) or chicken tenders (which will cook faster, around 15-20 minutes).
Yes, this recipe is perfect for the air fryer! Preheat your air fryer to 400°F (200°C). Place the coated chicken in a single layer in the basket and cook for 15-20 minutes, flipping halfway through, until golden brown and cooked through.
What to Serve with Shake and Bake Chicken
This crispy chicken is a fantastic main course that pairs well with almost anything. Here are some ideas:
- Roasted Vegetables: A medley of roasted broccoli, carrots, and bell peppers.
- Potatoes: Creamy mashed potatoes, crispy roasted potatoes, or classic French fries.
- Salad: A simple green salad with a vinaigrette, a hearty Caesar salad, or a creamy coleslaw.
- Grains: Fluffy rice, quinoa, or a flavorful couscous salad.
- Pasta: A side of mac and cheese or a simple buttered noodle dish.
If you try this recipe, please leave a comment and rating below. I’d love to hear how it turned out for you!
Homemade Shake and Bake Chicken

Ingredients
- 1.25 pounds boneless skinless chicken breasts, pounded to even thickness
- Kosher salt and pepper, to taste
- Cooking oil spray, optional
Homemade Ranch Coating:
- ½ cup plain Greek yogurt
- 2 tablespoons mayonnaise
- 1 tablespoon fresh lemon juice
- 1 teaspoon garlic powder
- 1 teaspoon onion powder
- 1 teaspoon dried dill
- ½ teaspoon dried parsley
Shake-and-Bake Mix:
- 1¼ cups panko breadcrumbs
- ¼ cup finely grated Parmesan cheese
- 1 1/2 tablespoons of your favorite seasoning mix (like Italian, Cajun, or all-purpose)
- 2 tablespoons olive oil
Instructions
-
Preheat oven to 400°F (200°C). Place a wire rack over a baking sheet and set aside.
Make the Ranch Coating:
-
In a small bowl, whisk together the Greek yogurt, mayonnaise, lemon juice, garlic powder, onion powder, dried dill, and dried parsley until smooth. Season with salt and pepper to taste.
Prepare the Shake-and-Bake Mix:
-
In a large zip-top bag or a shallow dish, combine the panko breadcrumbs, Parmesan cheese, and your chosen seasoning mix. Drizzle with olive oil and toss with a fork or your fingers until the crumbs are evenly moistened.
Coat and Bake the Chicken:
-
Pat the chicken breasts dry and season lightly with salt and pepper. Spread a thin, even layer of the ranch coating over each chicken breast.
-
Working with one piece at a time, place a coated chicken breast in the bag with the panko mixture. Seal the bag and shake well until the chicken is fully covered. Press gently to help the coating adhere.
-
Arrange the coated chicken on the prepared wire rack. Lightly spray with cooking oil, if using. Bake for 25–30 minutes, or until the internal temperature reaches 165°F (74°C) and the coating is golden brown.
-
For extra browning, you can broil for 1-2 minutes at the end—but watch carefully to prevent burning.
-
Let the chicken rest for 5 minutes before slicing and serving. This helps keep it juicy.
Notes
- Storage: Store cooled leftovers in an airtight container in the fridge for up to 3 days.
- Freezing: Freeze cooked and cooled chicken in a freezer-safe container for up to 3 months.
- Reheating: For best results, reheat in an oven or air fryer at 400°F (200°C) until hot and crispy.
Nutrition
Nutrition information is an estimate and may vary based on the specific ingredients used.