
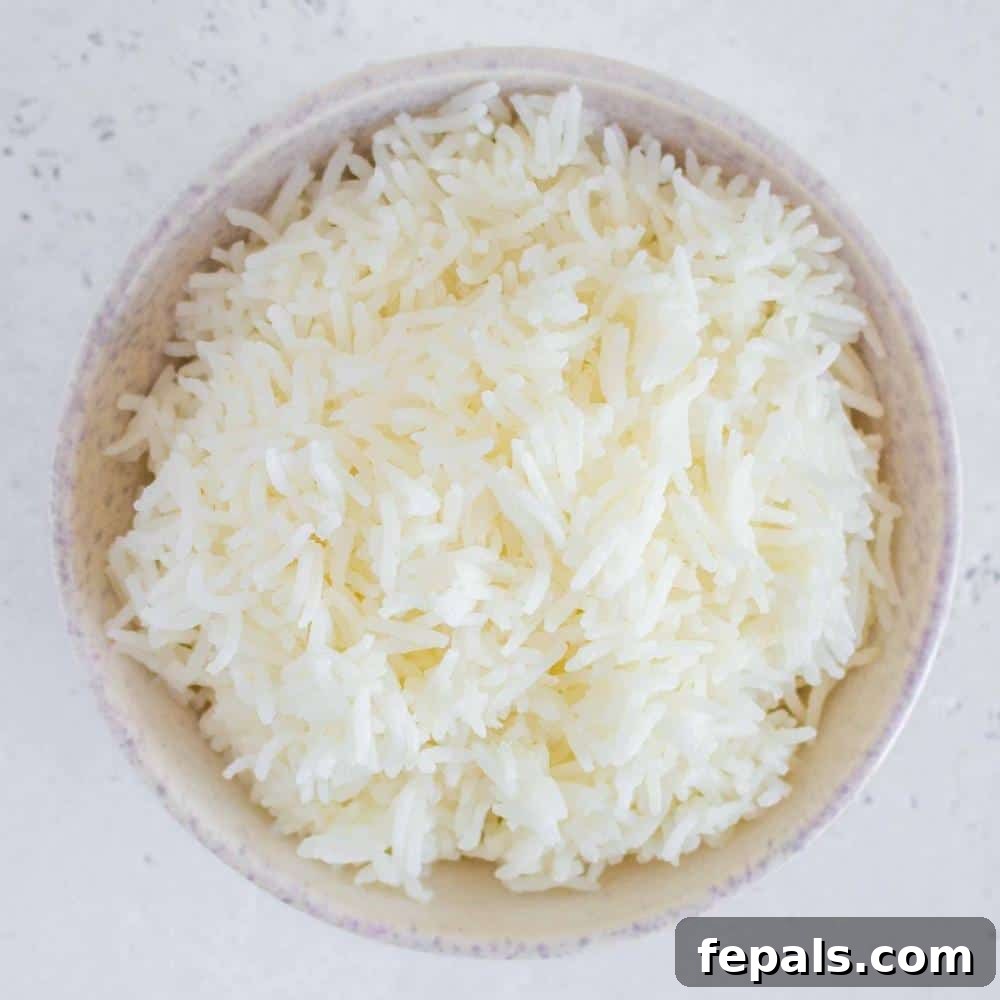
How to Cook Perfect Fluffy Basmati Rice on the Stove
Are you tired of sticky, clumpy rice or frustratingly burnt grains stuck to the bottom of your pot? Cooking rice on the stovetop can seem daunting, but it doesn’t have to be. This comprehensive, step-by-step guide will transform your rice-cooking experience, showing you a foolproof method to achieve perfectly fluffy, separated Basmati rice every single time. Forget the guesswork and common pitfalls; with this simple technique, you’ll master stovetop rice in just 30 minutes, making it an ideal side dish for any meal.
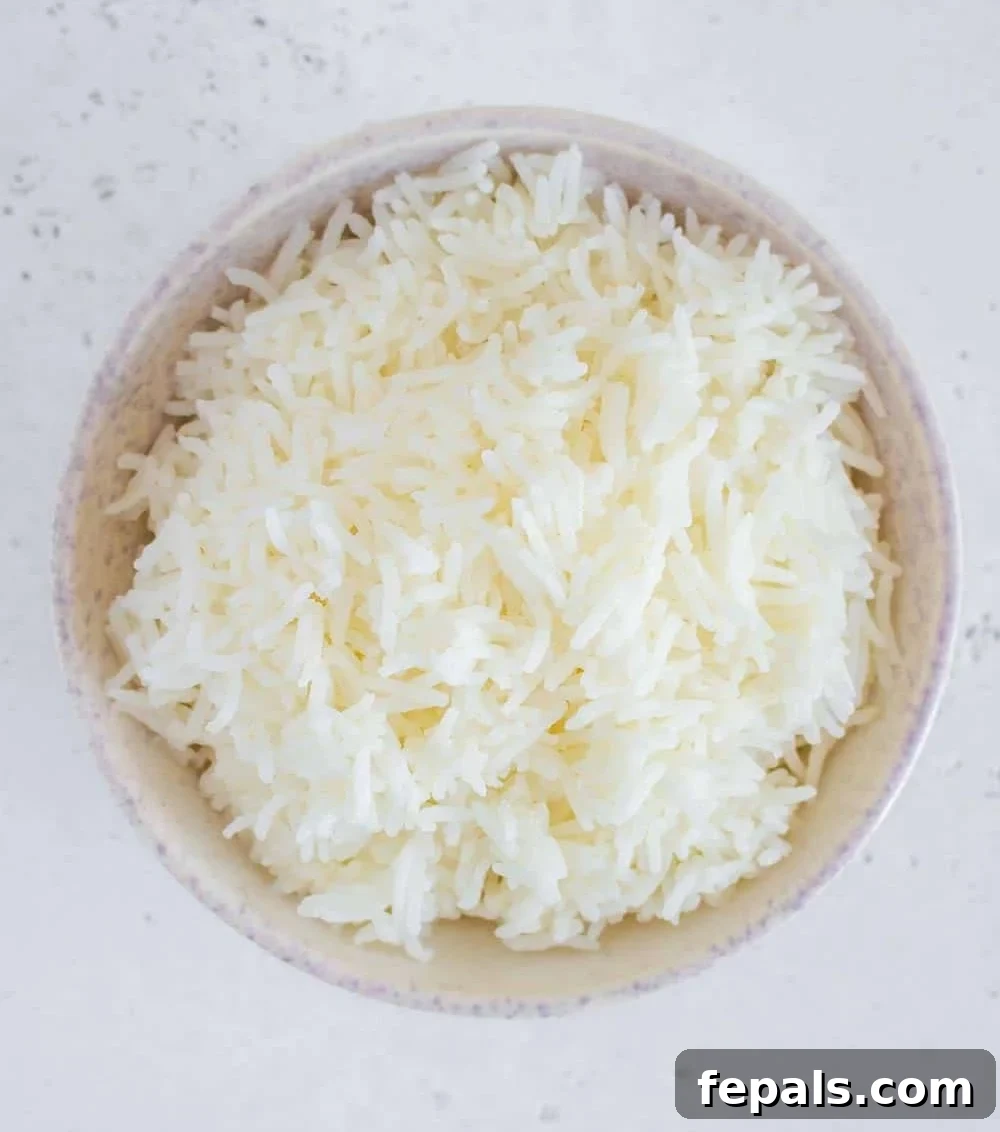
For many, cooking rice can be a source of culinary anxiety. Questions about the correct water-to-rice ratio, ideal cooking times, and methods for different rice types often lead to inconsistent results. While various grains and cooking appliances exist, preparing white Basmati rice on the stove remains a classic and personal favorite method for achieving consistently excellent results. This guide focuses on Basmati due to its distinct aroma, long grains, and natural tendency to cook up light and separate, making it a versatile accompaniment to countless dishes.
Recipe Overview
Understanding Different Types of White Rice
Before diving into the cooking process, it’s helpful to understand the basic categories of white rice, as their characteristics dictate different cooking methods and culinary applications. The primary difference lies in their starch content, specifically the ratio of amylose to amylopectin, which affects how sticky or fluffy the cooked rice becomes.
Short Grain Rice: Characterized by its short, plump, and almost round grains, short-grain rice contains a high amount of amylopectin, a type of starch that makes it very sticky and soft when cooked. It readily clumps together, making it perfect for dishes like sushi, where its cohesive texture is desired. While excellent for rice puddings, it’s generally not suitable if you’re aiming for individual, fluffy grains as a side dish. Examples include Arborio (though often categorized as medium, it behaves similarly) and traditional sushi rice varieties.
Medium Grain Rice: Falling between short and long grain in terms of length and texture, medium-grain rice cooks up soft, moist, chewy, and moderately sticky. It absorbs liquid well and has a slightly less firm texture than long-grain rice. Varieties like Arborio (for risotto) and Valencia (for paella) are classic examples. While it creates a delightful creaminess in these specific dishes, its natural stickiness makes it less ideal for a light, fluffy side dish for everyday meals or meal prep, where distinct grains are preferred.
Long Grain Rice: This is the champion for light, fluffy, and separate grains. Long-grain rice has a lower amylopectin content and higher amylose, which means it doesn’t clump together easily. When cooked correctly, the grains remain distinct and firm, yet tender. Basmati and Jasmine rice are the most popular long-grain varieties. Basmati, originating from the Indian subcontinent, is particularly prized for its aromatic fragrance and exceptionally long, slender grains that elongate further during cooking. This type is my rice of choice because its non-sticky, airy texture makes it the perfect versatile side dish that complements almost any cuisine.
Gather Your Essentials: What You Need to Cook Perfect Rice on Your Stovetop
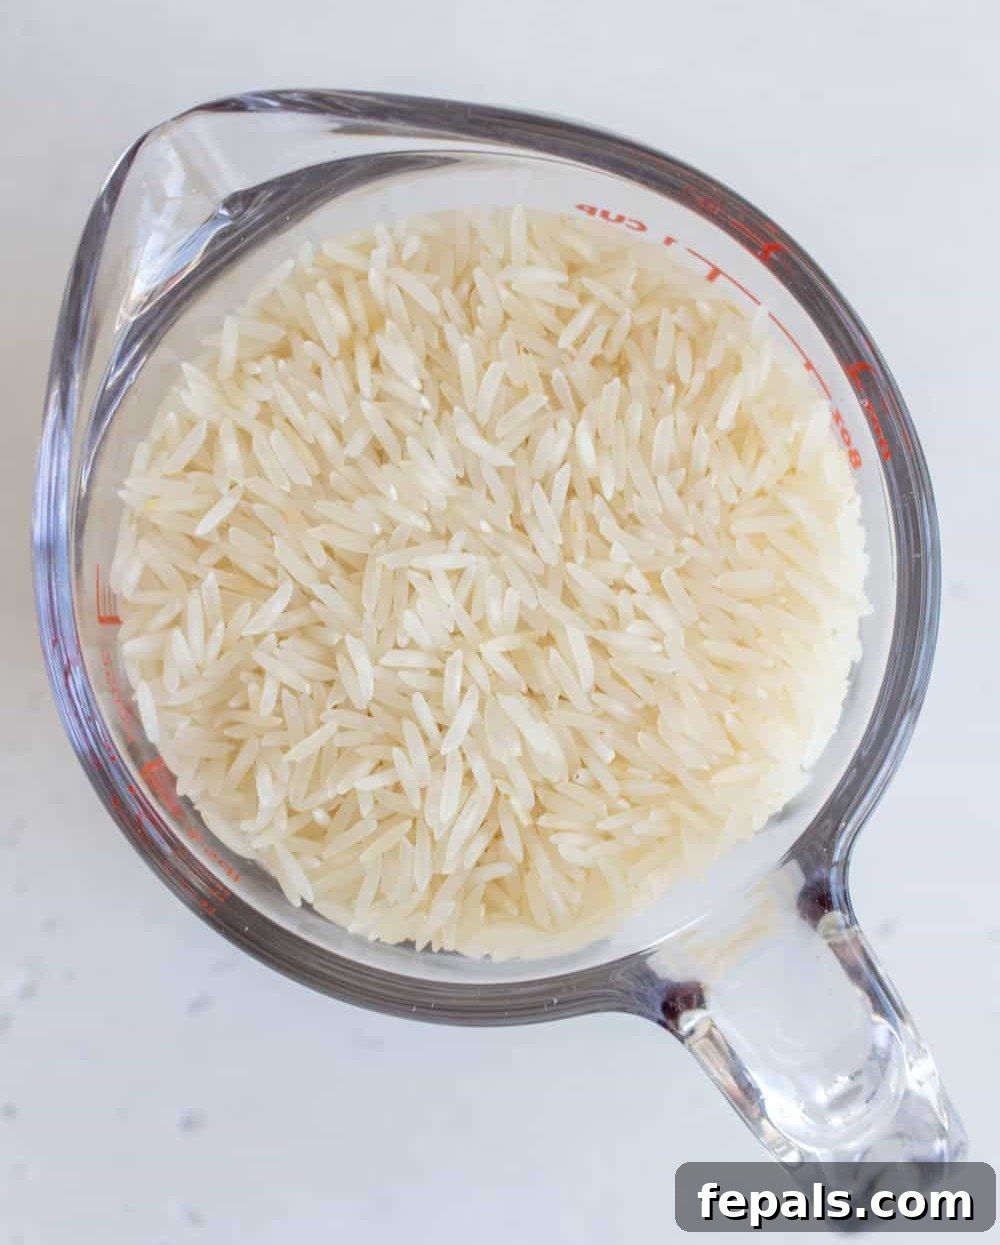
Ingredients You Will Need
- Basmati rice: The star of our recipe. Opt for good quality, aged Basmati rice for the best flavor and texture. Any other long-grain white rice can also be used, but adjust the water ratio slightly if needed (often 1:2 rice to water for other long grains).
- Water: Essential for cooking the rice. The specific ratio is crucial for fluffy results.
- Butter (optional): A tablespoon of unsalted butter adds a rich flavor and helps prevent the grains from sticking together, contributing to that desirable fluffy texture. Alternatively, a neutral oil like avocado oil or a hint of olive oil can be used. Many times, I use a high-quality extra virgin olive oil for a subtle flavor.
- Salt (optional): A pinch of salt enhances the natural flavor of the rice, much like it does for pasta. Don’t underestimate its ability to elevate a simple side dish.
Essential Equipment to Grab
- Pot with a tight-fitting lid: The size of your pot should be appropriate for the amount of rice you’re cooking; a medium to large-sized saucepan with a heavy bottom is ideal to prevent scorching. A tight-fitting lid is absolutely critical, as it traps steam, which is vital for even cooking.
- Mixing bowl: A medium to large bowl is perfect for soaking and washing your rice thoroughly.
- Fine mesh strainer: This tool is indispensable for efficiently rinsing and draining the rice, ensuring all excess starch is removed without losing any precious grains.
How to Cook Basmati Rice on the Stove: A Foolproof Method
Follow these precise steps, and you’ll achieve perfectly cooked rice every single time, without fail.
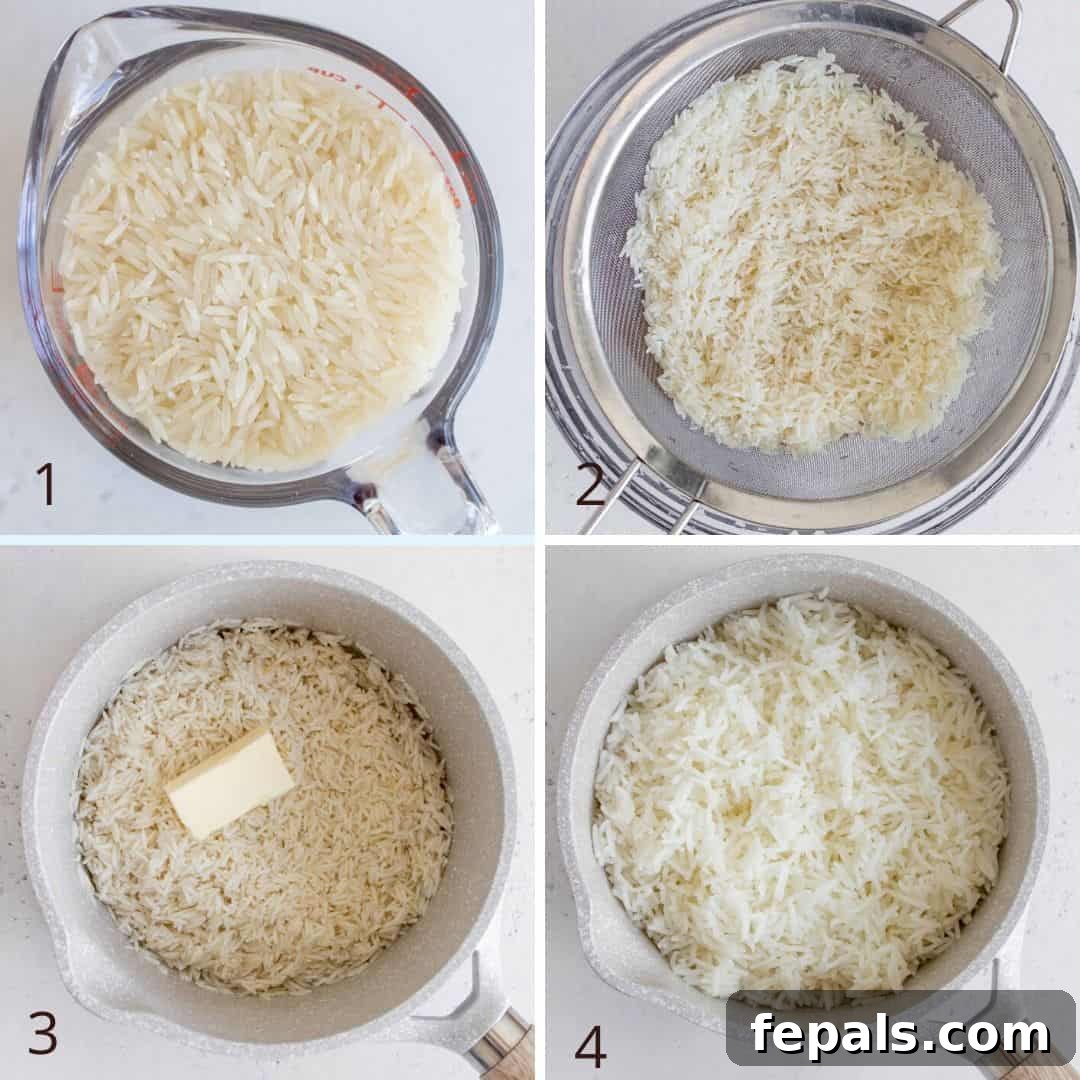
1️⃣ Prepare and Thoroughly Wash the Rice
Begin by placing your Basmati rice in a large bowl. Cover the rice with cold water. Submerge your hands and gently rub the rice grains together. This action helps to dislodge and remove the starchy coating that adheres to the grains. The water will become cloudy almost immediately. Carefully drain the cloudy water and repeat this rinsing process several times. Continue to drain and rinse until the water remains mostly clear. This step is crucial for achieving fluffy, non-sticky rice, as it removes the excess surface starch that would otherwise cause the grains to clump together. The exact number of rinses may vary depending on the brand of rice; some brands require more rinsing than others.
2️⃣ Ensure the Rice is Fully Drained
After washing, transfer the rice to a fine-mesh strainer and allow it to drain thoroughly for a few minutes. Excess water adhering to the grains can throw off your water-to-rice ratio, impacting the final texture. Shake the strainer gently to remove as much residual water as possible before proceeding to the next step. A well-drained rice ensures consistent cooking.
3️⃣ Precisely Cook the Rice to Perfection
Once drained, transfer the rinsed Basmati rice to your pot. Add the measured water, butter (if using), and salt (if using). Stir gently to combine. Place the pot on the stovetop and bring the mixture to a rapid boil over high heat. As soon as you see a vigorous boil, immediately reduce the heat to the lowest setting. Cover the pot with its tight-fitting lid, ensuring no steam can escape. Let the rice simmer undisturbed for 15-20 minutes. The rice is fully cooked when all the liquid has been absorbed and the grains are tender. Resist the urge to lift the lid during this simmering period, as opening it releases crucial steam, disrupting the cooking process and potentially leading to unevenly cooked or undercooked rice. If, after 20 minutes, the rice isn’t quite tender, add just a splash (1-2 tablespoons) of additional hot water, cover tightly, and simmer for another 2-3 minutes.
4️⃣ Allow the Rice to Rest and Fluff Before Serving
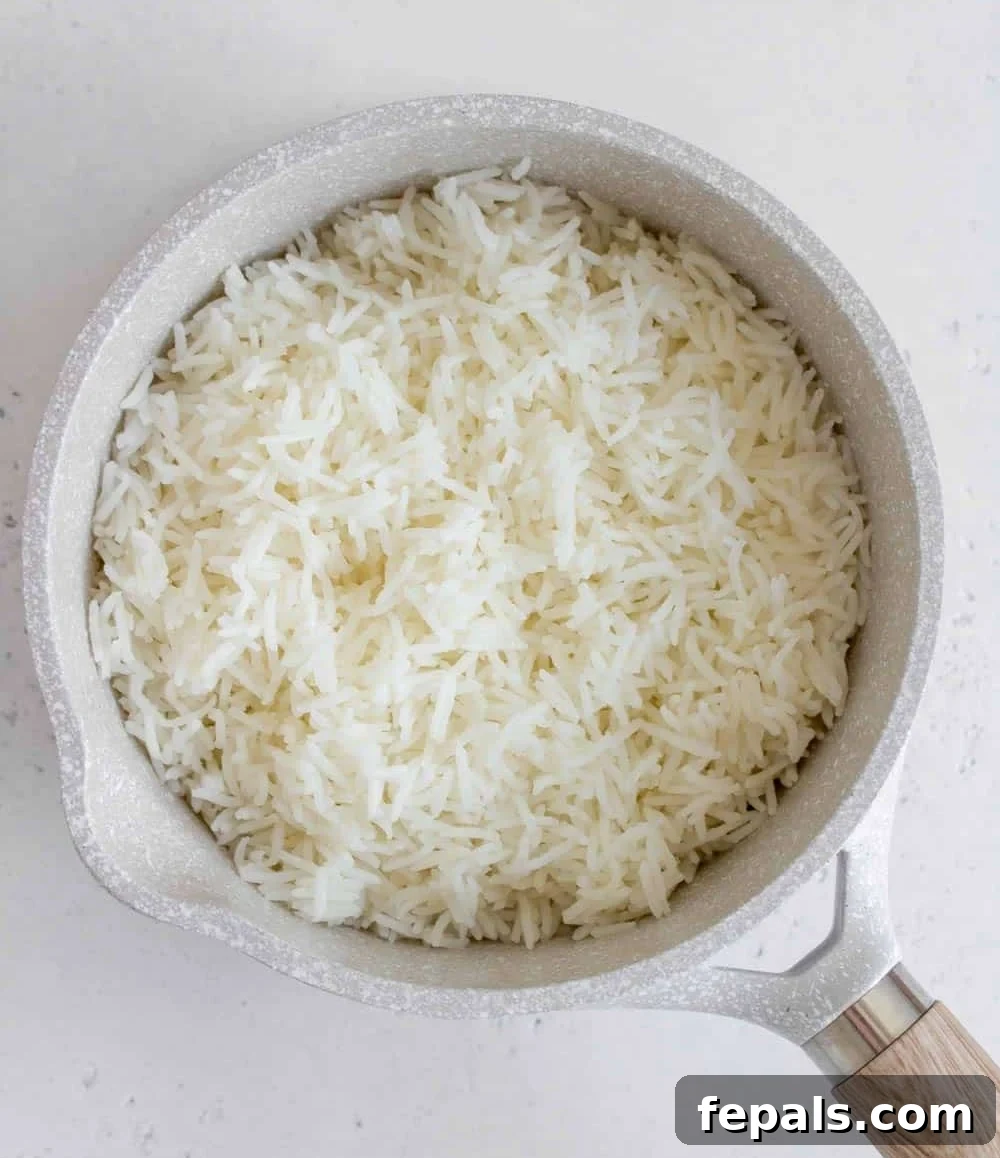
Once the cooking time is complete and the liquid is absorbed, remove the pot from the heat but keep the lid firmly in place. Allow the rice to rest, undisturbed, for an additional 5-7 minutes. This resting period is a critical step; it allows the steam to redistribute evenly throughout the rice, resulting in a uniformly fluffy texture and preventing the grains from becoming mushy. After resting, gently lift the lid and use a fork or spatula to fluff the rice, separating the grains. Serve immediately as a perfect accompaniment to your meal.
Common Questions About Cooking Stovetop Rice
Yes, absolutely! Rinsing your rice is a non-negotiable step for achieving truly fluffy and separated grains, especially with Basmati rice. The primary reason is to remove the excess starchy coating on the exterior of the rice grains. Without rinsing, this starch will dissolve into the cooking water, creating a sticky, gummy texture where the grains clump together. Rinsing until the water runs clear ensures you’re washing away this surface starch, allowing the rice to cook up light and distinct. While a fine-mesh strainer works well for rinsing, using a bowl to swish and drain can also be effective and help conserve water.
I strongly advise against cooking rice on high heat for the entire duration. While an initial rapid boil is necessary to kickstart the cooking process, the key to evenly cooked rice is to immediately reduce the heat to a low simmer once it reaches a boil. Maintaining high heat throughout will cause the water to evaporate too quickly, leading to an unevenly cooked result – the rice at the bottom of the pot will likely burn and stick, while the rice at the top might still be undercooked and hard. Lowering the heat allows the rice to gently absorb the water and steam, ensuring each grain cooks uniformly and becomes tender without scorching.
Yes, you can absolutely cook brown rice on the stove, but it requires some adjustments to both the water ratio and cooking time. Brown rice is a whole grain, meaning it retains its bran and germ layers, which are rich in fiber and nutrients. These layers also make brown rice tougher and require more water and a longer cooking time to soften. Typically, brown rice needs a water-to-rice ratio of about 2:1 or 2.5:1 (water to rice) and a simmering time of 30-45 minutes, followed by a longer resting period. While the general stovetop principles (boil, simmer, rest) apply, be mindful of these specific modifications for brown rice.
Using broth instead of water is an excellent idea for adding significant depth of flavor to your rice! Chicken broth, vegetable broth, or even beef broth can elevate a simple pot of rice into a more flavorful side dish that complements your main course. Just be aware that broths often contain salt, so you might need to adjust the amount of added salt in your recipe to taste. Experiment with different broths to find your favorite flavor combinations!
Yes, cooked rice freezes beautifully, making it an excellent option for meal prepping! To freeze rice safely and effectively, first ensure it cools down completely as quickly as possible (spread it out on a baking sheet to speed this up, then transfer to the fridge once cool enough). Once cool, transfer it into freezer-safe airtight containers or Ziploc bags in portion sizes of your choice. This prevents freezer burn and makes reheating individual portions convenient. While some sources suggest frozen rice can last up to 6-8 months, I personally recommend consuming it within 1-2 months for optimal taste and texture. Reheat it just like regular leftover rice, but allow a slightly longer time to ensure it heats through completely.
Storing and Reheating Cooked Rice
Proper storage and reheating of cooked rice are crucial for both food safety and maintaining its delicious texture.
- Storing: Once your rice has cooled down, it’s important to transfer it to an airtight container and refrigerate it promptly. Cooked rice should not be left at room temperature for more than an hour, as it can harbor bacteria. Stored properly in the fridge, your rice will remain fresh for 3-4 days. Cooking extra rice is always a smart idea, as leftover rice is perfect for quick meals like fried rice or rice bowls.
- Reheating: To reheat rice without it drying out, I recommend adding 1-2 tablespoons of water or broth per cup of rice to the container before microwaving. Cover the container (or use a microwave-safe lid) and heat on high for 2-3 minutes, stirring halfway through. The added moisture helps to rehydrate the rice and keeps it fluffy. Alternatively, you can reheat rice on the stovetop by placing it in a saucepan with a splash of water, covering it, and heating over low heat until warmed through, stirring occasionally.
Delicious Flavor Variations for Your Stovetop Rice
While plain white rice is a versatile staple, it’s incredibly easy to enhance its flavor profile with a few simple additions. Beyond the basic salt and butter, here are some ideas to add a burst of taste:
- Aromatic Additions: Sauté finely diced garlic or onion in a little butter or oil before adding the rice and water. This creates a fragrant base.
- Herbs and Spices: Incorporate whole spices like a bay leaf, a few green cardamom pods, or a cinnamon stick into the cooking water for subtle aroma. For ground spices, add a pinch of garlic powder, onion powder, or a dash of cumin or turmeric (for color and flavor) along with the salt before simmering.
- Citrus Zest: A strip of lemon or orange zest added to the cooking water can impart a bright, fresh note to the finished rice. Remember to remove it before serving.
- Liquid Swaps: As mentioned in our FAQs, using chicken broth, vegetable broth, or even beef broth instead of water significantly deepens the umami flavor. For a rich, creamy, and slightly sweet rice, consider replacing some or all of the water with coconut milk (adjust water ratio if using full-fat coconut milk).
- Fresh Herbs: Stir in freshly chopped cilantro, parsley, or green onions after the rice has rested and been fluffed for a vibrant finish.
What to Serve with Your Perfect Fluffy Rice
Rice is truly a universal side dish, pairing beautifully with an incredibly diverse range of main courses. Its neutral flavor and comforting texture make it an ideal canvas for soaking up sauces and complementing rich, savory dishes. Here are some fantastic main meal options to consider serving alongside your perfectly cooked Basmati rice:
- Sriracha Chicken Broccoli Skillet
- Baked Teriyaki Salmon
- Spicy Chicken Stir Fry
- BBQ Chicken Drumsticks
- Chickpea Cauliflower Curry
- Easy Butter Chicken
- Creamy Tuscan Salmon

Get my free eBook!
Grab my free ebook featuring 20 of my top 30 minutes family-friendly healthy dinner recipes.
(Please note: The sign-up form for the ebook has been removed as per instructions to strip JavaScript code. To get the ebook, please visit the original source website.)
If you try this recipe and love it, please leave me some feedback in the comment section below, and don’t forget to rate it! Also, pin it and share it with your friends and family.
FOLLOW me on FACEBOOK | INSTAGRAM | PINTEREST | TWITTER for all of my latest blog posts and recipes.
How to Cook Rice on the Stove
Rena
6
5 minutes
20 minutes
25 minutes
Pin
Ingredients
- 1 cup Basmati rice
- 1¾ cup Water
- 1 tablespoon unsalted butter, or neutral oil
- ½ teaspoon salt
Instructions
-
In a large bowl, add the 1 cup Basmati rice and cold water. Use your hands and gently rub the rice between them to clean them. Drain and repeat the process until the water is no longer cloudy.
-
Thoroughly drain the rice using a fine-mesh strainer before adding the rice to a pot with the 1 tablespoon unsalted butter or oil, ½ teaspoon salt, and 1¾ cup Water.
-
Bring the pot to a boil on high heat, then lower the heat, cover it with your lid, and let it simmer for 15-20 minutes. It’s done when all the liquid has been absorbed and the rice is tender. If not, add a splash of water and simmer a few more minutes until the rice is tender. Do not lift your lid before this; try to only check on your rice once, as opening the lid lets all the steam escape.
-
Keeping the lid on, remove the pot from the heat and let it rest for 5-7 minutes before fluffing it with a fork or spatula and serving.
Notes
Yields: 3 cups
Substitutes:
- Use any long-grain white rice
- You can use neutral oil instead of butter, or skip completely
Storage:
Place leftovers in a container and store in the fridge for up to 4 days. Reheat in the microwave when ready to eat. You can freeze for up to 6 months.
Nutrition
Carbohydrates: 25g
Protein: 2g
Fat: 2g
Saturated Fat: 1g
Cholesterol: 5mg
Sodium: 199mg
Potassium: 35mg
Fiber: 1g
Sugar: 1g
Vitamin A: 58IU
Calcium: 11mg
Iron: 1mg
Nutrition information is automatically calculated, so should only be used as an approximation.
Additional Info
Ingredient, Side Dish
American
Tried this recipe?
Mention @healthyfitnessmeals or tag #healthyfitnessmeals!