
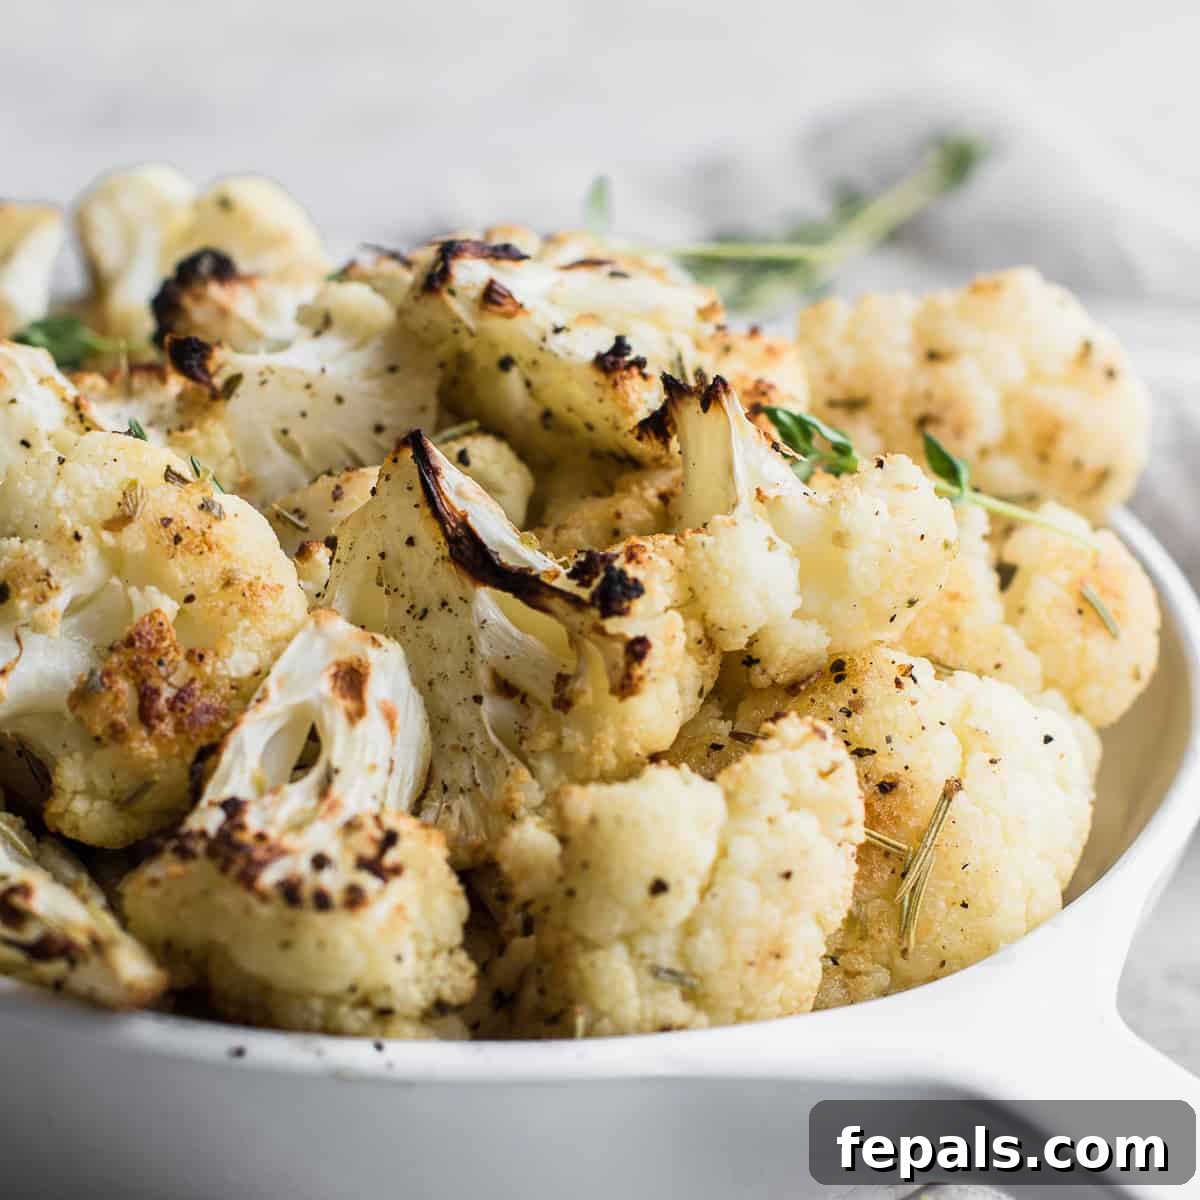
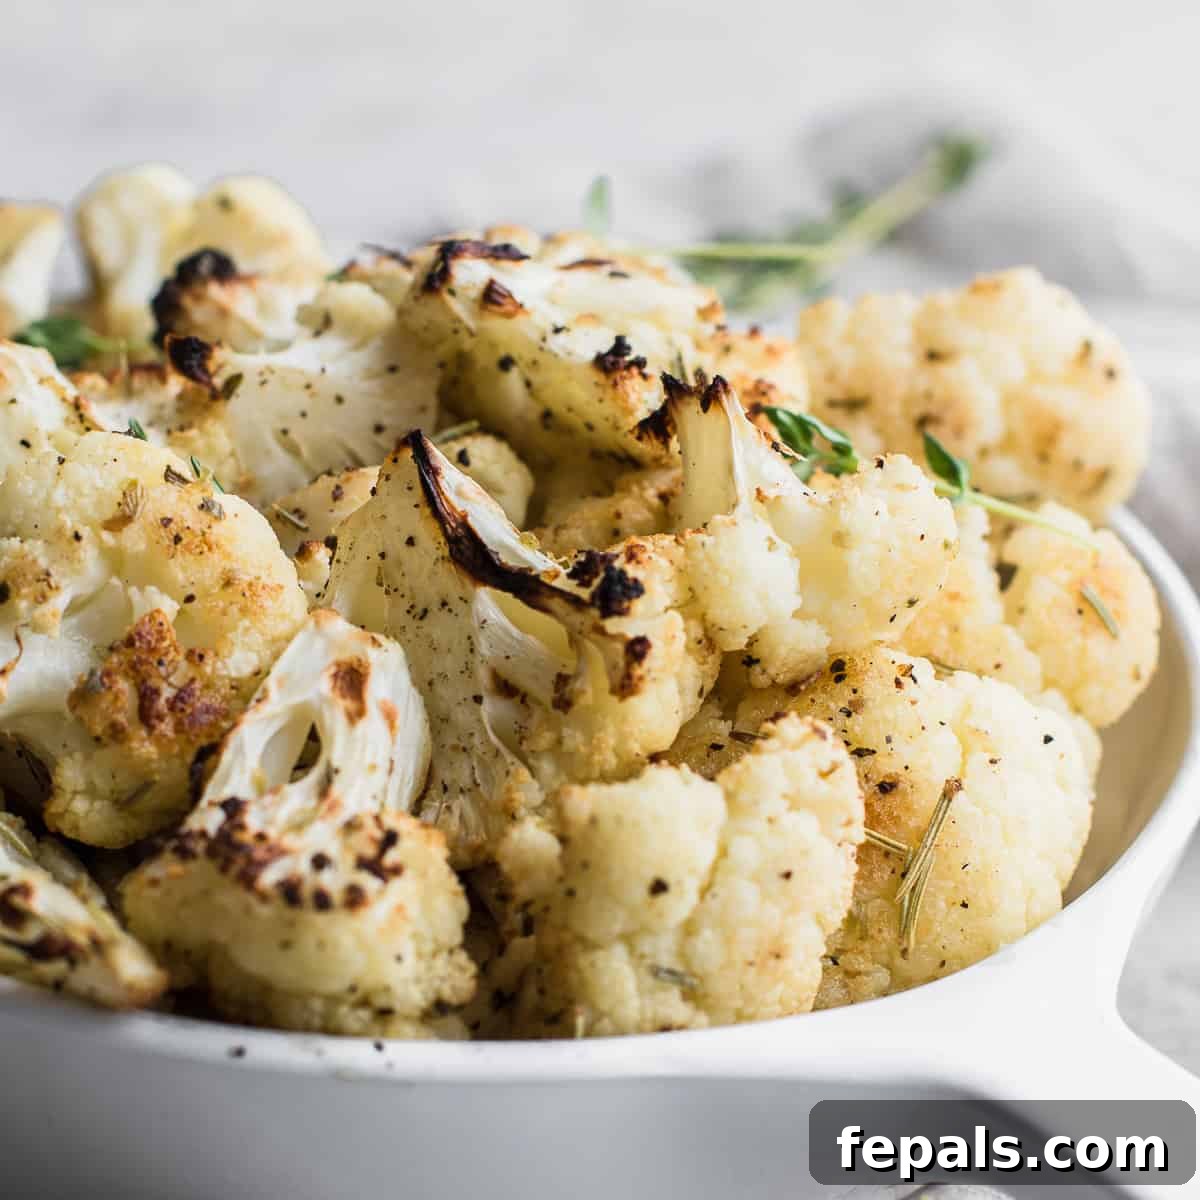
Welcome to your new favorite side dish! This **Roasted Garlic Cauliflower** recipe is incredibly delicious, wonderfully easy to prepare, and bakes to golden-brown perfection in your oven. Infused with robust garlic and aromatic Italian seasoning, this versatile dish is naturally vegan, making it an ideal healthy accompaniment for virtually any meal. Whether you’re a seasoned chef or a kitchen novice, you’ll find this recipe straightforward and satisfying.
Looking for more delicious ways to enjoy cauliflower? You might also love my Cauliflower Mac and Cheese Recipe – it’s truly a must-try!
Recipe Overview
🌟
⏱️
🔥
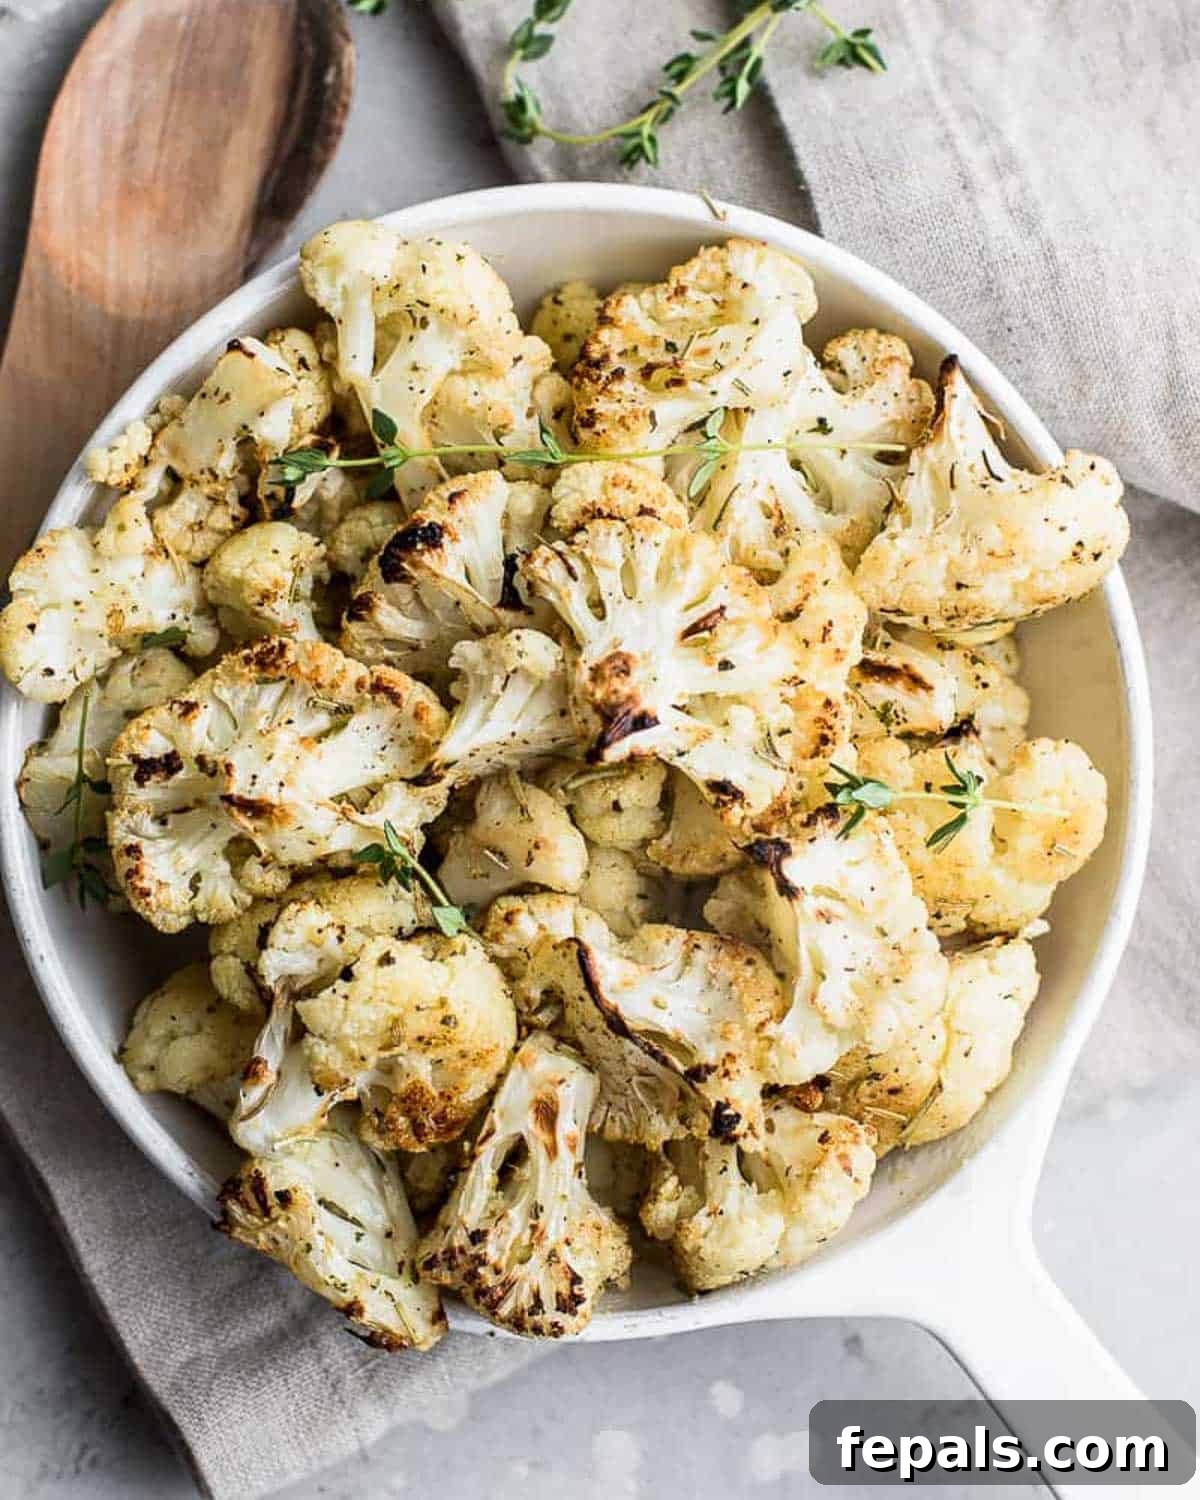
This oven-roasted **Garlic Cauliflower recipe** stands out as a supremely versatile and delicious addition to your culinary repertoire. It’s the perfect companion for grilled meats, flaky fish, or even enjoyed simply on its own as a wholesome snack. Transform your meals by topping it over vibrant salads, incorporating it into hearty veggie bowls, or adding a savory crunch to sandwiches and soups. The beauty of this recipe lies in its simplicity: cauliflower florets are hand-cut into smaller, bite-sized pieces, ensuring maximum surface area for seasoning and even cooking. These florets are then lovingly tossed in a rich blend of olive oil, freshly minced garlic, fragrant Italian seasoning, a touch of salt, and a dash of pepper. Finally, they’re roasted in the oven until they achieve that coveted combination of perfectly tender interiors and irresistibly crispy, caramelized edges.
Why You’ll Love This Roasted Cauliflower Recipe
There are countless reasons why this Roasted Garlic Cauliflower will become a staple in your kitchen. First and foremost, it’s incredibly **easy to make**, requiring minimal effort and simple ingredients you likely already have on hand. For those prioritizing healthy eating, this recipe is a dream come true. Cauliflower is packed with essential nutrients, fiber, and antioxidants, making it a fantastic choice for a nutritious diet. Plus, it’s naturally **vegan and gluten-free**, catering to a wide range of dietary needs and preferences without sacrificing flavor.
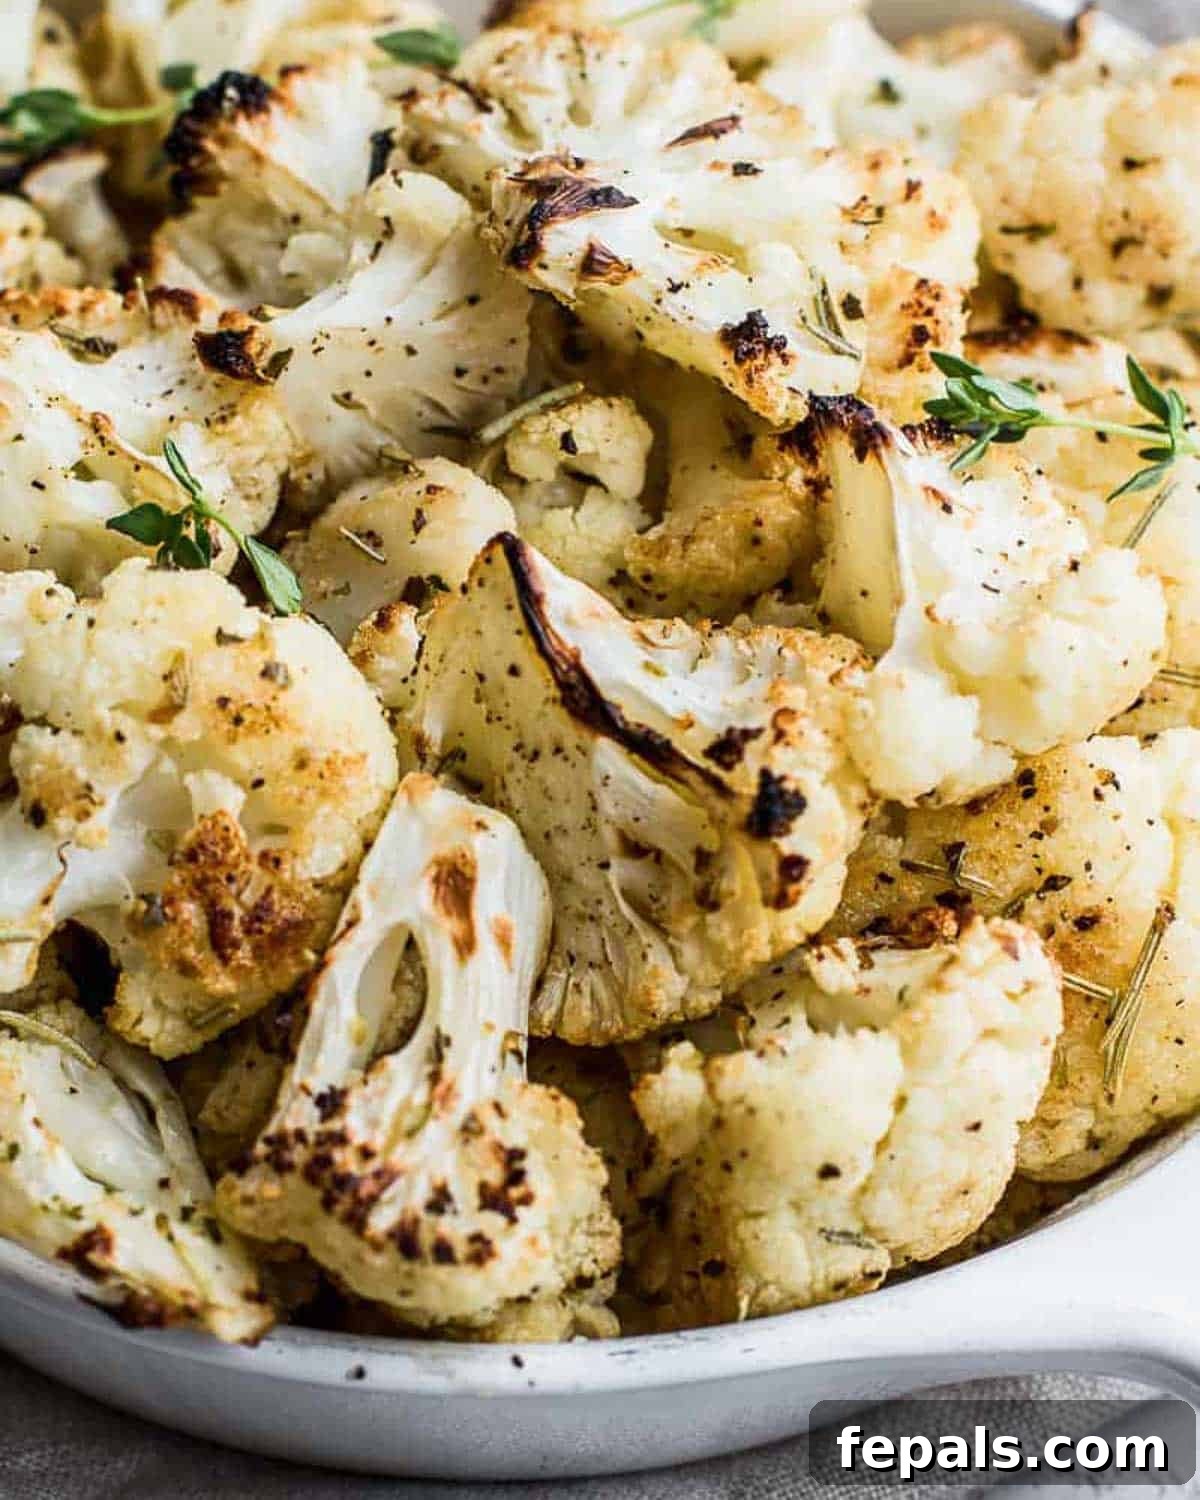
Beyond its health benefits, the taste is truly exceptional. Roasting brings out the natural sweetness of the cauliflower, which is then perfectly complemented by the pungent kick of garlic and the fragrant notes of Italian herbs. The texture contrast, from the tender interior to the slightly charred and crispy edges, adds an addictive quality that will have everyone reaching for more. Whether you’re preparing a quick weeknight dinner or looking for an impressive yet effortless side for a special occasion, this recipe delivers on all fronts.
The Magic of Roasting Cauliflower
Roasting isn’t just a cooking method; it’s a culinary transformation, especially when it comes to vegetables like cauliflower. When cauliflower florets hit the hot oven, a magical process begins. The high heat caramelizes the natural sugars present in the vegetable, creating a slightly sweet, nutty flavor that raw or steamed cauliflower simply can’t match. This browning, known as the Maillard reaction, is responsible for the rich, complex flavors and aromas that develop.
Moreover, roasting gives cauliflower an incredible texture. The outer layers become wonderfully crisp and slightly chewy, while the inside remains tender and creamy. The olive oil helps facilitate this process, ensuring even cooking and contributing to those desirable crispy bits. It also acts as a carrier for the garlic and Italian seasoning, infusing every floret with deep, aromatic flavor. This combination of flavor development and textural perfection is what makes roasted cauliflower so incredibly satisfying and a true crowd-pleaser.
Ingredients Needed for the Perfect Roast
Crafting this delightful roasted cauliflower dish requires just a handful of fresh, quality ingredients. Each component plays a crucial role in achieving the optimal flavor and texture.
- Cauliflower: Select a firm, white head of cauliflower with tightly packed florets. Avoid any with brown spots or a strong odor. One medium head is usually perfect for 4-6 servings.
- Olive Oil: Extra virgin olive oil is preferred for its rich flavor and health benefits, but any high-quality cooking oil with a high smoke point, such as avocado oil or grapeseed oil, will work equally well. The oil is essential for helping the cauliflower achieve a golden crispness and for distributing the seasonings evenly.
- Garlic Cloves: Fresh garlic is non-negotiable for this recipe! Minced fresh garlic infuses the cauliflower with a vibrant, pungent aroma that mellows into a sweet, earthy flavor when roasted. Pre-minced garlic in a jar won’t offer the same intensity, so take the extra minute to chop a fresh clove.
- Seasoning:
- Italian Seasoning: This blend typically includes basil, oregano, rosemary, thyme, and marjoram, providing a classic, herbaceous backbone to the dish. It’s incredibly versatile and pairs beautifully with garlic.
- Dried Parsley: Adds a touch of mild, fresh flavor and a pleasant visual garnish. While optional, it brightens the overall profile.
- Salt & Pepper: Essential for enhancing all the other flavors. Use freshly ground black pepper for the best results. Adjust amounts to your personal taste.
How to Make Roasted Garlic Cauliflower: Step-by-Step
Achieving perfectly roasted garlic cauliflower is simpler than you might think. Follow these easy steps for a guaranteed delicious outcome:
- Preheat Oven and Prepare Baking Sheet: Begin by preheating your oven to a robust 400°F (200°C). This high temperature is key to achieving crispy, caramelized edges. Line a large baking sheet with parchment paper or aluminum foil for easy cleanup and to prevent sticking.
- Prepare Cauliflower: Wash the cauliflower head thoroughly. Carefully cut the cauliflower into bite-sized florets. Aim for roughly equal sizes (about 1-1.5 inches) to ensure they cook evenly. Smaller florets tend to get crispier!
- Combine Seasoning Mixture: In a large mixing bowl, whisk together the olive oil, finely minced fresh garlic, Italian seasoning, dried parsley, salt, and black pepper. Stir until all ingredients are well combined, creating an aromatic coating.
- Coat Cauliflower Evenly: Add the cauliflower florets to the large mixing bowl with the oil and seasoning mixture. Toss them thoroughly, using your hands or a large spoon, until every floret is evenly coated. This ensures maximum flavor in every bite.
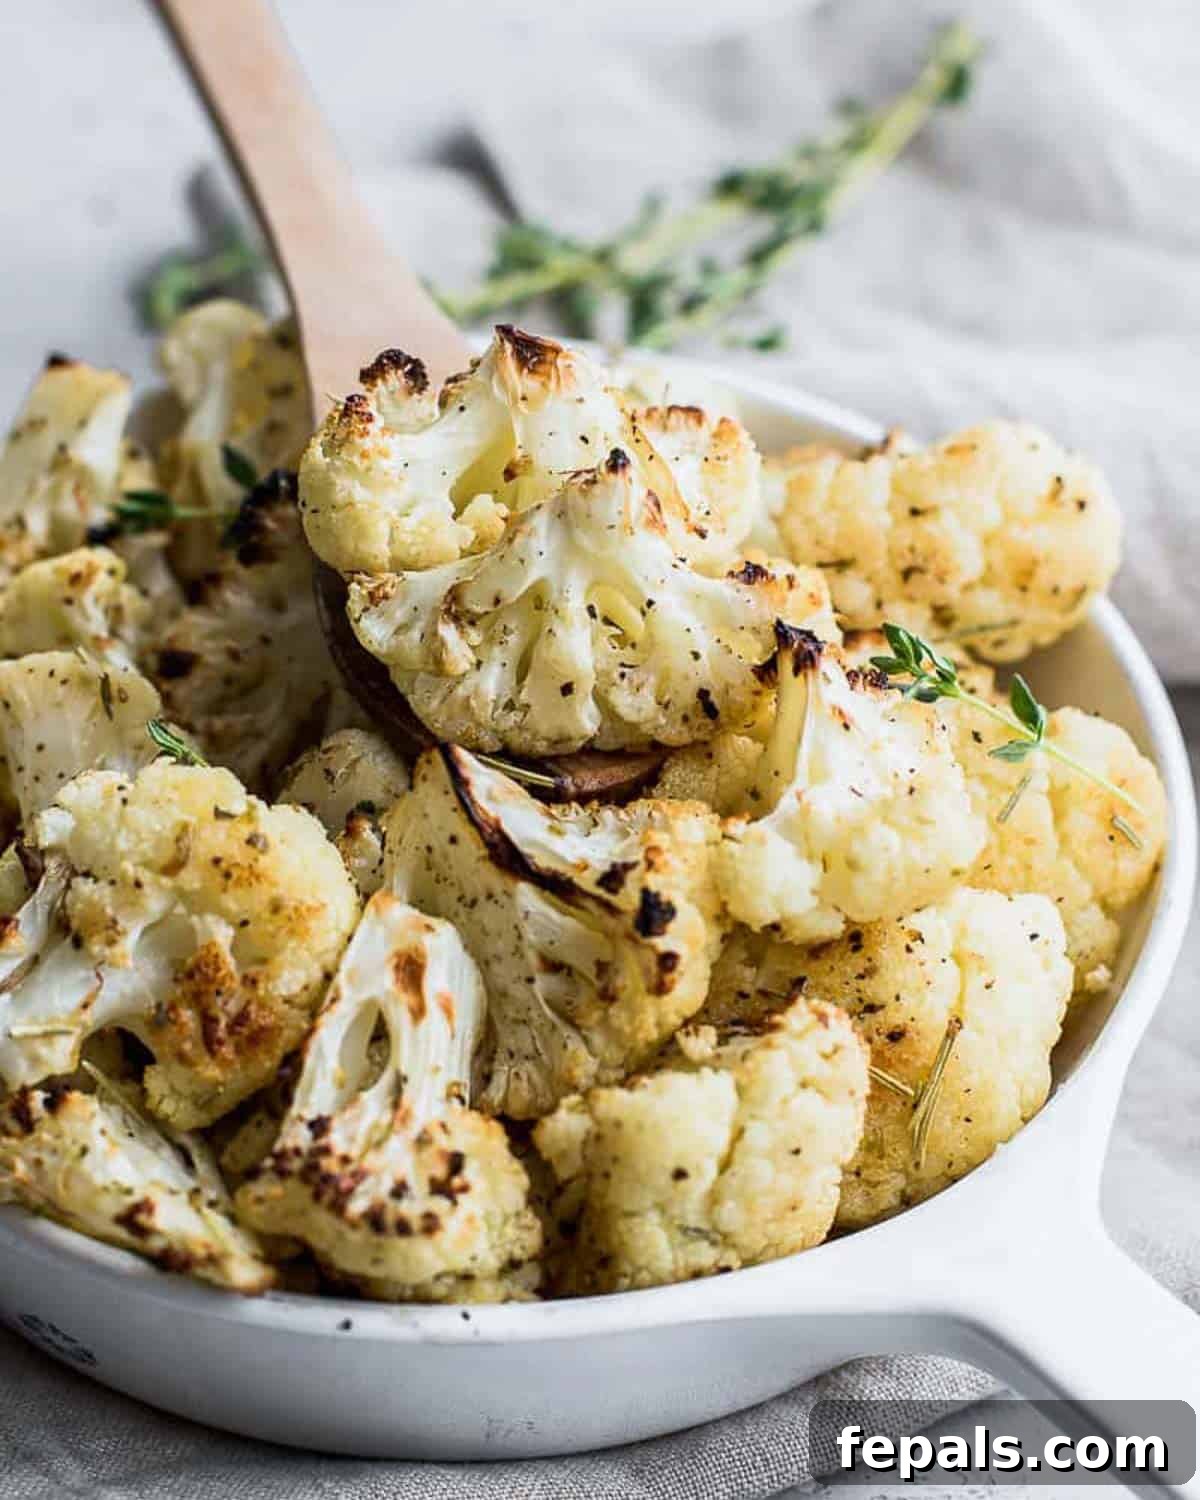
- Spread and Bake: Transfer the seasoned cauliflower florets to the prepared baking sheet. Spread them out in a single layer, ensuring they are not overcrowded. Overcrowding can steam the cauliflower instead of roasting it, preventing those desired crispy edges. If necessary, use two baking sheets. Bake for 35-40 minutes, flipping halfway through, or until the cauliflower is fork-tender and beautifully roasted with golden-brown, slightly charred edges.
- Serve and Enjoy: Once roasted to perfection, remove from the oven and serve immediately. A final sprinkle of fresh parsley or a squeeze of lemon juice can add a bright finishing touch.
Pro Tips from My Kitchen
Recipe Tips for Success
- Even Sizing is Key: Always cut your cauliflower florets into equal or similar sizes. This ensures that all pieces cook uniformly, preventing some from being undercooked while others are burnt.
- Don’t Crowd the Pan: For truly crispy cauliflower, arrange the florets in a single layer on your baking sheet without overcrowding. If the pan is too full, the cauliflower will steam instead of roast, resulting in a soft texture. Use two baking sheets if needed.
- Experiment with Oils: While olive oil is classic, feel free to use other healthy oils like avocado oil, grapeseed oil, or even melted coconut oil for a slightly different flavor profile.
- Fresh Garlic vs. Garlic Powder: Freshly minced garlic provides the best flavor. However, if you’re short on time, garlic powder can be used as a substitute (about ½ teaspoon for one clove), though the taste will be milder.
- Shake or Flip Halfway: For even browning and crispiness, give your baking sheet a good shake or use tongs to flip the florets halfway through the roasting time.
- Storage: Leftovers can be stored in an airtight container in the refrigerator for up to 5 days. They are delicious cold, or can be reheated gently.
- Add Other Veggies: This recipe is wonderfully adaptable. Feel free to toss in other quick-cooking vegetables like broccoli florets, zucchini chunks, bell peppers, or even sliced carrots alongside the cauliflower. Adjust roasting time as necessary for different vegetables.
- Parmesan Perfection: For an extra layer of savory flavor and a delightful cheesy crust, sprinkle some grated Parmesan cheese over the cauliflower during the last 10 minutes of roasting. (Note: this makes the recipe non-vegan).
Common Questions About Roasted Garlic Cauliflower
Yes, absolutely! Frozen cauliflower can be used as a convenient alternative. However, it’s important to note that frozen cauliflower contains more moisture, which can affect the crispiness. To mitigate this, do not thaw the cauliflower before roasting. Instead, spread the frozen florets directly onto your baking sheet. You will likely need to extend the cooking time by an additional 10-15 minutes to allow the cauliflower to thoroughly thaw and then roast until tender and slightly crispy. Some prefer to roast frozen cauliflower at a slightly higher temperature (around 425°F/220°C) for the first 10-15 minutes to help evaporate the excess moisture, then reduce to 400°F/200°C.
Generally, cauliflower florets require about 30-45 minutes of roasting time when baked at a temperature between 350-400°F (175-200°C). The exact duration can vary based on your oven’s calibration, the size of your florets, and your desired level of tenderness and crispiness. A good way to check for doneness is to gently pierce a floret with a fork – it should be tender. For that perfect crispy exterior, look for golden-brown and slightly charred edges. Some individuals prefer a bit of crunch, while others love their cauliflower completely tender and wonderfully crispy.
While it is technically possible to freeze roasted cauliflower, I generally do not recommend it for optimal texture. Upon thawing, the cauliflower tends to become quite soggy and mushy due to the water content released during freezing and reheating. If you don’t mind a softer texture, you can freeze them in an airtight container for up to 2-3 months. When ready to enjoy, you can re-roast them in a hot oven to try and restore some crispiness, though they won’t be as firm as freshly roasted cauliflower.
Properly stored, roasted garlic cauliflower leftovers will maintain their quality and flavor for up to **5 days** when kept in an airtight container in the refrigerator. This makes it an excellent option for meal prepping throughout the week. You can enjoy it cold in salads or quickly reheat it in the oven, microwave, or air fryer.
Absolutely! An air fryer is a fantastic tool for making crispy roasted cauliflower even faster. Preheat your air fryer to 375°F (190°C). Toss the cauliflower florets with the olive oil and seasonings as directed. Place the florets in a single layer in the air fryer basket, ensuring not to overcrowd it (you may need to cook in batches). Air fry for 15-20 minutes, shaking the basket halfway through, until the cauliflower is tender and beautifully crispy. Keep an eye on it as air fryer cooking times can vary.
The key to preventing soggy roasted cauliflower lies in several factors. First, ensure your cauliflower is completely dry before tossing it with oil and seasonings. Excess moisture will steam the cauliflower. Second, use a high oven temperature (like 400°F or 200°C) to promote browning. Third, and most crucially, do not overcrowd your baking sheet. Give the florets plenty of space to breathe and allow the hot air to circulate around them, encouraging crispiness. If your pan is too full, the moisture released by the cauliflower will get trapped, leading to steaming instead of roasting.
📌
Pin this now to find it later!
Pin It
More Delicious Cauliflower Recipes You’ll Love
Cauliflower is an incredibly versatile vegetable, capable of transforming into a multitude of delicious dishes. If you enjoyed this roasted garlic cauliflower, you’re in for a treat with these other creative and healthy cauliflower recipes from my kitchen:
- Garlic Whole Roasted Cauliflower
- Creamy Cauliflower Mash
- Hearty Roasted Cauliflower Soup
- Flavorful Grilled Cauliflower Steaks
- Spicy Chickpea Cauliflower Curry
- Decadent Cauliflower Mac and Cheese
- Sweet and Spicy Baked Cauliflower
Get My Free eBook!
Grab my exclusive free eBook featuring 20 of my top 30-minute family-friendly healthy dinner recipes. Perfect for busy weeknights!
If you try this recipe and absolutely love it, I would be thrilled to hear your feedback! Please leave a comment and rating in the section below. Your thoughts and experiences are invaluable.
FOLLOW me on FACEBOOK | INSTAGRAM | PINTEREST | TWITTER for all of my latest blog posts and delicious recipes.
Garlic Roasted Cauliflower
Rate This Recipe
Pin Recipe
Print Recipe
Ingredients
-
1 Head Cauliflower, cut into florets -
2 tablespoons Olive Oil -
1 Garlic Clove, minced -
½ teaspoon Salt -
¼ teaspoon Pepper -
¼ teaspoon Dried Parsley -
½ teaspoon Italian Seasoning
Instructions
-
Preheat oven to 400°F (200°C). Line a baking sheet with parchment paper. Cut the cauliflower into bite-sized florets.
-
In a large mixing bowl, stir together the 2 tablespoons of olive oil, 1 minced garlic clove, ½ teaspoon Italian seasoning, ½ teaspoon salt, and ¼ teaspoon pepper. Add the cauliflower florets and toss until they are evenly coated with the mixture.
-
Transfer the seasoned florets to the prepared baking sheet, spreading them out in a single layer. Bake for 35-40 minutes, flipping halfway through, or until the cauliflower is tender and beautifully roasted with crispy, golden edges.
-
Garnish with ¼ teaspoon of dried parsley (or fresh if preferred) and serve immediately for the best taste and texture.
Notes
- You can easily customize this recipe by adding any other seasonings of your choice, such as paprika, cumin, or a pinch of chili flakes for heat.
- This recipe can also be prepared efficiently in an air fryer for a quicker cooking time and extra crispiness (refer to FAQ section for details).
- Feel free to substitute olive oil with any other cooking oil you prefer, such as avocado oil, for similar delicious results.
- Store any leftover roasted cauliflower in an airtight container in the fridge for up to 5 days.
Nutrition Information (Approximate Per Serving)
Calories: 100kcal
Carbohydrates: 8g
Protein: 3g
Fat: 7g
Saturated Fat: 1g
Sodium: 334mg
Potassium: 430mg
Fiber: 3g
Sugar: 3g
Vitamin C: 70mg
Calcium: 36mg
Iron: 1mg
Nutrition information is automatically calculated and should only be used as an approximation. It may vary based on specific ingredients and preparation methods.
Additional Info
📸
Tried this recipe?
Mention @healthyfitnessmeals or tag #healthyfitnessmeals! We love seeing your creations!