
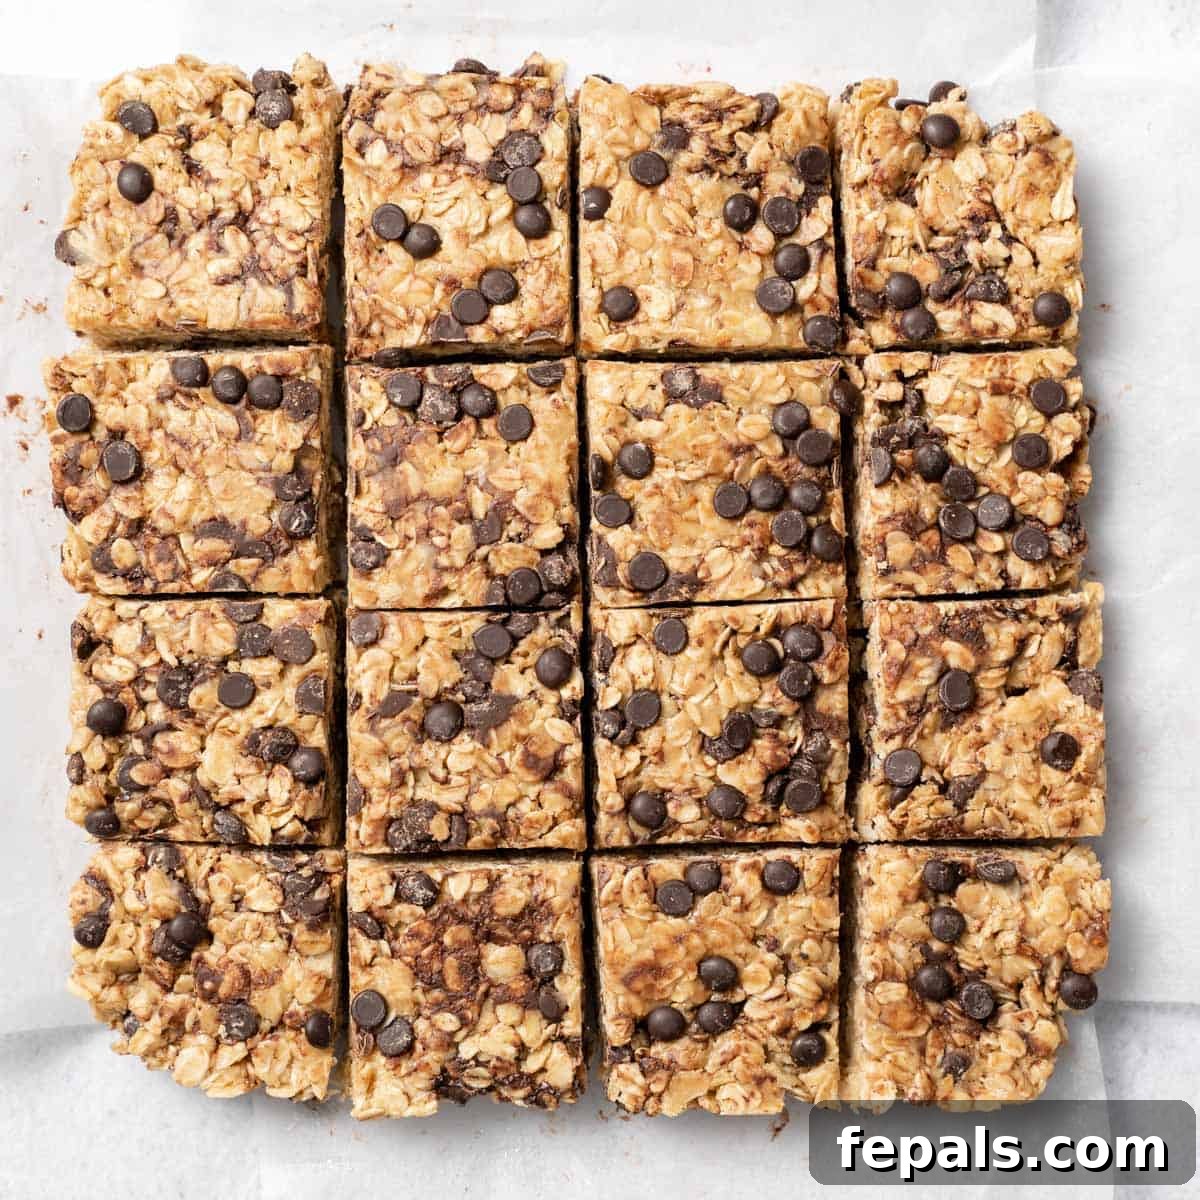
Unlock the secret to effortlessly delicious and wholesome treats with these incredible No Bake Peanut Butter Oatmeal Bars. Crafted with just a handful of pantry staples, these bars deliver a satisfying burst of flavor without ever needing to touch an oven. They’re a genuine hit with kids and adults alike, making them the ultimate versatile snack, a quick breakfast on the go, or a delightful healthy dessert.
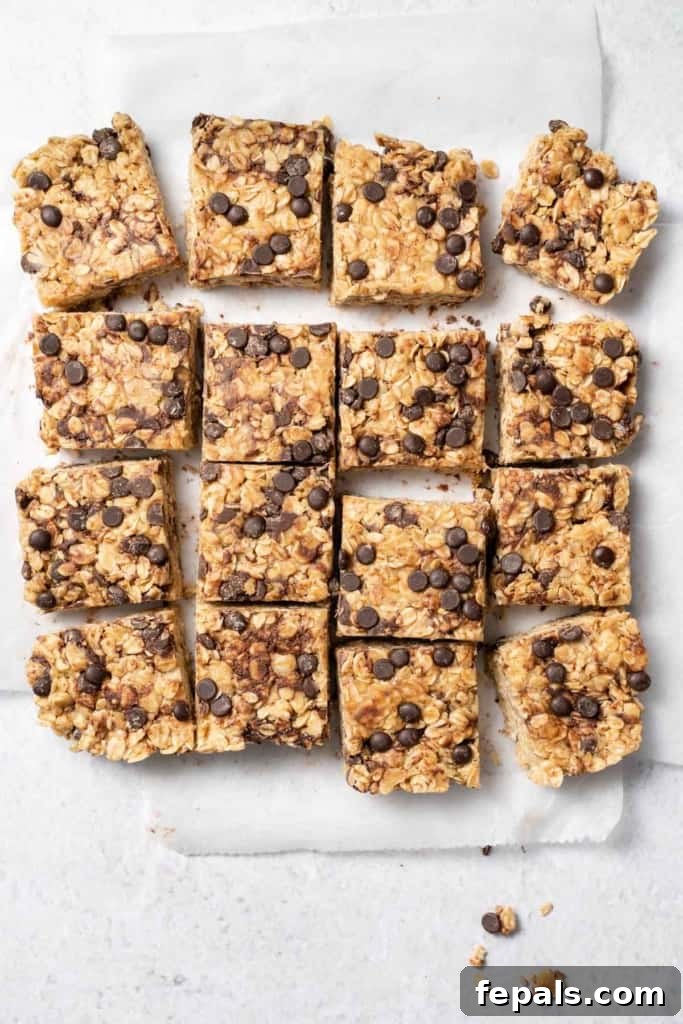
Effortless No Bake Peanut Butter Oatmeal Bars: Your New Favorite Healthy Treat
In a world bustling with busy schedules, finding time to whip up nutritious snacks can feel like a challenge. Enter the ingenious solution: No Bake Peanut Butter Oatmeal Bars. This recipe transforms humble pantry staples into a delicious, satisfying, and incredibly easy-to-make treat. Forget about heating up your kitchen or spending hours on complicated steps; these bars come together in just about 10 minutes of hands-on time, requiring no baking at all. They’re far more satisfying and wholesome than anything you’ll find in a pre-packaged snack bar aisle, offering a rich blend of flavors and beneficial ingredients.
What makes these peanut butter oatmeal bars truly stand out is their remarkable adaptability. Whether you’re craving a protein-packed breakfast, a midday energy boost, or a guilt-free evening dessert, they fit seamlessly into any part of your day. Plus, they are a meal prep dream, easily stored in the refrigerator for up to a week or frozen for months, ensuring you always have a healthy option at your fingertips. Get ready to impress your family and delight your taste buds with these simple yet sensational bars!
Why You’ll Fall in Love with These No Bake Bars
These No Bake Peanut Butter Oatmeal Bars aren’t just a recipe; they’re a lifestyle hack for anyone seeking convenience without compromising on health or taste. Here’s why they’re destined to become a staple in your kitchen:
- Unbelievably Quick & Easy: The “no bake” title isn’t just a suggestion; it’s the core of their simplicity. There’s no oven required, no precise temperatures to monitor, and minimal cleanup. Simply mix all the ingredients in one bowl, press into a pan, chill, and serve. It’s truly that straightforward! Perfect for beginners or those short on time.
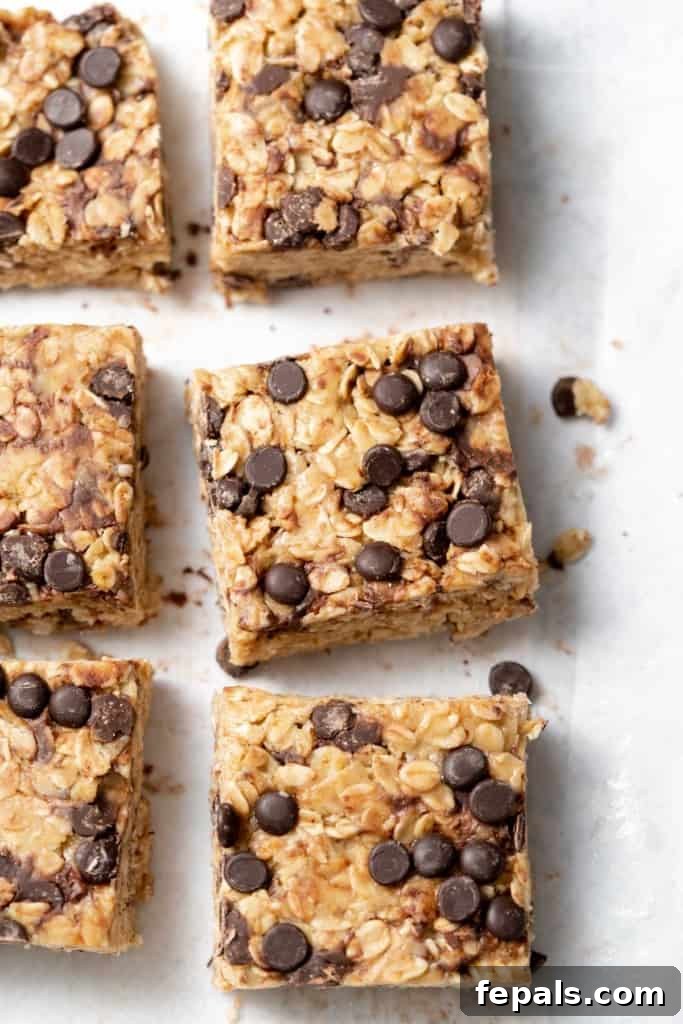
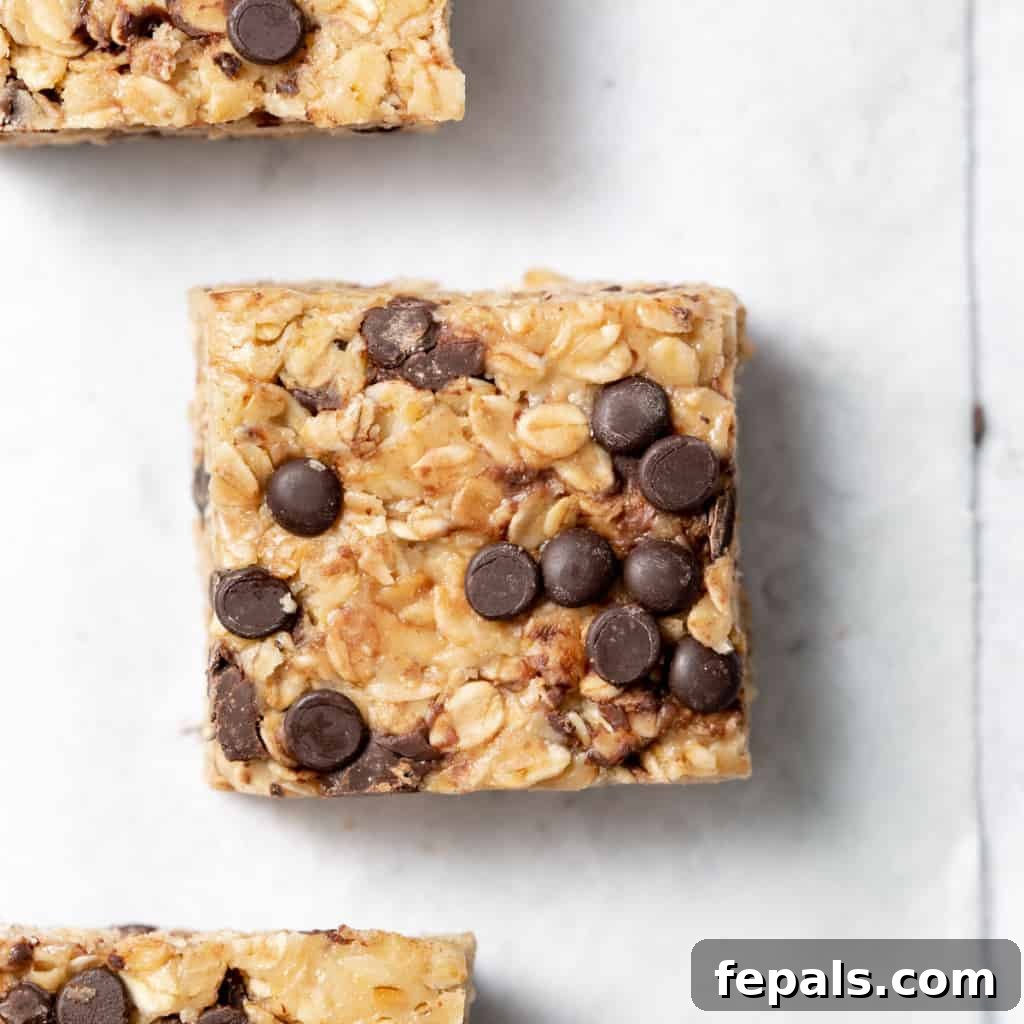
- Irresistible Flavor Combination: The classic pairing of rich, creamy peanut butter with wholesome oats, natural sweetness from honey (or maple syrup), and delightful pockets of chocolate chips creates a flavor profile that’s universally adored. It’s a harmonious blend of sweet and salty, chewy and slightly firm, making each bite utterly satisfying. Even the pickiest eaters, especially kids, will clamor for more!
- Remarkably Versatile: This recipe is a fantastic canvas for creativity. While delicious as is, it welcomes modifications. Experiment with different types of nut butters, sweeteners, or a medley of exciting add-ins like dried fruits, nuts, or spices. It’s a recipe that grows with your preferences and adapts to whatever ingredients you have on hand.
- Nutritious and Wholesome: Unlike many store-bought snack bars laden with artificial ingredients and excessive sugars, these homemade bars are packed with good-for-you components. Rolled oats provide essential fiber, promoting digestive health and sustained energy, while peanut butter offers protein and healthy fats. It’s a snack you can feel genuinely good about eating and serving to your loved ones.
- Perfect for Meal Prep: Save time during your busy week by preparing a batch of these bars on the weekend. They store beautifully, maintaining their freshness and delicious texture for days in the fridge and even longer in the freezer. This makes them an ideal grab-and-go option for school lunches, office snacks, or post-workout fuel.
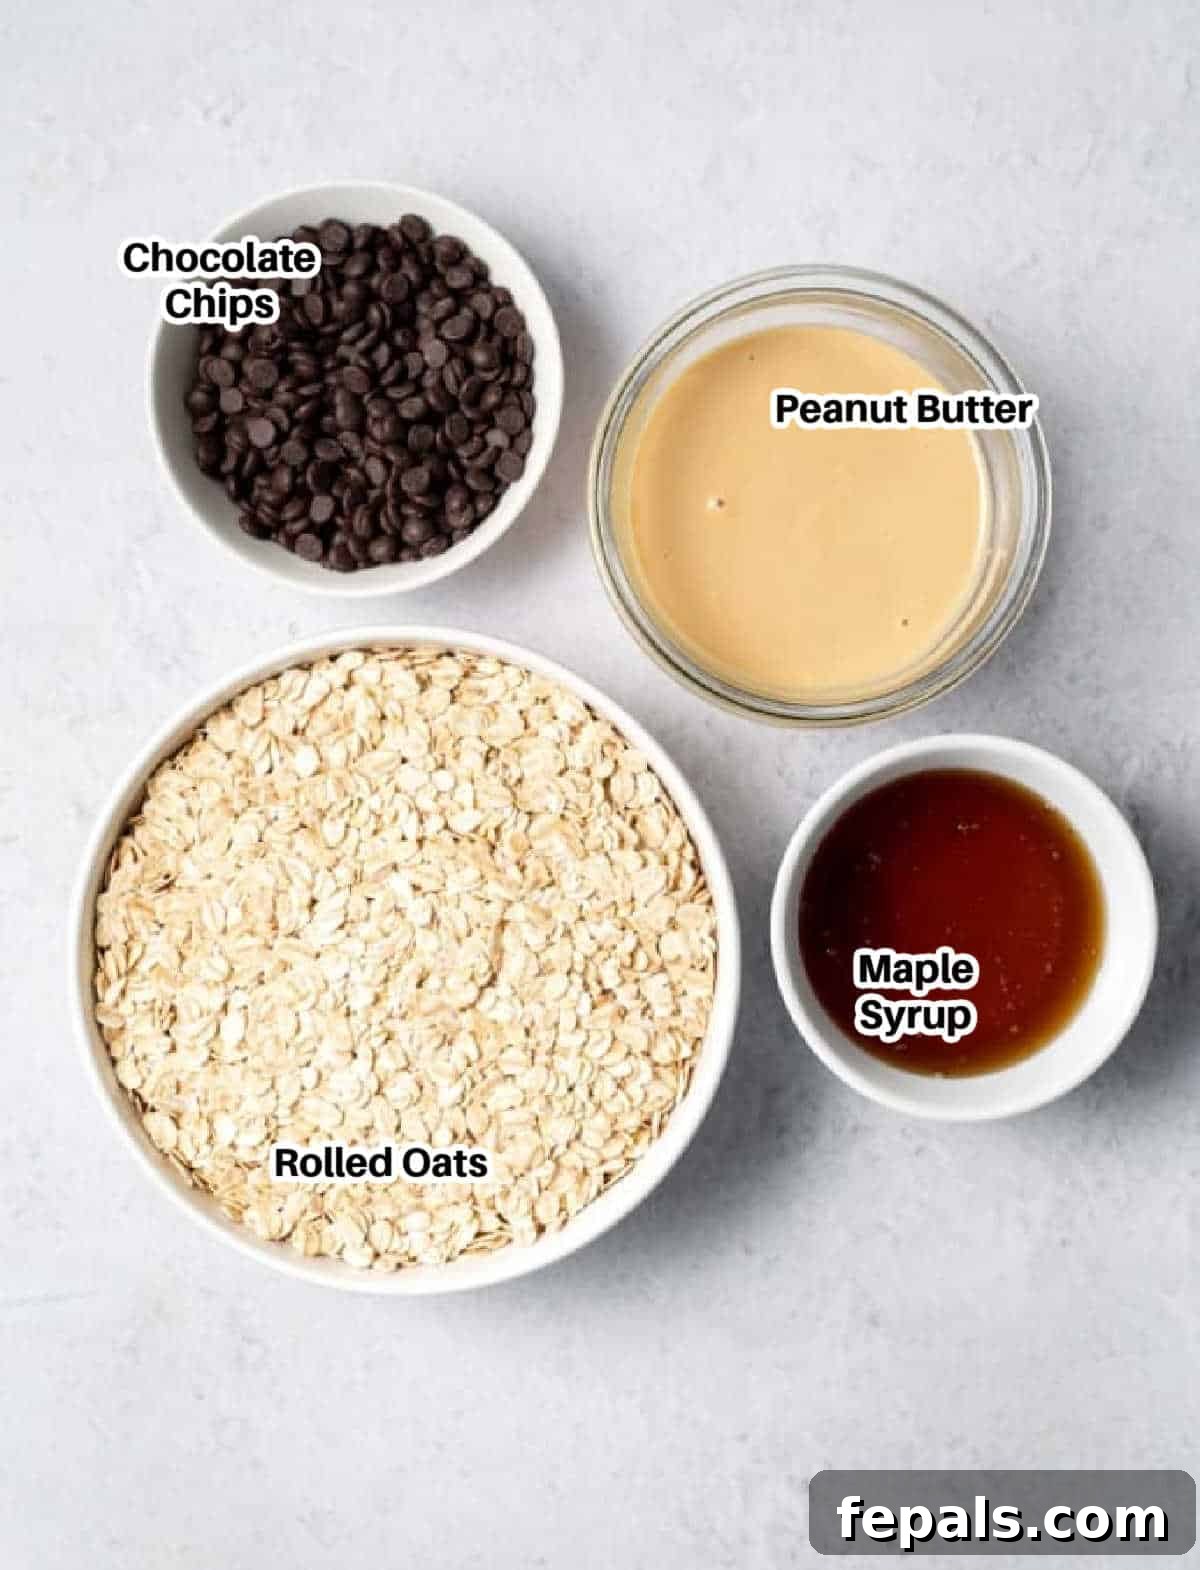
Essential Ingredients for Your No Bake Masterpiece
One of the true beauties of these no-bake peanut butter oatmeal bars lies in their simplicity, requiring just four core ingredients that you likely already have in your pantry. Opting for quality ingredients will elevate the taste and nutritional value of your homemade bars.
- Creamy Peanut Butter: The star of the show! For the best flavor and texture, I highly recommend using natural creamy peanut butter that contains minimal added oils, sugars, or salt. Natural varieties tend to have a runnier consistency when warmed, which helps bind the bars perfectly. If you enjoy a bit of texture, crunchy peanut butter can be an excellent alternative, adding a delightful chew. Ensure your peanut butter is well-stirred if using a natural separation type.
- Natural Sweetener: Honey is my top choice here. Its rich, floral sweetness and naturally sticky texture are ideal for binding all the ingredients together, contributing to the bars’ chewiness and helping them hold their shape once chilled. For a vegan-friendly option, pure maple syrup or agave syrup work beautifully, offering similar binding properties and a distinct, delicious flavor profile.
- Rolled Oats: Often referred to as old-fashioned oats, these are crucial for the right texture. Rolled oats provide a hearty, chewy base without becoming mushy or overly dense. It’s important to use rolled oats, not quick oats (which can make the bars too soft) or steel-cut oats (which are too hard and require cooking). The structural integrity of rolled oats is key to these bars.
- Chocolate Chips: A classic pairing with peanut butter, chocolate chips add an irresistible touch. Dark chocolate chips offer a lovely contrast to the sweetness, but feel free to use milk chocolate chips if preferred. For those following a vegan or dairy-free diet, simply opt for your favorite brand of non-dairy chocolate chips. You can also chop up a chocolate bar for a more rustic look.
Creative Variations and Smart Substitutions
While the classic recipe for No Bake Peanut Butter Oatmeal Bars is fantastic, don’t hesitate to get creative! This recipe is incredibly forgiving and welcomes your personal touch, allowing you to tailor them to your taste preferences or dietary needs.
- Experiment with Nut Butters: The world of nut butters is vast and delicious! Beyond classic peanut butter, try almond butter for a milder, slightly sweeter flavor, or cashew butter for an extra creamy texture. Sunflower seed butter is an excellent nut-free alternative for those with allergies, ensuring everyone can enjoy these delightful bars. Always opt for natural, unsweetened versions where possible.
- Alternative Sweeteners: As mentioned, honey is ideal, but pure maple syrup is a fantastic plant-based alternative that offers a distinct, earthy sweetness. Agave syrup also works well. If you’re looking to reduce sugar, you might try a sugar-free maple syrup alternative, though the binding properties might vary slightly. Adjust the amount to your sweetness preference.
- Boost with Additional Add-ins: This is where the fun truly begins!
- Dried Fruits: Stir in dried cranberries, golden raisins, chopped dates, or even finely diced apricots for a chewy, naturally sweet burst.
- Nuts & Seeds: Enhance the crunch and nutritional value with chopped pecans, walnuts, almonds, or cashews. For an extra boost of omega-3s and fiber, chia seeds, flax seeds, or hemp hearts are fantastic additions.
- Coconut: Shredded coconut (toasted or untoasted) adds a tropical flair and lovely texture.
- Spices & Flavorings: A dash of vanilla extract can deepen the overall flavor profile. A pinch of cinnamon or a touch of nutmeg can add warmth, especially if you’re leaning towards a more autumnal spice blend. A tiny sprinkle of sea salt can also beautifully enhance the sweet and savory notes.
- Make it Gluten-Free: If you or someone you’re serving has a gluten sensitivity, simply ensure you use certified gluten-free rolled oats. All other main ingredients are naturally gluten-free.
Crafting Your Perfect Oatmeal Bars: A Step-by-Step Guide
Making these no-bake bars is incredibly simple, requiring minimal effort and no special equipment. Follow these easy steps to create your delicious snack:
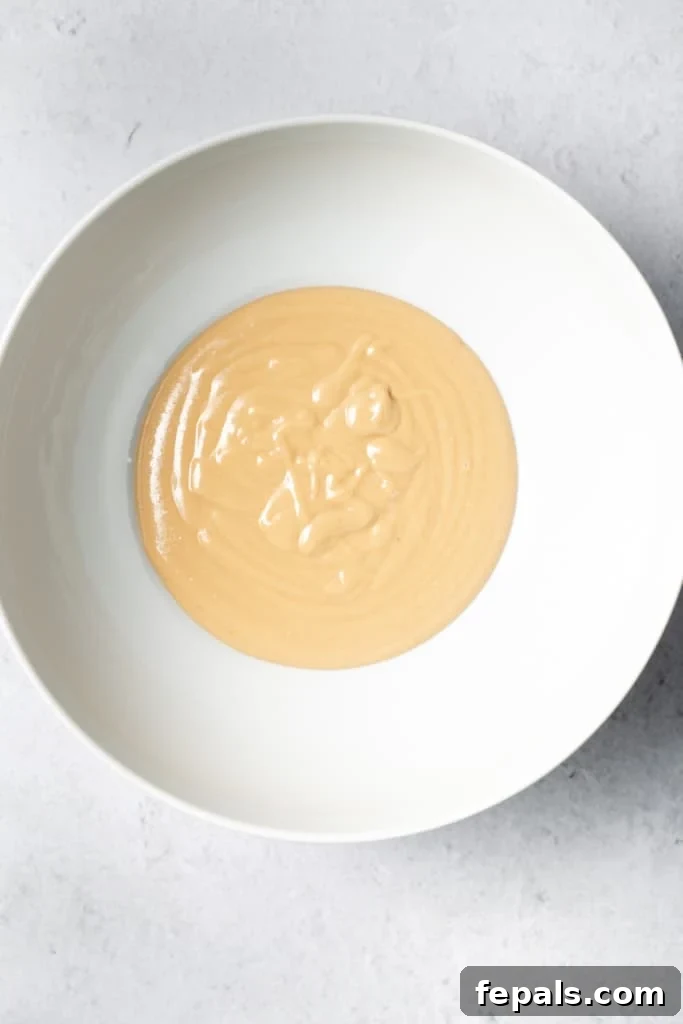
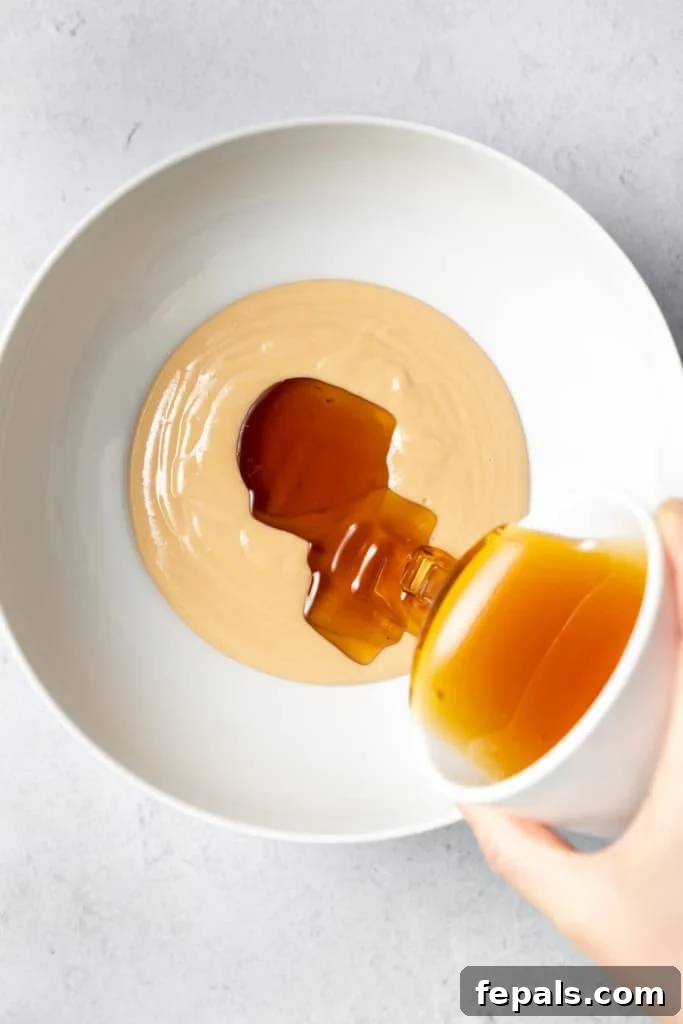
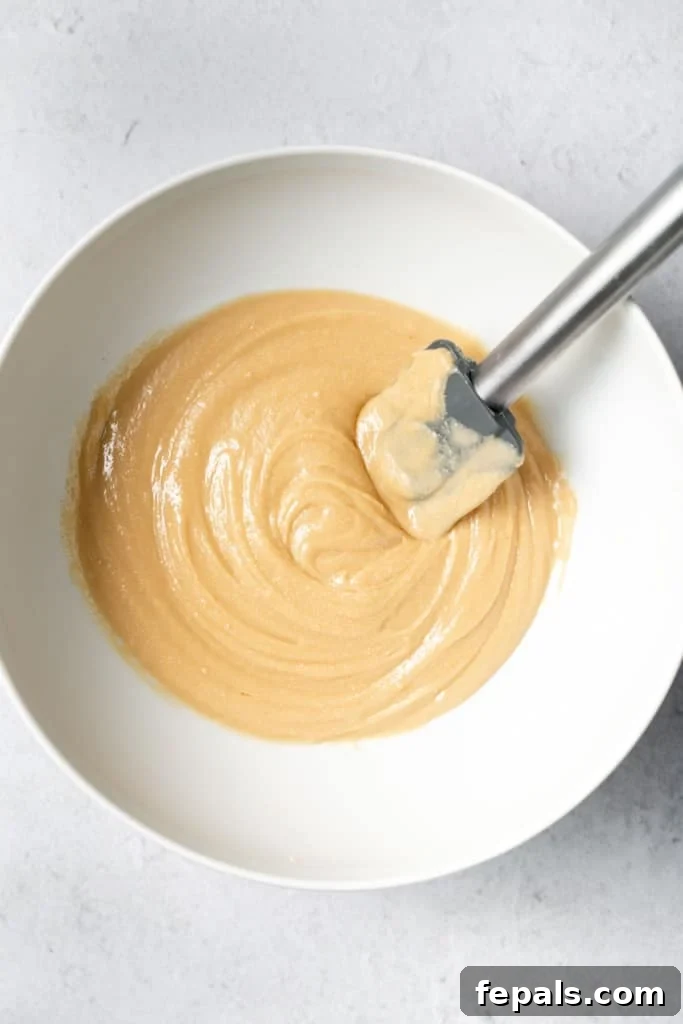
- Gently Heat Peanut Butter and Sweetener: Begin by combining your creamy peanut butter and honey (or maple syrup) in a microwave-safe bowl. Heat the mixture in 20-second intervals, stirring thoroughly after each interval, until the mixture is melted, smooth, and well combined. This gentle heating makes the mixture pliable and ensures it binds perfectly with the oats.
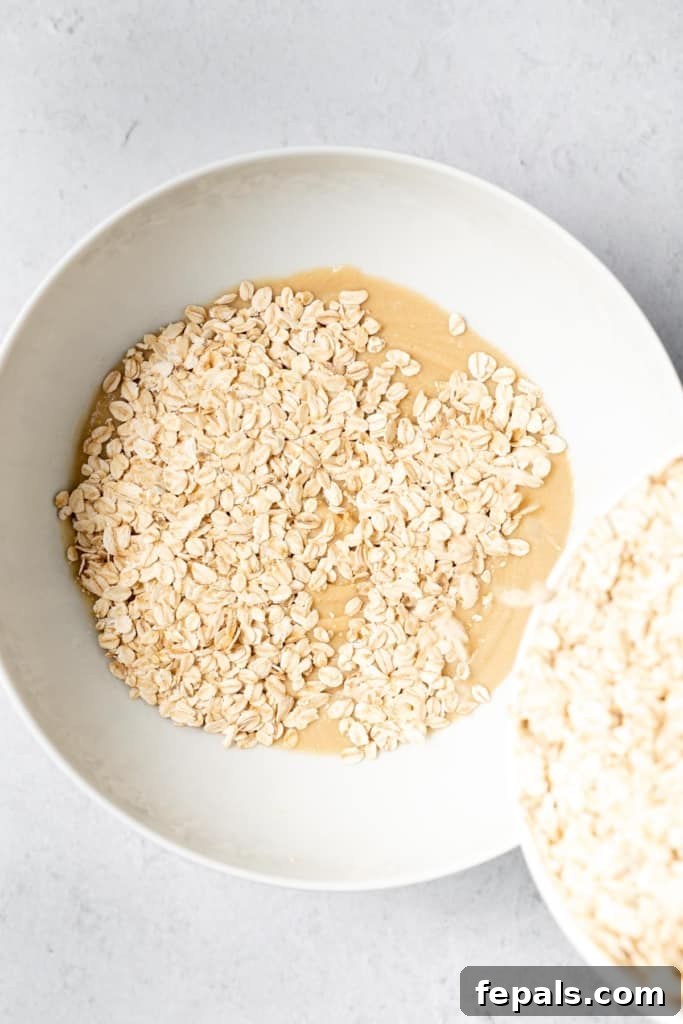
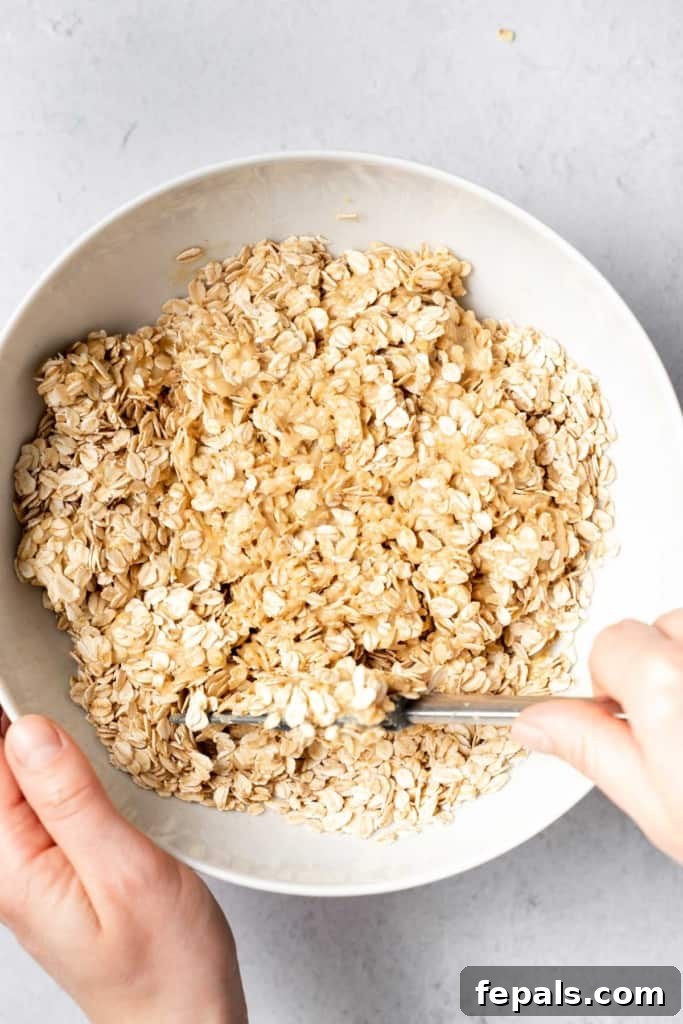
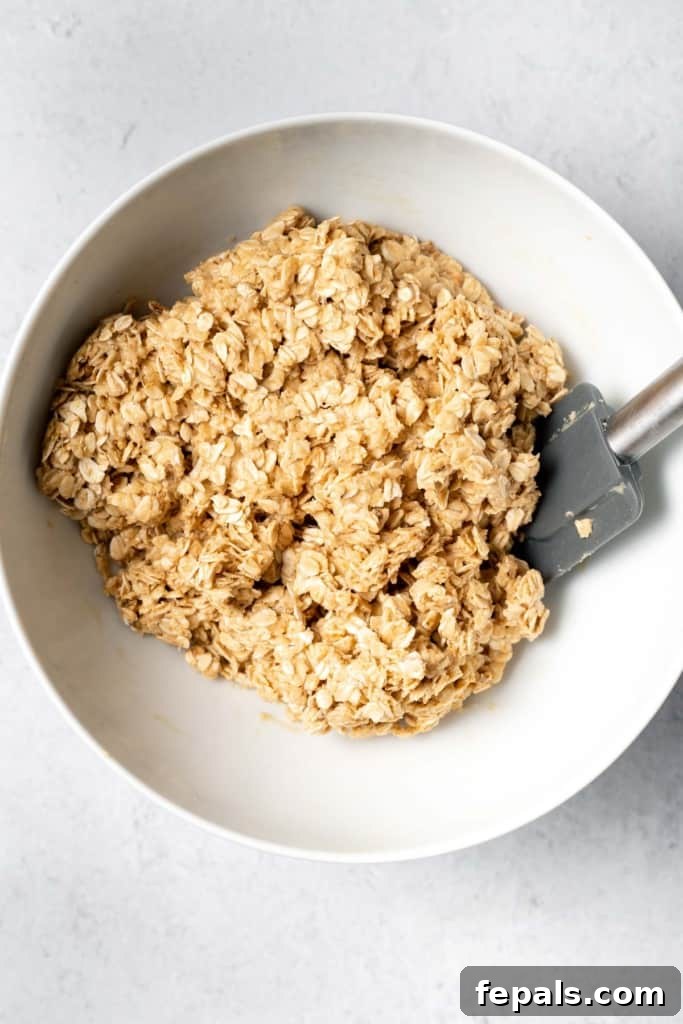
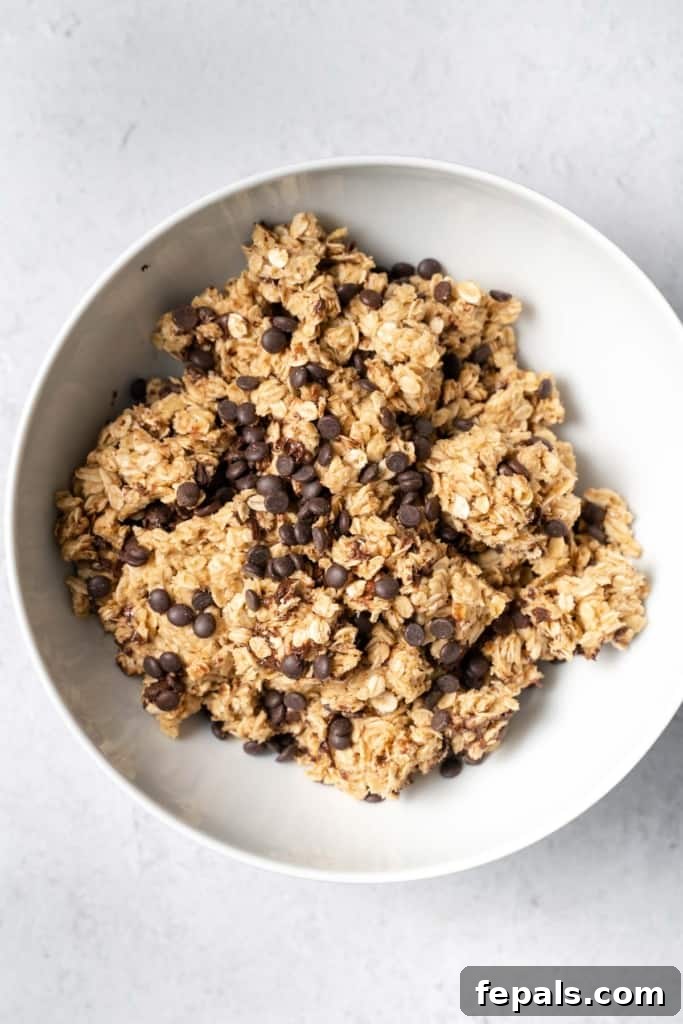
- Combine with Rolled Oats: Add the measured rolled oats directly into the bowl with the warm peanut butter and honey mixture. Using a sturdy spatula or a wooden spoon, mix vigorously until all the oats are thoroughly coated and evenly distributed. Ensure no dry spots remain; the mixture should appear sticky and cohesive.
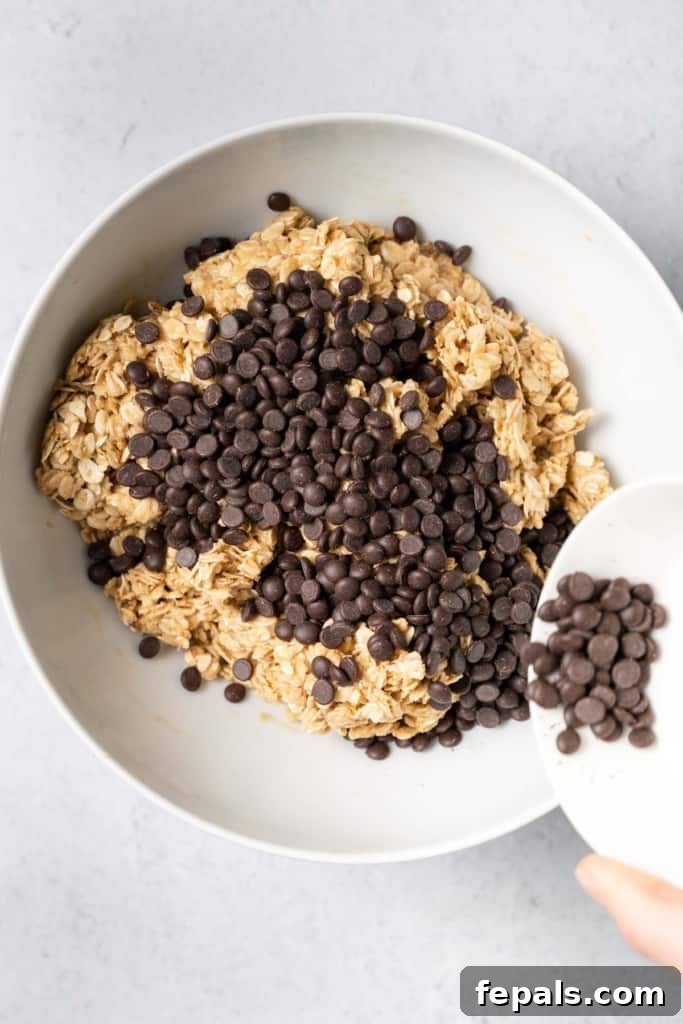
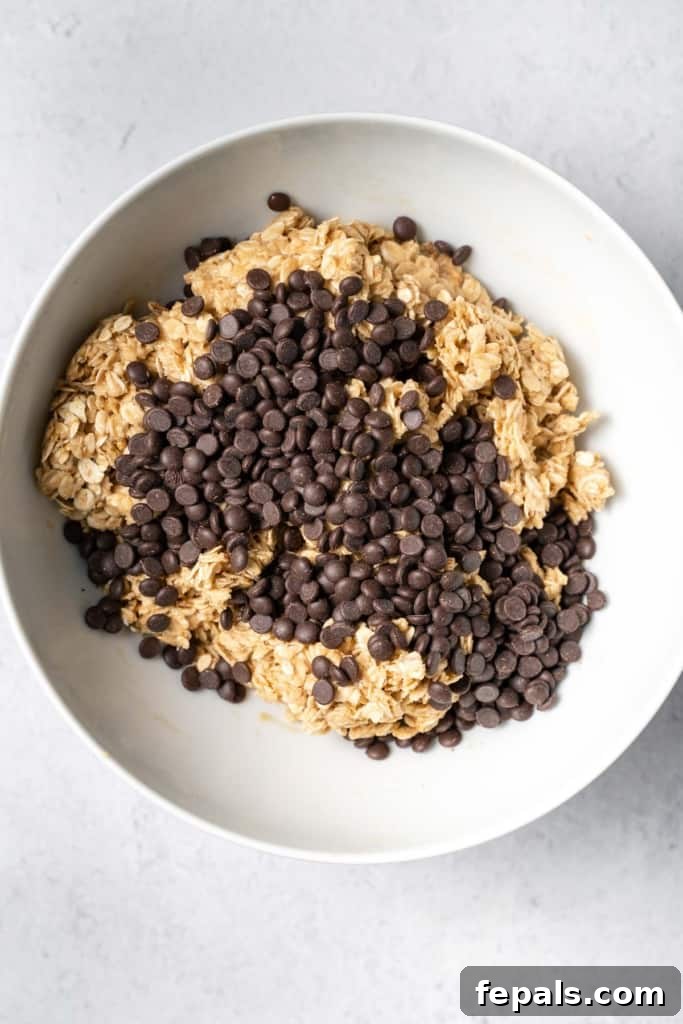
- Fold in Chocolate Chips: Once the oats are fully coated, gently fold in the dark chocolate chips (or your preferred add-ins). Mix just until they are evenly distributed throughout the oat mixture. Be careful not to overmix, which can cause the chocolate chips to melt too much if the mixture is still very warm.
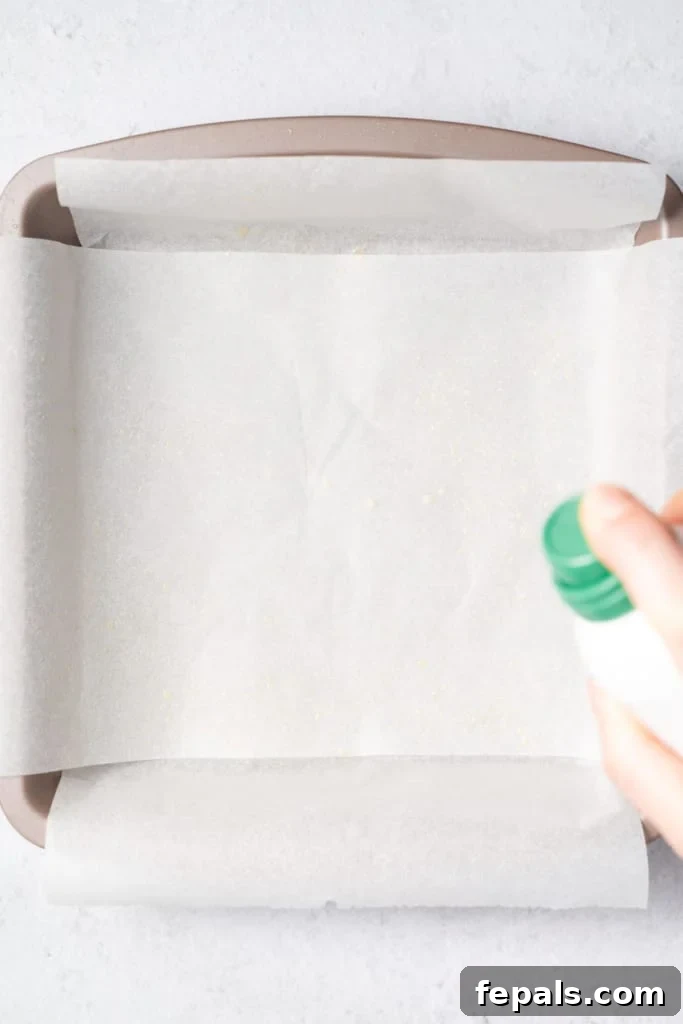
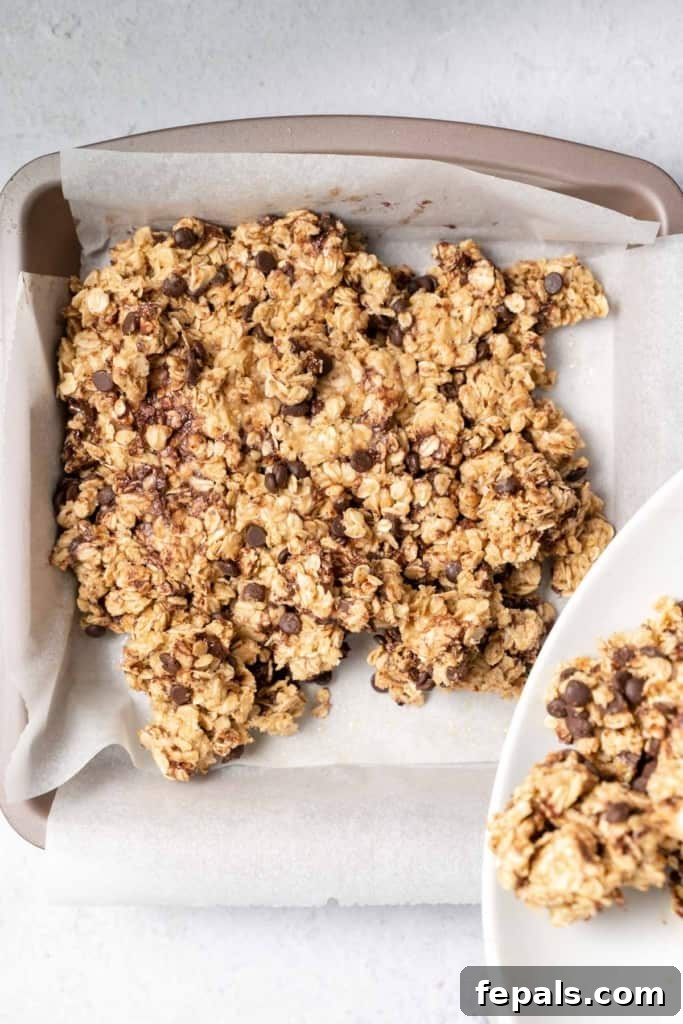
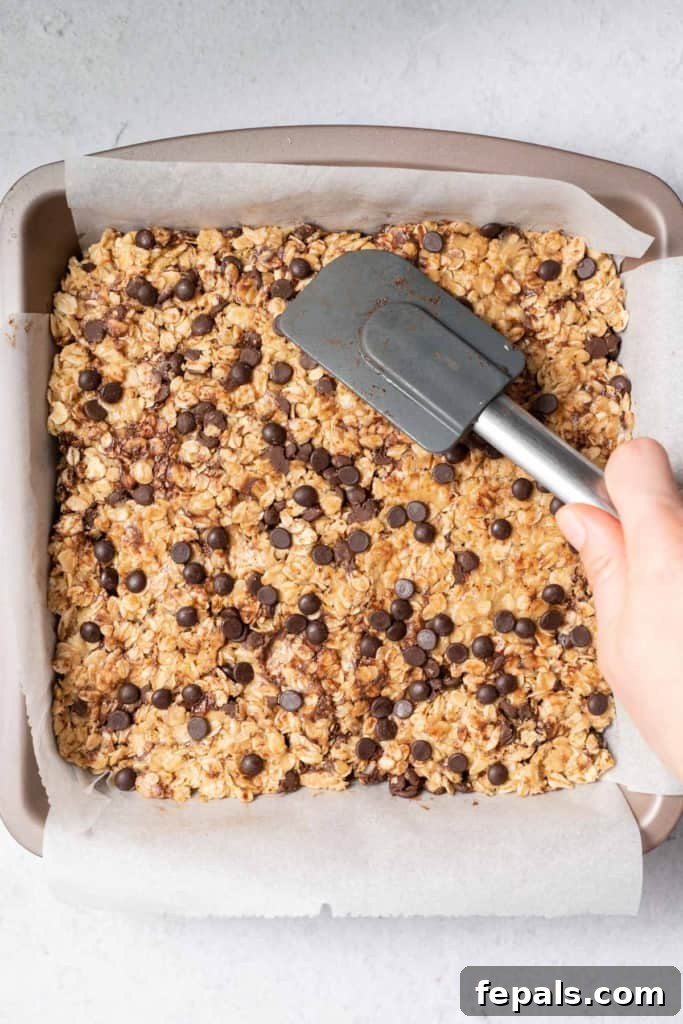
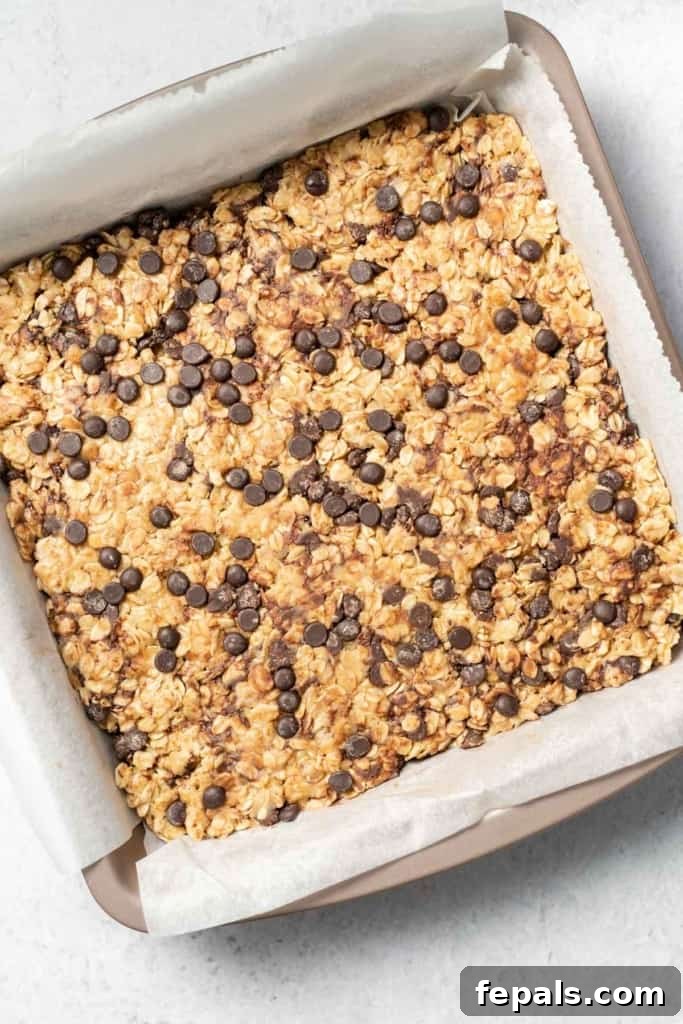
- Press into Prepared Pan: Line an 8×8-inch baking pan with parchment paper, leaving an overhang on the sides to easily lift the bars later. Lightly spray the parchment paper with non-stick cooking spray to prevent sticking. Transfer the peanut butter oat mixture into the prepared pan. Using your hands or the back of a spatula, firmly press the mixture down into an even layer. The tighter you pack it, the better the bars will hold their shape.
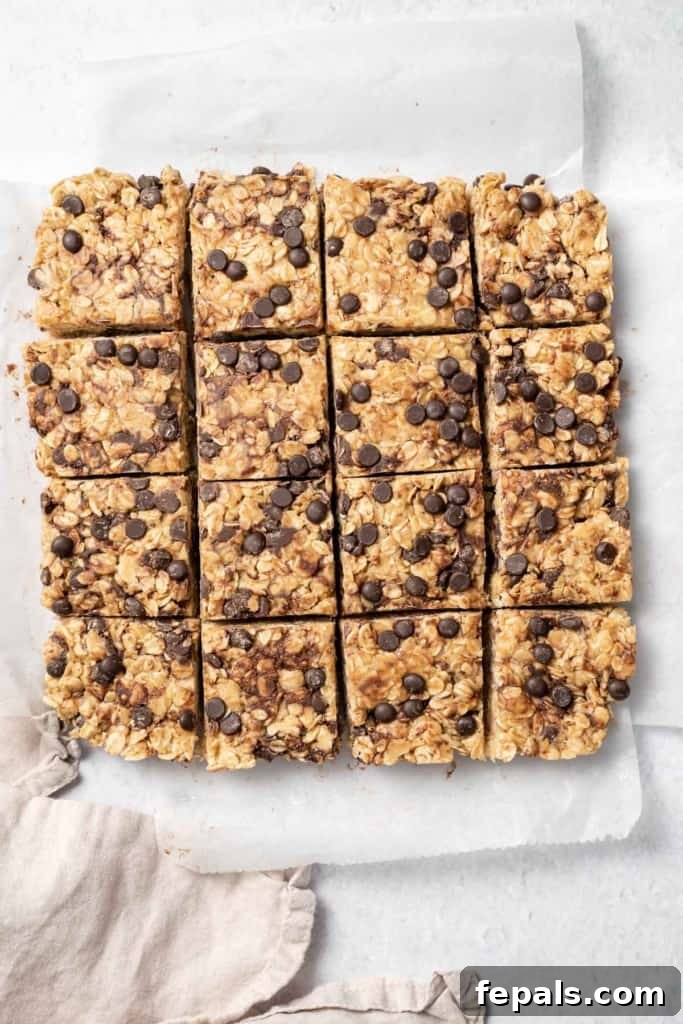
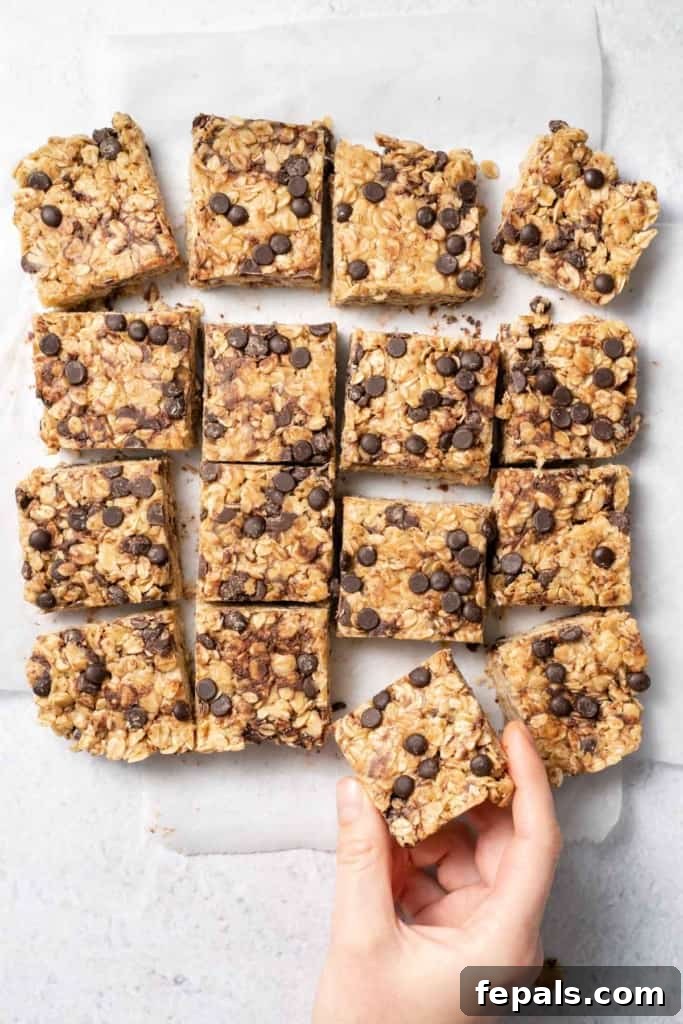
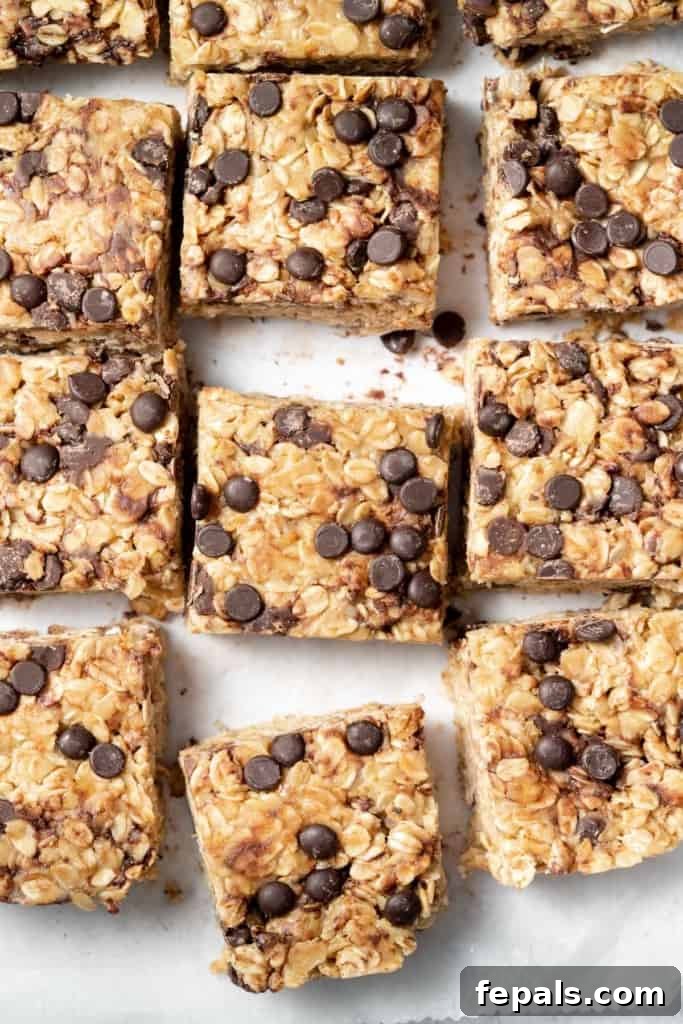
- Chill to Set: Transfer the pan to the refrigerator and chill for a minimum of 30-60 minutes, or until the bars are completely firm. Once set, lift the bars out of the pan using the parchment paper overhang. Place them on a cutting board and slice into 16-20 uniform squares. Enjoy your perfectly chilled, delicious homemade treats!
Expert Tips for Perfect No Bake Peanut Butter Oatmeal Bars
Achieving perfectly set and delicious no-bake bars is simple with a few helpful pointers. Keep these tips in mind to ensure your bars turn out fantastic every time:
- Mastering the Press: The oat mixture will be naturally sticky, which is exactly what helps it hold together. To make pressing it into the pan less messy and more efficient, slightly dampen your hands or the back of your spatula with water. This simple trick prevents the mixture from sticking and allows you to create a smooth, even layer. Press down firmly to compact the bars for better stability.
- The Importance of Lining the Pan: Never skip lining your pan with parchment paper. This step is crucial for easy removal of the entire slab of bars once they’re chilled and firm. Make sure to leave an overhang on the sides of the pan so you can easily lift the entire batch out without any sticking or breaking. A light spray of non-stick cooking spray on the parchment can provide an extra layer of insurance.
- Precise Cutting for Portions: The recipe yields 16 medium-sized bars, which are perfect for a satisfying snack. However, you can easily adjust the size based on your needs. For smaller, bite-sized treats or for serving to younger children, cut them into 20 squares. A sharp knife is key for clean cuts once the bars are thoroughly chilled.
- Don’t Skimp on Chilling Time: While it’s tempting to dig in immediately, adequate chilling time is essential. The 30-60 minutes in the fridge allows the fats from the peanut butter to solidify and the honey to firm up, creating that perfectly chewy yet firm texture that defines a great no-bake bar. Rushing this step can result in crumbly or overly soft bars.
- Ingredient Temperature Matters: Ensure your peanut butter is at room temperature or slightly warmed as per the instructions. Cold peanut butter will be too stiff to mix properly and won’t bind as effectively with the oats and sweetener.
Serving Suggestions for Every Occasion
These versatile No Bake Peanut Butter Oatmeal Bars are perfect for almost any time of day or any occasion:
- On-the-Go Breakfast: Grab one as you head out the door for a quick, filling start to your day.
- Midday Energy Boost: A fantastic pick-me-up to stave off hunger between meals.
- Healthy Dessert: Satisfy your sweet tooth with a wholesome alternative to traditional desserts.
- Pre or Post-Workout Fuel: The combination of carbs from oats and protein from peanut butter makes them ideal for fueling your body.
- School or Office Snack: Pack them in lunchboxes for a nutritious and tasty treat.
- With Your Favorite Beverage: Enjoy them alongside a glass of milk, a cup of coffee, or your favorite herbal tea.
Storage and Freezing Recommendations
One of the many advantages of these no-bake bars is their excellent shelf life and freezer-friendliness, making them ideal for meal prepping and enjoying over an extended period.
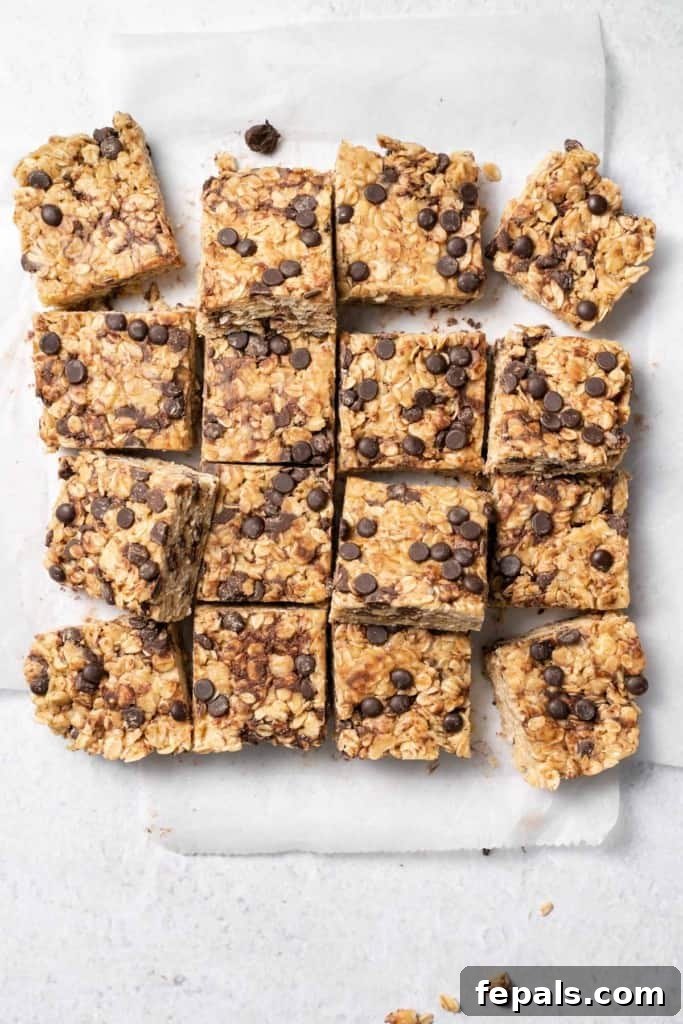
- Storing: To maintain their optimal texture and prevent them from becoming too soft, always store these no-bake square bars in an airtight container in the refrigerator. They will remain fresh and delicious for up to about 1 week. You can enjoy them straight from the fridge (cold), at room temperature, or even slightly warmed in the microwave for a few seconds.
- Freezing for Long-Term: For longer storage, these bars freeze beautifully. You can freeze them individually by wrapping each bar in plastic wrap, then placing them in a large freezer-safe bag or container. Alternatively, you can freeze the entire batch in a freezer-safe container, separated by parchment paper to prevent sticking. They will keep well in the freezer for up to 3 months. When you’re ready to enjoy one, simply thaw it in the refrigerator overnight or at room temperature for a quick snack.
Frequently Asked Questions About No Bake Oatmeal Bars
Yes, you can use quick oats, also known as instant oats, as a substitute for rolled oats in this recipe. However, quick oats are processed to cook faster and absorb liquids more rapidly, which means the mixture might be a bit stickier or softer. If the dough feels too sticky after mixing, you can add 1-2 extra tablespoons of quick oats or a tablespoon of almond flour to achieve a firmer consistency before pressing into the pan.
Absolutely! Raw oats are entirely safe and nutritious to eat. They are a staple in many no-bake recipes, like overnight oats and various no-bake cookies. The oats in this recipe are simply softened by the warm peanut butter and honey mixture, and then further by chilling, making them perfectly enjoyable without any cooking.
When cut into 16 squares, each peanut butter oatmeal bar will contain approximately 202 calories. In terms of macronutrients, each bar provides about 23 grams of carbohydrates, 5 grams of protein, and 11 grams of fat. Please note that these values are approximations and can vary slightly based on the specific brands and exact measurements of ingredients used.
Yes, absolutely! Adding chopped nuts or seeds is a fantastic way to boost the texture, flavor, and nutritional content of these bars. Feel free to stir in about 1/4 to 1/2 cup of your favorite chopped nuts, such as almonds, walnuts, pecans, or cashews. Chia seeds, flax seeds, or shredded coconut are also wonderful additions that blend in seamlessly and add extra fiber and healthy fats.
Yes, these bars can easily be made gluten-free. While oats are naturally gluten-free, they are often processed in facilities that also handle wheat, leading to cross-contamination. To ensure your bars are truly gluten-free, make sure to use certified gluten-free rolled oats. All other main ingredients in this recipe (peanut butter, honey/maple syrup, chocolate chips) are typically gluten-free, but it’s always wise to check labels for specific dietary needs.
Simple & Delicious No Bake Peanut Butter Oatmeal Bars Recipe
This recipe combines creamy peanut butter, natural sweetener, wholesome rolled oats, and delightful chocolate chips to create a snack that is both easy to make and incredibly satisfying. Perfect for any time of day!
Video Guide
Ingredients (Yields 16 bars)
- 1 cup creamy peanut butter
- 1/2 cup honey or maple syrup
- 2 3/4 cups rolled oats
- 1/2 cup dark chocolate chips
Instructions
- In a microwave-safe bowl, combine 1 cup creamy peanut butter and 1/2 cup honey or maple syrup. Heat in 20-second increments, stirring after each, until the mixture is melted and smooth.
- Add the 2 3/4 cups rolled oats to the peanut butter and honey mixture. Mix thoroughly with a spatula until all oats are well combined and coated.
- Fold in the 1/2 cup dark chocolate chips and mix until they are evenly distributed throughout the oat mixture.
- Line an 8×8-inch pan with parchment paper, leaving an overhang on the sides. Lightly spray the parchment with non-stick spray. Transfer the peanut butter oat mixture into the prepared pan and press down firmly and evenly using your hands or a spatula.
- Place the pan in the refrigerator for 30-60 minutes, or until the bars are completely set and firm. Once firm, lift the bars out using the parchment paper and cut into 16-20 squares. Enjoy!
Notes
- Storing: Store these bars in an airtight container in the fridge for up to 1 week to keep them from getting too soft. They are delicious cold, at room temperature, or slightly warmed.
- Freezing: For longer storage, freeze individual portions or the entire batch in a freezer-safe bag or container. Thaw in the refrigerator overnight before enjoying.
Nutritional Information (per bar, based on 16 servings)
Serving Size: 1 bar
- Calories: 202 kcal
- Carbohydrates: 23g
- Protein: 5g
- Fat: 11g
- Saturated Fat: 3g
- Polyunsaturated Fat: 2g
- Monounsaturated Fat: 4g
- Sodium: 71mg
- Potassium: 164mg
- Fiber: 3g
- Sugar: 8g
- Calcium: 26mg
- Iron: 1mg
Nutrition information is automatically calculated and should be used as an approximation.
Additional Info
- Course: Breakfast, Snack
- Cuisine: American
More Delicious Oatmeal Recipes to Explore
If you loved these No Bake Peanut Butter Oatmeal Bars, you’ll surely enjoy these other wholesome and flavorful oatmeal-based creations:
- Healthy Oatmeal Bars
- Chocolate Oatmeal Pancakes
- Pumpkin Oatmeal Cookies
- Blueberry Overnight Oats
- Healthy Banana Oatmeal Cookies
- Peanut Butter Oatmeal Cookies
- Homemade Oatmeal Granola Bars
If you try this recipe and love it, please consider leaving a comment and a rating below! Your feedback is incredibly valuable, and sharing it with friends and family helps spread the joy of healthy eating.
FOLLOW me on FACEBOOK | INSTAGRAM | PINTEREST | TWITTER for all of my latest blog posts and recipes.